
| Page: |
| Home > Show Us Yours! > My rusty rebuild | |||||||
|
54 Posts Member #: 8863 Advanced Member Wiltshire |
1st Aug, 2010 at 11:02:28am
Thanks for the tips |
||||||
|
288 Posts Member #: 6267 Senior Member Bristol |
1st Aug, 2010 at 11:59:40am
I've just had a look at this on TMF so I could see it form the start. I see what you mean about the lack of replies, it seems certain people can remove the front wings and get 50 pages of replies while the decent projects get no attention. Just one of the many reasons why I avoid it other than to get my discounts!
|
||||||
 16540 Posts Member #: 4241 King Gaycharger, butt plug dealer, Sheldon Cooper and a BAC but generally a niceish fella if you dont mind a northerner Rotherham, South Yorkshire |
1st Aug, 2010 at 01:17:10pm
If it where me I would remove the lowest face of the bulged bits, should allow plenty of drainage. Also some smaller drain holes lower down would be good, but make sure you clean the dirt out of them or you will just end up with the dirt etc rotting out On 11th Feb, 2015 robert said:
i tried putting soap on it , and heating it to brown , then slathered my new lube on it 
|
||||||
 1849 Posts Member #: 672 The oversills police Oslo, Norway |
1st Aug, 2010 at 06:19:46pm
TBH you have ruined the shell in my opinion. Why have you fitted those sills. Think about all the crap that will collect in the sill just where it bends underneath the floor....we have all seen the results. Get them off and get some proper sills on... |
||||||
|
54 Posts Member #: 8863 Advanced Member Wiltshire |
1st Aug, 2010 at 07:04:36pm
I have had alook at genuine sill photos and it look like there would be a trap on the inner section of these also??
|
||||||
|
54 Posts Member #: 8863 Advanced Member Wiltshire |
1st Aug, 2010 at 07:09:00pm
On 1st Aug, 2010 Flame Red said:
I've just had a look at this on TMF so I could see it form the start. I see what you mean about the lack of replies, it seems certain people can remove the front wings and get 50 pages of replies while the decent projects get no attention. Just one of the many reasons why I avoid it other than to get my discounts! Anyway, looks like you've made a nice job of the repairs and you're making good progress. I admire your effort for using all Hadrian panels as some of the ones I've seen look like they're for a different car. Every one I've used has required alterations, I'd rather spend the extra on genuine and avoid the hassle where possible. Yeah it seems very strange over there?? The hadrian panels have been a mixed bag. some dropped on and others need reworking totally. Bought heritage complete boot floor and was joy to fit so thats lesson learned for future 
I am really pushing on now hoping to get paint done before winter undoes all my hard work! should be there in a month or so |
||||||
|
54 Posts Member #: 8863 Advanced Member Wiltshire |
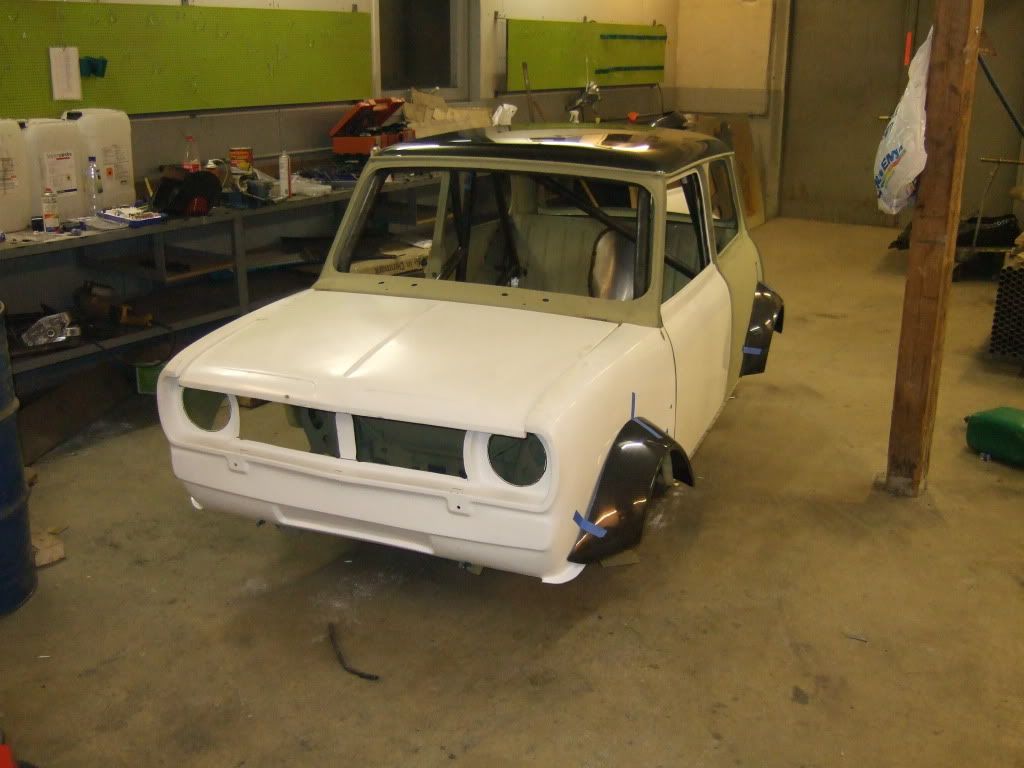
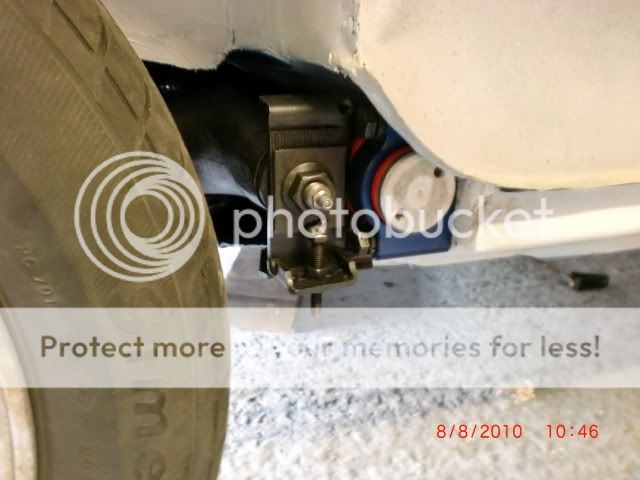
8th Aug, 2010 at 01:32:55pm
Ok it finally sits on wheels again |
||||||
 9502 Posts Member #: 1023 Post Whore Doncaster, South Yorkshire |
8th Aug, 2010 at 01:45:21pm
On 8th Aug, 2010 CH007 said:
same method i use, looking good :) Yes i moved to the darkside |
||||||
 (2)[/url] by [url=https://www.flickr.com/photos/150672766@N03/]Rod Sugden[/url], on Fli) 5988 Posts Member #: 2024 Formally Retired Rural Suffolk |
8th Aug, 2010 at 02:25:29pm
Re. the oversills, although I too would never use them, as you now have them I would suggest flooding them with waxoil/dinitrol on a warm day so it seeps between the oversill and the floor - then leave it a few days to make sure it all is in the gap - then cut the lower bit off all the "bulges" to replicate the factory ventilation.
Schrödinger's cat - so which one am I ??? |
||||||
|
54 Posts Member #: 8863 Advanced Member Wiltshire |
14th Aug, 2010 at 06:58:06am
Thanks for the tips and comments:)
|
||||||
| Home > Show Us Yours! > My rusty rebuild | |||||||
|
|||||||

| Page: |