
| Page: |
| Home > How To > Rebuilding your Carb | |||||||
 2370 Posts Member #: 719 Post Whore Horndean - Near Portsmouth |
22nd Oct, 2008 at 06:38:19pm
Hooraaah!
|
||||||
 1105 Posts Member #: 1504 Post Whore Westbury, Wiltshire |
30th Oct, 2008 at 06:25:23pm
Guys.
Minivanless, but reluctantly happy living with the decision. There'll be another one day.
|
||||||
|
444 Posts Member #: 2885 Senior Member |
18th Jan, 2009 at 11:27:27am
Duno man.
|
||||||
 9502 Posts Member #: 1023 Post Whore Doncaster, South Yorkshire |
18th Jan, 2009 at 12:59:13pm
On 30th Oct, 2008 turbominivanman said:
Guys. Does anyone have any experience with what happens when you take the dashpot (complete with needle etc) off the carb body and apply fuel pressure to the carb ? Should the rising action of the float and the closing of the needle valve in the base of the carb close off the flow of fuel to the jet holder or will fuel shoot up from the jet ? It's just that mine does the latter and I'm wondering if my needle valve is not working properly before I go taking the carb off to check. Also, does anyone have any experience with the Nylon needle valve conversion (as a replacement for the brass needle) ? Is this something that you would include when re-building your carb for example ? Cheers. Richard. the needle valve should be able to hold hold back the fuel, and with the dashpot and needle out, the fuel should not squirt out the jet, there is a good guide in the Haynes manual about setting the float bowl level, i found it usefull 
Edit: lol just seen when his post was made 
Edited by Brett on 18th Jan, 2009. Yes i moved to the darkside |
||||||
|
444 Posts Member #: 2885 Senior Member |
18th Jan, 2009 at 07:41:01pm
dig dig dig.. lol |
||||||
|
1105 Posts Member #: 1504 Post Whore Westbury, Wiltshire |
20th Jan, 2009 at 12:59:50pm
No matter about the date.
Minivanless, but reluctantly happy living with the decision. There'll be another one day.
|
||||||
|
603 Posts Member #: 1938 Post Whore near Dundee |
28th Mar, 2009 at 08:32:02pm
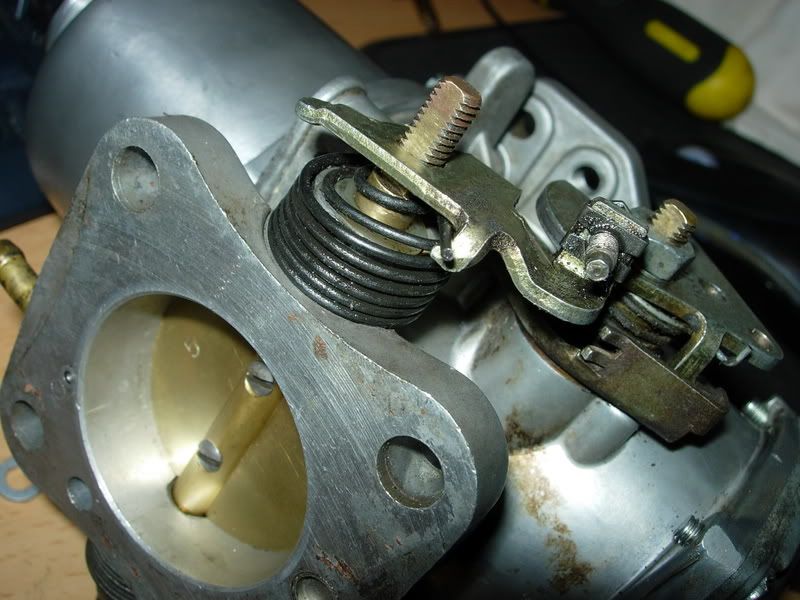
the seal for the dashpot to carb body. does anybody have a picture of how its located on the body?
|
||||||
|
2370 Posts Member #: 719 Post Whore Horndean - Near Portsmouth |
12th May, 2009 at 03:20:48pm
Sorry to bring this thread up again but thought I just aswell other than making a new one.
|
||||||
|
2370 Posts Member #: 719 Post Whore Horndean - Near Portsmouth |
12th May, 2009 at 03:46:24pm
Not to worry, just found it in my metro haynes.
|
||||||
|
47 Posts Member #: 9534 Member Toronto, Canada |
6th Aug, 2011 at 09:16:18pm
just used your instructions. Worked a treat, thanks |
||||||
 1767 Posts Member #: 9165 Previously josh4444 Australia, brisbane |
9th Jun, 2013 at 10:23:48am
i have got some question that some of you might be able to help me with also some pics that may help others
|
||||||
|
2 Posts Member #: 10592 Junior Member |
20th Sep, 2013 at 06:58:34pm
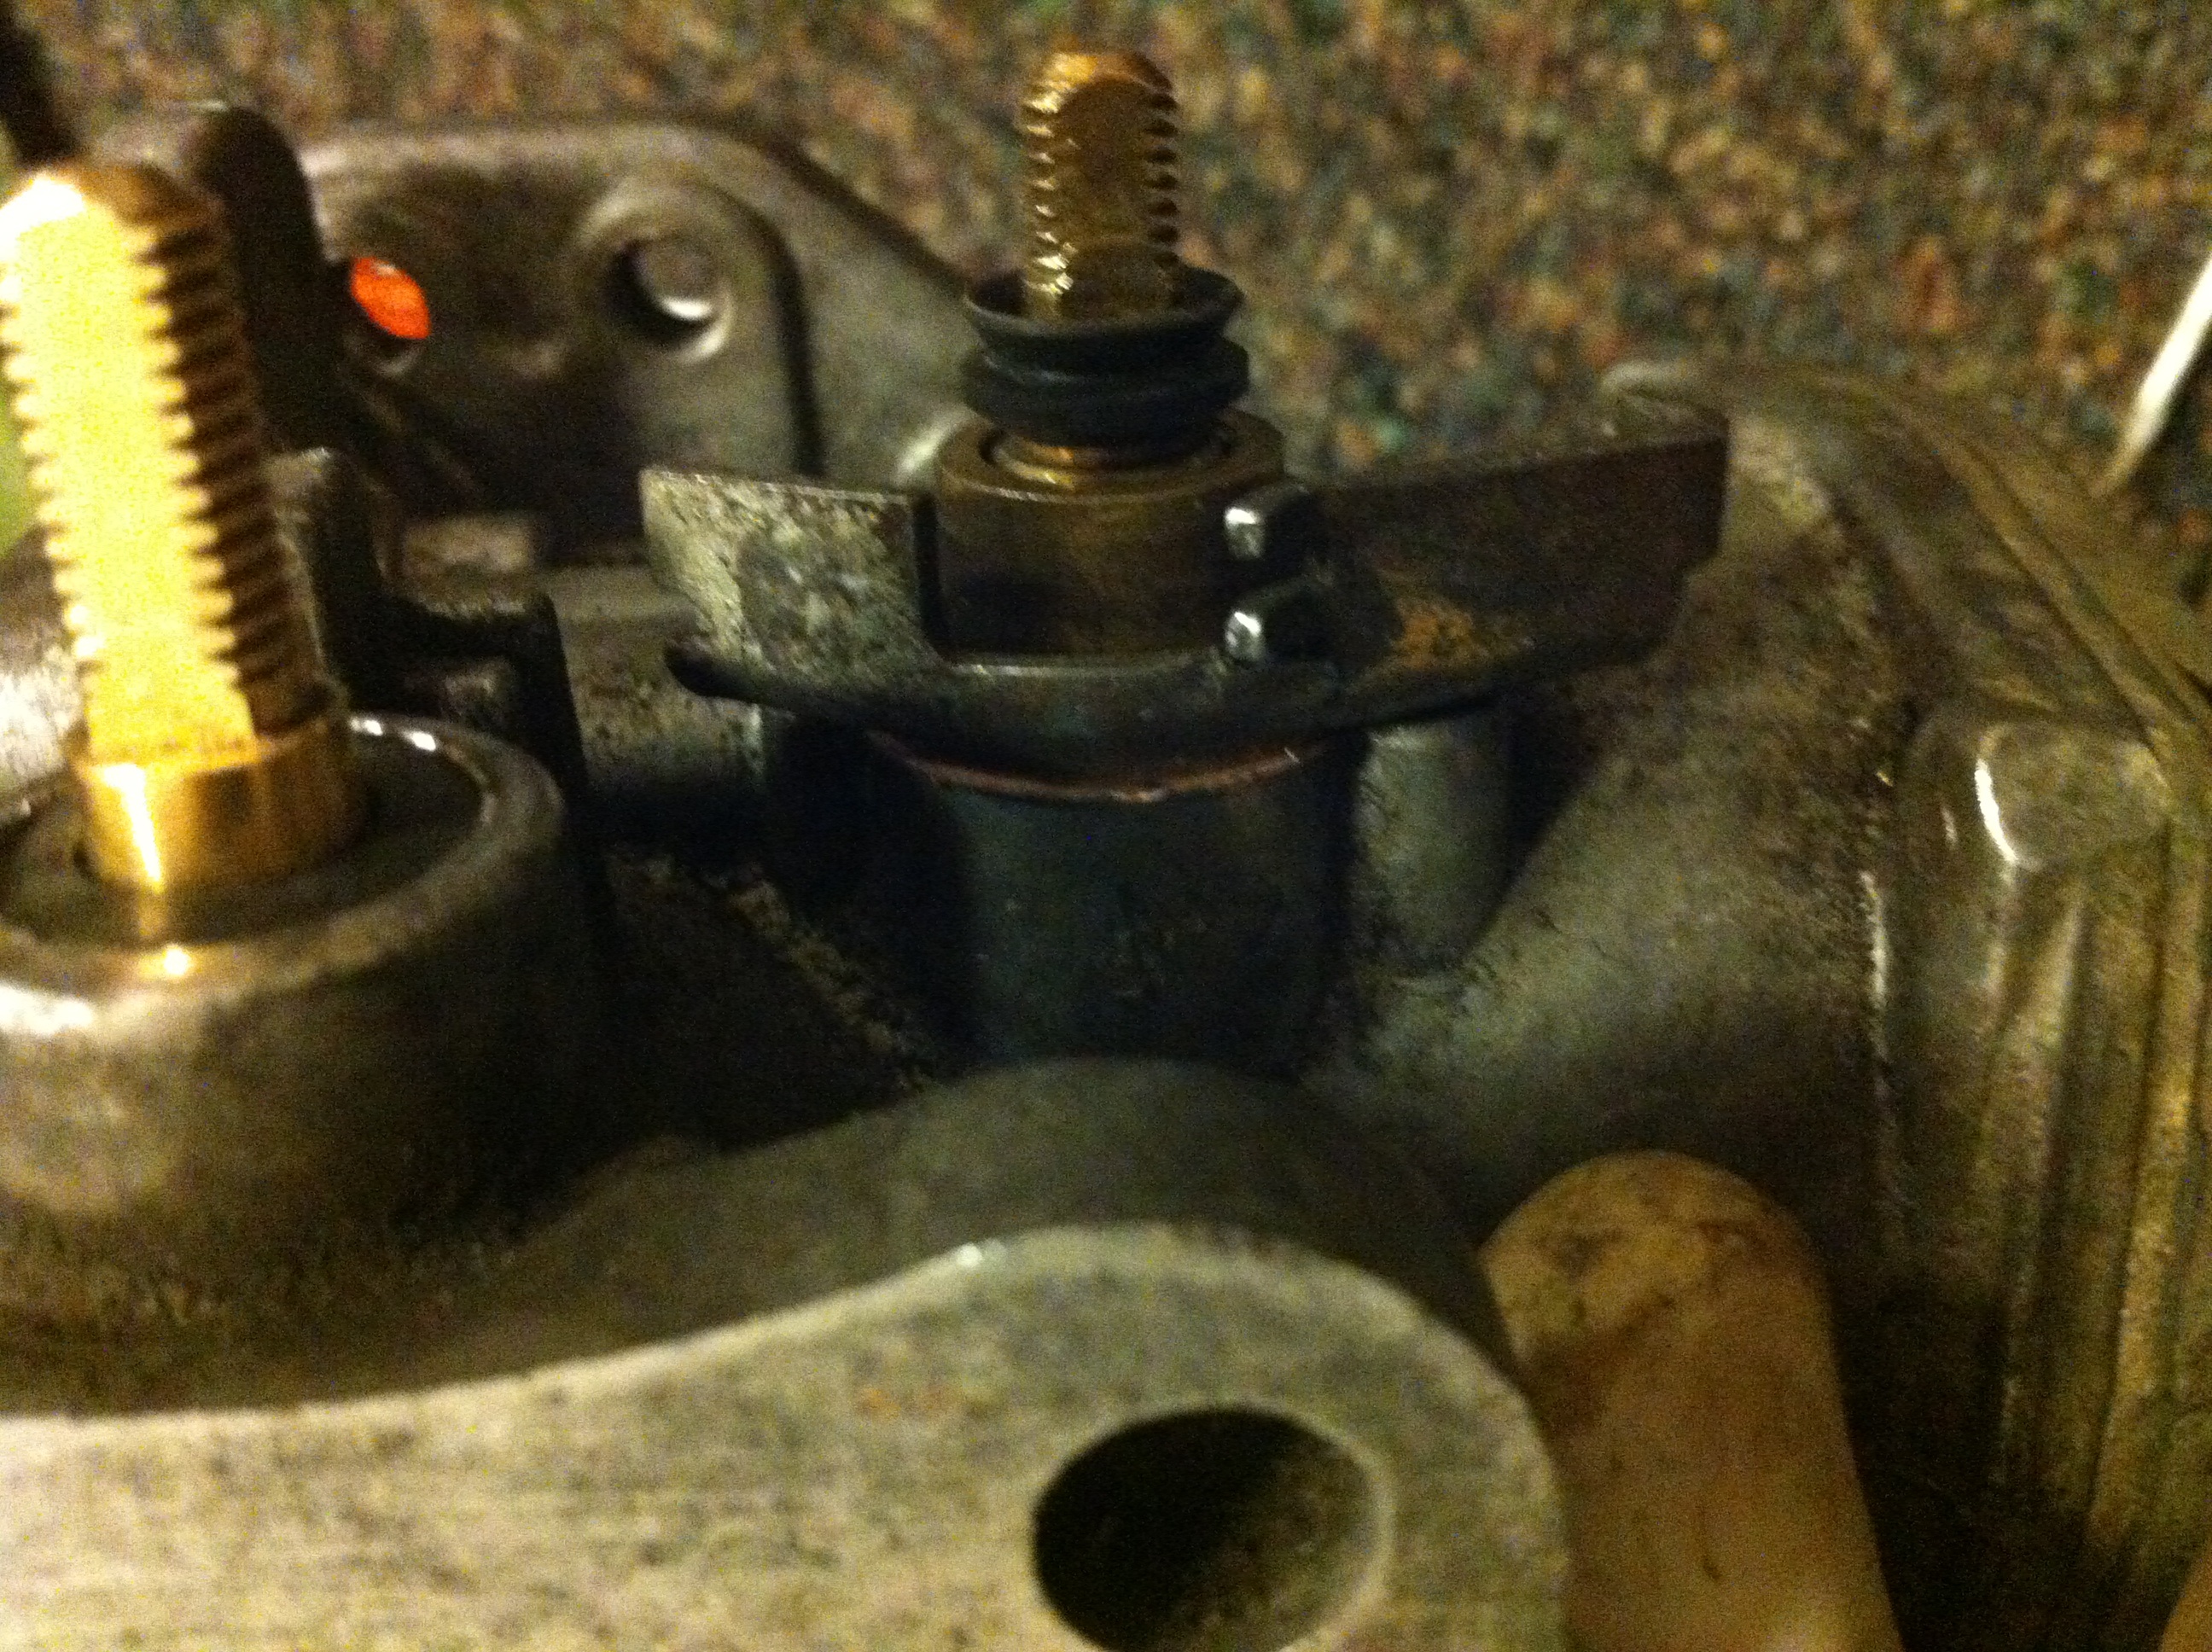
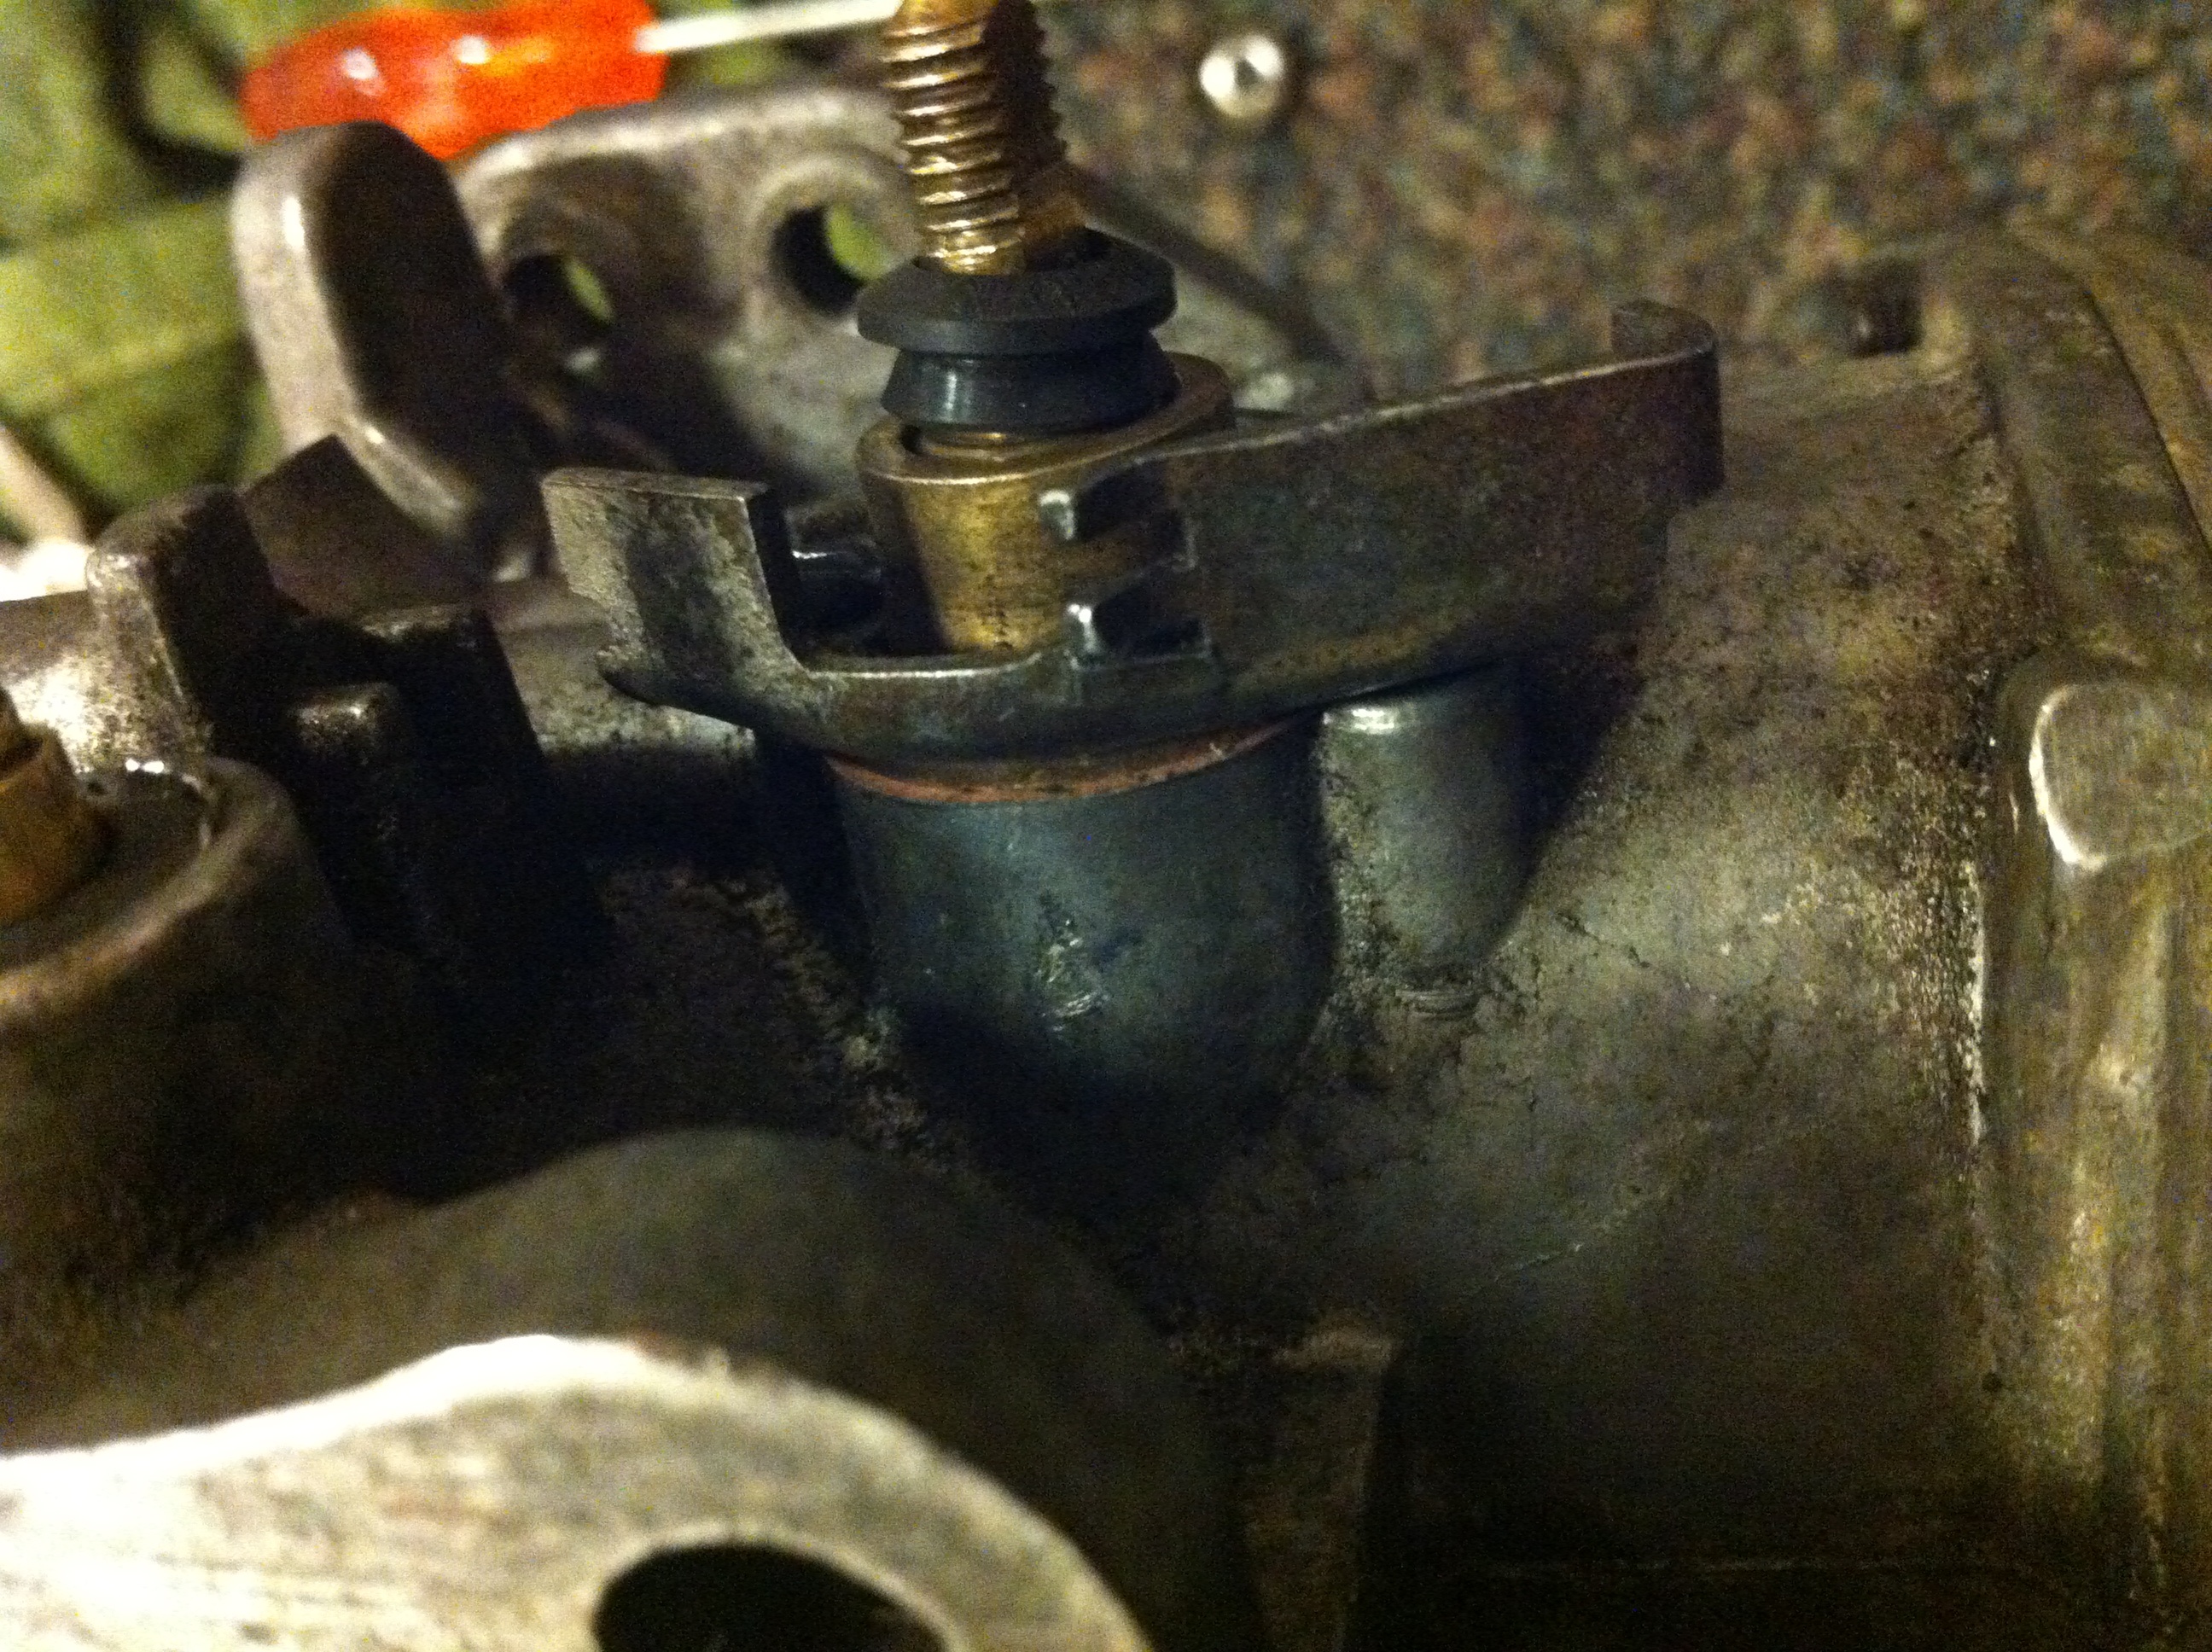
How do you mean when replacing the choke spindle seal with the lip inwards?
|
||||||
|
2 Posts Member #: 10592 Junior Member |
20th Sep, 2013 at 07:08:56pm
Just a pic of each way the seal can go as I'm not sure... |
||||||
|
14 Posts Member #: 11180 Member |
23rd Jul, 2015 at 02:09:46pm
HI, this order to o'ring set its correct?
On 9th Jun, 2013 Turbo This.. said:
second the SU exploded diagram in the box/kit shows no seal between parts 37 and 38 so how is flue held in this valve thing? i take it seal 44 is what keeps flue getting out completely 
|
||||||
|
14 Posts Member #: 11180 Member |
29th Aug, 2015 at 04:00:45pm
nothing? |
||||||
| Home > How To > Rebuilding your Carb | |||||||
|
|||||||


| Page: |