
| Page: |
| Home > Show Us Yours! > My rusty rebuild | |||||||
|
54 Posts Member #: 8863 Advanced Member Wiltshire |
8th Jun, 2010 at 08:02:36pm
I have a thread running over on TMF but never get replies, input etc and struggle to sift through so many posts.
|
||||||
|
54 Posts Member #: 8863 Advanced Member Wiltshire |
8th Jun, 2010 at 08:08:14pm
More pics |
||||||
 392 Posts Member #: 5702 Senior Member Cornwall |
8th Jun, 2010 at 08:08:42pm
Welcome, looks like your off to a good start keep the pics coming. |
||||||
|
54 Posts Member #: 8863 Advanced Member Wiltshire |
8th Jun, 2010 at 08:12:22pm
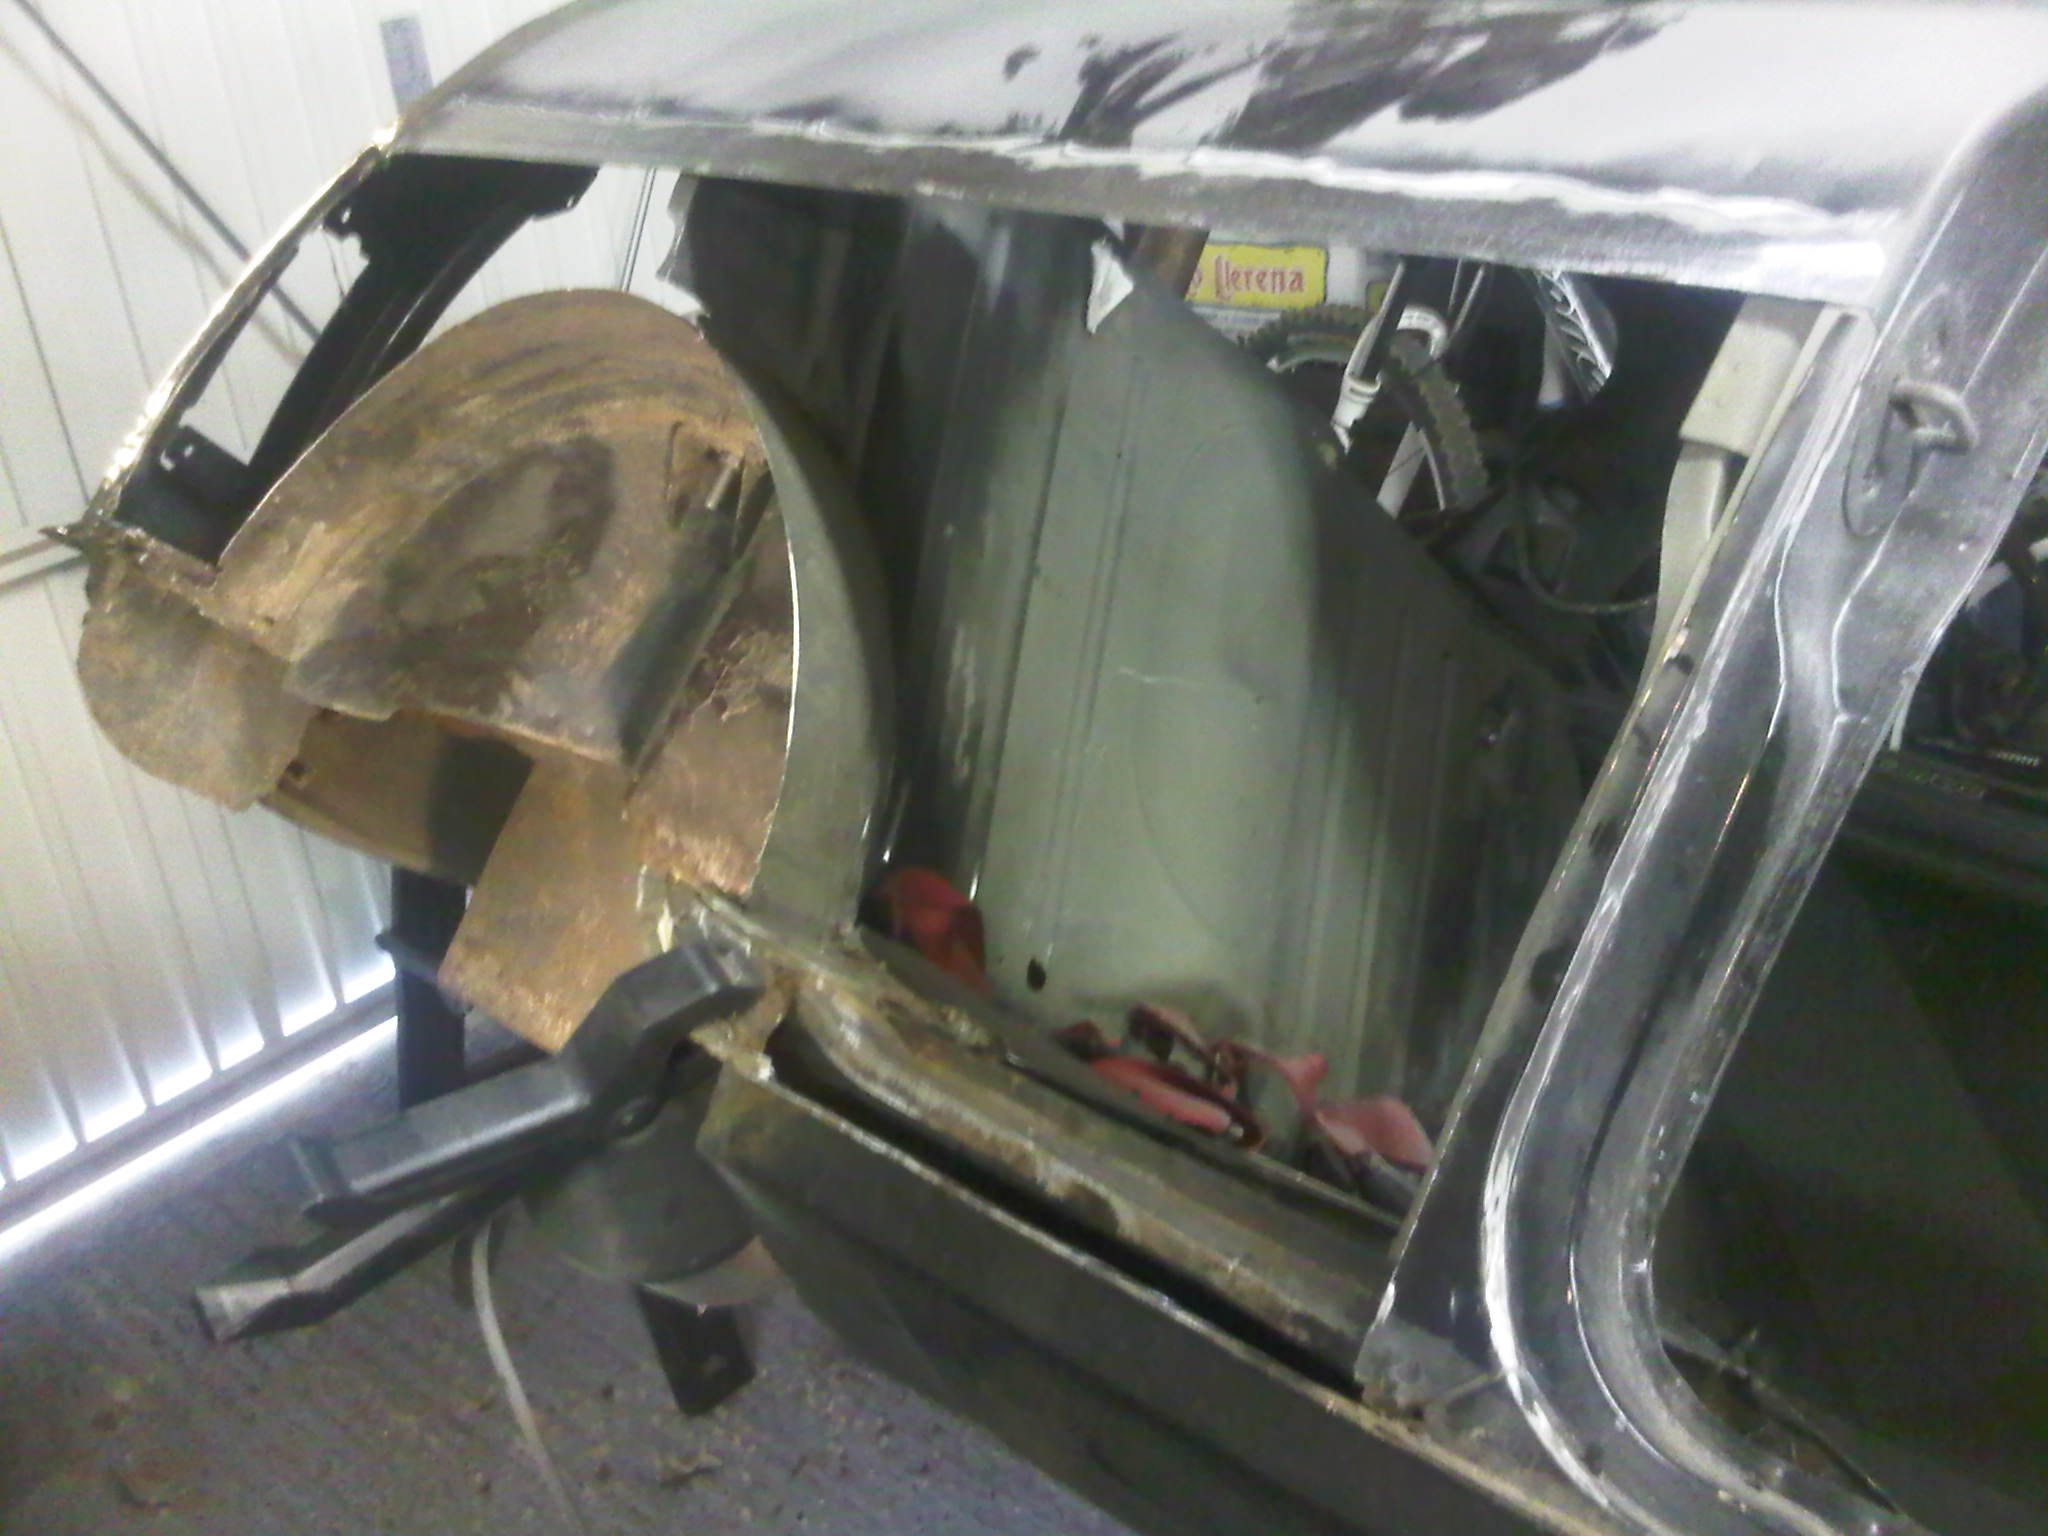
Cheers, I have a load more on my phone with half the side cut off. started as a scuttle panel and now only rear floor pan is original on o/s lol
|
||||||
 484 Posts Member #: 4755 Senior Member warwickshire |
9th Jun, 2010 at 01:03:49am
looks like your doing a good job :)
2012 Avon class c 2nd place 13.8 @98mph |
||||||
 8297 Posts Member #: 408 Turbo Love Palace Fool Aylesbury |
9th Jun, 2010 at 09:42:59am
Welcome.
https://www.facebook.com/pages/Fusion-Fabri..._homepage_panel
|
||||||
|
54 Posts Member #: 8863 Advanced Member Wiltshire |
9th Jun, 2010 at 09:50:18pm
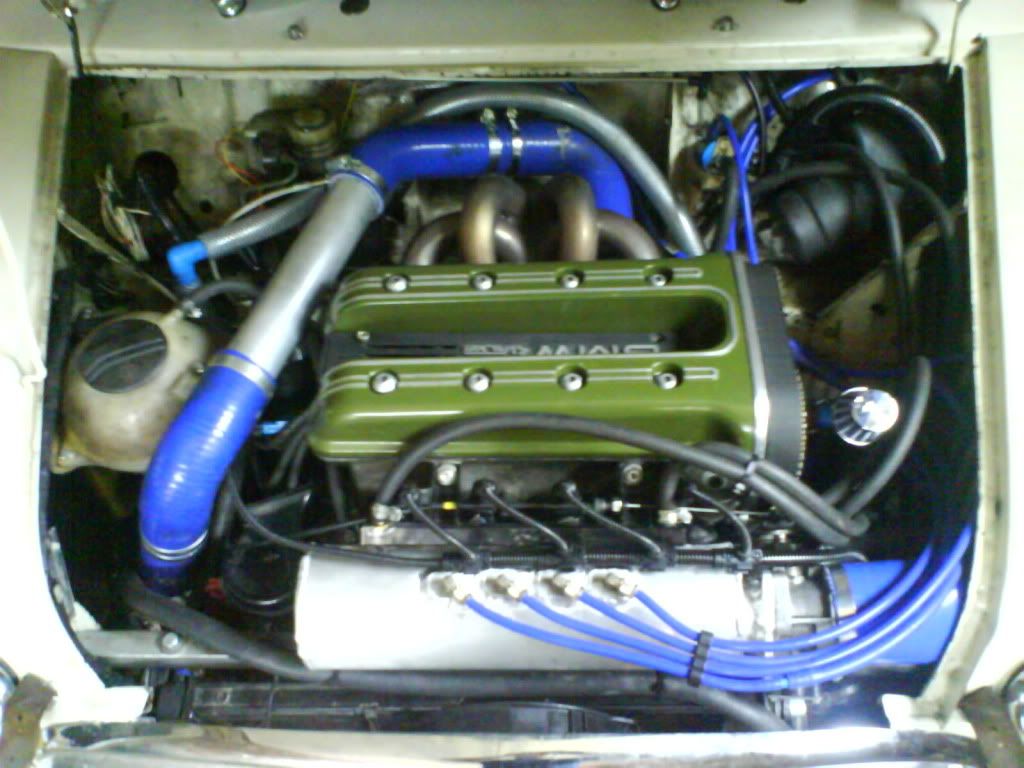
cheers lads :) yes a fair bit of work already and have strengthened the front shock mounts etc while there. I need to crack on with the body now as really want to start the fun stuff with engine and running gear.
|
||||||
|
54 Posts Member #: 8863 Advanced Member Wiltshire |
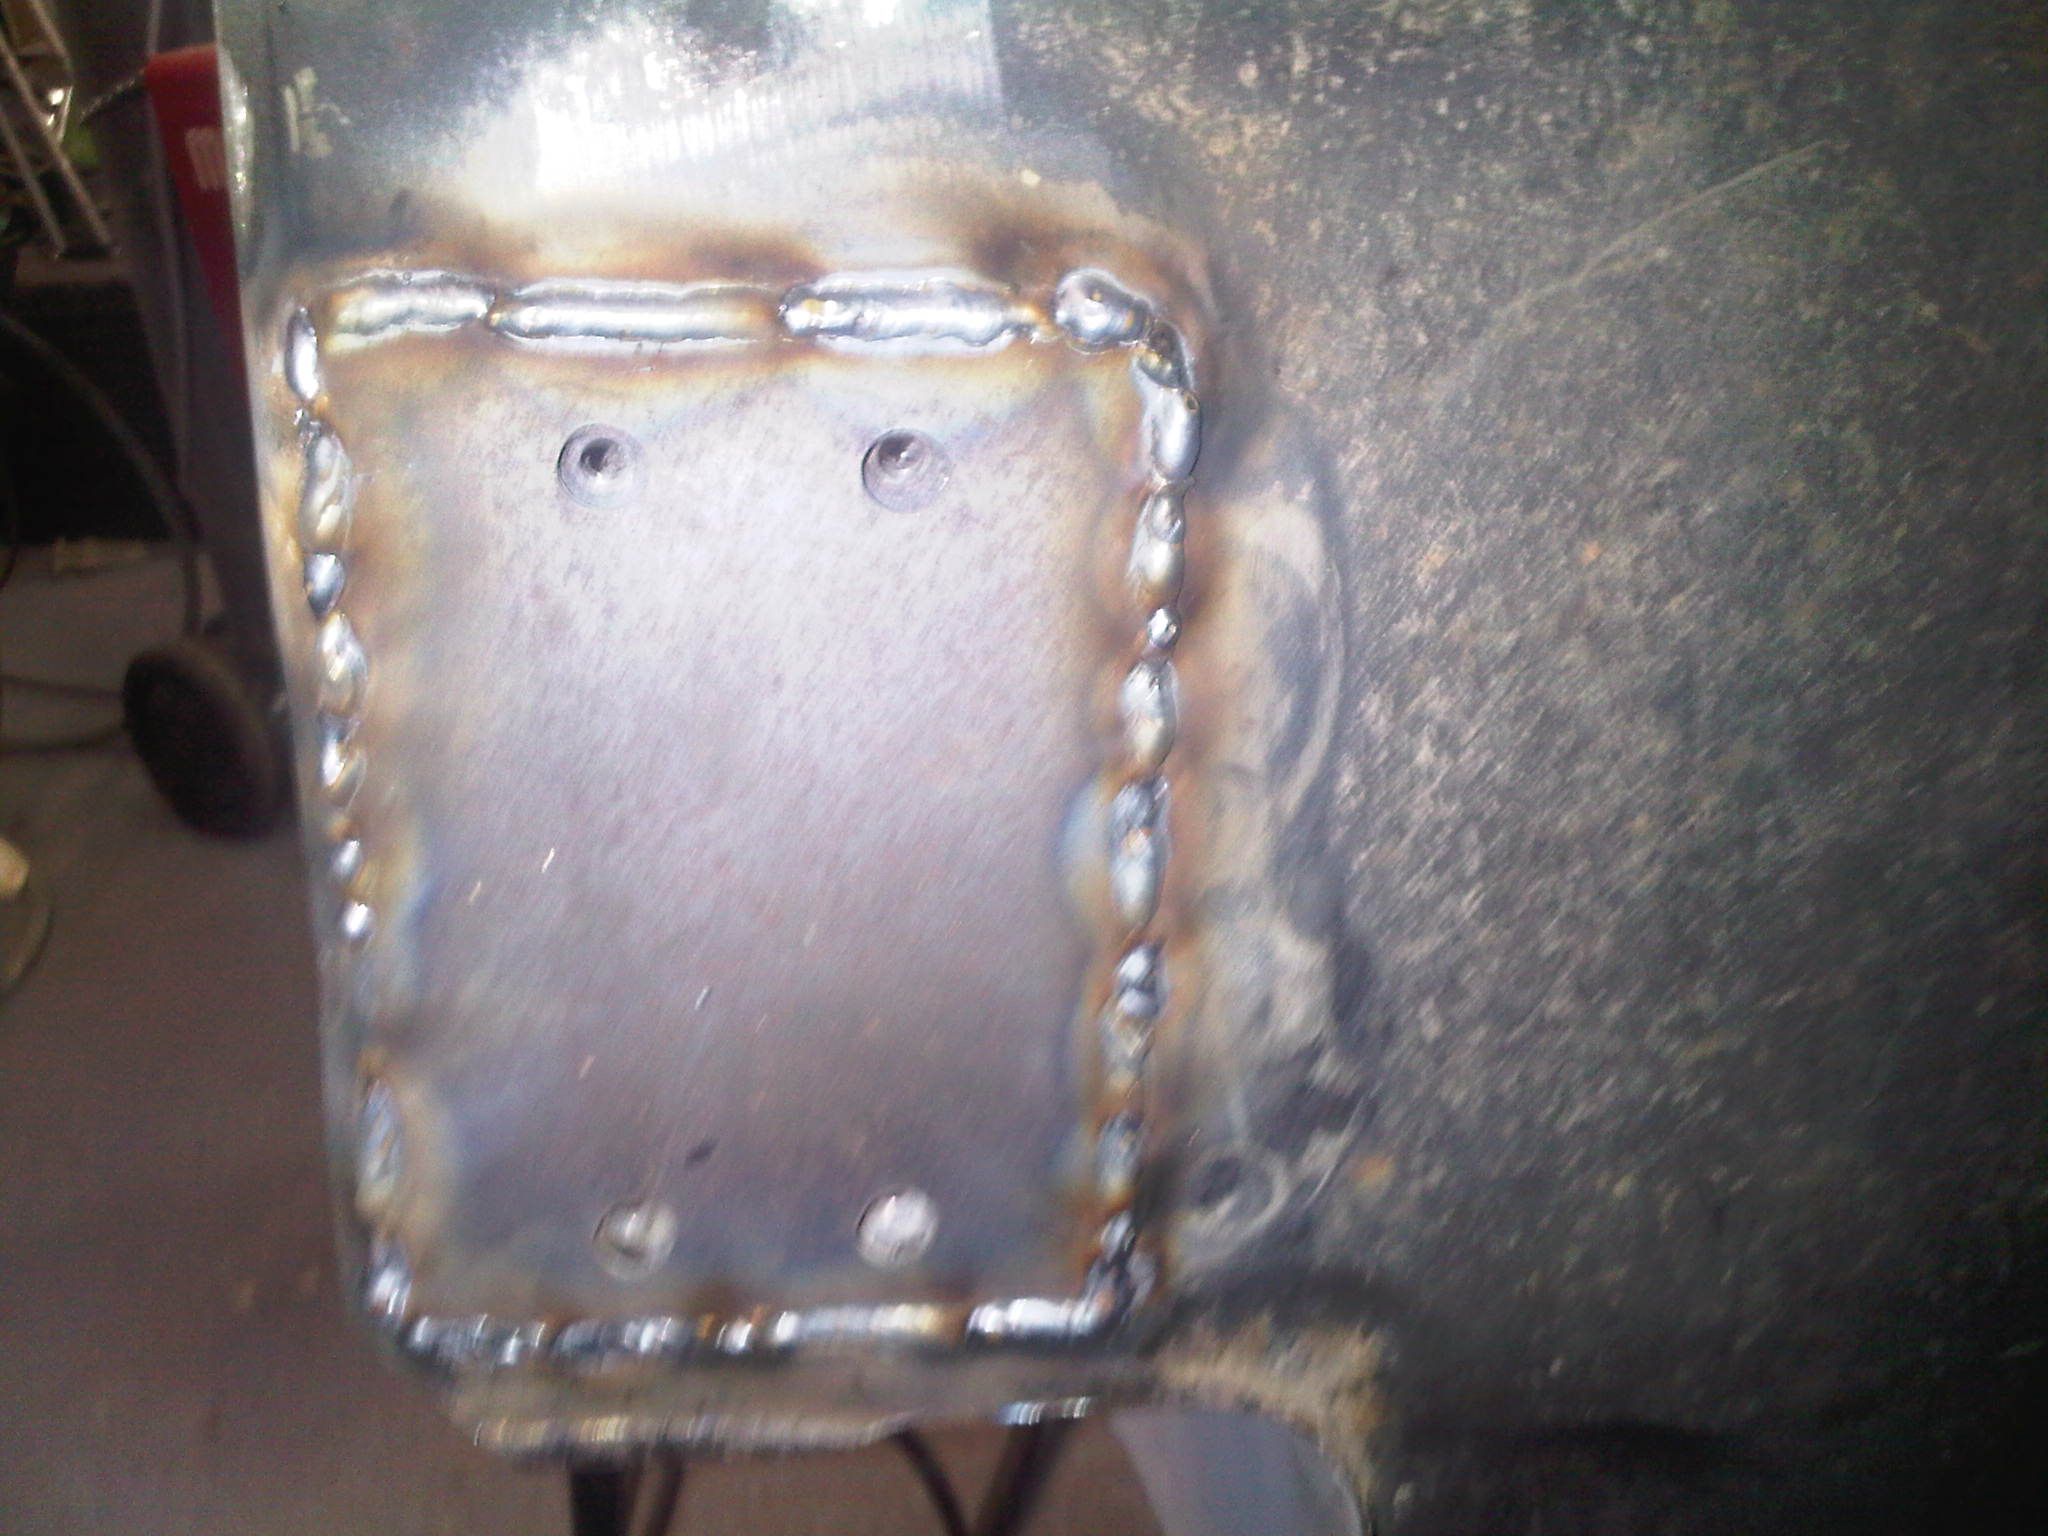
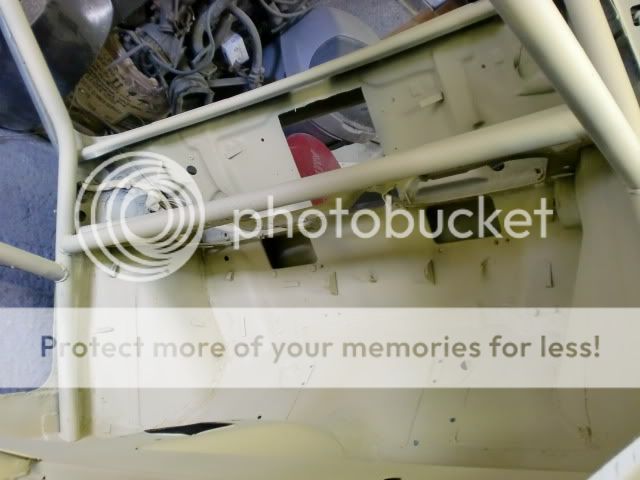
10th Jun, 2010 at 11:40:21am
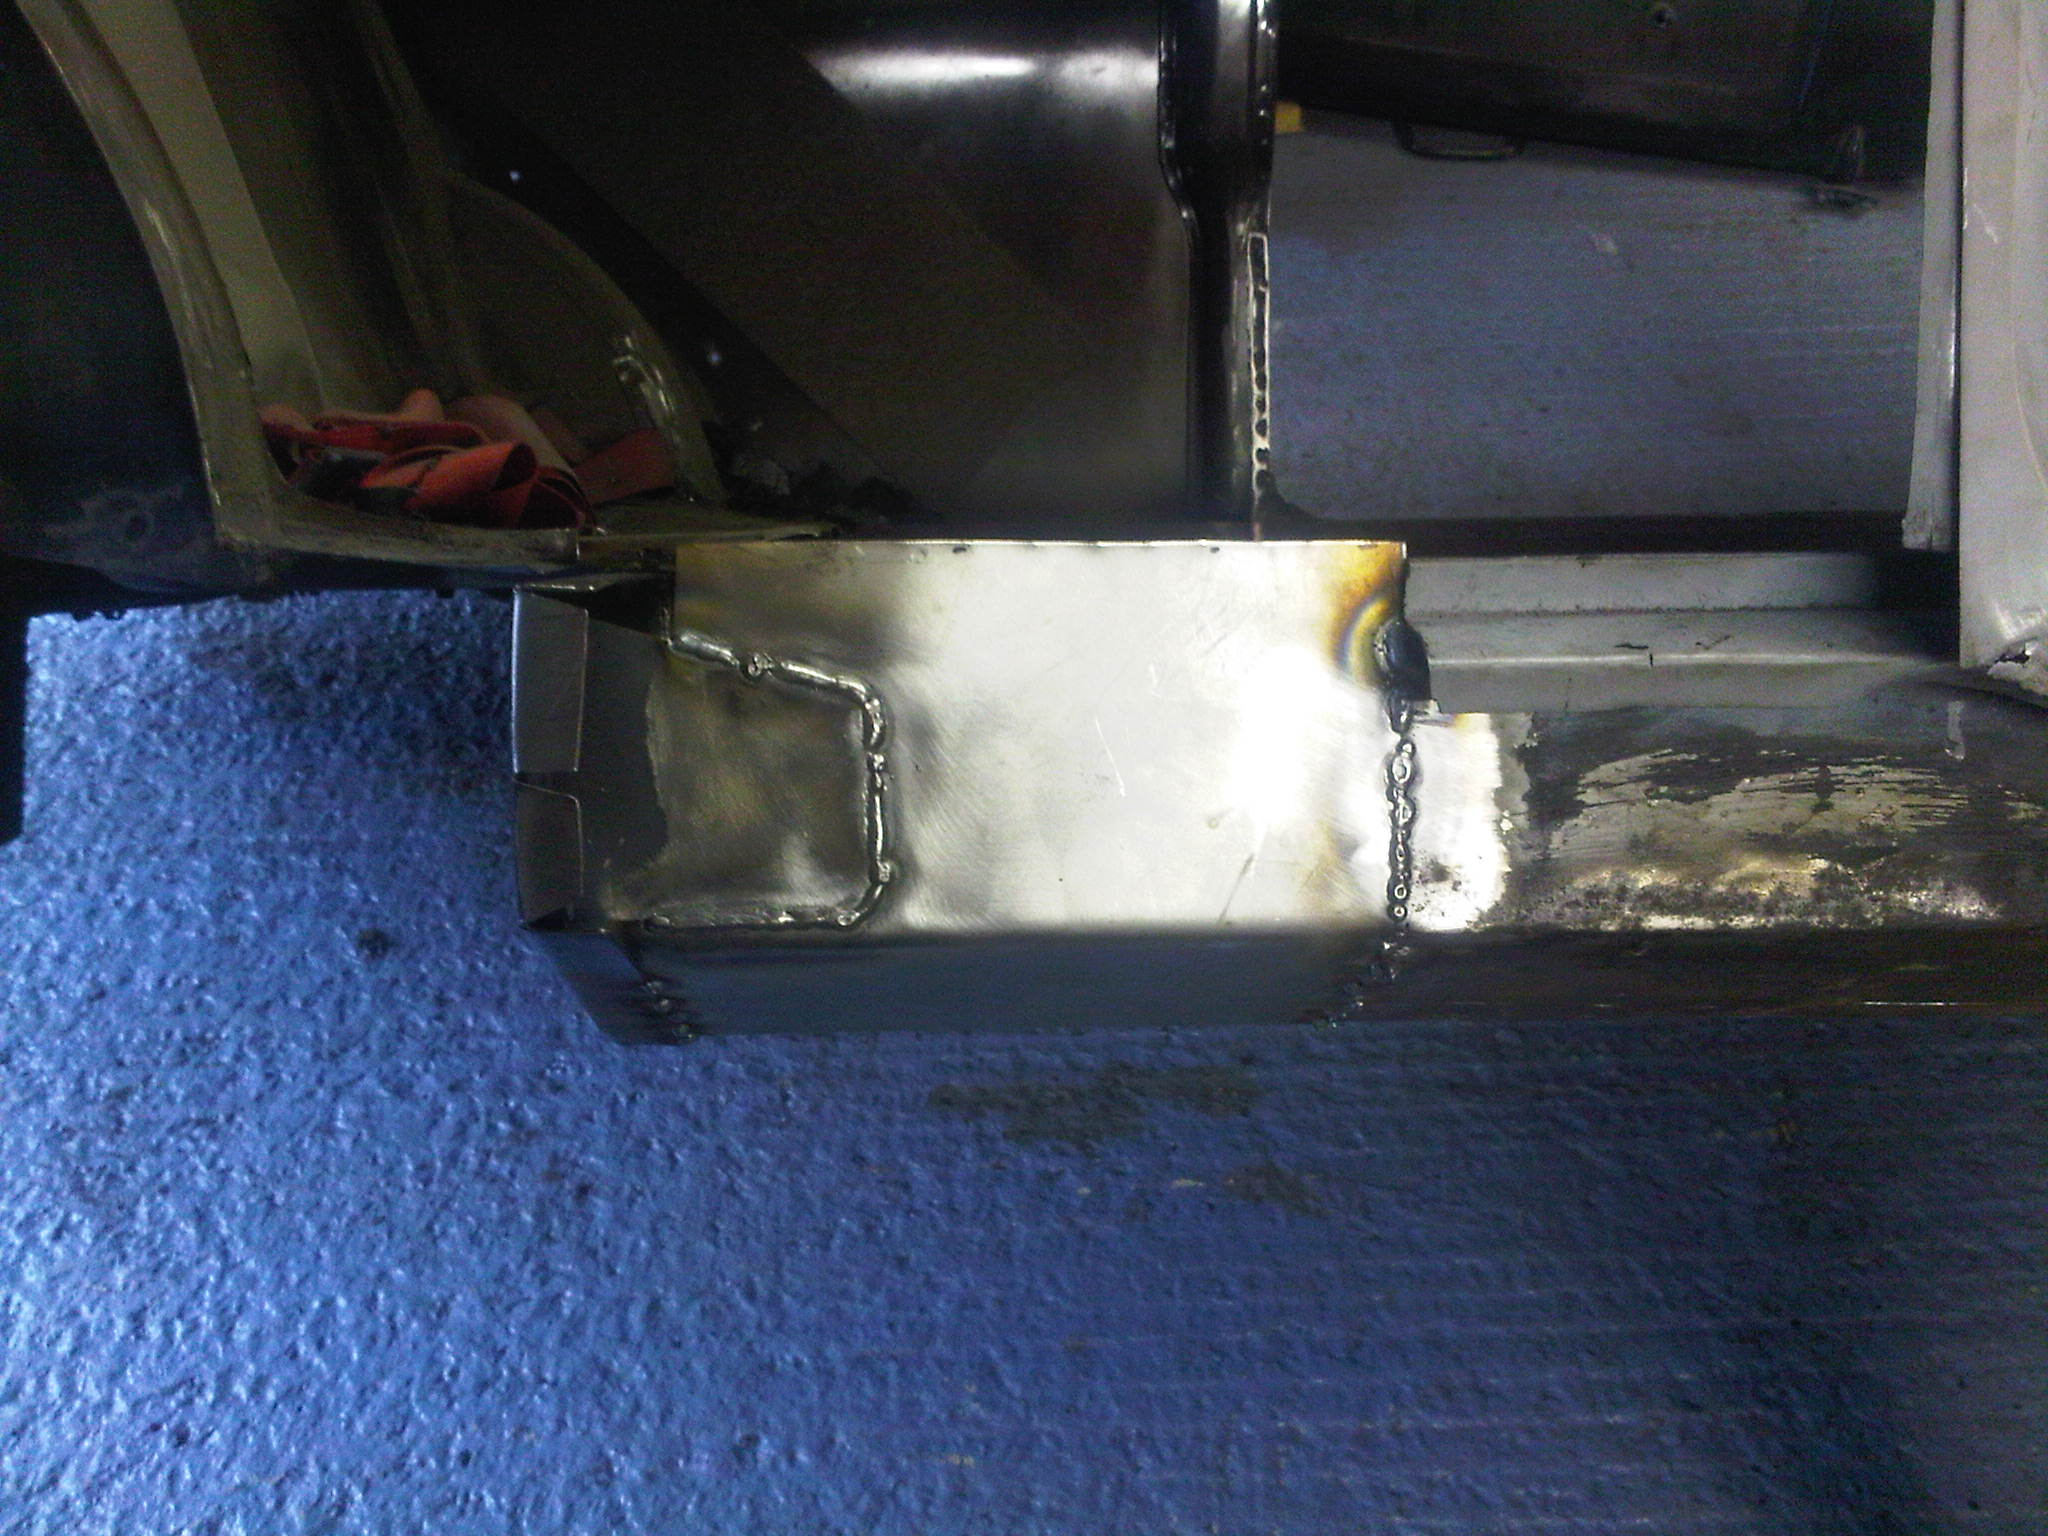
here is a pic with floor pan now welded in and side of car chopped out!
|
||||||
|
54 Posts Member #: 8863 Advanced Member Wiltshire |
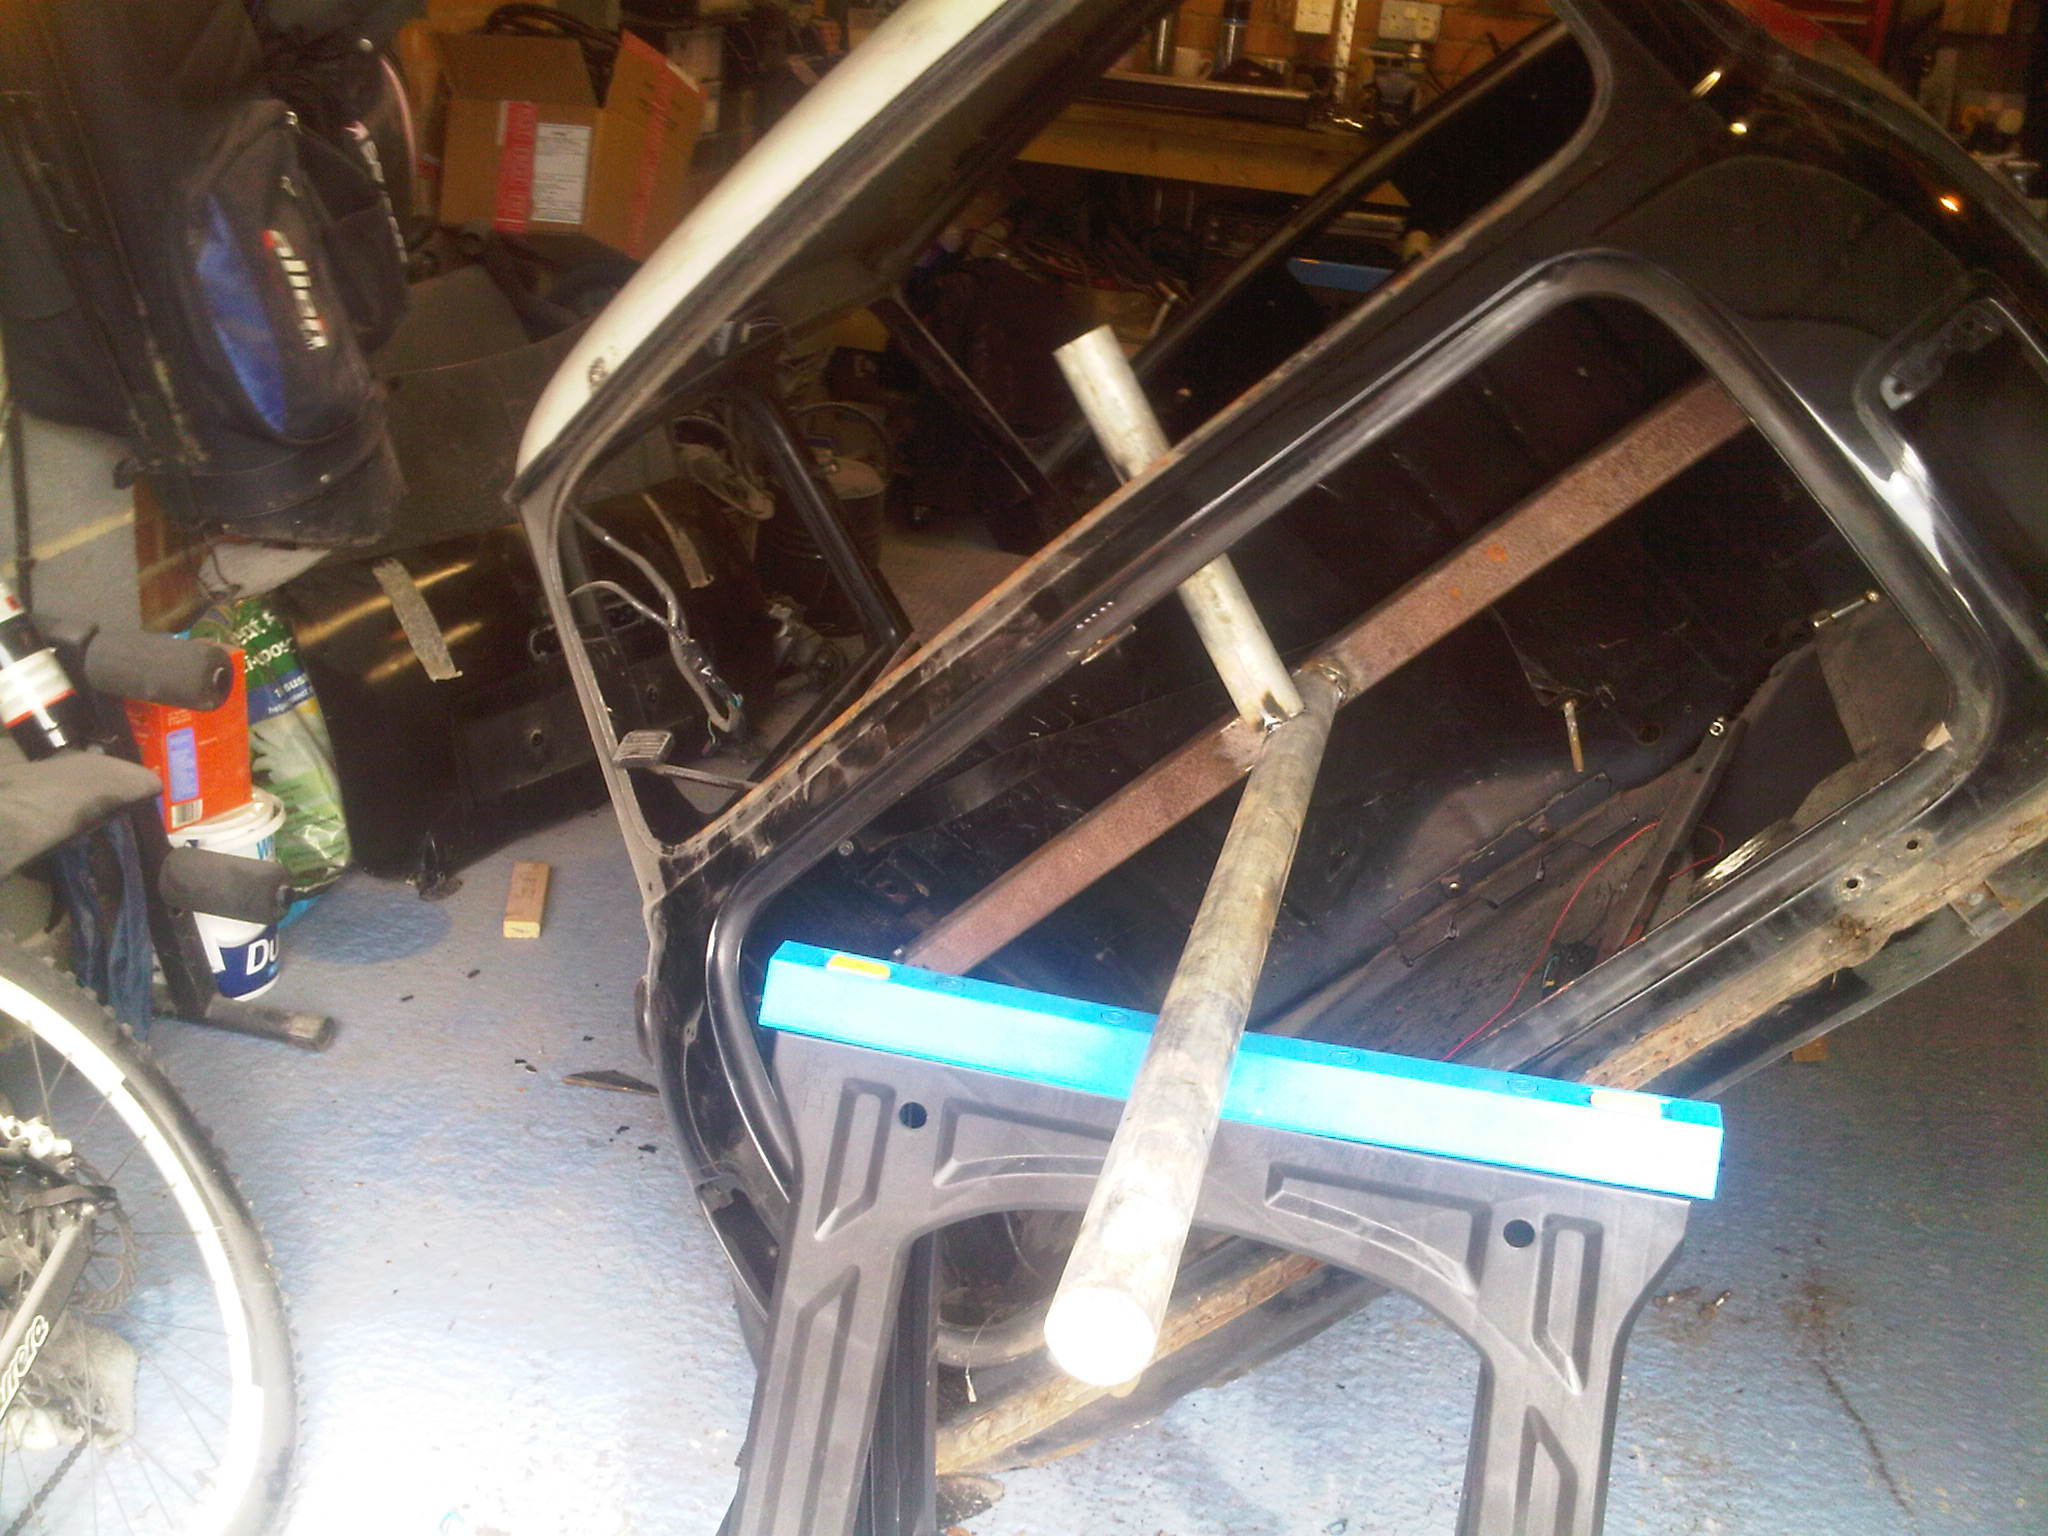
14th Jun, 2010 at 12:14:20pm
OK managed a few hours on car as finished job early at weekend :)
|
||||||
 1547 Posts Member #: 2727 Post Whore Bicester |
14th Jun, 2010 at 12:44:57pm
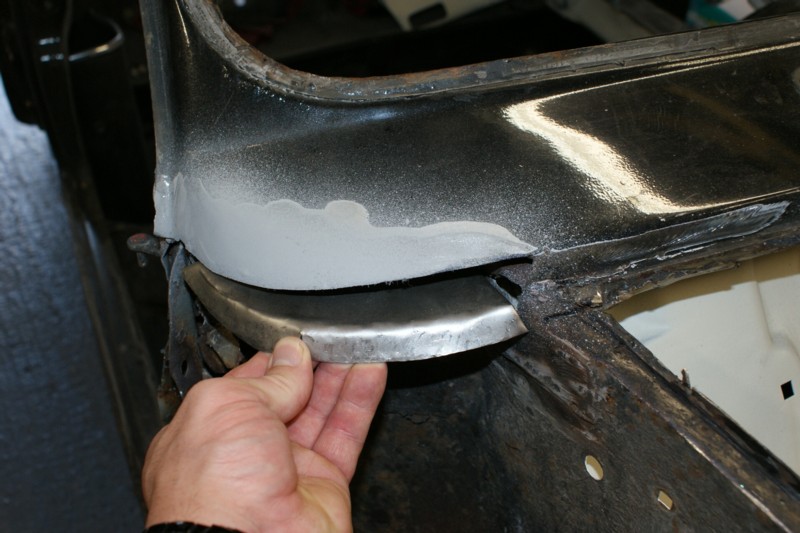
Nice work, that dreaded rear corner i had the same issue, thankfully complete now. 1972 998 TURBO SLEEPER |
||||||
|
54 Posts Member #: 8863 Advanced Member Wiltshire |
14th Jun, 2010 at 03:16:44pm
yeah I have both corners the same as back of car was just swimming in water!
|
||||||
|
54 Posts Member #: 8863 Advanced Member Wiltshire |
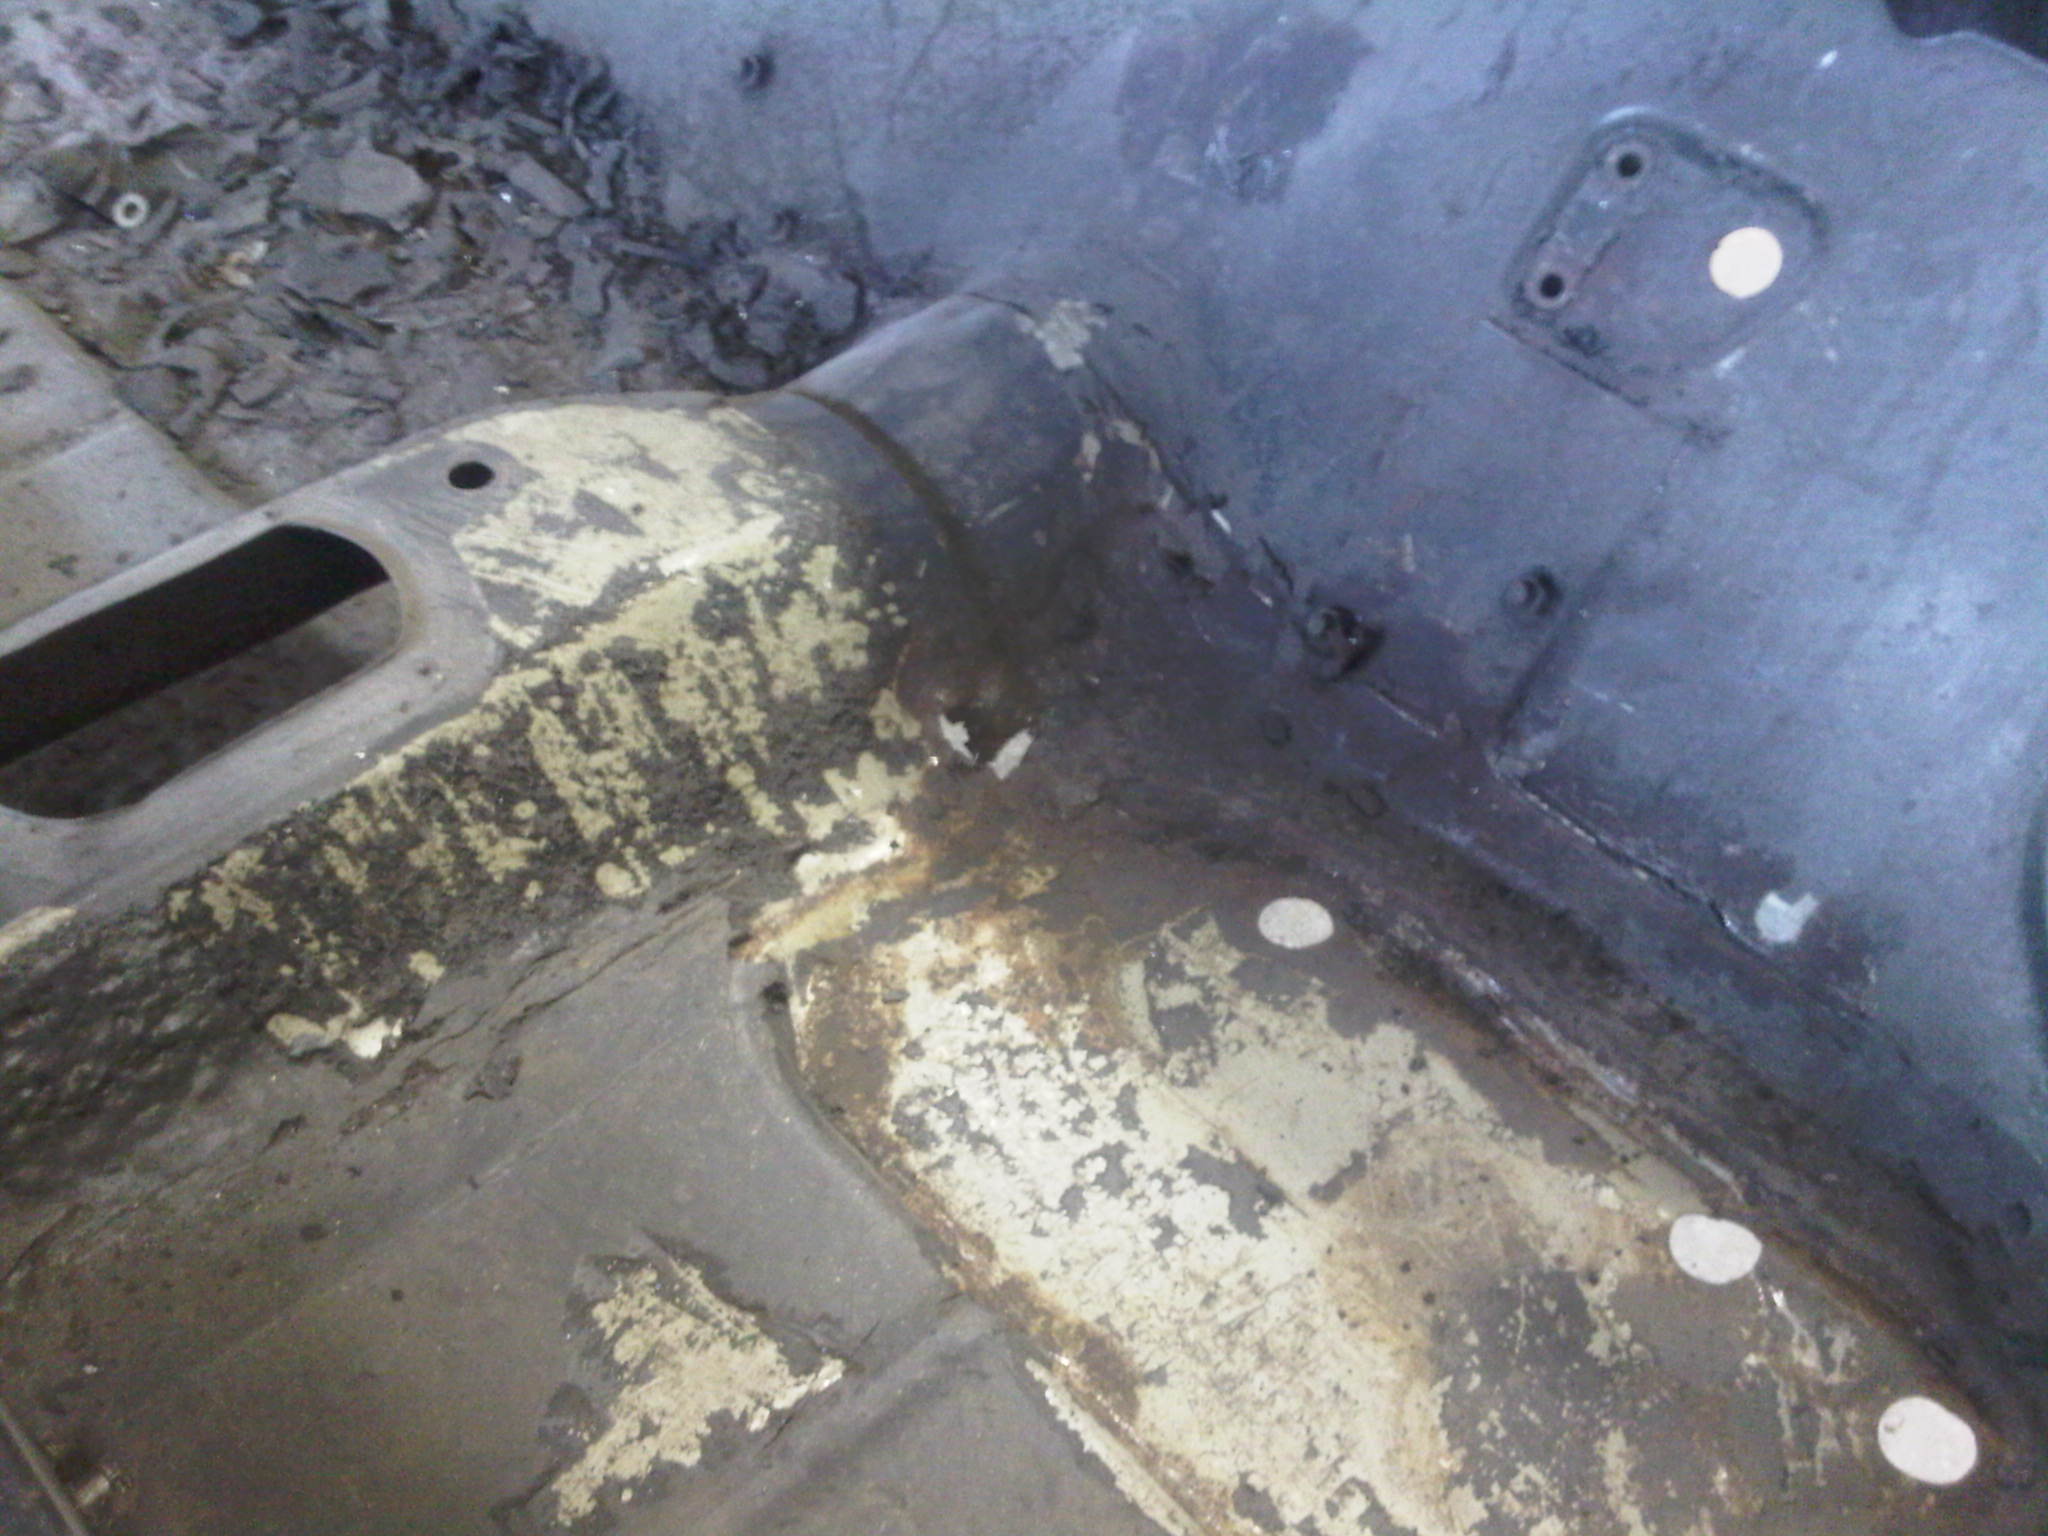
20th Jun, 2010 at 11:47:23am
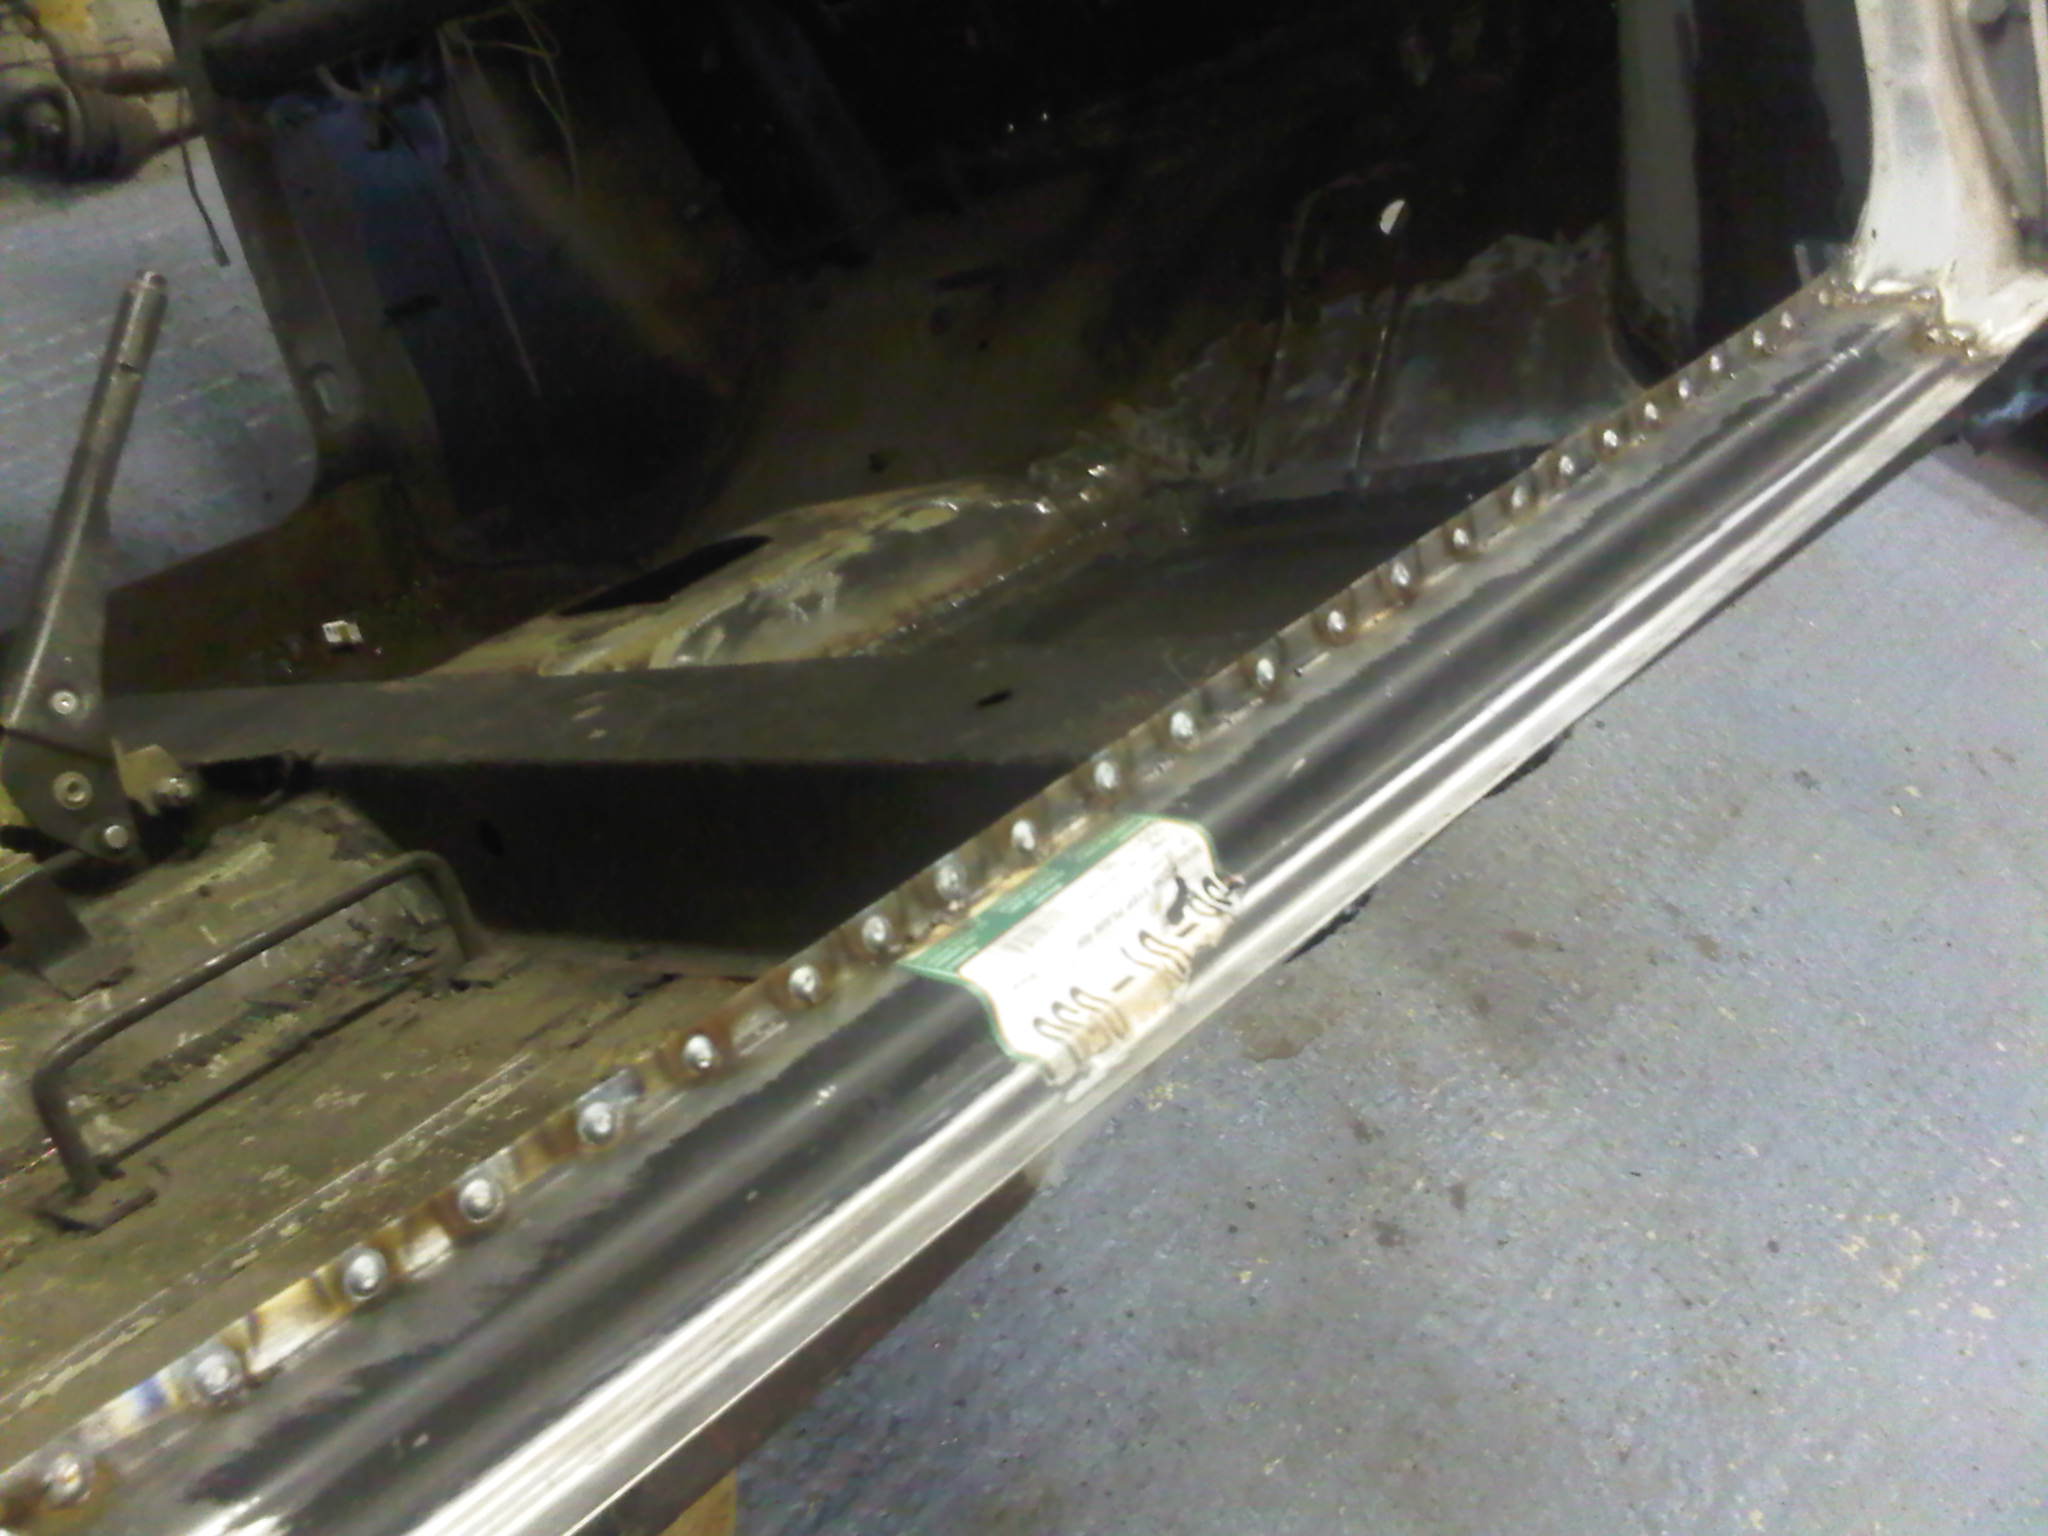
Well the whole boot floor is gone now |
||||||
|
447 Posts Member #: 668 Senior Member newton aycliffe (near durham) |
20th Jun, 2010 at 10:42:21pm
out of curiosity, how did you make sure your sub mounts lined up on that rear corner when you replaced it??
|
||||||
|
54 Posts Member #: 8863 Advanced Member Wiltshire |
21st Jun, 2010 at 09:01:26pm
I just took center measurements of mounting holes then ensured new piece went in the same. Wish I hadn't put part in now as have now decided to replace whole boot floor through to rear seat so could have put whole panel on! still it's done now although you saying that makes me want to pop out with the tape |
||||||
|
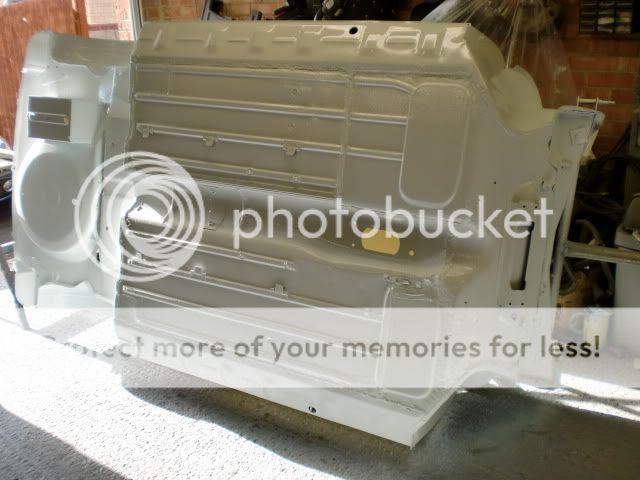
54 Posts Member #: 8863 Advanced Member Wiltshire |
25th Jul, 2010 at 07:20:08pm
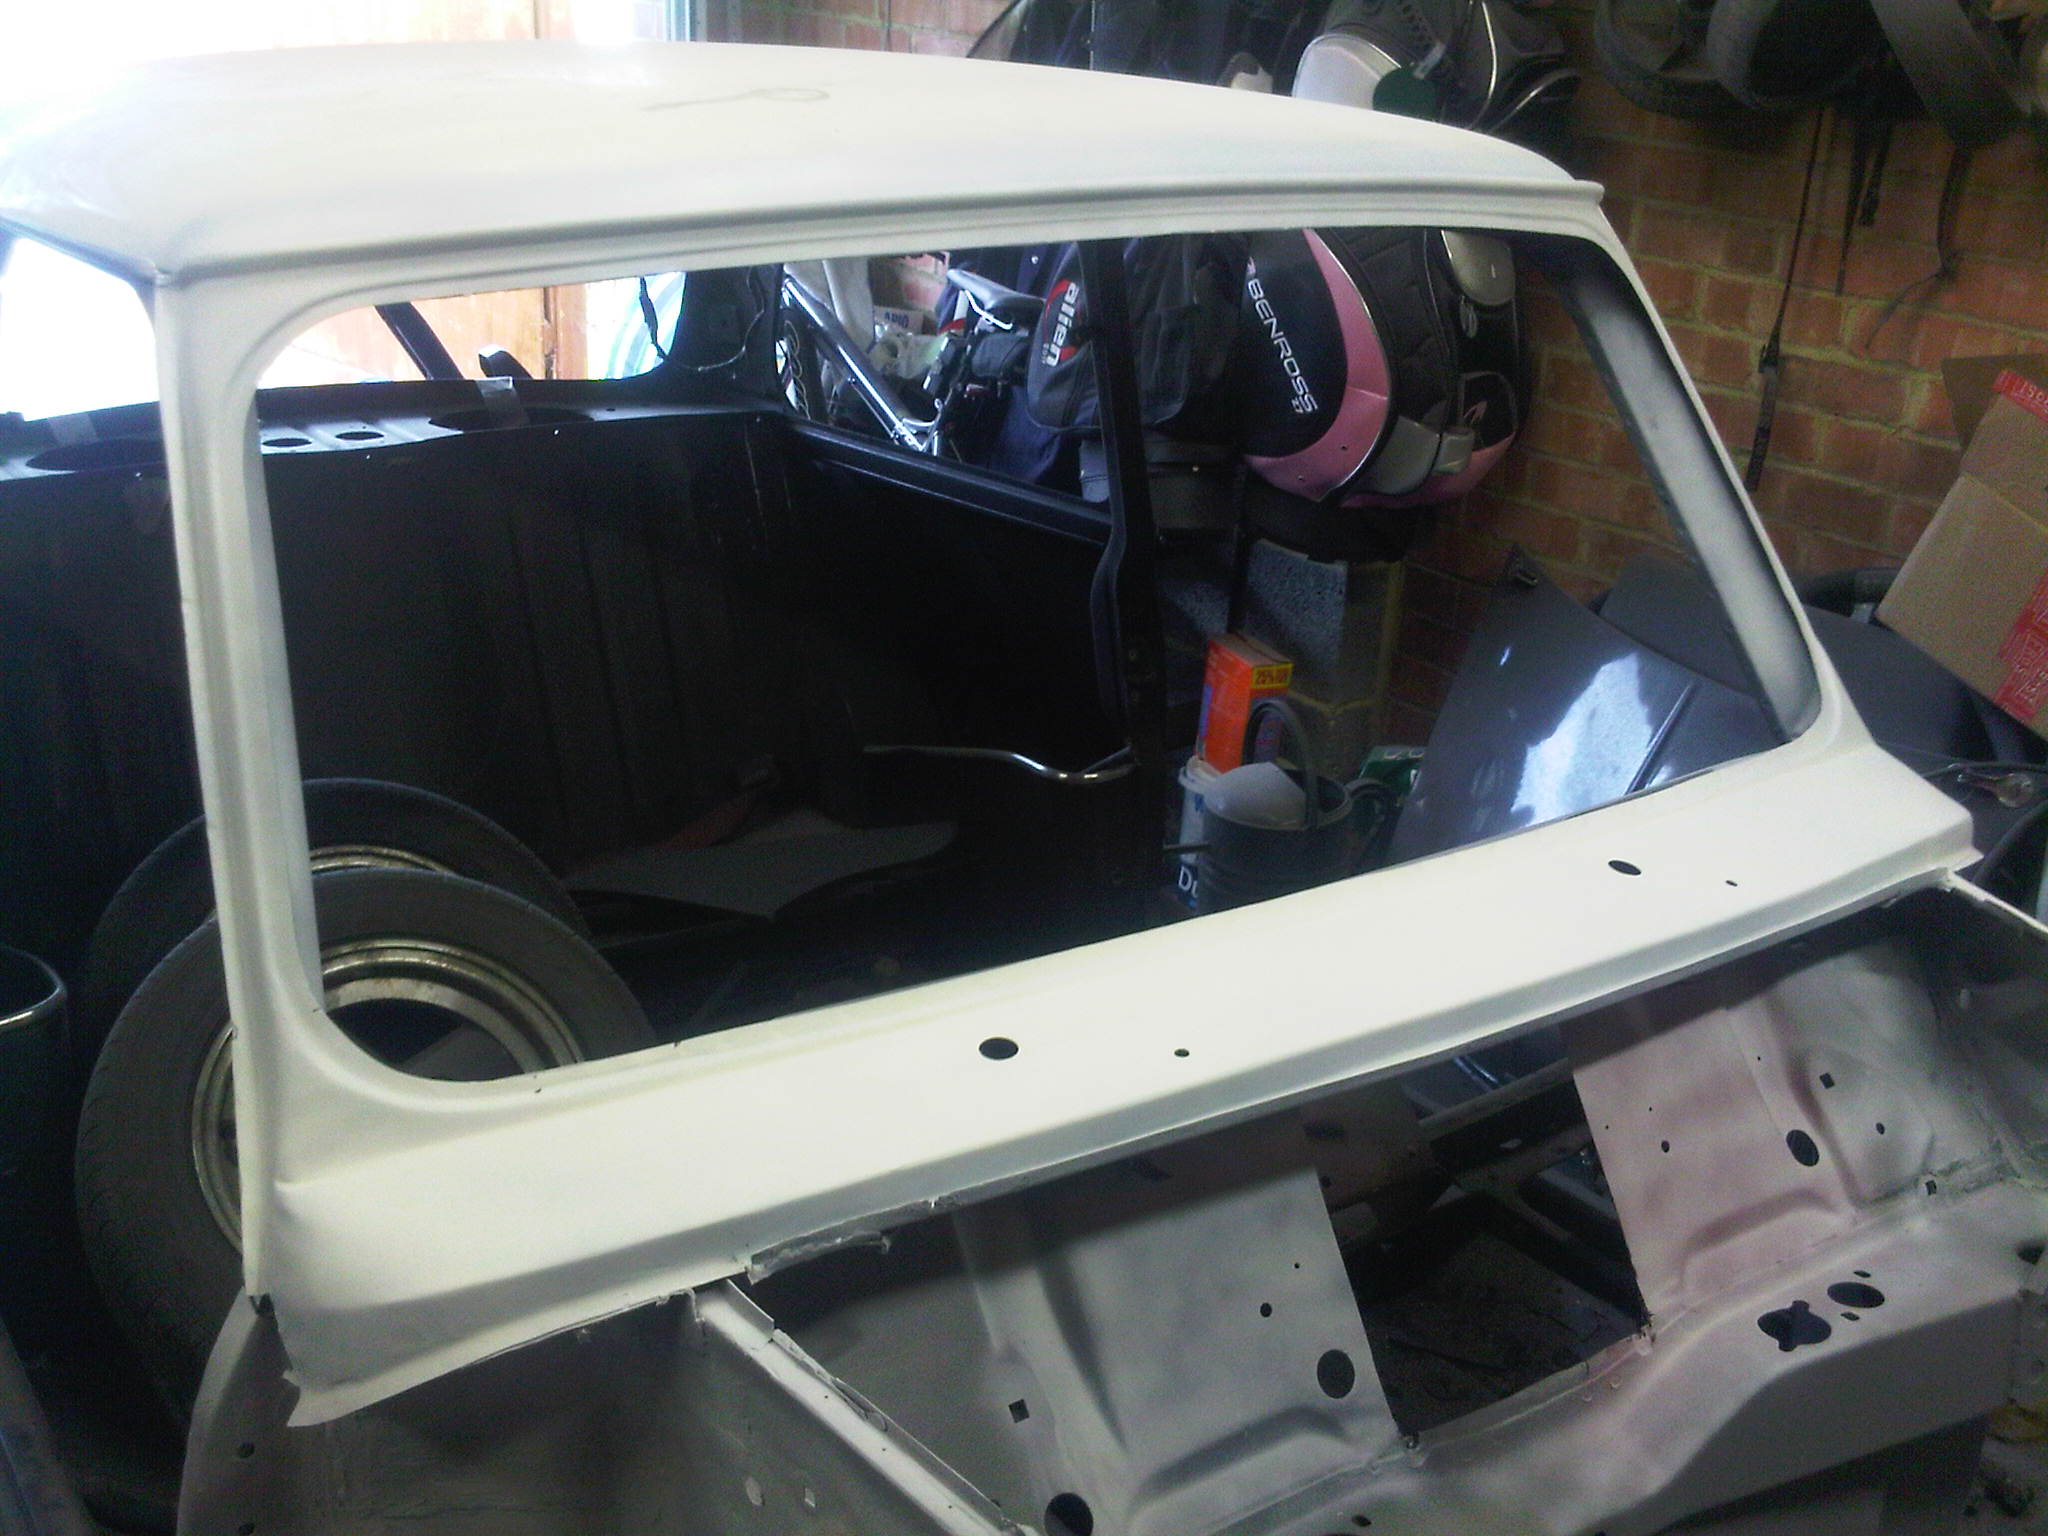
So made some progress on the rust bucket in that it's not one any more Edited by CH007 on 25th Jul, 2010. |
||||||
|
54 Posts Member #: 8863 Advanced Member Wiltshire |
25th Jul, 2010 at 07:30:52pm
lets try this
Edited by CH007 on 25th Jul, 2010. |
||||||
|
54 Posts Member #: 8863 Advanced Member Wiltshire |
26th Jul, 2010 at 09:41:52pm
OK was putting wrong address in :$
|
||||||
 536 Posts Member #: 5449 Post Whore Melton Mowbray |
26th Jul, 2010 at 09:51:24pm
Love it, your a quick worker! Wish the people doing my mini worked as quick as you do.
On 25th Sep, 2009 mini13 said:
cool, i'll pop over with my tool and some lube, lol 1293 88.8hp 82.2ftlb 17.3 1/4 @ 78 mph Naturally Aspirated (for now) |
||||||
|
54 Posts Member #: 8863 Advanced Member Wiltshire |
27th Jul, 2010 at 01:09:21pm
Doh schoolboy error should have been below bulge on b pillar not above!!!
|
||||||
|
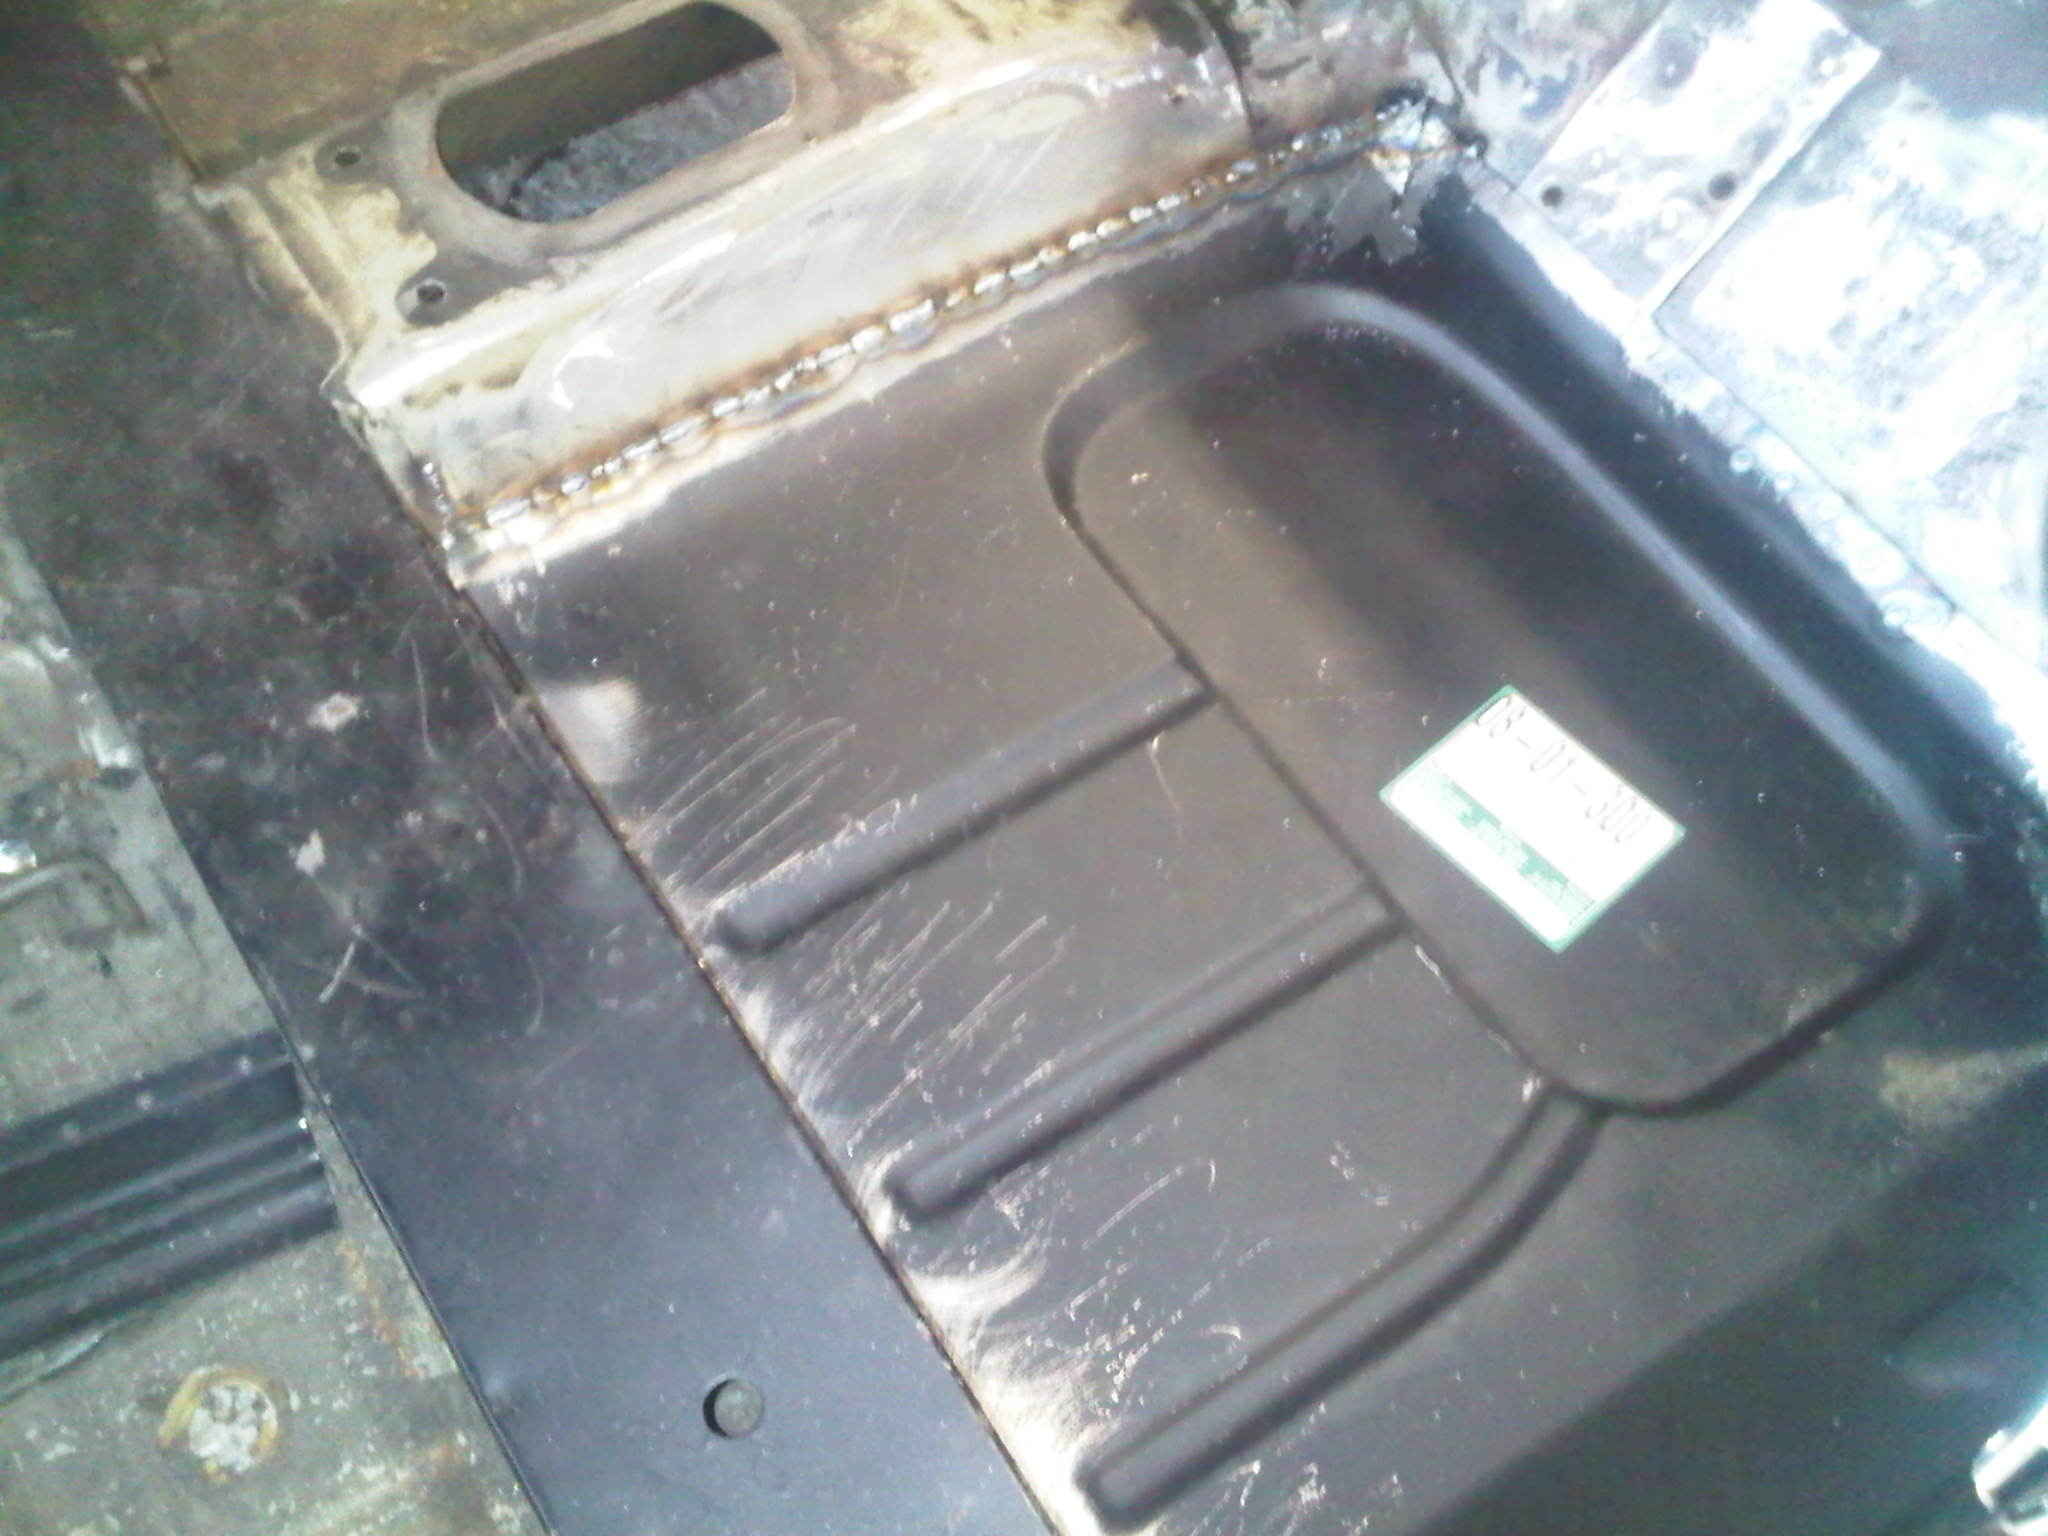
54 Posts Member #: 8863 Advanced Member Wiltshire |
31st Jul, 2010 at 07:03:30pm
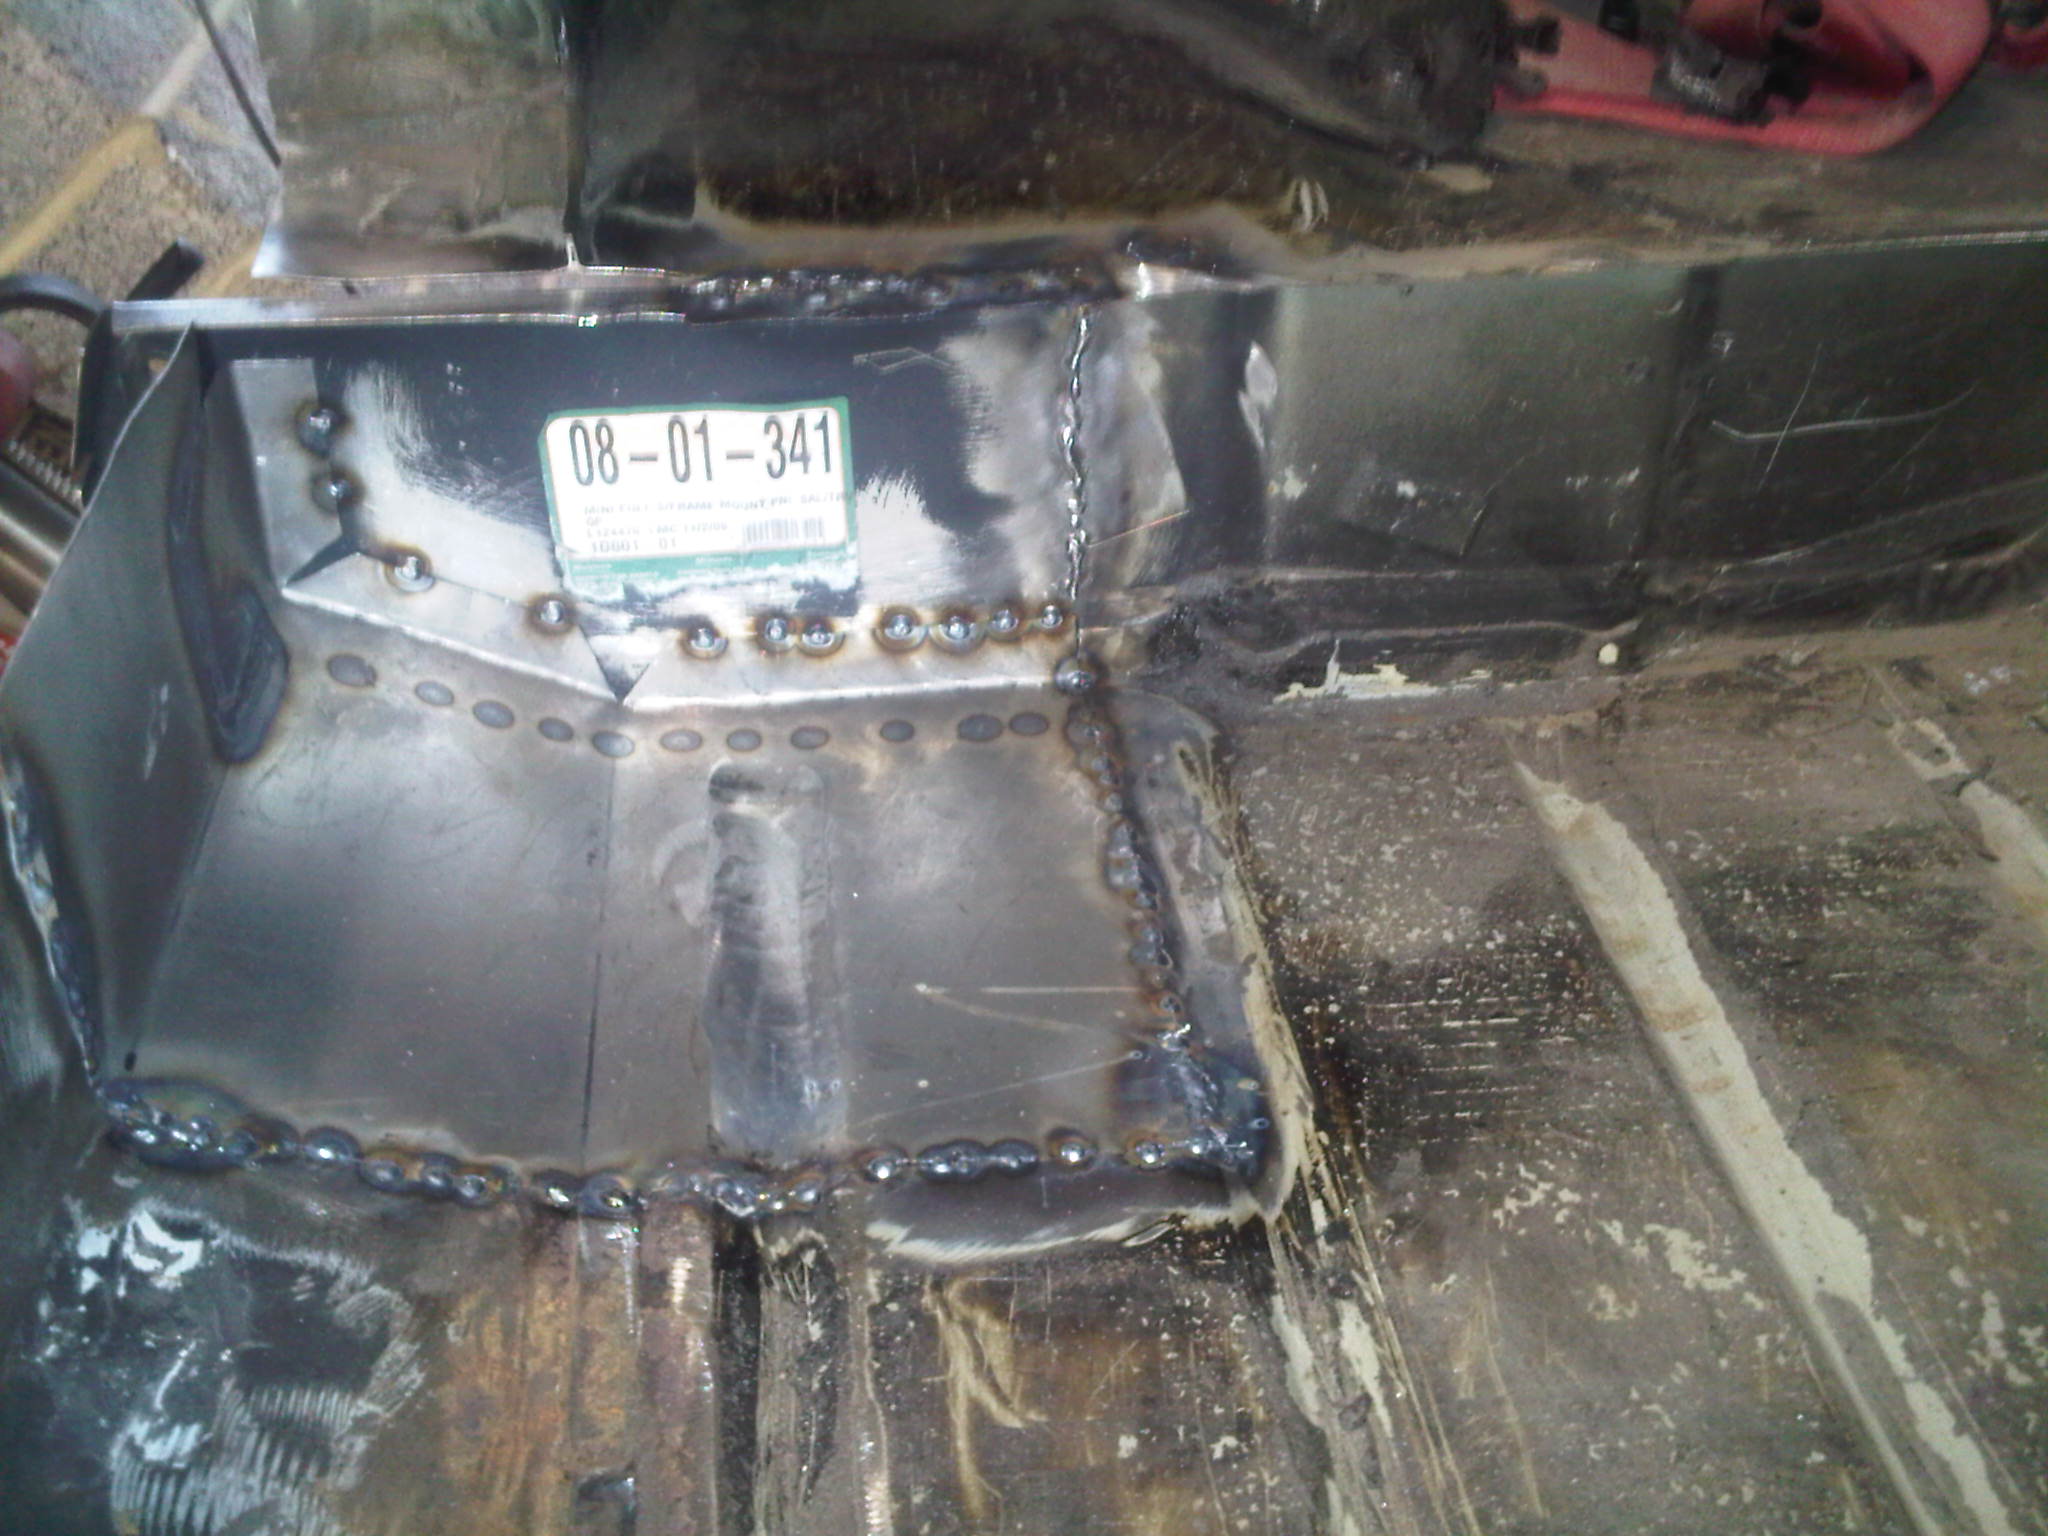
I managed to get rear subframe stripped today and prepped and left in stonechip at present awaiting paint tomorrow.
|
||||||
|
556 Posts Member #: 7029 Post Whore Wickford Essex |
31st Jul, 2010 at 07:29:25pm
Looking good mate , keep it up . Edited by EssexSteve on 31st Jul, 2010. |
||||||
 16540 Posts Member #: 4241 King Gaycharger, butt plug dealer, Sheldon Cooper and a BAC but generally a niceish fella if you dont mind a northerner Rotherham, South Yorkshire |
31st Jul, 2010 at 07:56:10pm
Looks great, but over sills On 11th Feb, 2015 robert said:
i tried putting soap on it , and heating it to brown , then slathered my new lube on it 
|
||||||
|
54 Posts Member #: 8863 Advanced Member Wiltshire |
31st Jul, 2010 at 10:49:59pm
Thanks for comments :)
|
||||||
|
16540 Posts Member #: 4241 King Gaycharger, butt plug dealer, Sheldon Cooper and a BAC but generally a niceish fella if you dont mind a northerner Rotherham, South Yorkshire |
1st Aug, 2010 at 09:09:47am
Make sure you vent them then, otherwise you've got a nice big moisture trap On 11th Feb, 2015 robert said:
i tried putting soap on it , and heating it to brown , then slathered my new lube on it
|
||||||
 9502 Posts Member #: 1023 Post Whore Doncaster, South Yorkshire |
1st Aug, 2010 at 10:21:50am
On 31st Jul, 2010 CH007 said:
Thanks for comments :) I had to cut out 2 old sills before fitting these
been there done that  , good work so far, vent them and get waxoil in there pronto or you will be doing it again in a years time ( been there too) , good work so far, vent them and get waxoil in there pronto or you will be doing it again in a years time ( been there too)
Yes i moved to the darkside |
||||||
| Home > Show Us Yours! > My rusty rebuild | |||||||
|
|||||||


| Page: |