
| Page: |
| Home > Show Us Yours! > Project "Marginal gains..." | |||||||
 690 Posts Member #: 9962 Post Whore |
25th May, 2012 at 07:09:19pm
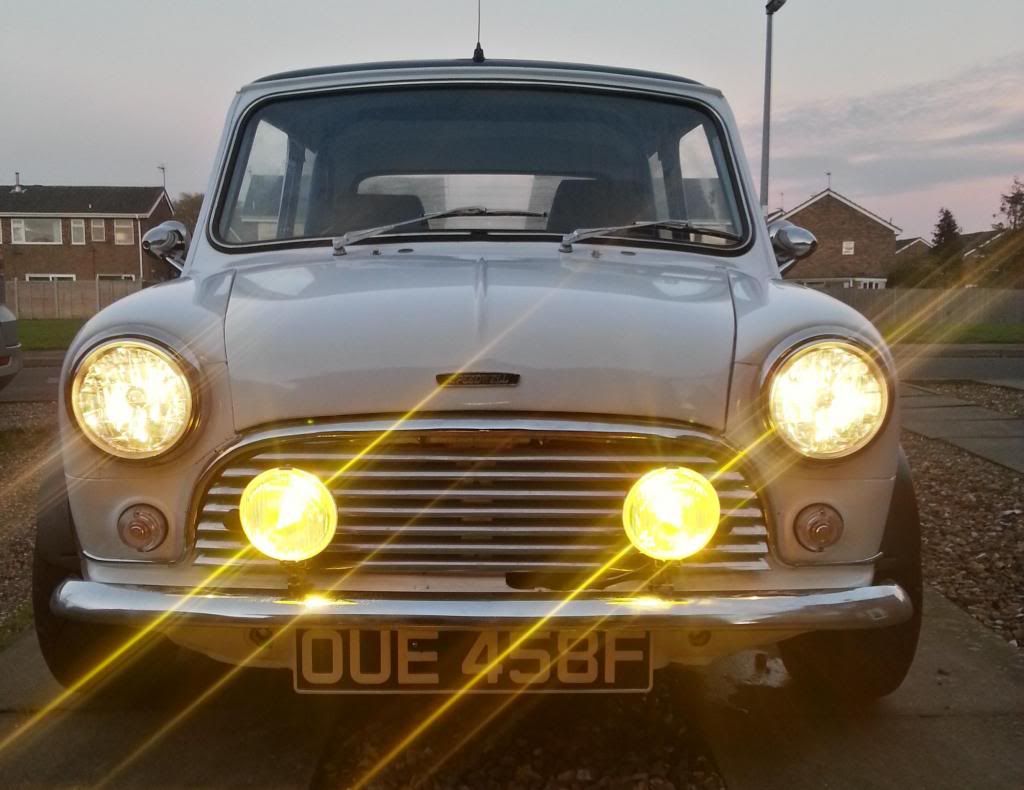
So my original plans for this car were to run it as it stood and for it to just evolve as a running restoration,
Edited by Aubrey_Boy on 26th Oct, 2017. |
||||||
 85 Posts Member #: 3600 Advanced Member Gateshead |
25th May, 2012 at 07:14:16pm
I really like this idea, been thinking of something similar myself! |
||||||
 644 Posts Member #: 9371 Post Whore East Yorkshire |
26th May, 2012 at 01:09:04pm
this is similar to what i've done altough yours looks a bit better than mine.
BHP sells engines, but Torque wins races! |
||||||
|
690 Posts Member #: 9962 Post Whore |
4th Jun, 2012 at 05:27:39pm
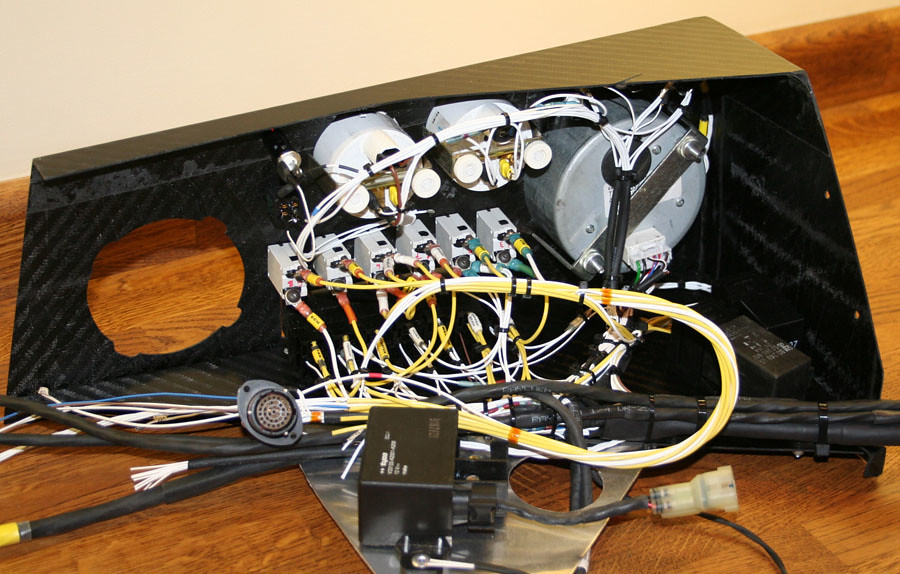
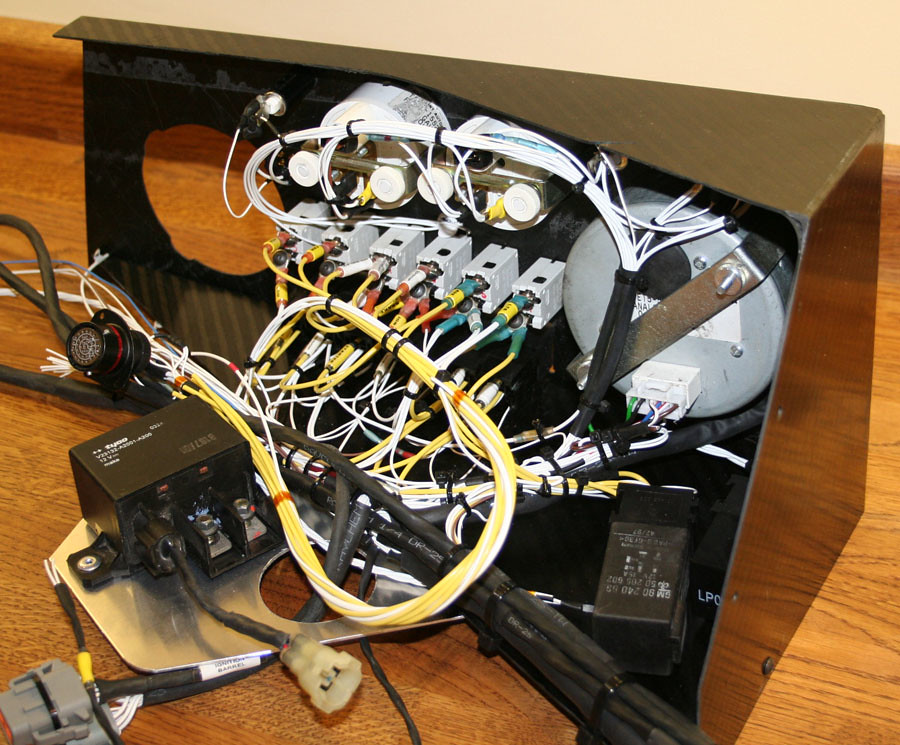
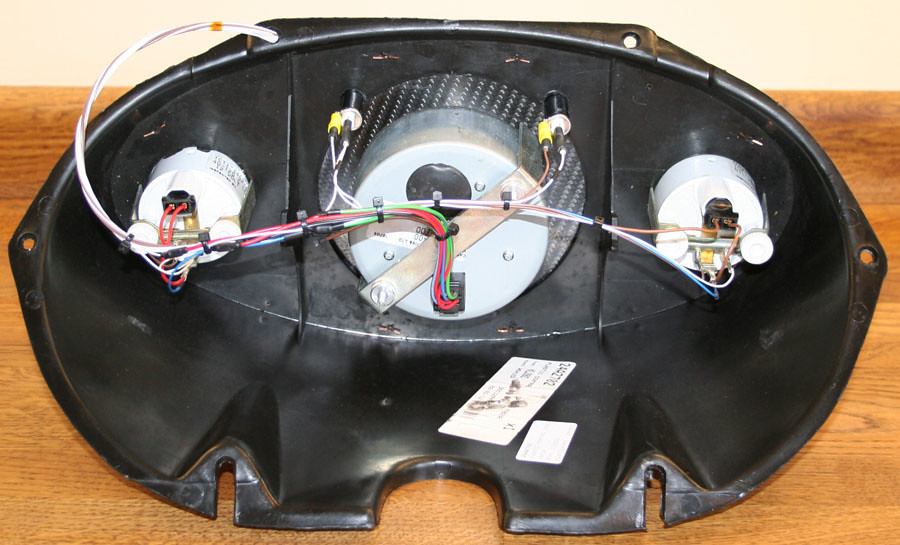
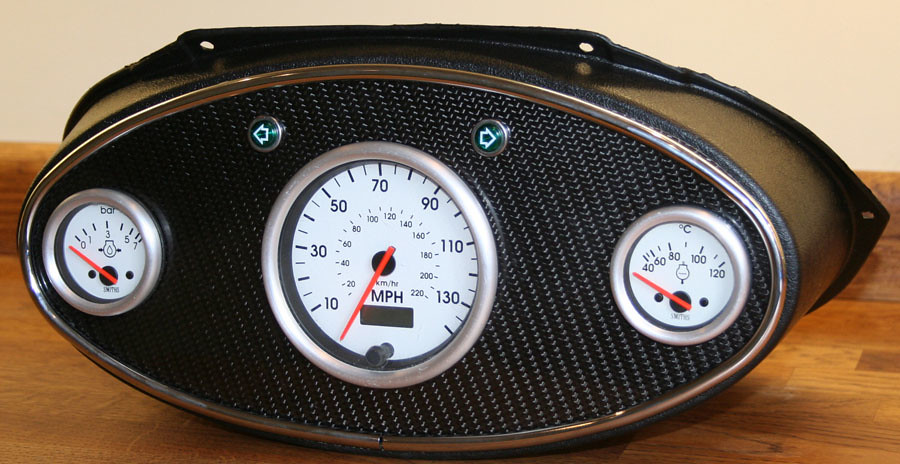
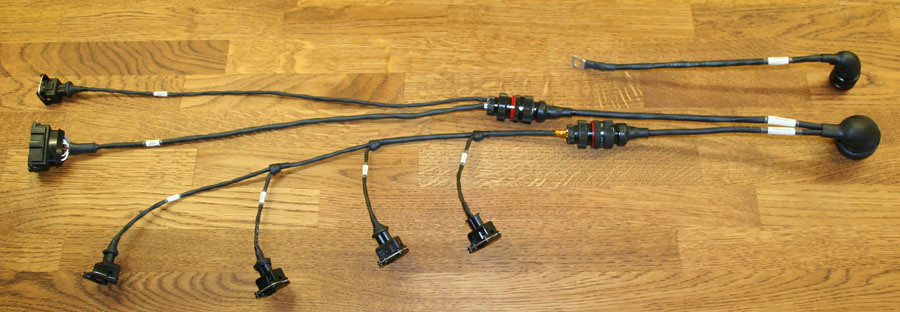
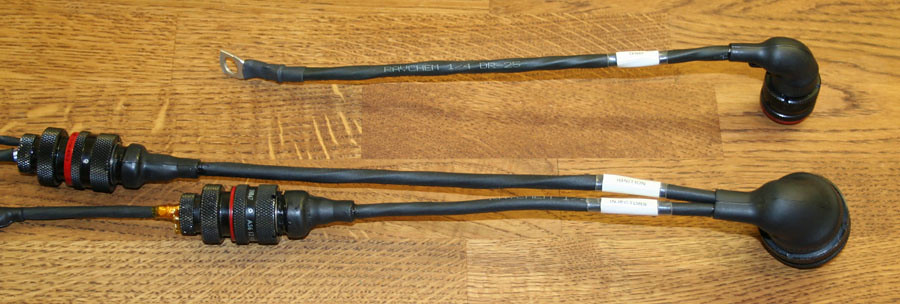
Thanks for the comments, it looks better in the photos than in the flesh but is functional and pretty lightweight for what it is, the aim from the start was to make it a single unit which could be easily removed after disconnecting a few items
Edited by Aubrey_Boy on 6th Jul, 2017. |
||||||
|
1226 Posts Member #: 9271 Post Whore Stoke on Trent |
4th Jun, 2012 at 05:46:16pm
i think it looks brilliant one day boost will be mine!
On 10th Mar, 2012 Joe C said:
TBH peple stick it everywhere... and theres merits to each... |
||||||
 16540 Posts Member #: 4241 King Gaycharger, butt plug dealer, Sheldon Cooper and a BAC but generally a niceish fella if you dont mind a northerner Rotherham, South Yorkshire |
4th Jun, 2012 at 06:41:16pm
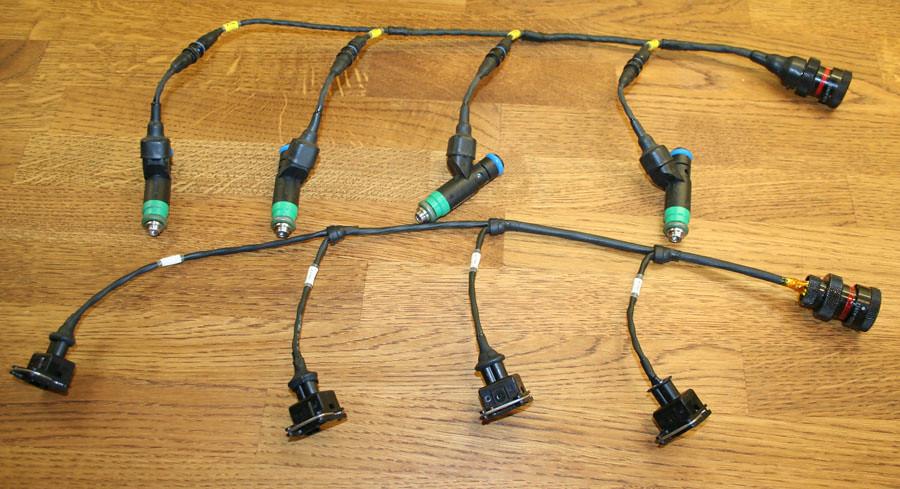
I do like nice tidy wiring On 11th Feb, 2015 robert said:
i tried putting soap on it , and heating it to brown , then slathered my new lube on it 
|
||||||
 1755 Posts Member #: 8852 Post Whore leicestershire |
4th Jun, 2012 at 08:41:09pm
Nice 13.95 1/4 mile on a 2.95 fd. Carnt be that hard to beat! |
||||||
|
690 Posts Member #: 9962 Post Whore |
5th Jun, 2012 at 04:13:37pm
Thanks again for the comments
Edited by Aubrey_Boy on 6th Jul, 2017. |
||||||
 3249 Posts Member #: 1194 Post Whore Shropshire. |
5th Jun, 2012 at 04:22:18pm
Nice, do you have a build thread on the car / engine? |
||||||
|
1909 Posts Member #: 9764 Post Whore Northamptonshire. |
5th Jun, 2012 at 05:57:15pm
Build thread would be good to see! :) |
||||||
|
690 Posts Member #: 9962 Post Whore |
8th Jun, 2012 at 05:09:55pm
Got a bit more done before departing to the cultural oasis that is Rockingham :p
Edited by Aubrey_Boy on 6th Jul, 2017. |
||||||
|
16540 Posts Member #: 4241 King Gaycharger, butt plug dealer, Sheldon Cooper and a BAC but generally a niceish fella if you dont mind a northerner Rotherham, South Yorkshire |
8th Jun, 2012 at 05:13:29pm
I need to see a picture of your engine bay now... On 11th Feb, 2015 robert said:
i tried putting soap on it , and heating it to brown , then slathered my new lube on it
|
||||||
|
690 Posts Member #: 9962 Post Whore |
16th Jun, 2012 at 09:09:57am
Again just a bit done due to work,
Edited by Aubrey_Boy on 6th Jul, 2017. |
||||||
 2054 Posts Member #: 452 Post Whore Chester, UK |
16th Jun, 2012 at 09:21:54am
wow this is awesome you should turn this into your build thread and change the title!
|
||||||
|
690 Posts Member #: 9962 Post Whore |
16th Jun, 2012 at 09:30:39am
Cheers Taz,
Edited by Aubrey_Boy on 16th Jun, 2012. |
||||||
 7265 Posts Member #: 1268 The Boom Boom speaker Police! Essex |
16th Jun, 2012 at 09:50:08am
This is very smart. I'd like to do something similar nice time mine is apart.
In the 13's at last!.. Just |
||||||
|
690 Posts Member #: 9962 Post Whore |
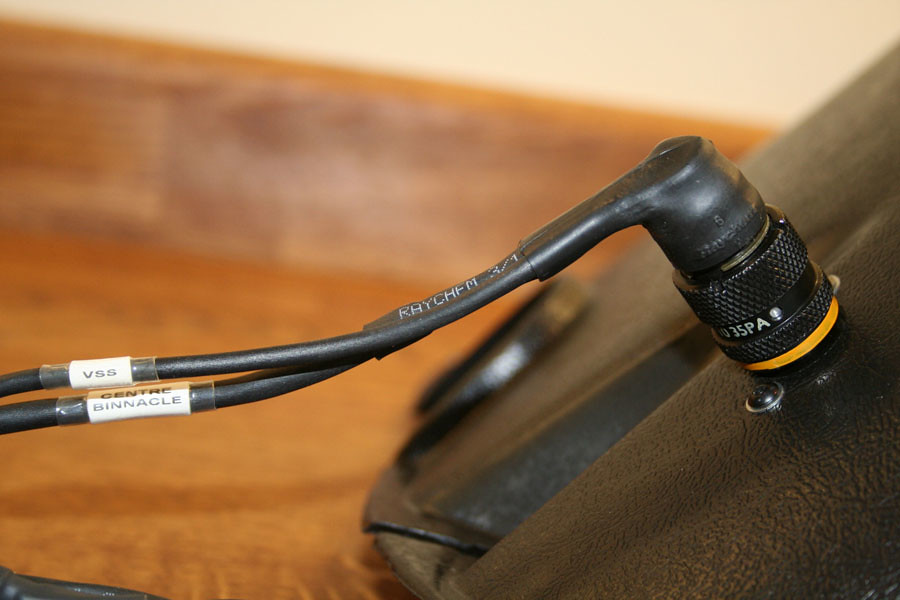
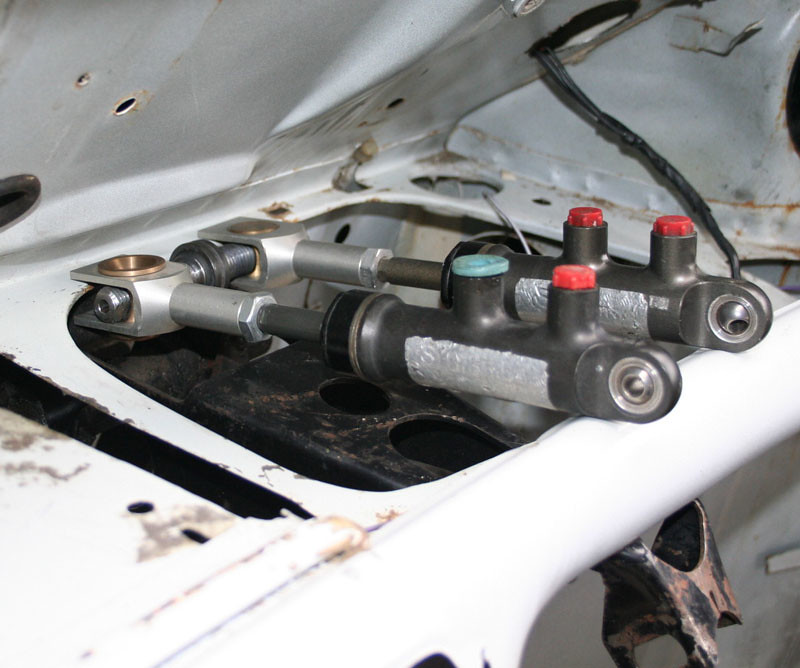
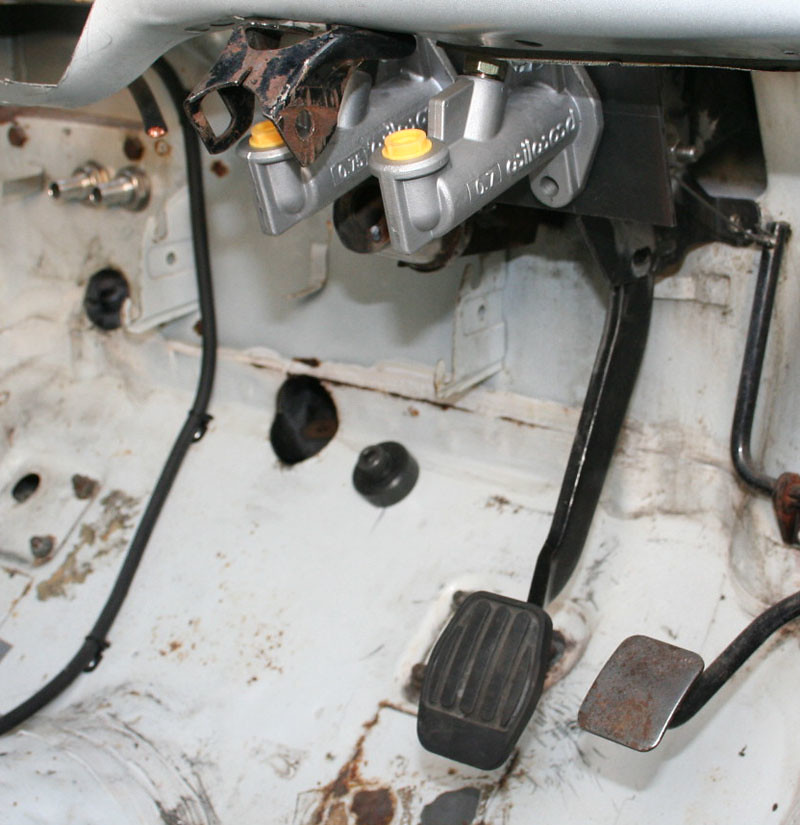
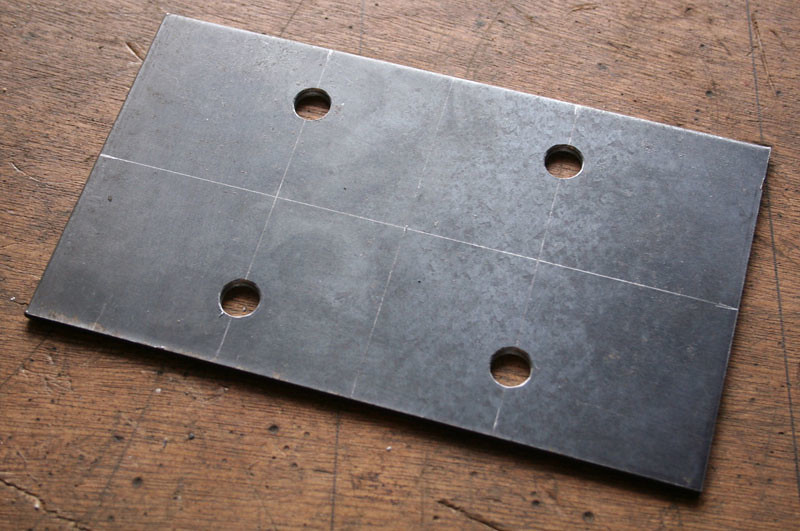
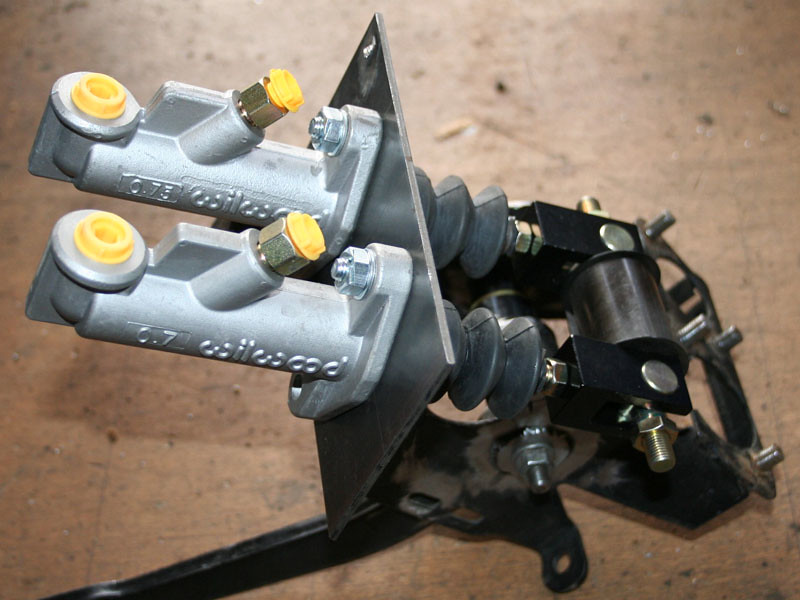
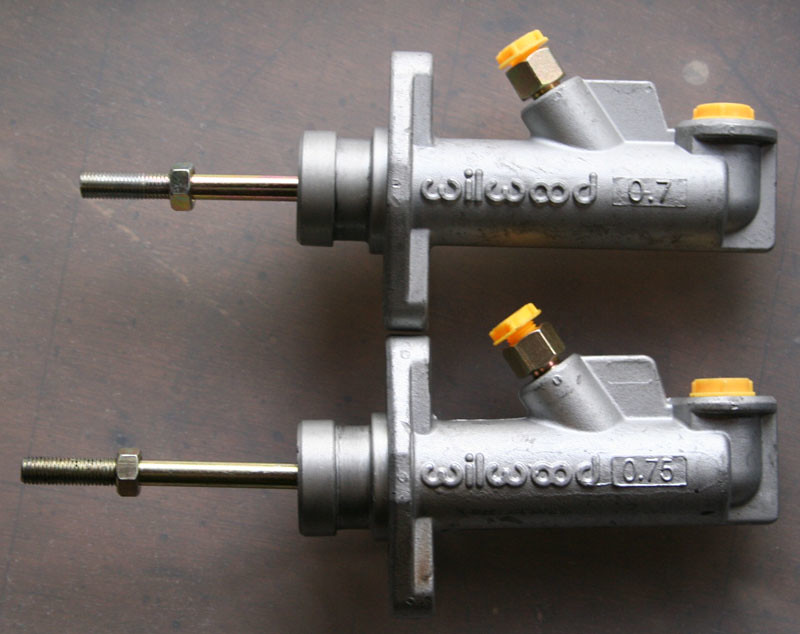
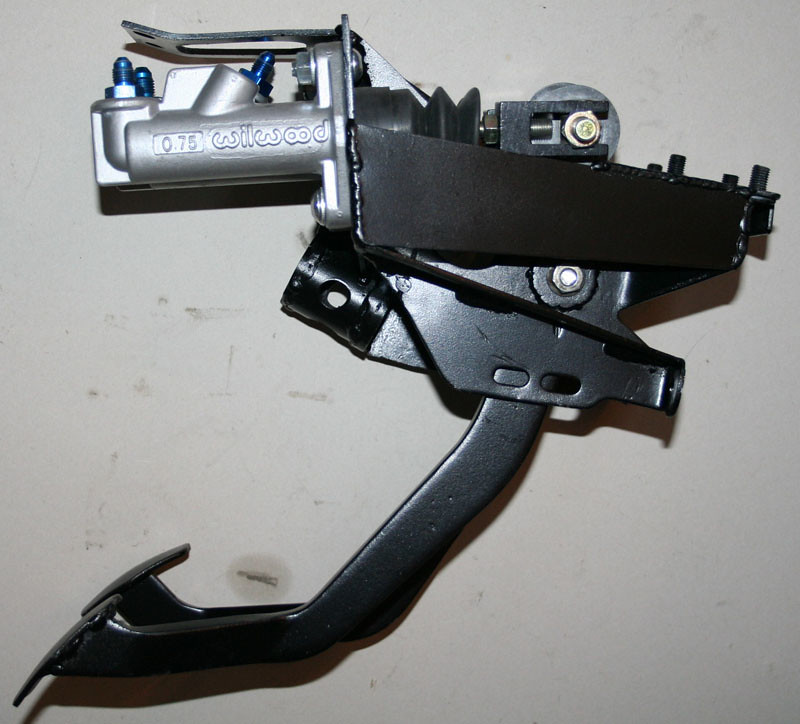
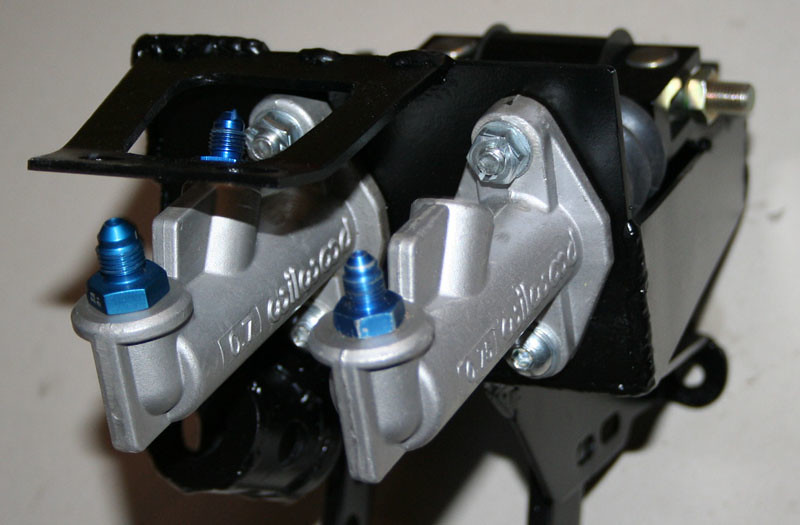
25th Oct, 2012 at 09:35:37pm
Pedal box mods...
Edited by Aubrey_Boy on 6th Jul, 2017. |
||||||
 5417 Posts Member #: 6181 Double hard bastard brookwood woking |
25th Oct, 2012 at 09:48:34pm
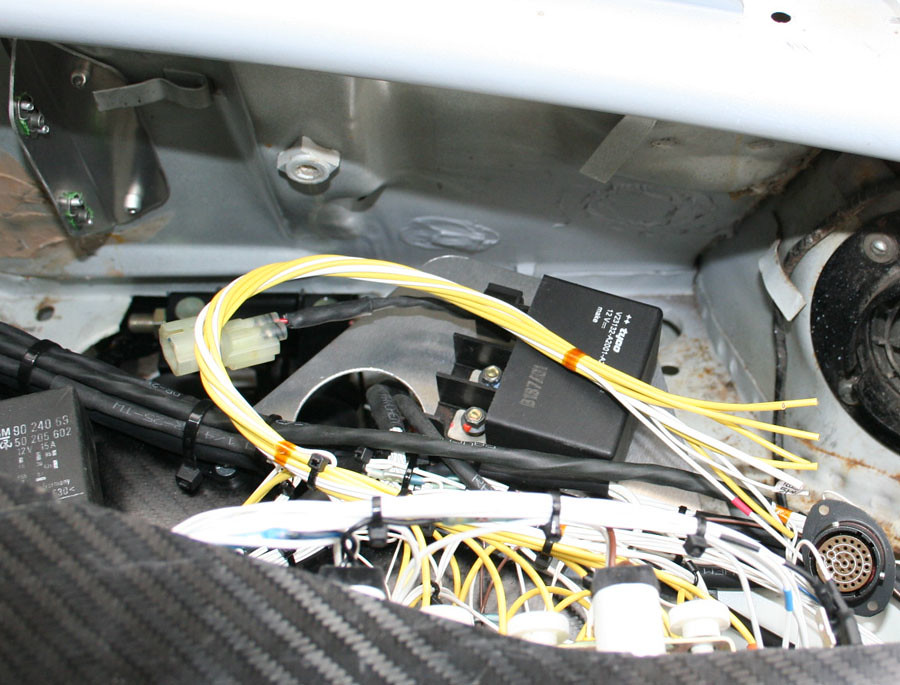
Hi mate, nice loom do you work for Raychem ?? as i was looking at some of there stuff costs a lot!
I have started posting on Instagram also my name on there is turbomk1golf
On 1st Nov, 2007 Ben H said:
There is no such thing as 'insignificant weight saving', it all adds up. |
||||||
|
690 Posts Member #: 9962 Post Whore |
25th Oct, 2012 at 10:15:23pm
Hi Simon,
|
||||||
|
5417 Posts Member #: 6181 Double hard bastard brookwood woking |
25th Oct, 2012 at 10:20:12pm
Hi mate thanks,
I have started posting on Instagram also my name on there is turbomk1golf
On 1st Nov, 2007 Ben H said:
There is no such thing as 'insignificant weight saving', it all adds up. |
||||||
|
690 Posts Member #: 9962 Post Whore |
25th Oct, 2012 at 10:29:08pm
Simon,
Edited by Aubrey_Boy on 25th Oct, 2012. |
||||||
|
5417 Posts Member #: 6181 Double hard bastard brookwood woking |
25th Oct, 2012 at 10:32:43pm
O I see all the radio kit we have at work is all this stuff thats were i got the idea you see. I have started posting on Instagram also my name on there is turbomk1golf
On 1st Nov, 2007 Ben H said:
There is no such thing as 'insignificant weight saving', it all adds up. |
||||||
|
690 Posts Member #: 9962 Post Whore |
25th Oct, 2012 at 10:35:04pm
What kind of radio?
Edited by Aubrey_Boy on 25th Oct, 2012. |
||||||
|
5417 Posts Member #: 6181 Double hard bastard brookwood woking |
25th Oct, 2012 at 10:43:24pm
MOD stuff we send it all back when it gos man down!
I have started posting on Instagram also my name on there is turbomk1golf
On 1st Nov, 2007 Ben H said:
There is no such thing as 'insignificant weight saving', it all adds up. |
||||||
 6549 Posts Member #: 1149 #1 Basshunter Fan Force Racing ICT Dept Manager Miglia Turbo Am frum Yokshyer tha noes! |
26th Oct, 2012 at 08:46:39am
So do i On 4th Jun, 2012 apbellamy said:
I do like nice tidy wiring  1/4 Mile 14.3secs 96Mph Terminal 10psi of boost.
|
||||||
| Home > Show Us Yours! > Project "Marginal gains..." | |||||||
|
|||||||


 [/url]


| Page: |