
| Page: |
| Home > Show Us Yours! > Project "Marginal gains..." | |||||||
 41 Posts Member #: 10084 Member Pretoria, South Africa |
20th Feb, 2013 at 01:27:26pm
Top work!
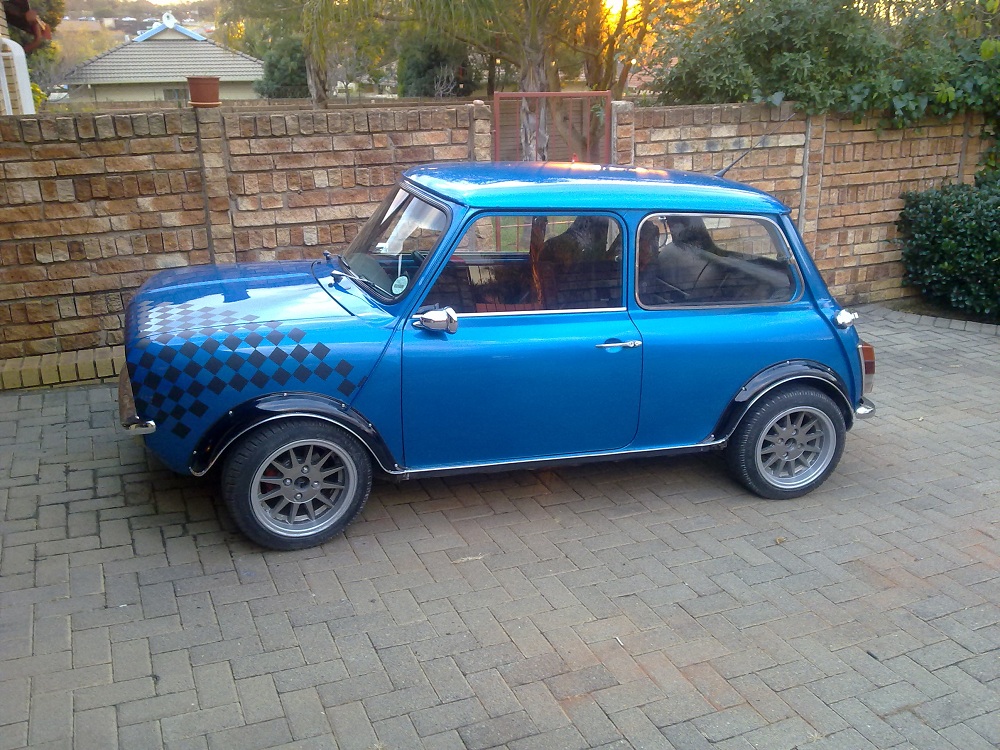
1978 Clubman (soon to be S)
|
||||||
 690 Posts Member #: 9962 Post Whore |
21st Feb, 2013 at 05:31:17pm
Cheers Willy,
|
||||||
|
104 Posts Member #: 10210 Advanced Member Durban, South Africa |
22nd Feb, 2013 at 07:03:27am
Loving this build thread, your attention to detail is astronomical and I can't wait to see the finished product. Good luck with the build. Life is always a matter of opinion and quite frankly, no ones opinion really matters. |
||||||
|
690 Posts Member #: 9962 Post Whore |
22nd Feb, 2013 at 08:23:41pm
Cheers mate
|
||||||
|
690 Posts Member #: 9962 Post Whore |
16th Mar, 2013 at 07:39:31pm
It's been a while...
Edited by Aubrey_Boy on 7th Jul, 2017. |
||||||
 12307 Posts Member #: 565 Carlos Fandango Burnham-on-Crouch, Essex |
16th Mar, 2013 at 08:46:53pm
cmon...
On 28th Aug, 2011 Kean said:
At the risk of being sigged... Joe, do you have a photo of your tool? http://www.turbominis.co.uk/forums/index.p...9064&lastpost=1 https://joe1977.imgbb.com/ |
||||||
|
41 Posts Member #: 10084 Member Pretoria, South Africa |
18th Mar, 2013 at 08:58:51am
Looks great! 1978 Clubman (soon to be S)
|
||||||
|
104 Posts Member #: 10210 Advanced Member Durban, South Africa |
18th Mar, 2013 at 09:34:28am
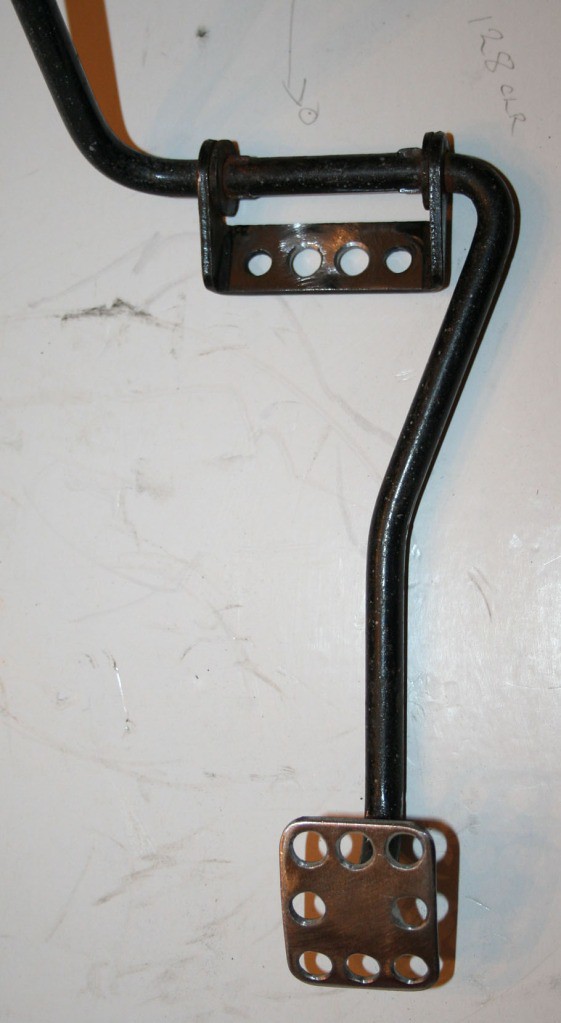
Looking good as always, love the detail on the handbrake lever. Life is always a matter of opinion and quite frankly, no ones opinion really matters. |
||||||
|
690 Posts Member #: 9962 Post Whore |
19th Mar, 2013 at 07:35:44pm
Thanks again for the comments
|
||||||
|
690 Posts Member #: 9962 Post Whore |
20th Mar, 2013 at 07:25:11pm
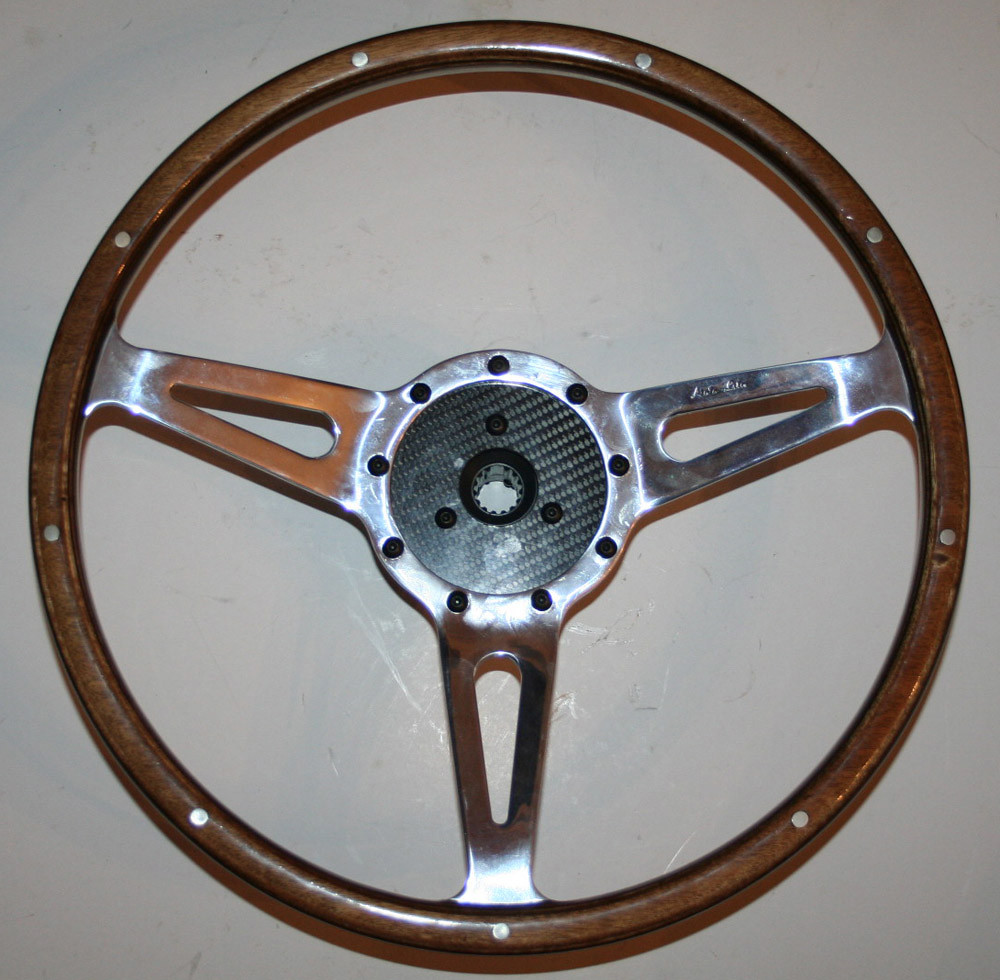
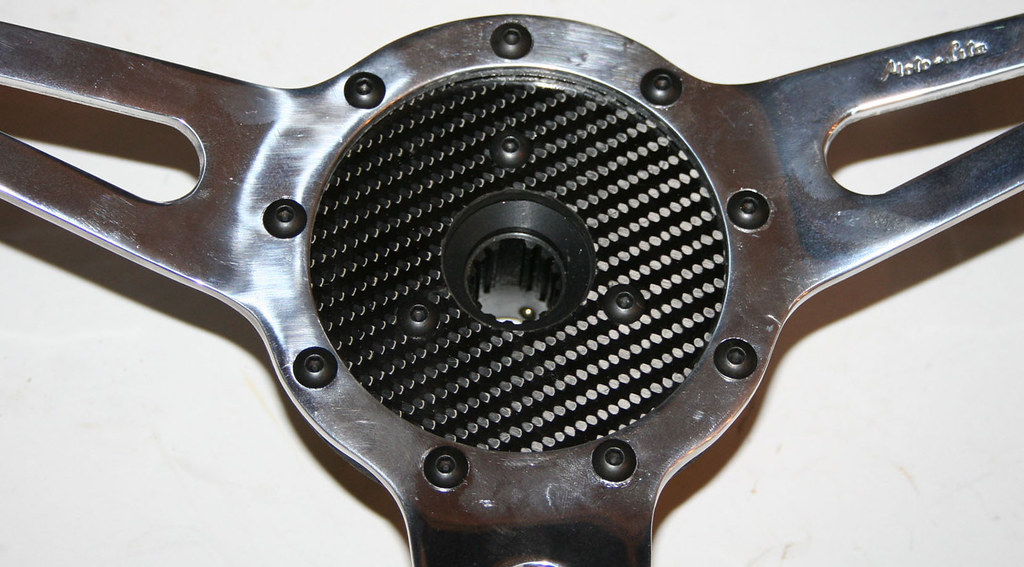
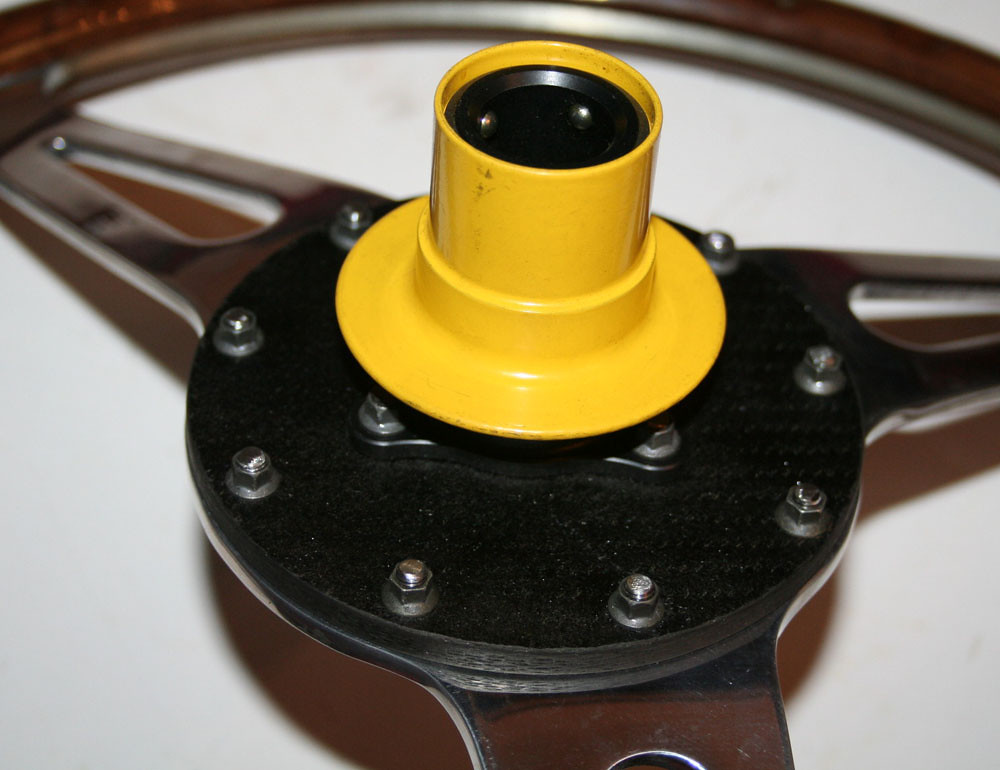
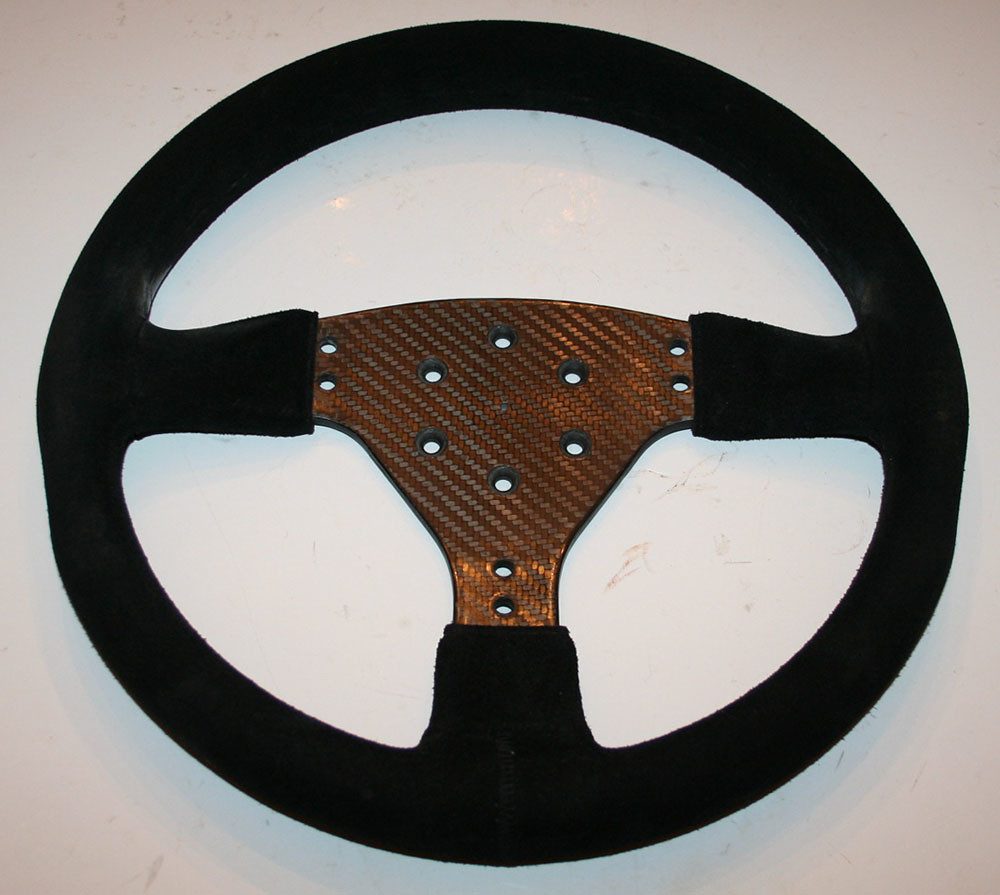
The steering rack is hopefully positioned on the subframe now so I need to sort out pedal box / seat and steering column position - hence needing to get the steering adapter sorted despite the car being nowhere near finished yet...
Edited by Aubrey_Boy on 17th Oct, 2017. |
||||||
 4890 Posts Member #: 1775 Post Whore Chester |
20th Mar, 2013 at 08:16:35pm
the pics no workie. I run a supercharger and I don't care the TB is on the wrong side.
|
||||||
|
690 Posts Member #: 9962 Post Whore |
21st Mar, 2013 at 06:28:13am
The new (now enforced) Photobucket 'facelift' seems to be a nightmare, tried several times to upload pictures, hopefully picture links should now work |
||||||
 552 Posts Member #: 300 Post Whore Cumbria |
21st Mar, 2013 at 12:51:04pm
Lovely subframe. The AMT frames have four mounts and are rock solid.
On 15th Feb, 2013 Aubrey_Boy said:
The subframe itself has progressed a bit, still not finished but time to fit to the car and check clearances again The Currently has 3 mounts but I am trying to decide if / where to put a fourth anti rotation mount Cheers Here for the craic..
|
||||||
 580 Posts Member #: 9580 Post Whore Surrey |
21st Mar, 2013 at 03:40:39pm
Old school meets New school, I likey! |
||||||
 9812 Posts Member #: 332 Resident Cylinder Head Modifier Mitsi Evo 7, 911, Cossie. & all the chavs ...... won no problem |
21st Mar, 2013 at 09:55:03pm
excellent work
|
||||||
|
690 Posts Member #: 9962 Post Whore |
22nd Mar, 2013 at 08:37:01am
Thanks for the comments
|
||||||
|
1909 Posts Member #: 9764 Post Whore Northamptonshire. |
22nd Mar, 2013 at 10:39:03am
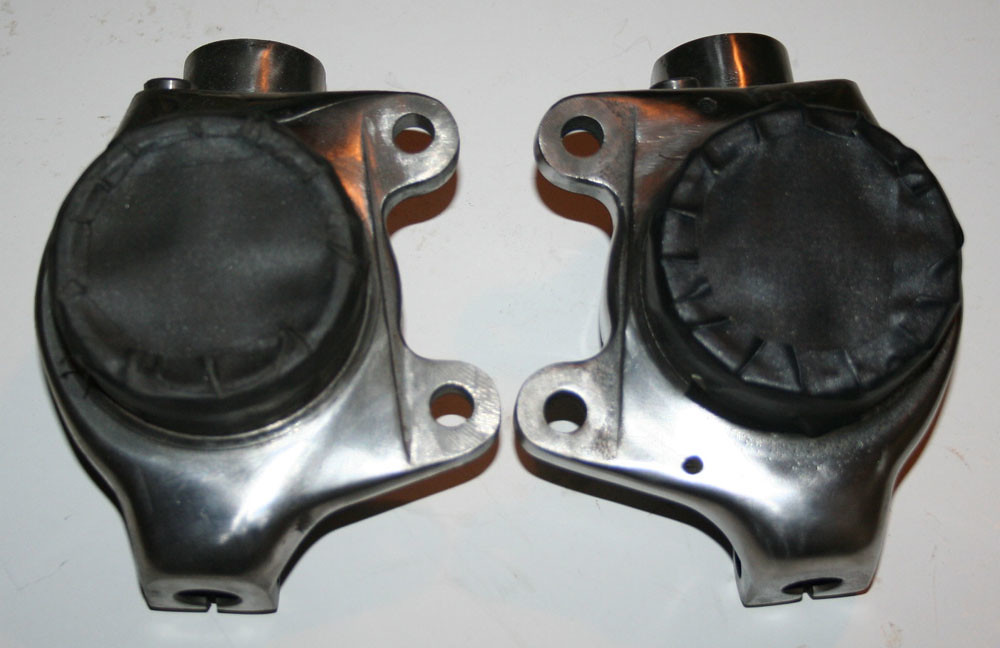
Do mini calipers not fit onto the hubs?
|
||||||
|
690 Posts Member #: 9962 Post Whore |
22nd Mar, 2013 at 04:11:44pm
Hi Chalkie,
Edited by Aubrey_Boy on 3rd Dec, 2014. |
||||||
 16540 Posts Member #: 4241 King Gaycharger, butt plug dealer, Sheldon Cooper and a BAC but generally a niceish fella if you dont mind a northerner Rotherham, South Yorkshire |
22nd Mar, 2013 at 04:20:09pm
Looking out of the window, I'd say winter rebuild is still appropriate.
On 11th Feb, 2015 robert said:
i tried putting soap on it , and heating it to brown , then slathered my new lube on it 
|
||||||
|
1142 Posts Member #: 10165 Post Whore Stansted, Essex |
22nd Mar, 2013 at 04:58:56pm
You don't do things my half measures!!
|
||||||
|
4890 Posts Member #: 1775 Post Whore Chester |
22nd Mar, 2013 at 06:31:06pm
very nice.. I run a supercharger and I don't care the TB is on the wrong side.
|
||||||
 293 Posts Member #: 10010 Senior Member Northants |
22nd Mar, 2013 at 07:42:14pm
Excellent work, looks fantastic |
||||||
 2094 Posts Member #: 9894 Post Whore Dorking |
22nd Mar, 2013 at 09:27:26pm
That frame is gorgeous. Good work! |
||||||
|
690 Posts Member #: 9962 Post Whore |
23rd Mar, 2013 at 02:19:10pm
Thanks very much for the comments
|
||||||
|
552 Posts Member #: 300 Post Whore Cumbria |
24th Mar, 2013 at 10:56:49am
Yep, its my subframe, its the amt race frame, 1 of 4 that i've know of or have seen. The cars fully built up and no sorry, no idea on weight, i never thought of weighing it at the time.!
On 22nd Mar, 2013 Aubrey_Boy said:
Thanks for the comments Rich, Thanks, Looks like a nice car, Is that your subframe, is it still out of the car... just out of interest any idea how much it weighs bare 
I think I will change the thread title as it isn't very meaninful anymore Cheers Here for the craic..
|
||||||
| Home > Show Us Yours! > Project "Marginal gains..." | |||||||
|
|||||||


| Page: |