
| Page: |
| Home > Show Us Yours! > K1100 turbo track car build | |||||||
 656 Posts Member #: 1917 AKA chargedzetec Milton Keynes |
30th Mar, 2018 at 07:48:01pm
I do like the duct. Nice work! This is FORD country, on a quiet day you can hear Vauxhalls rusting. |
||||||
 2094 Posts Member #: 9894 Post Whore Dorking |
30th Mar, 2018 at 07:49:47pm
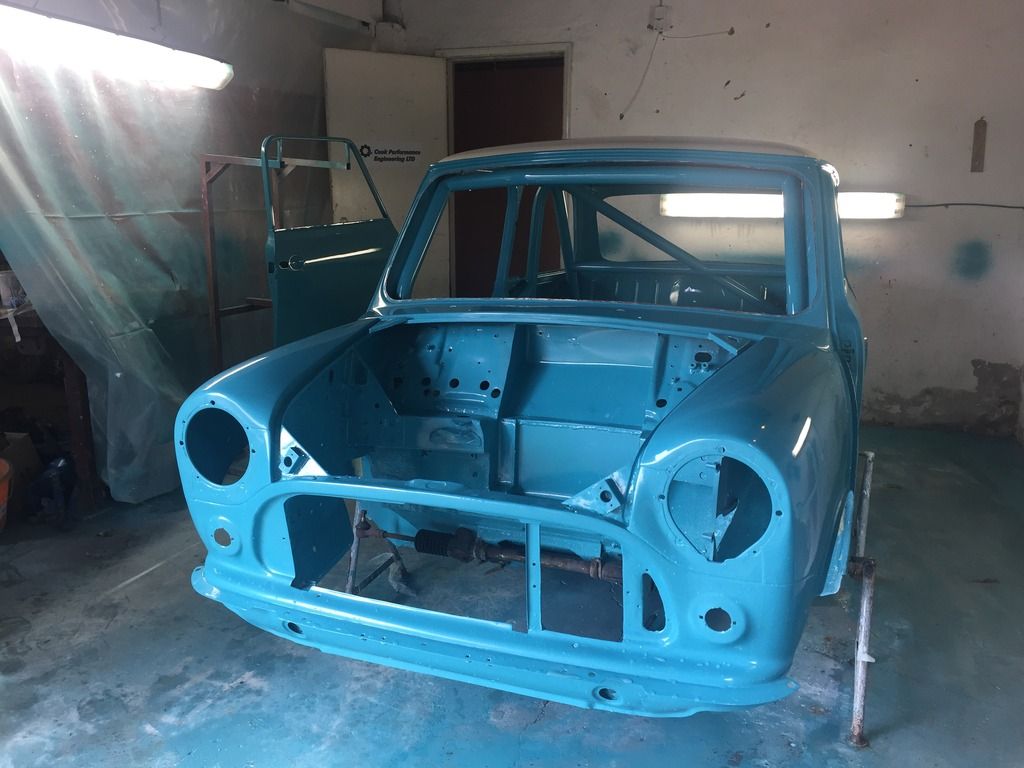
Looking very nice. Like the colour choice. |
||||||
 2975 Posts Member #: 10749 Post Whore lowestoft suffolk |
30th Mar, 2018 at 10:56:53pm
Love seeing the updates and progress then BOOM look at that workshop! That looked very nice place to be! Second ones not too bad either but how is it 2 stories up? On 24th Oct, 2015 jonny f said:
Nothing gets past Dave lol NOTHING GETS PAST ME!! 
1/4 mile 14.7 @ 96mph 12psi boost Showdown class A 2nd place 18.6 @ 69mph |
||||||
 539 Posts Member #: 6807 Post Whore York |
31st Mar, 2018 at 03:16:05pm
Cheers for the encouragement everyone.
Edited by adcyork on 31st Mar, 2018. |
||||||
|
539 Posts Member #: 6807 Post Whore York |
4th Apr, 2018 at 12:57:24pm
Has anyone got any recommendations for engine machinists (preferably in yorkshire) that are capable of line boring a 4 bolt centre main cap? |
||||||
 12307 Posts Member #: 565 Carlos Fandango Burnham-on-Crouch, Essex |
4th Apr, 2018 at 02:53:30pm
I would recomend a hone after the bore too. On 28th Aug, 2011 Kean said:
At the risk of being sigged... Joe, do you have a photo of your tool? http://www.turbominis.co.uk/forums/index.p...9064&lastpost=1 https://joe1977.imgbb.com/ |
||||||
|
174 Posts Member #: 9128 Advanced Member |
4th Apr, 2018 at 04:57:04pm
Alex E.Carr (Engineers) Ltd
|
||||||
 11046 Posts Member #: 965 Post Whore Preston On The Brook |
4th Apr, 2018 at 10:26:48pm
Performance Unlimited in York On 26th Oct, 2004 TurboDave16v said:
Is it A-Series only? I think it should be... So when some joey comes on here about how his 16v turbo vauxhall is great compared to ours, he can be given the 'bird'... On 26th Oct, 2004 Tom Fenton said:
Yep I agree with TD........ |
||||||
|
539 Posts Member #: 6807 Post Whore York |
9th Apr, 2018 at 10:40:46pm
Diligaf - thanks for the suggestion
|
||||||
|
2094 Posts Member #: 9894 Post Whore Dorking |
9th Apr, 2018 at 10:53:52pm
Unless I’m mistaken, the studs should have the pins into the block? |
||||||
|
539 Posts Member #: 6807 Post Whore York |
9th Apr, 2018 at 11:21:59pm
On 9th Apr, 2018 jonny f said:
Unless I’m mistaken, the studs should have the pins into the block? That is my understanding also, so that the stud is able to bottom out at the end of the blind hole. However the depth of hole required to make that work and get the stud flush with the nuts seems excessive. I was going to look in to that while the block is away being machined |
||||||
|
2094 Posts Member #: 9894 Post Whore Dorking |
9th Apr, 2018 at 11:28:10pm
Yes that’s how I understood it.
|
||||||
|
539 Posts Member #: 6807 Post Whore York |
26th Aug, 2018 at 06:58:33pm
Update!
Edited by adcyork on 26th Aug, 2018. |
||||||
|
2094 Posts Member #: 9894 Post Whore Dorking |
28th Aug, 2018 at 12:37:44pm
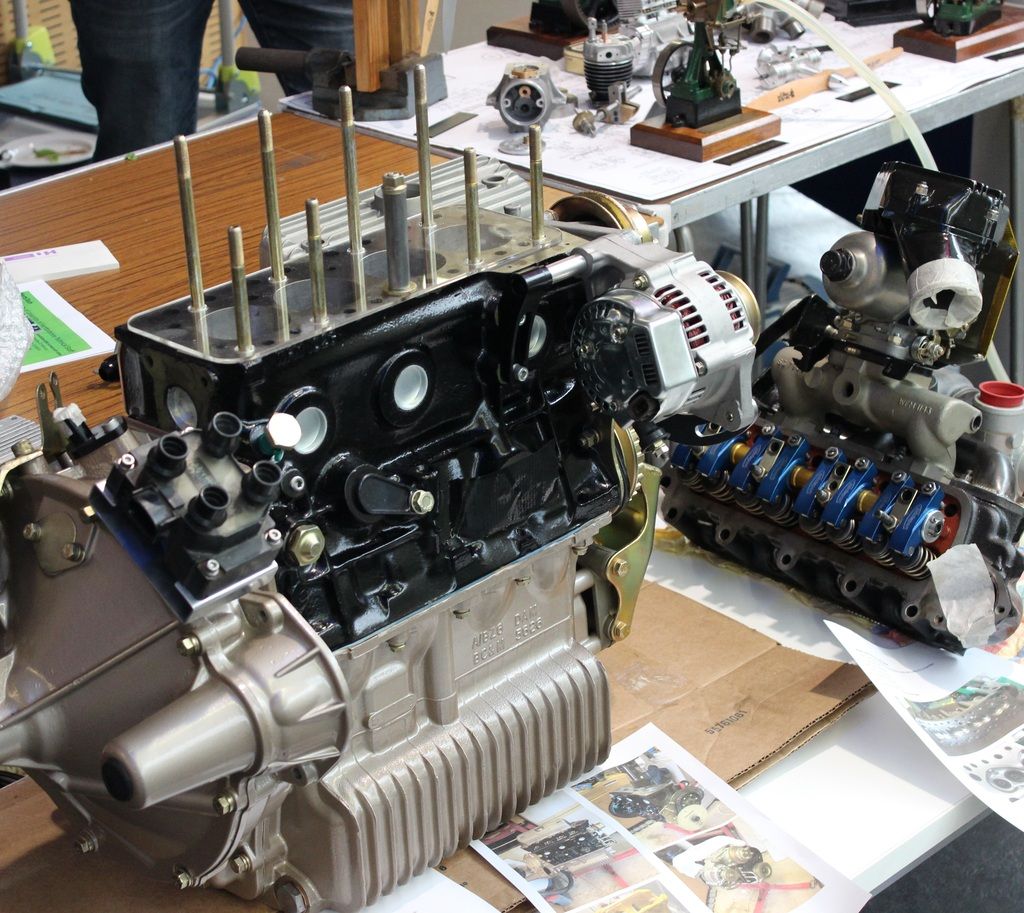
Looks great. Strange those rods are touching. I had to relieve my jets a smidge in places for my Saenz rods, they were no where near the block though.
|
||||||
|
307 Posts Member #: 11231 Senior Member |
28th Aug, 2018 at 01:42:05pm
Hey mate, just found out about your thread today. I'm also currently building a turbo twinky and I'm also using +20 forged omegas with sc components forged rods, however my engine block is from a Mini metro with OEM liners (I believe). Like yourself I also had problems with the conrods hitting the side of the liner and as you did I machined small cutouts just to clear them. Here's the link to my build thread.
|
||||||
|
539 Posts Member #: 6807 Post Whore York |
28th Aug, 2018 at 04:24:48pm
I had seen your thread recently, good to hear you have had the issue with rod clearance too.
On 28th Aug, 2018 Barrieri said:
Hey mate, just found out about your thread today. I'm also currently building a turbo twinky and I'm also using +20 forged omegas with sc components forged rods, however my engine block is from a Mini metro with OEM liners (I believe). Like yourself I also had problems with the conrods hitting the side of the liner and as you did I machined small cutouts just to clear them. Here's the link to my build thread. http://www.turbominis.co.uk/forums/index.p...id=605803&fr=50 It's been a while since I uploaded anything but will very shortly. Been busy with my dissertation lately  |
||||||
|
539 Posts Member #: 6807 Post Whore York |
12th Feb, 2019 at 07:52:20pm
Plenty more progress since the last update, a lot of which I forgot to photograph
|
||||||
 882 Posts Member #: 9774 Post Whore Buckinghamshire |
12th Feb, 2019 at 08:39:14pm
I'll beg to differ!! That's looking great and it certainly beats the progress on mine.
On 12th Feb, 2019 adcyork said:
It doesn't seem a lot when you put it down like this.... http://www.turbominis.co.uk/forums/index.p...tid=469104&fr=0 |
||||||
|
2094 Posts Member #: 9894 Post Whore Dorking |
14th Feb, 2019 at 12:54:08pm
Looks very tidy, will you have it out this year? |
||||||
|
539 Posts Member #: 6807 Post Whore York |
14th Feb, 2019 at 01:25:31pm
Fingers crossed but that's the plan! |
||||||
 4890 Posts Member #: 1775 Post Whore Chester |
15th Feb, 2019 at 07:57:09am
Looking good I run a supercharger and I don't care the TB is on the wrong side.
|
||||||
|
539 Posts Member #: 6807 Post Whore York |
15th Mar, 2019 at 01:29:14pm
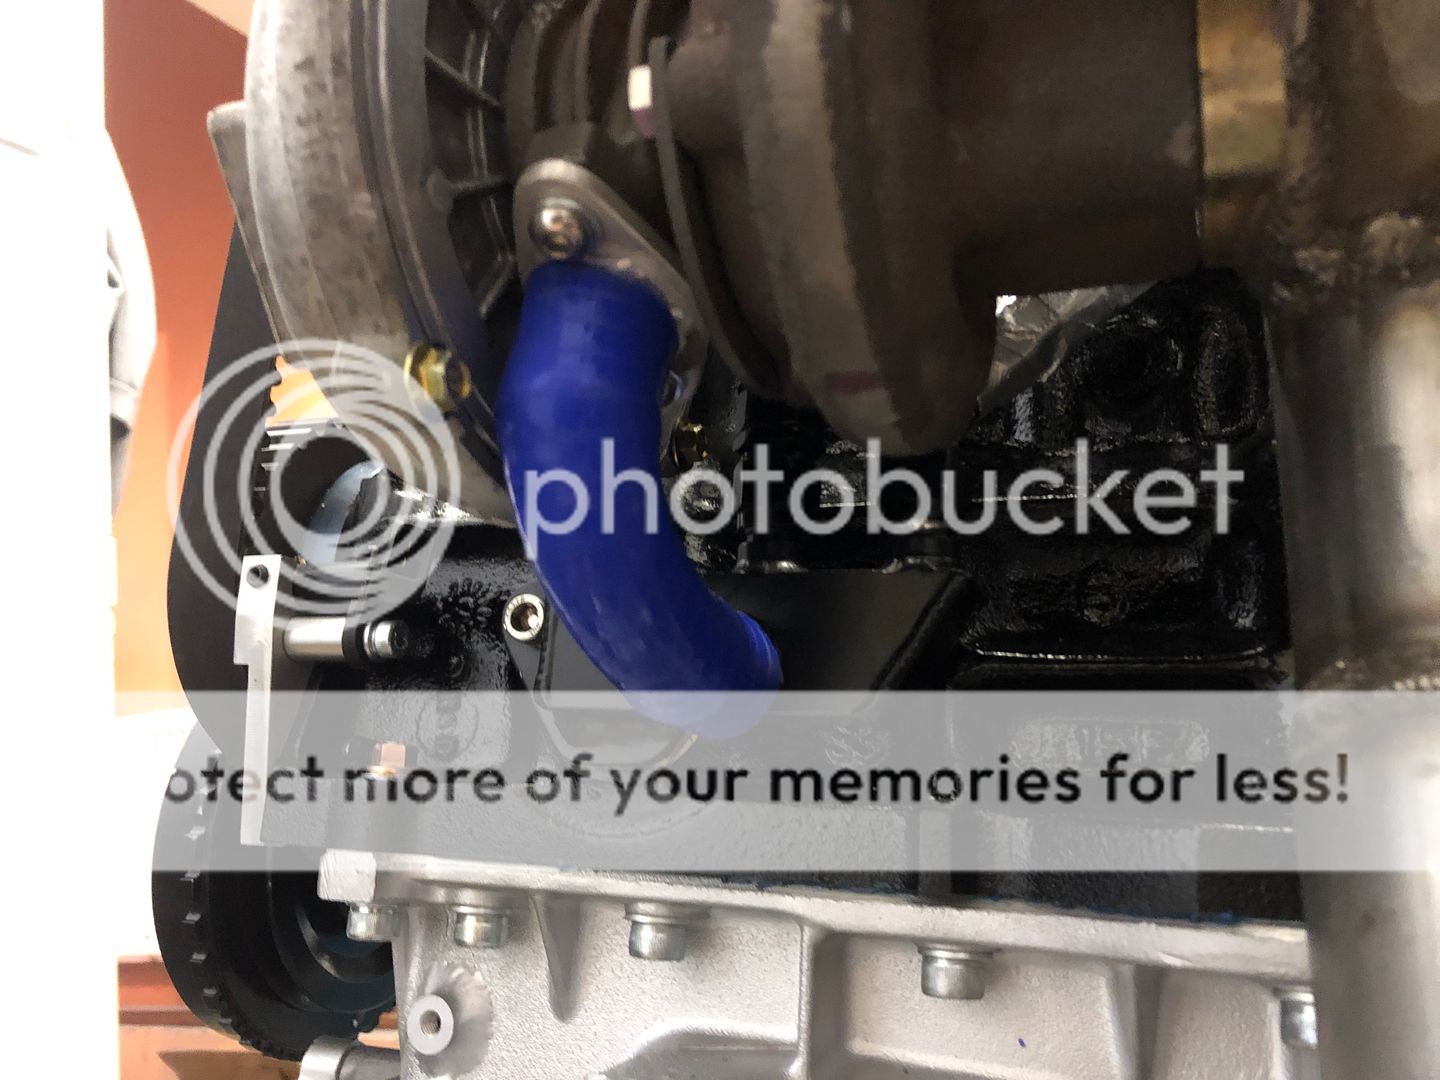
Couple more bits done
Edited by adcyork on 14th May, 2019. |
||||||
|
539 Posts Member #: 6807 Post Whore York |
14th May, 2019 at 11:48:16pm
Bit of an issue tonight when fitting the RTS clutch and wok. The wok won't go on because the top hat is hard up against the release bearing with this gap still remaining between transfer case and wok (~6mm)
|
||||||
|
Forum Mod 10980 Posts Member #: 17 ***16*** SouthPark, Colorado |
15th May, 2019 at 02:29:35am
One way or another, that spring is no good like that. The other clue is the springs are separating. Do you still have the original post remnants? The best initial start for post length based on the twin spring clutch I made up is the length of the original posts, plus the thickness of the new spring (the one that was not paired with the posts), plus 1/2mm. On 17th Nov, 2014 Tom Fenton said:
Sorry to say My Herpes are no better Ready to feel Ancient ??? This is 26 years old as of 2022 https://youtu.be/YQQokcoOzeY |
||||||
|
539 Posts Member #: 6807 Post Whore York |
15th May, 2019 at 05:10:07am
I don’t have the original spacers kicking about but I do have all the measurements in the notes. I made the new spacers to the exact size of the old ones + the thickness of the new spring. Why the need for the additional 1/2mm? Surely that would make things worse in this instance? Edited by adcyork on 15th May, 2019. |
||||||
| Home > Show Us Yours! > K1100 turbo track car build | |||||||
|
|||||||


 [/URL
[/URL


| Page: |