
| Page: |
| Home > Show Us Yours! > Meight the mini. Now mini van | |||||||
|
301 Posts Member #: 10610 Senior Member Wiltshire |
19th Dec, 2018 at 08:06:02pm
On 16th Dec, 2018 Steve220 said:
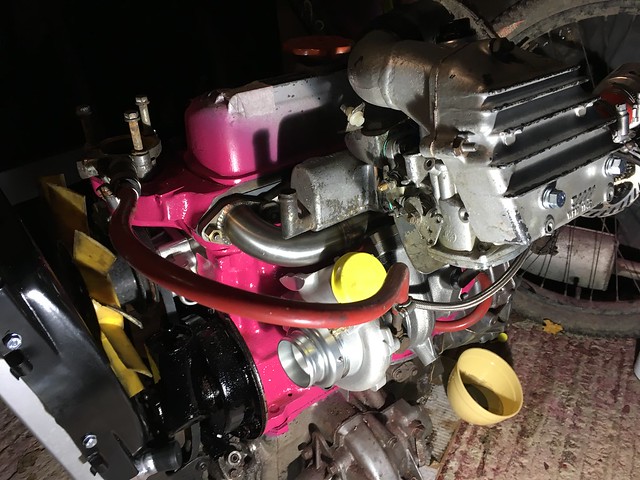
I made a bracket for the GT17 as no one seemed to make a good enough mounting solution.  That looks neat, it looks like its gonna be nicely tucked away |
||||||
|
301 Posts Member #: 10610 Senior Member Wiltshire |
19th Dec, 2018 at 08:08:28pm
Glad you found it!
On 15th Dec, 2018 nev100 said:
Ah ha..... Bryn. Just found your post mate. Looking forward to reading through from the start. One thing I've just noticed, is your brothers highly polished oil filter !! Neil (Mini Fixers) |
||||||
|
301 Posts Member #: 10610 Senior Member Wiltshire |
21st Dec, 2018 at 06:31:29pm
So went to my local metal supliers to get some sheet and it looks like they've shut for Christmas, buggger!
Edited by BronkoMini on 21st Dec, 2018. |
||||||
 7765 Posts Member #: 74 I pick holes in everything.. Chief ancient post excavator |
28th Dec, 2018 at 05:55:24pm
On 21st Mar, 2018 BronkoMini said:
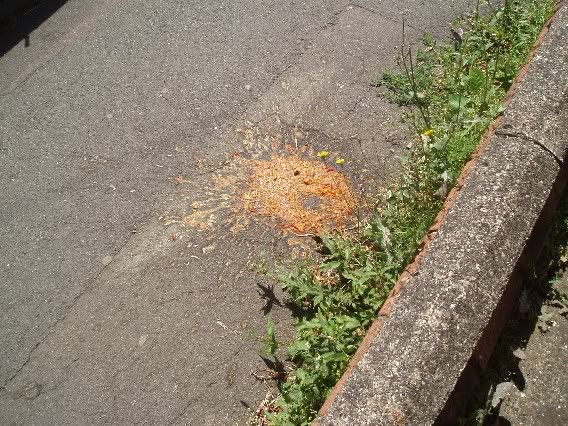
So i Swapped the diffs over, hace got it sat home but it seems pretty tight turning it even with it out of gear etc, im sure it shouldnt be so tight, ive had a google and cant find anything. The old and new 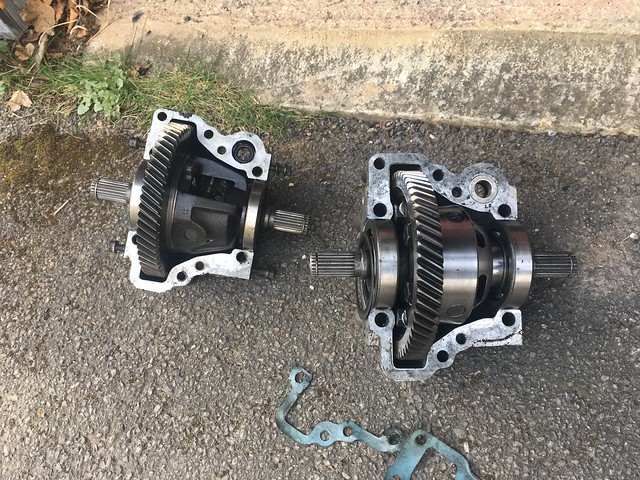 Untitled by Bryn Kinsman, on Flickr Untitled by Bryn Kinsman, on Flickr
The hole 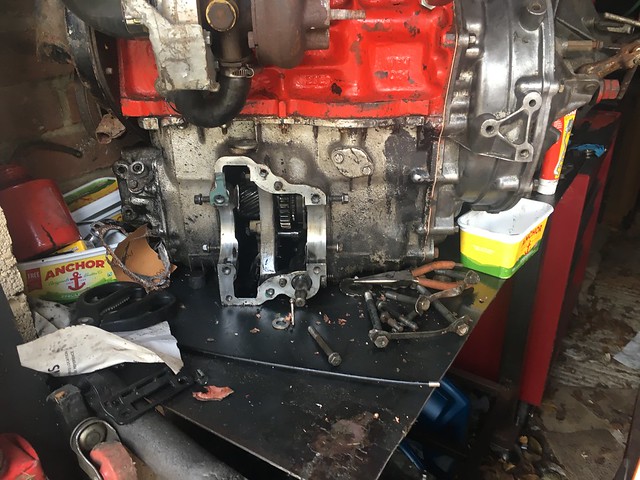 Untitled by Bryn Kinsman, on Flickr Untitled by Bryn Kinsman, on Flickr
It sitting flush but bolts not done up 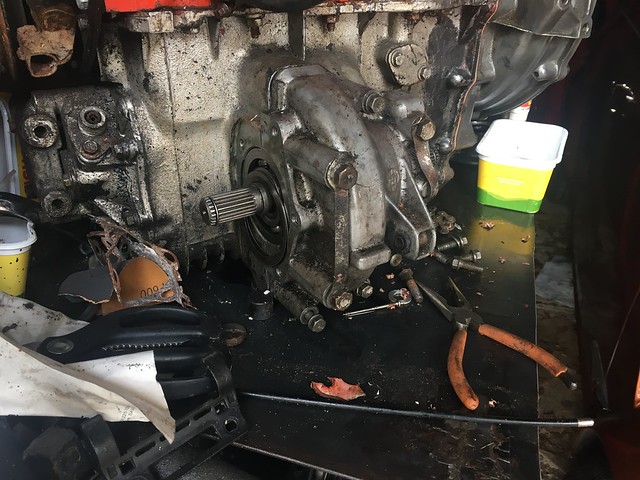 Untitled by Bryn Kinsman, on Flickr Untitled by Bryn Kinsman, on FlickrOn 13th Jul, 2012 Ben H said:
Mine gets in the way a bit, but only when it is up. If it is down it does not cause a problem. |
||||||
 1648 Posts Member #: 9038 Post Whore Carlisle, Cumbria |
29th Dec, 2018 at 02:24:25pm
Also that pump won't be suitable for turbo use unless you're using it as a lift pump |
||||||
|
301 Posts Member #: 10610 Senior Member Wiltshire |
29th Dec, 2018 at 03:05:58pm
Yeah i shimmed it up properly after as far as im aware, i hope ive done it right haha
On 28th Dec, 2018 Vegard said: Maybe it has been mentioned, but I hope you haven't just swapped the diff covers from, only the diff itself? Did you shim it properly afterwards? On 21st[/quote BronkoMini said: Edited by BronkoMini on 29th Dec, 2018. |
||||||
 2643 Posts Member #: 1246 Post Whore Lowestoft, Suffolk. |
29th Dec, 2018 at 03:16:20pm
On 29th Dec, 2018 BronkoMini said: Yeah i shimmed it up properly after as far as im aware, i hopw ive done it right haha On 28th Dec, 2018 Vegard said: Maybe it has been mentioned, but I hope you haven't just swapped the diff covers from, only the diff itself? Did you shim it properly afterwards? On 21st[/quote BronkoMini said:
|
||||||
|
301 Posts Member #: 10610 Senior Member Wiltshire |
29th Dec, 2018 at 03:17:39pm
So im hopeing this is ok but im not sure now.
|
||||||
|
301 Posts Member #: 10610 Senior Member Wiltshire |
29th Dec, 2018 at 03:21:55pm
I can't actually remember what i did, so you're supposed to use the same casing that was on the gearbox orrigonally and just change the diff inside it, and then re shim it?
On 29th Dec, 2018 shane said: Did you swap the diff covers as these a machined clamped to the box casing so effectively a matched pair. Shane On 29th Dec, 2018 BronkoMini said: Yeah i shimmed it up properly after as far as im aware, i hopw ive done it right haha On 28th Dec, 2018 Vegard said:
Maybe it has been mentioned, but I hope you haven't just swapped the diff covers from, only the diff itself? Did you shim it properly afterwards? On 21st[/quote BronkoMini said: |
||||||
|
2643 Posts Member #: 1246 Post Whore Lowestoft, Suffolk. |
29th Dec, 2018 at 11:30:06pm
On 29th Dec, 2018 BronkoMini said: I can't actually remember what i did, so you're supposed to use the same casing that was on the gearbox orrigonally and just change the diff inside it, and then re shim it? Thanks On 29th Dec, 2018 shane said: Did you swap the diff covers as these a machined clamped to the box casing so effectively a matched pair. Shane On 29th Dec, 2018 BronkoMini said:
Yeah i shimmed it up properly after as far as im aware, i hopw ive done it right haha On 28th Dec, 2018 Vegard said: Maybe it has been mentioned, but I hope you haven't just swapped the diff covers from, only the diff itself? Did you shim it properly afterwards? On 21st[/quote BronkoMini said: |
||||||
|
301 Posts Member #: 10610 Senior Member Wiltshire |
29th Dec, 2018 at 11:56:27pm
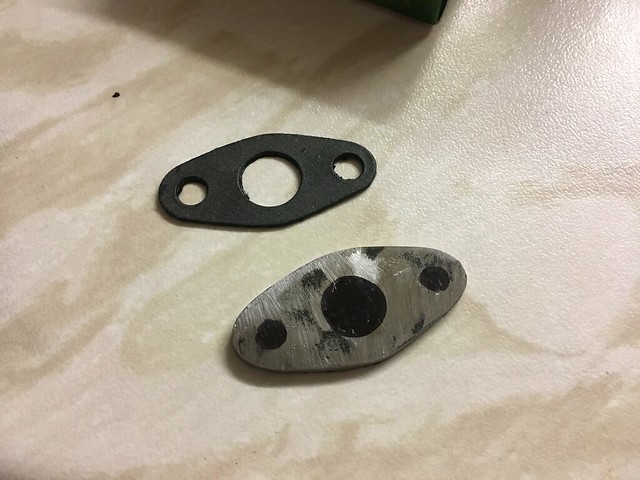
I’m pretty sure I used the cases from the gearbox, also looking through my pictures it looks like the one that was on there so hopefully it should be ok and as you say I did originally use gaskets but then got advised that it should just be the sealent so I took it all off and just used sealent. Thanks for the advice |
||||||
|
301 Posts Member #: 10610 Senior Member Wiltshire |
30th Dec, 2018 at 12:00:12am
I’ll go and have a check when I next work on it as I’d rather be safe and make sure it’s correct |
||||||
|
301 Posts Member #: 10610 Senior Member Wiltshire |
15th Jan, 2019 at 05:54:27pm
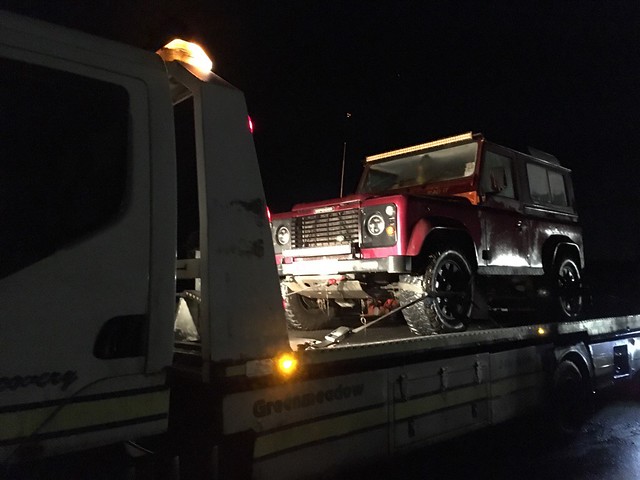
Another bad day today!
Edited by BronkoMini on 15th Jan, 2019. |
||||||
|
301 Posts Member #: 10610 Senior Member Wiltshire |
16th Jan, 2019 at 08:11:07pm
It’s normally the minis getting recovered haha
|
||||||
|
301 Posts Member #: 10610 Senior Member Wiltshire |
16th Jan, 2019 at 08:12:22pm
Well that didn’t work 😂 |
||||||
|
301 Posts Member #: 10610 Senior Member Wiltshire |
16th Jan, 2019 at 08:32:02pm
|
||||||
|
4309 Posts Member #: 1321 Post Whore Wiltshire |
16th Jan, 2019 at 08:59:54pm
Ah! Whats wrong? On 7th Oct, 2010 5haneJ said:
yeah I gave it all a good prodding |
||||||
|
301 Posts Member #: 10610 Senior Member Wiltshire |
22nd Jan, 2019 at 07:00:07pm
On 16th Jan, 2019 minimole23 said:
Ah! Whats wrong? Im not actually sure, some sort of fulling issue, its still at the garage, and ive not heard anything back yet |
||||||
|
301 Posts Member #: 10610 Senior Member Wiltshire |
22nd Jan, 2019 at 07:05:57pm
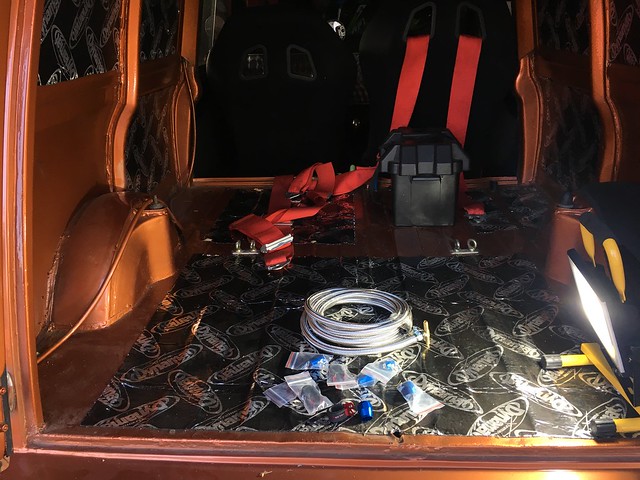
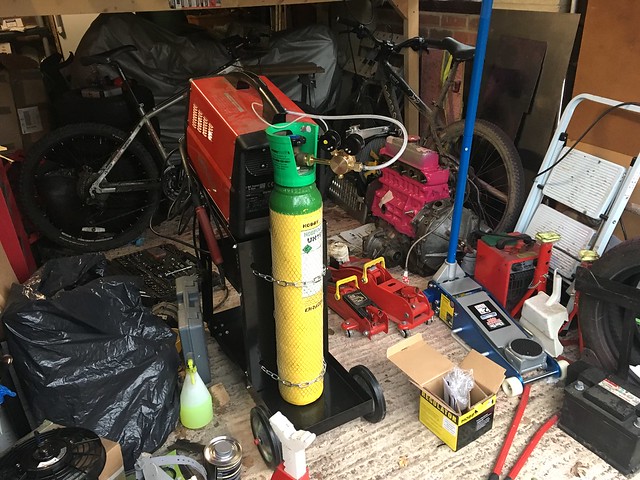
So on the way back from the most Northern point in Wales i stopped in at Machine Mart and picked up my order, i've put it all together now, i made the most of the vat free code, oops:
|
||||||
|
301 Posts Member #: 10610 Senior Member Wiltshire |
1st Feb, 2019 at 08:50:56pm
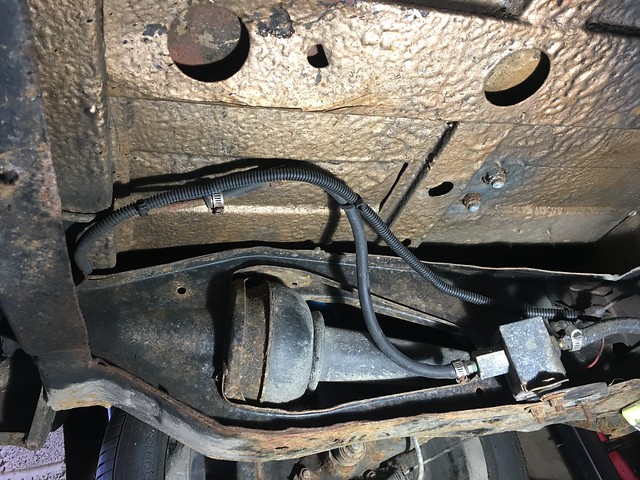
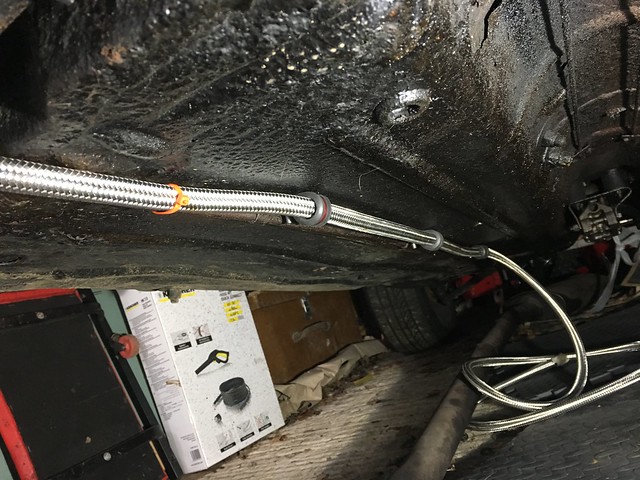
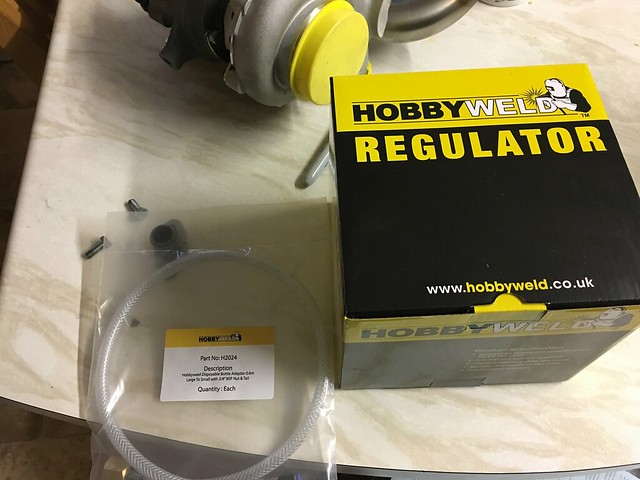
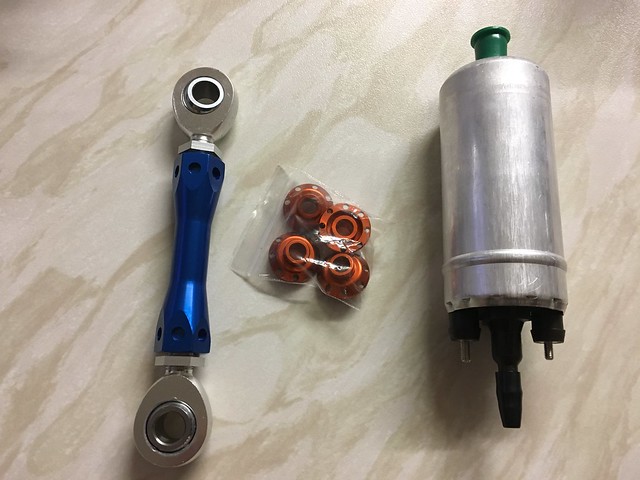
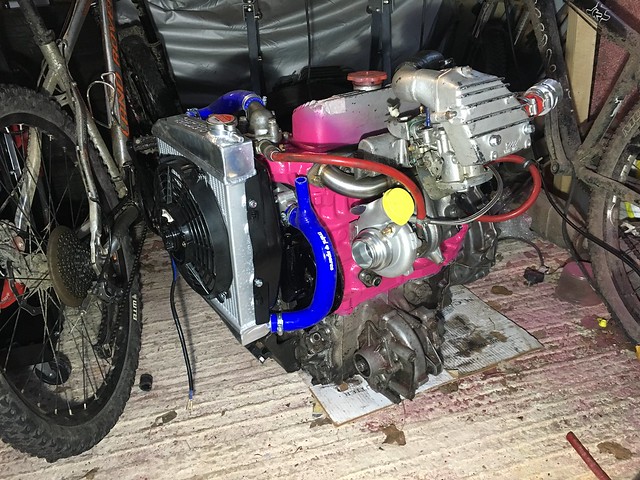
Finally got the right fuel pump, need to fit this, my brother got it from Turbo Phil at bingley, which i must say was an awful show, was nice to see some turbo cars to look at routing of pipes etc, also bought a multi coloured steady bar, my brother must have taken 10 mins to choose which colours he wanted.
|
||||||
 2975 Posts Member #: 10749 Post Whore lowestoft suffolk |
2nd Feb, 2019 at 08:27:39pm
What made bingley awful? On 24th Oct, 2015 jonny f said:
Nothing gets past Dave lol NOTHING GETS PAST ME!! 
1/4 mile 14.7 @ 96mph 12psi boost Showdown class A 2nd place 18.6 @ 69mph |
||||||
|
301 Posts Member #: 10610 Senior Member Wiltshire |
4th Feb, 2019 at 08:41:12pm
It wasn't as busy as usual, there seemed to be a lot less stands, for example there were no racing minis. Obviously this is my personal opinion, there just seemed to be something else missing, but i cant put my finger on it. Just to be cheesy there was only a couple of turbo minis that i saw with their bonnets open haha
On 2nd Feb, 2019 D4VE said:
What made bingley awful? |
||||||
|
301 Posts Member #: 10610 Senior Member Wiltshire |
12th Feb, 2019 at 06:43:01pm
One day i'll actually have a good update.
|
||||||
|
2 Posts Member #: 11838 Junior Member |
15th Feb, 2019 at 11:41:31pm
Got on with it you two !!!!
|
||||||
|
301 Posts Member #: 10610 Senior Member Wiltshire |
17th Feb, 2019 at 07:10:56pm
On 15th Feb, 2019 nev100 said:
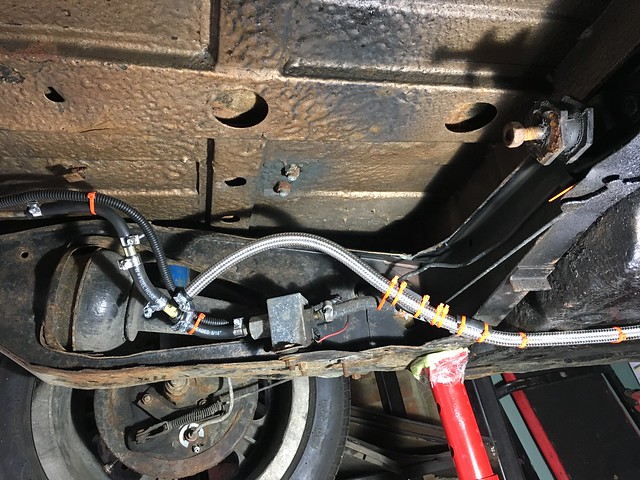
Got on with it you two !!!! Ha ha, can't wait to see it running. Thanks for the encouragement. We’ve had the new bit of fuel pipe and reducer arrive so I can get on with plumbing on the new fuel pump. I’ve made all the bracket up and that. It’s just a case of putting it all together now |
||||||
| Home > Show Us Yours! > Meight the mini. Now mini van | |||||||
|
|||||||

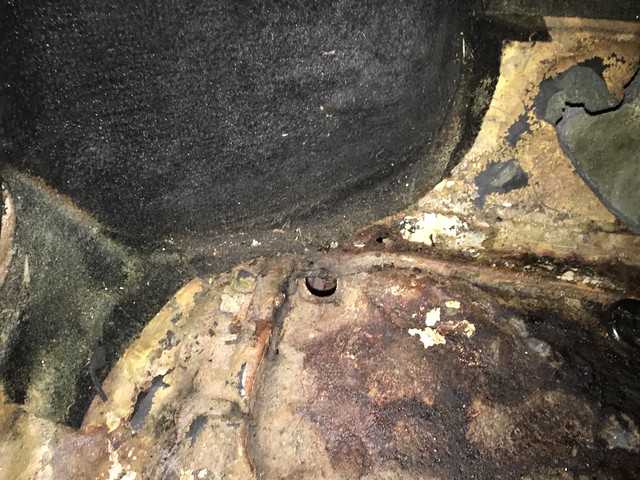
 You can see the 2 nuts in the pic below:

 [/url]
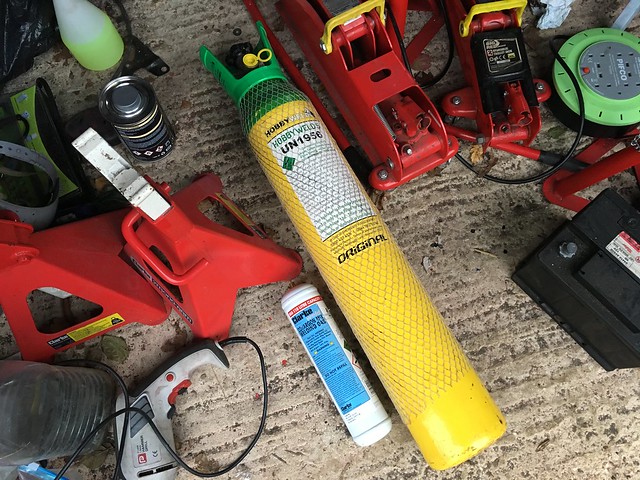

| Page: |