
| Page: |
| Home > Show Us Yours! > Back dated build .finally getting to the engine | |||||||
|
80 Posts Member #: 11548 Advanced Member Calne Wiltshire |
17th Sep, 2018 at 06:15:30pm
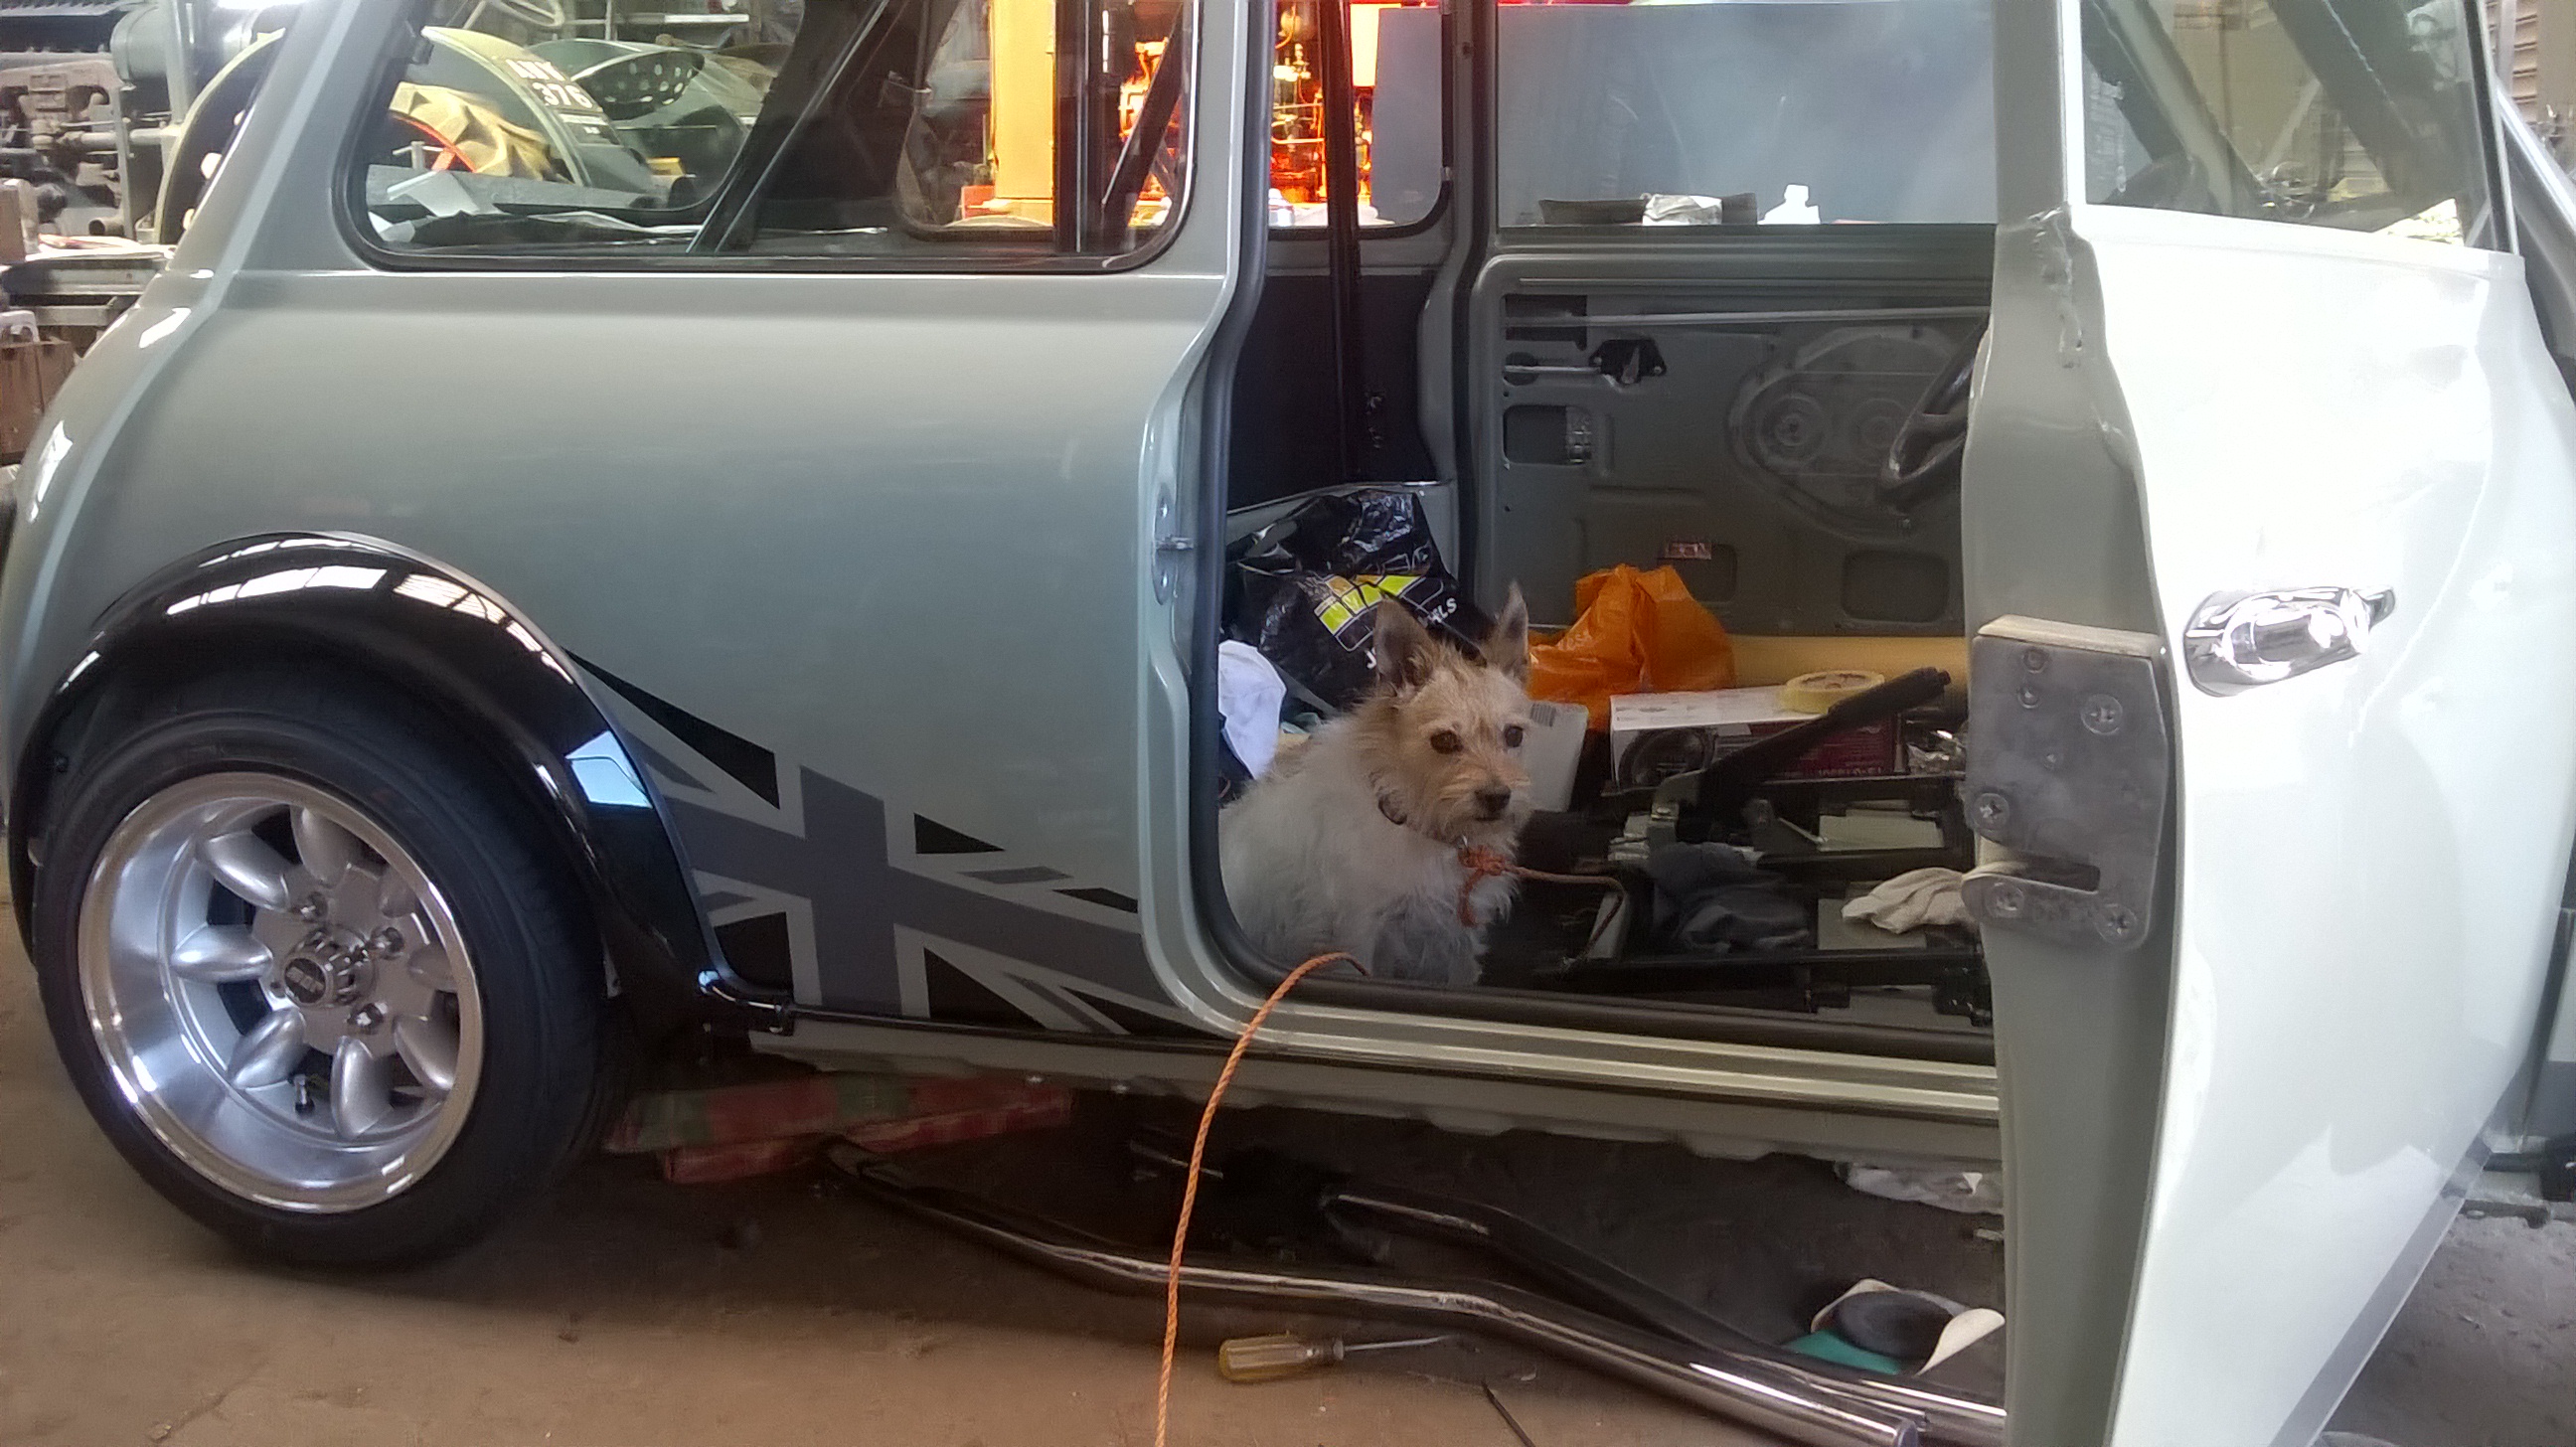
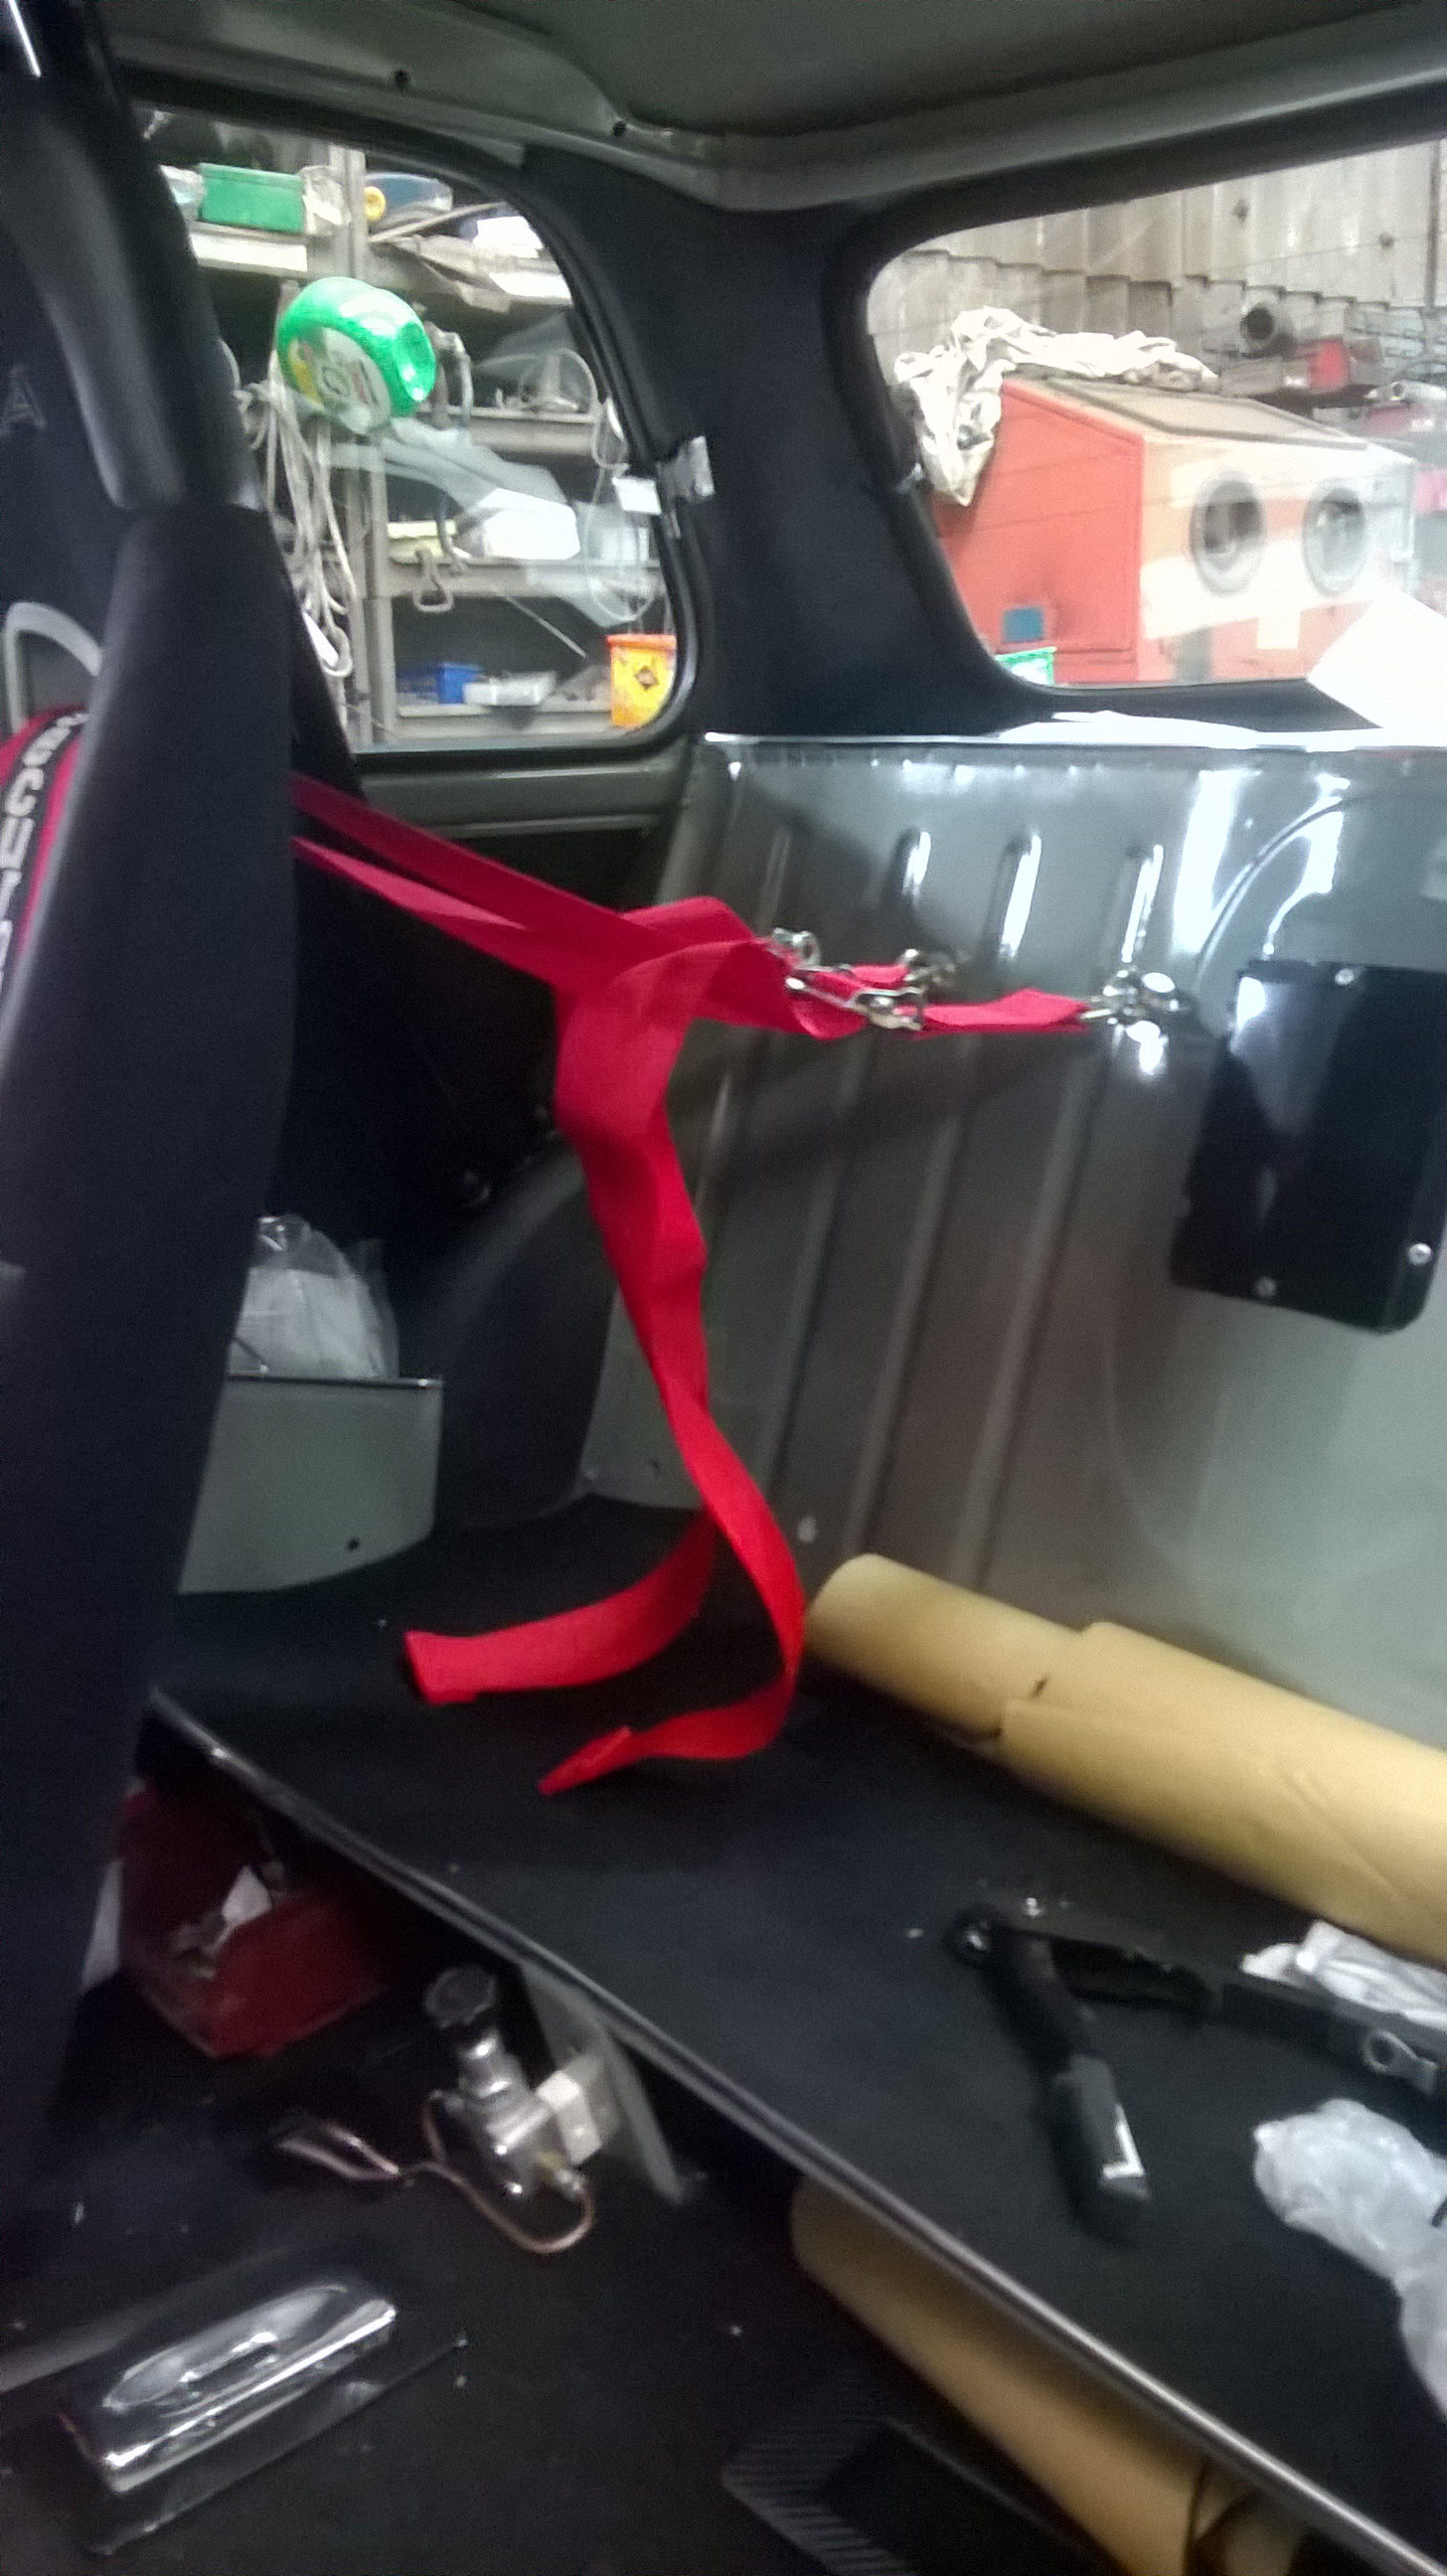
July not much changed went away on a holiday and trying get engine rebuild in place.Fitted sound deadening to inside of floor along with carpets Edited by Pete B on 17th Sep, 2018. |
||||||
|
80 Posts Member #: 11548 Advanced Member Calne Wiltshire |
17th Sep, 2018 at 06:29:17pm
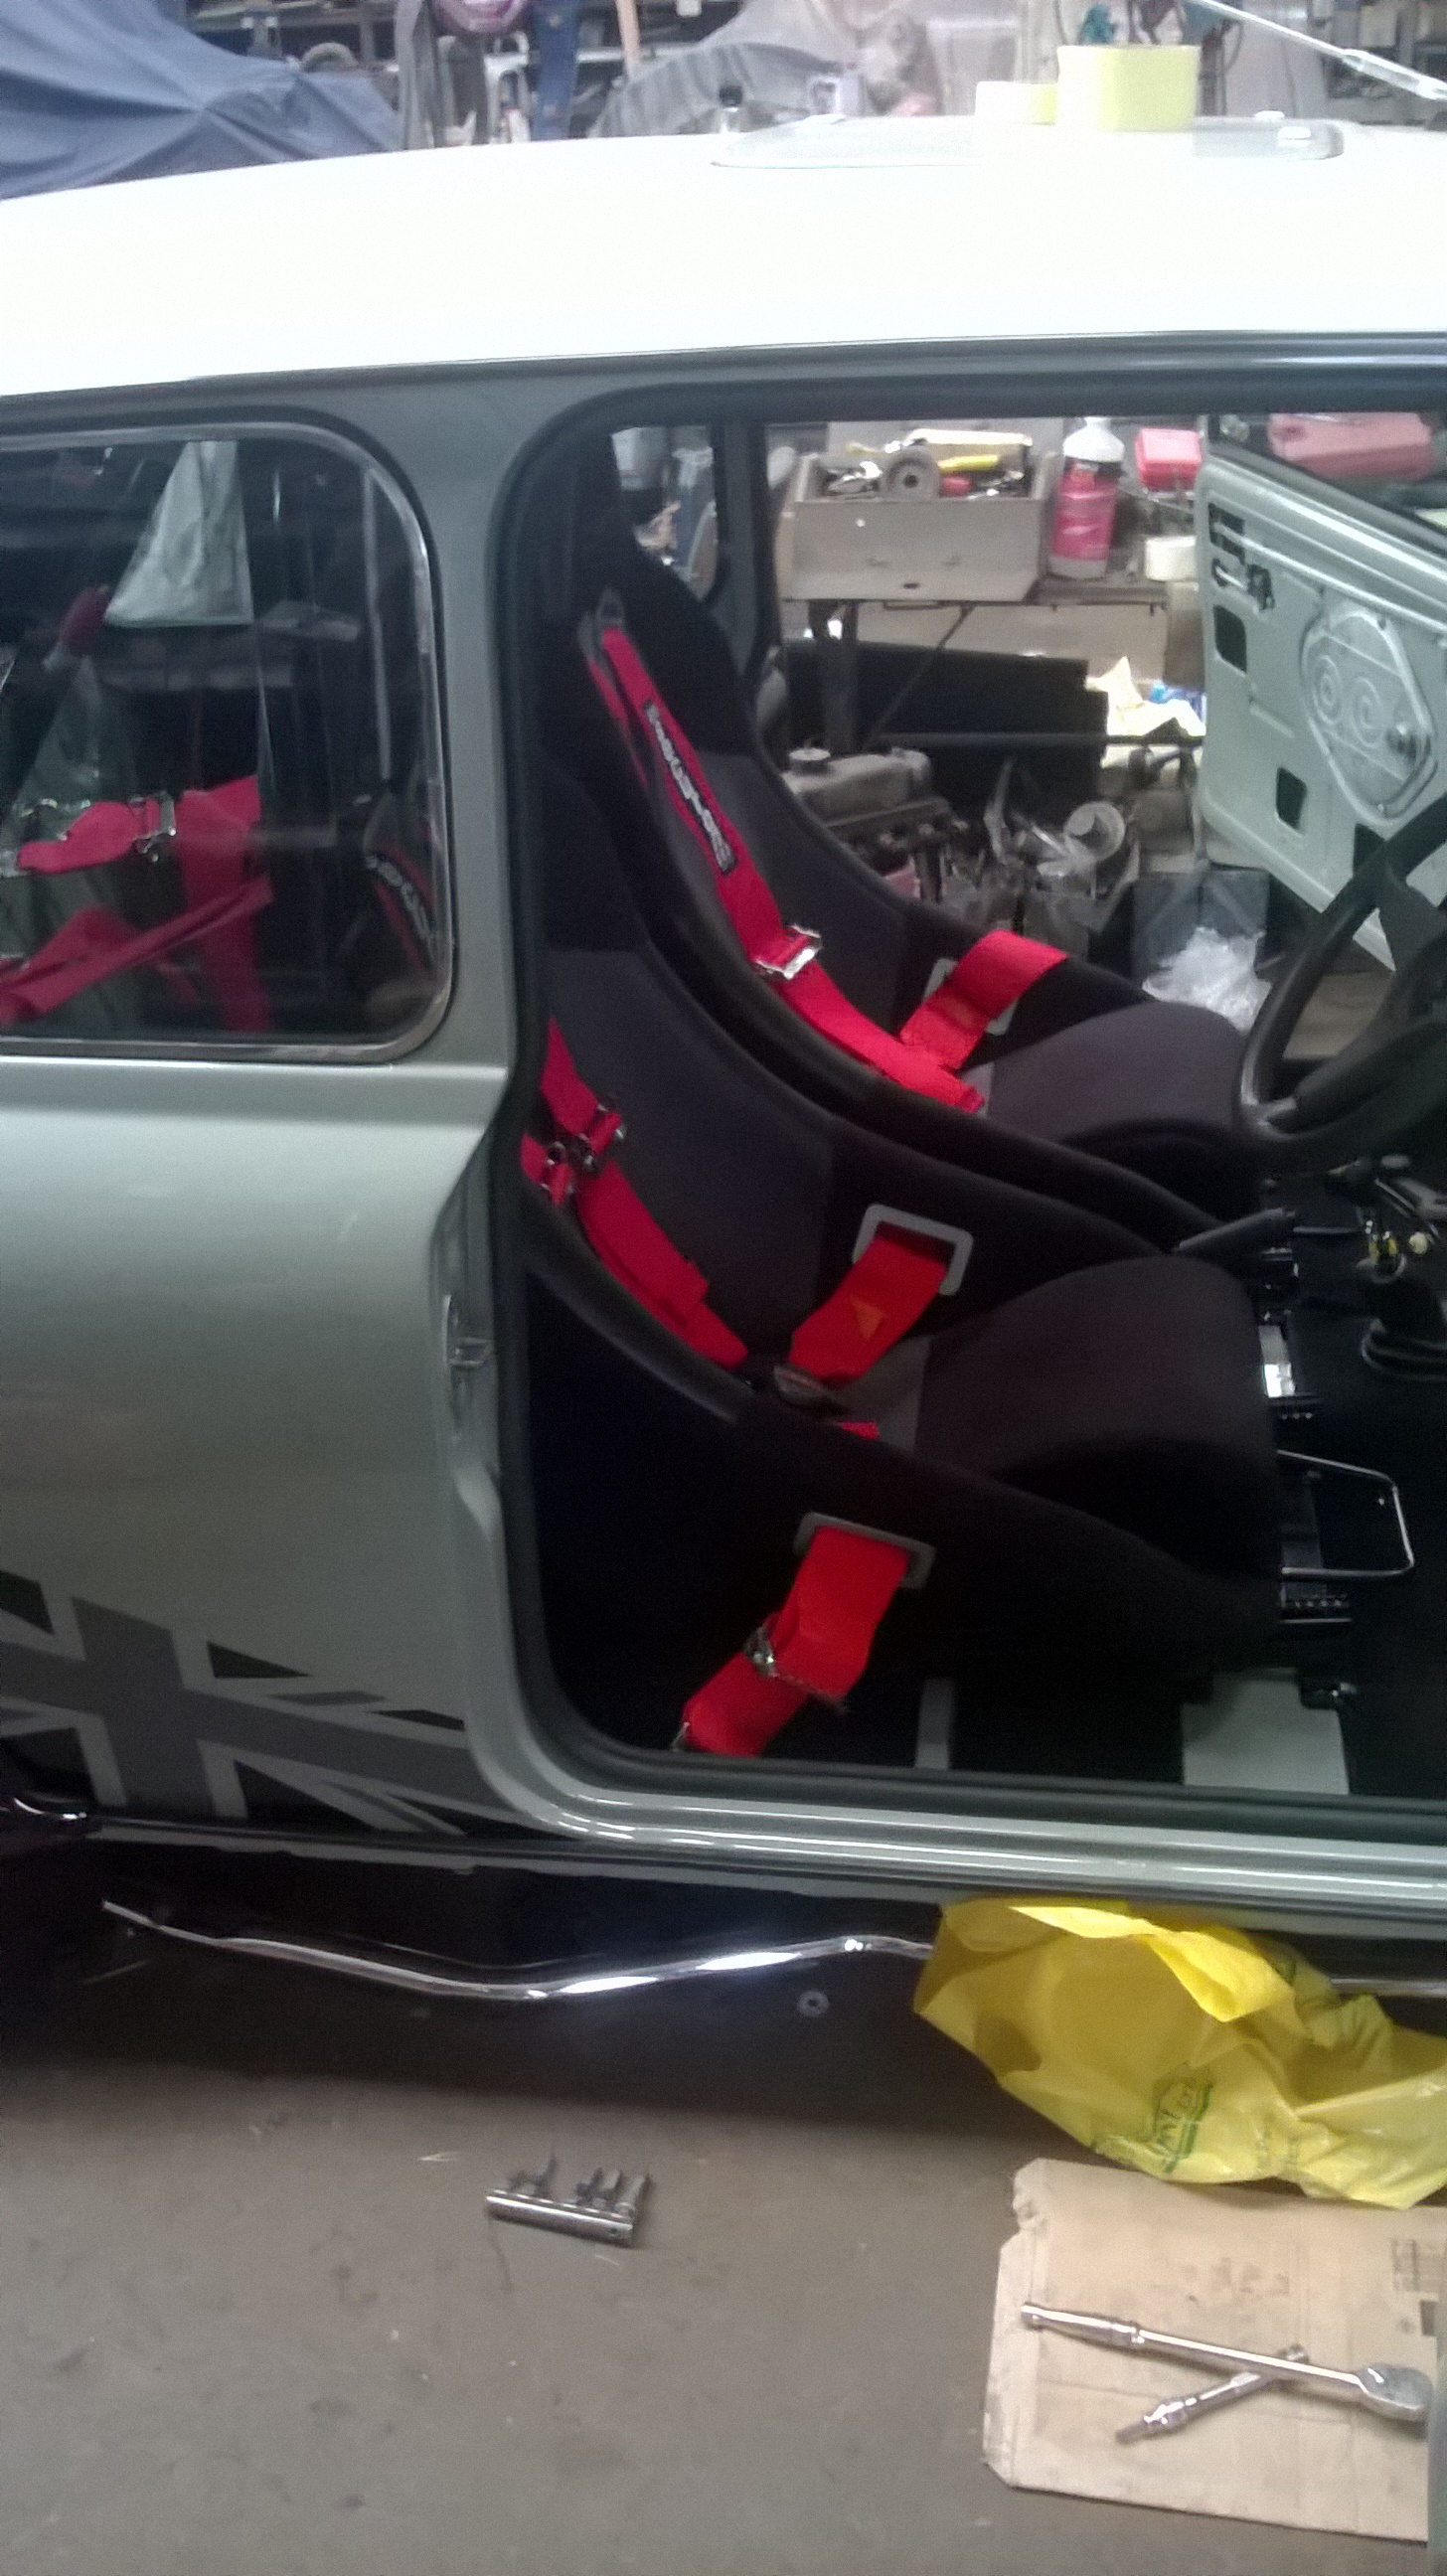
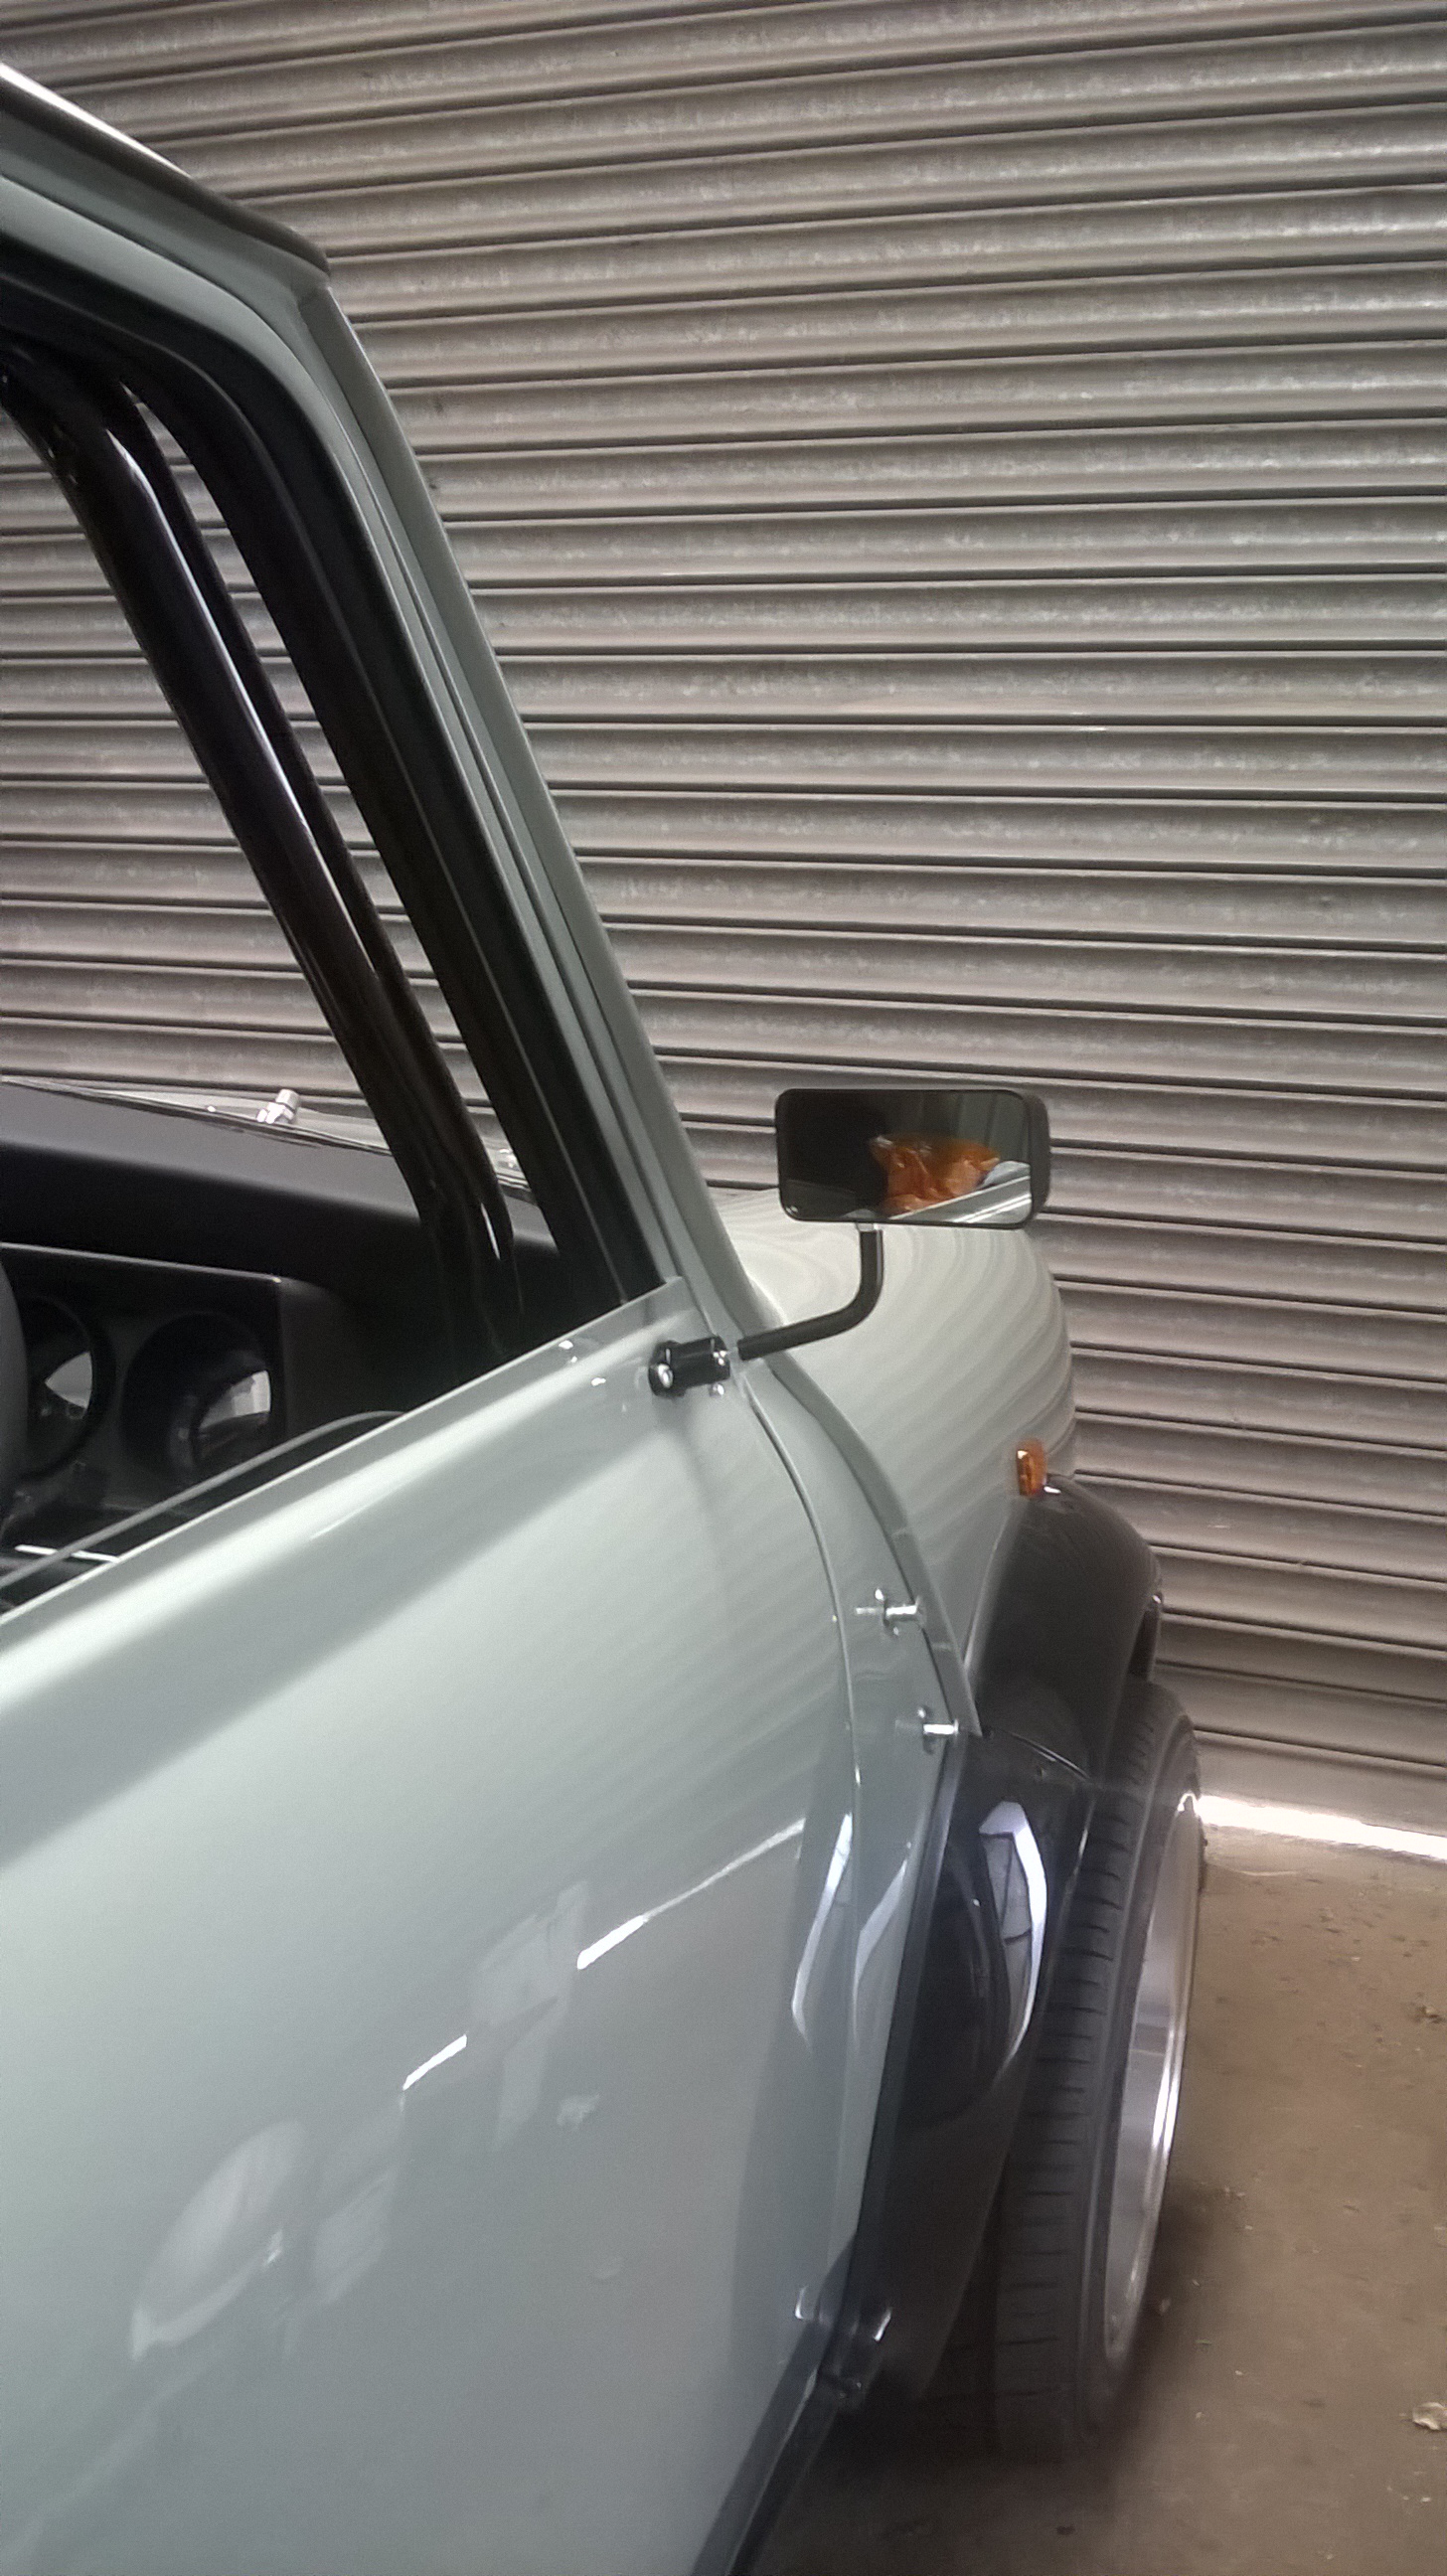
August 2018 seats and belts have gone in .Door waist seals and the mirrors Edited by Pete B on 17th Sep, 2018. |
||||||
|
80 Posts Member #: 11548 Advanced Member Calne Wiltshire |
17th Sep, 2018 at 06:39:09pm
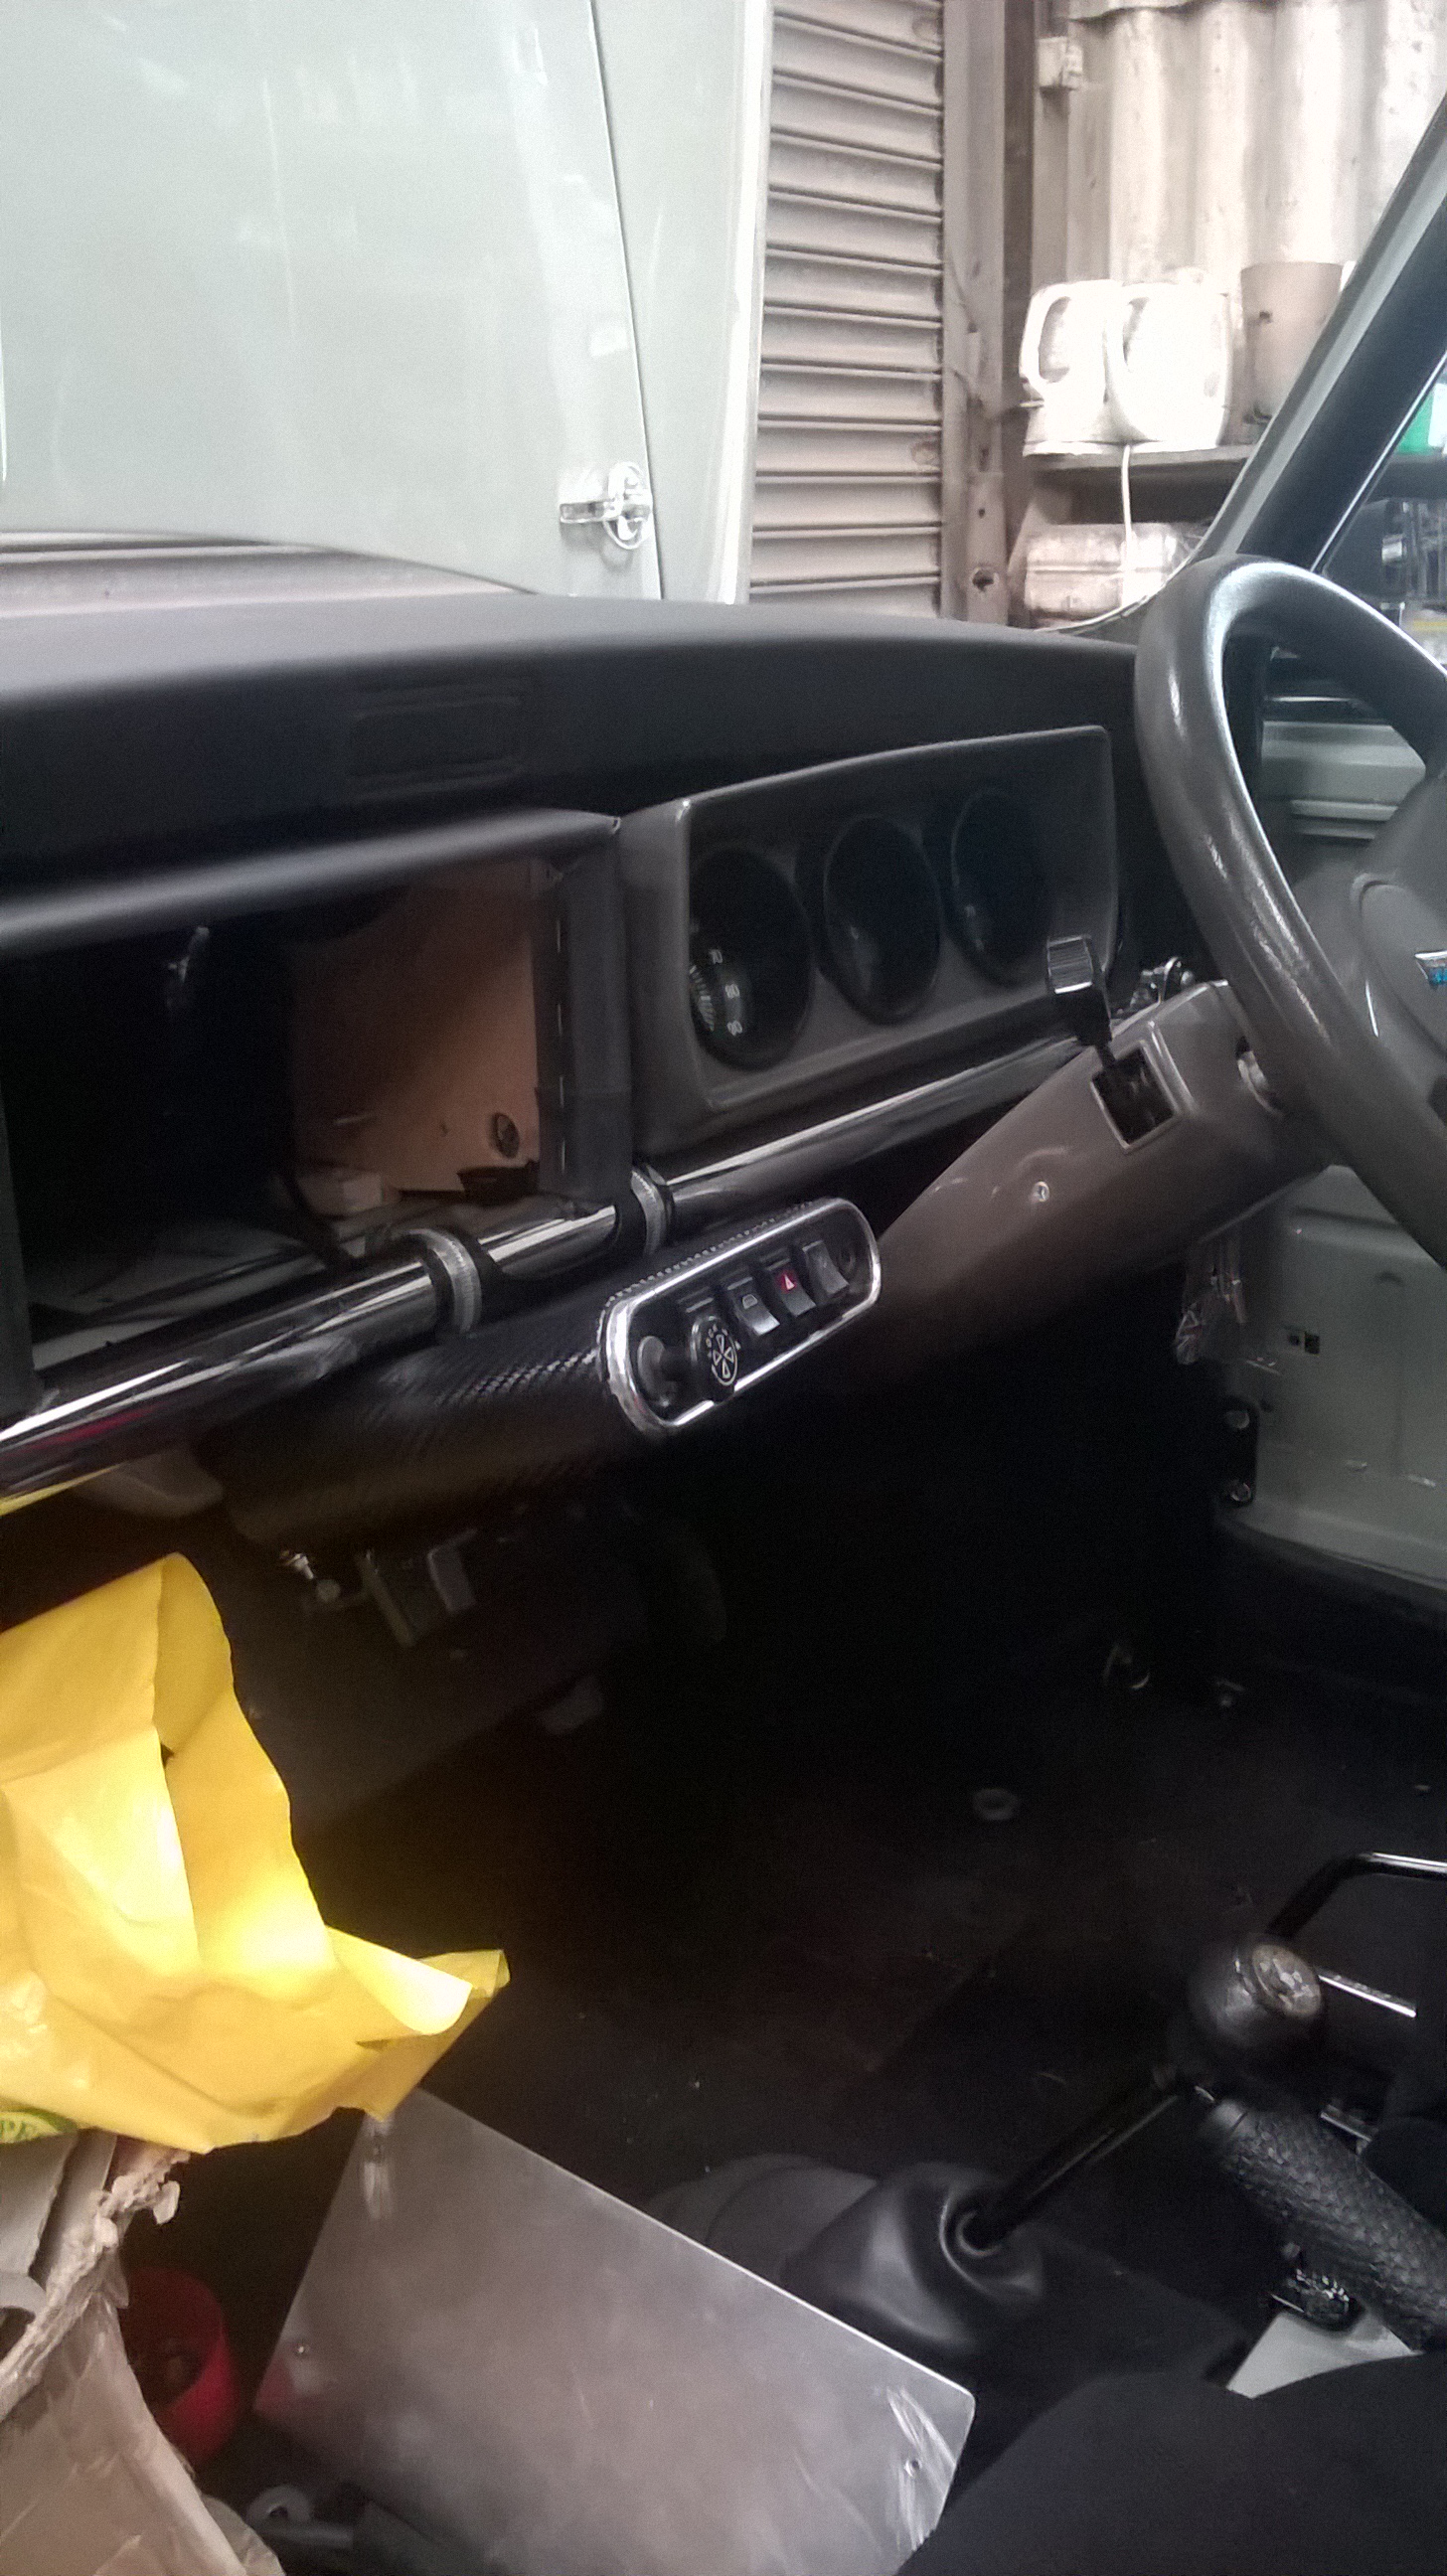
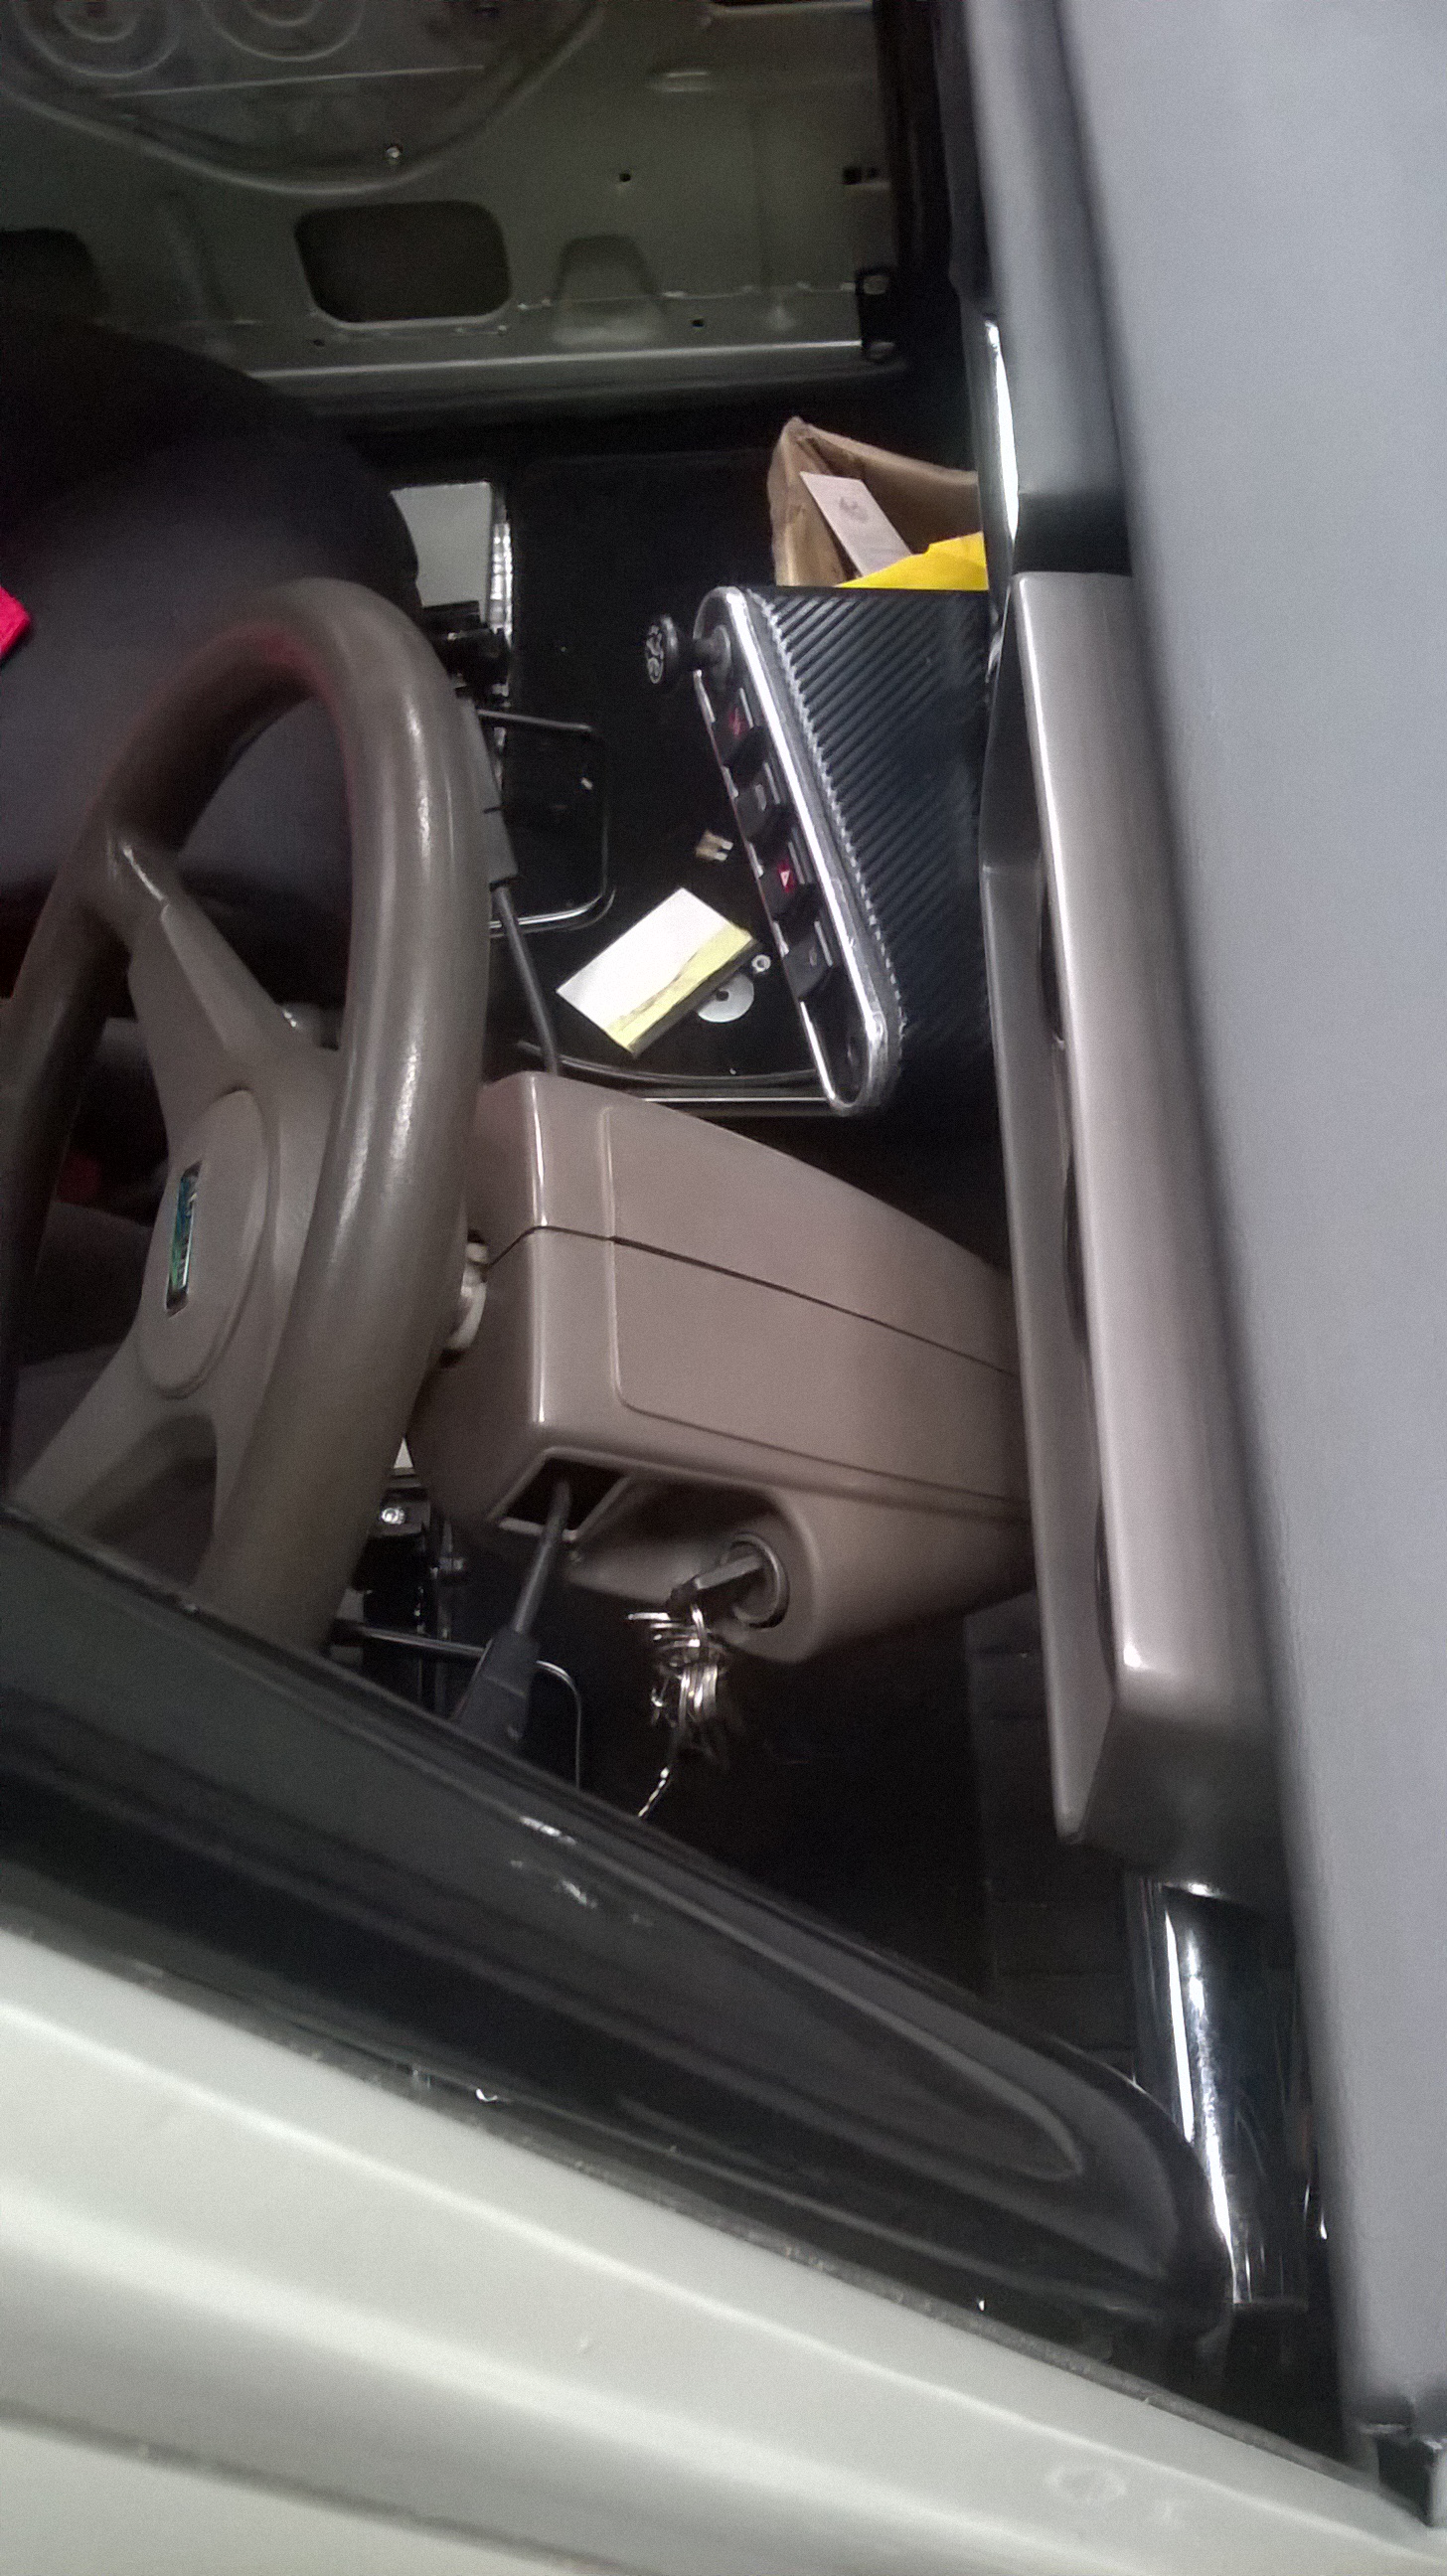
September 2018 not surprizing couldn't reach the switches when strapped into the seats so made up a new housing and moved fog light switch with brake level check light
|
||||||
 4619 Posts Member #: 20 My sister is so fit I won't show anyone her picture Lake District |
19th Sep, 2018 at 10:49:19pm
Excellent effort. It's good to see it nearly completed. Nice choice in colour to.
|
||||||
|
211 Posts Member #: 10890 Senior Member Twin Cam Turbo Build In Progress Rothwell, Northants |
19th Sep, 2018 at 11:17:19pm
Agree with Phil on the colour choice. It looks great |
||||||
|
80 Posts Member #: 11548 Advanced Member Calne Wiltshire |
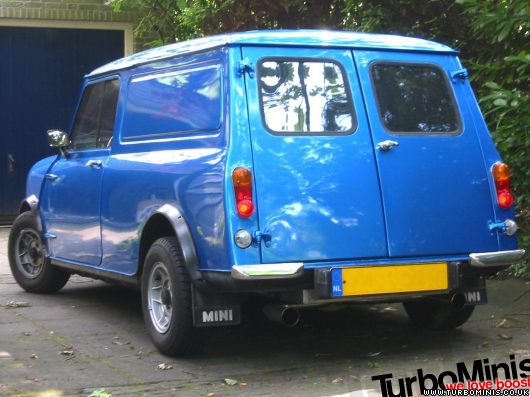
20th Sep, 2018 at 04:47:10pm
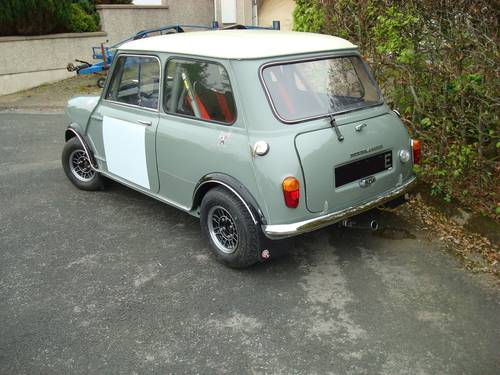
Thanks for the comments think colour choice has been hardest part of the build so far was going to be almond green originally then started liking the way tweed grey looks a bit green in the sunshine so looked for a green/grey . Similar to this think its actually tweed grey. |
||||||
|
211 Posts Member #: 10890 Senior Member Twin Cam Turbo Build In Progress Rothwell, Northants |
20th Sep, 2018 at 05:18:48pm
I'm thinking Olde English White for mine next year.......but I really do like Grey too. Don't worry I'm gonna stick to White :)
|
||||||
|
80 Posts Member #: 11548 Advanced Member Calne Wiltshire |
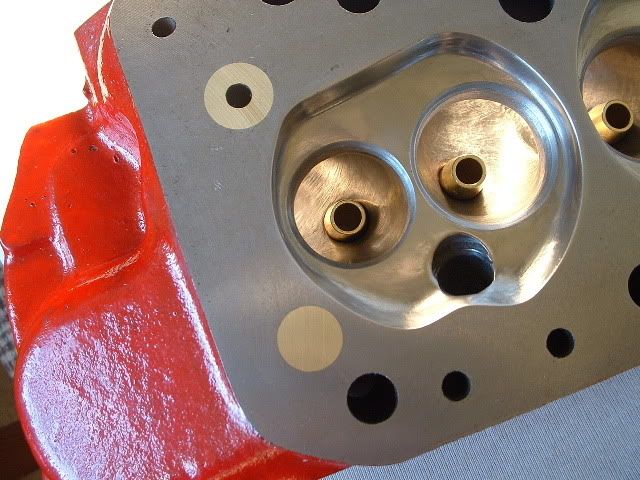
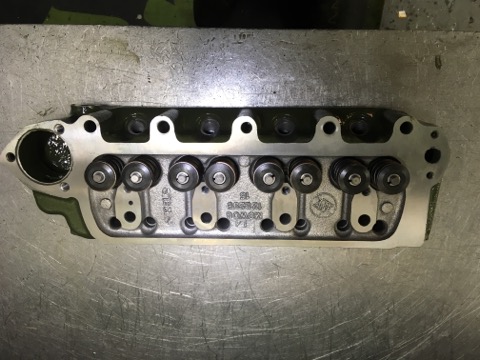
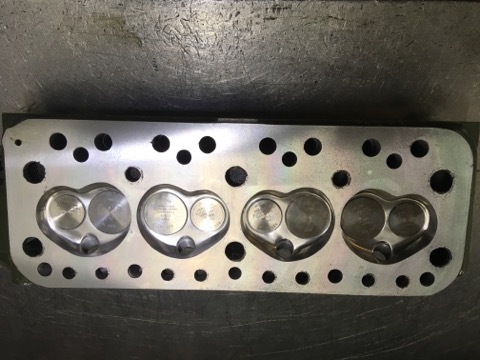
14th Apr, 2019 at 02:25:16pm
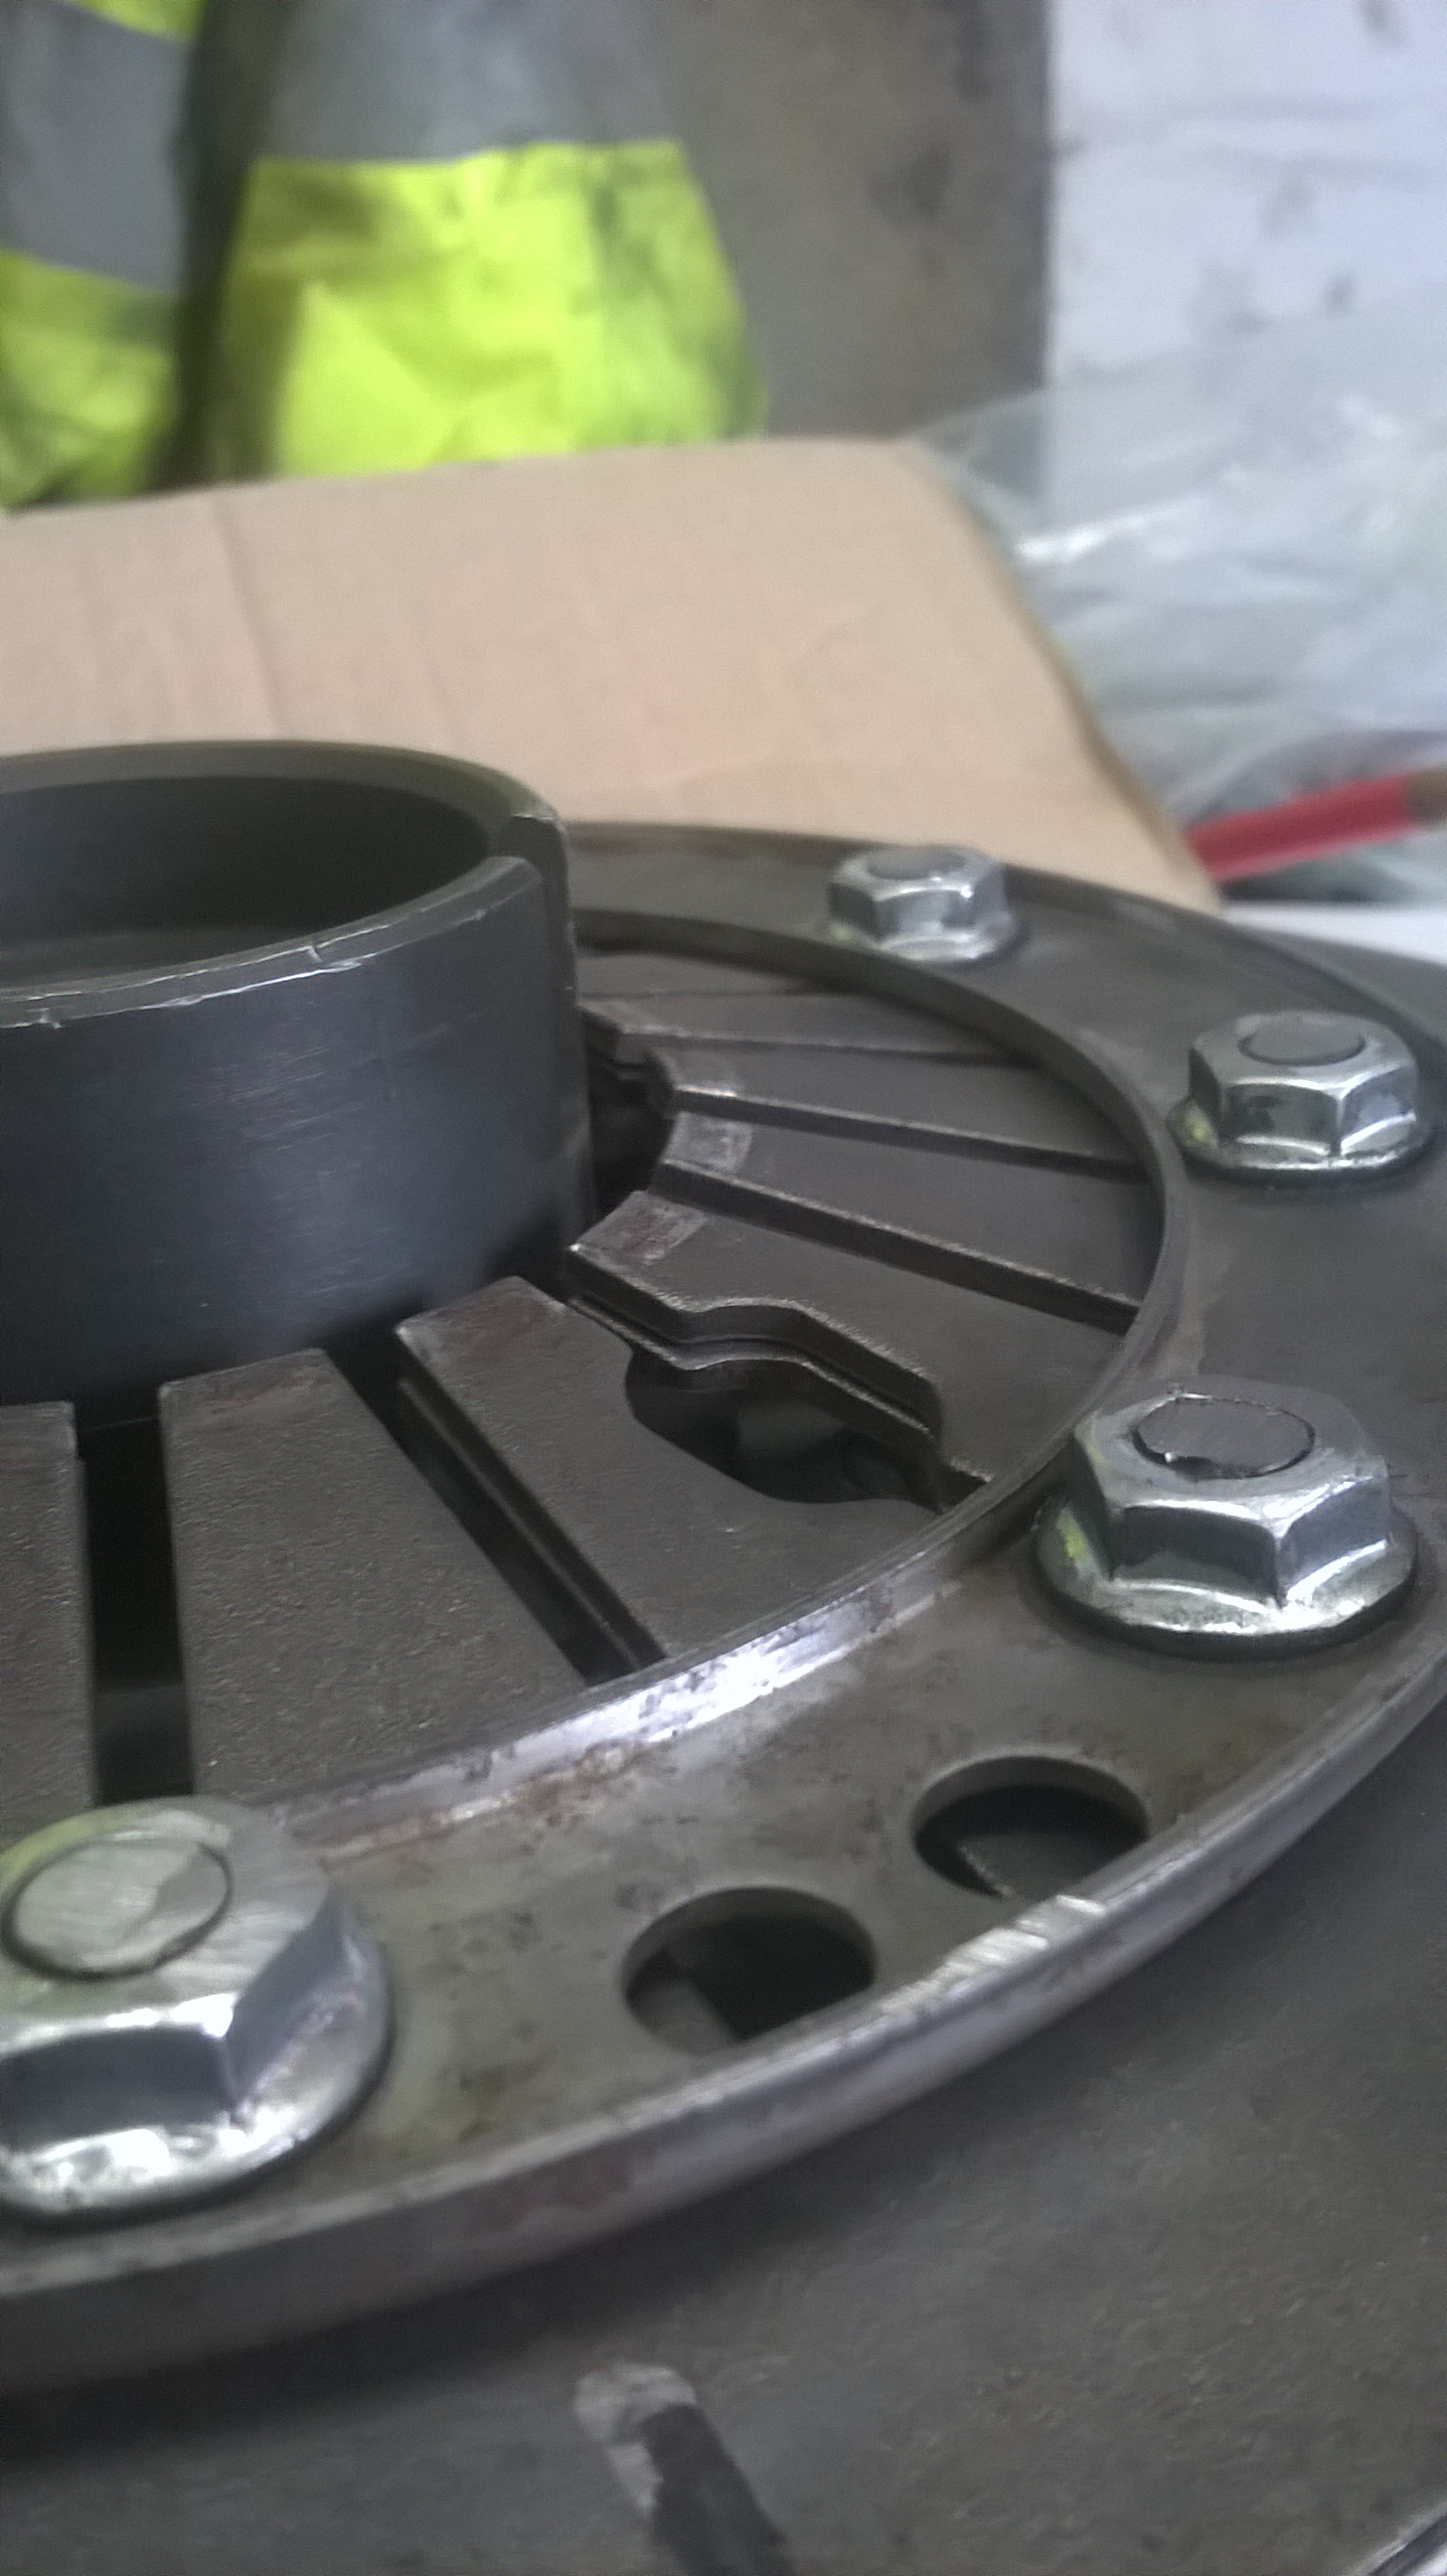
Not had much time for the project so far this year and had been waiting for my cylinder head to be overhauled which is now all done .also have been saving money up for gearbox parts and decided to go for minispares clubman straight cut set and and complete bearing kit which I have just finished putting together this morning surprized how well it went apart from firing syncro hub balls around the room. |
||||||
|
80 Posts Member #: 11548 Advanced Member Calne Wiltshire |
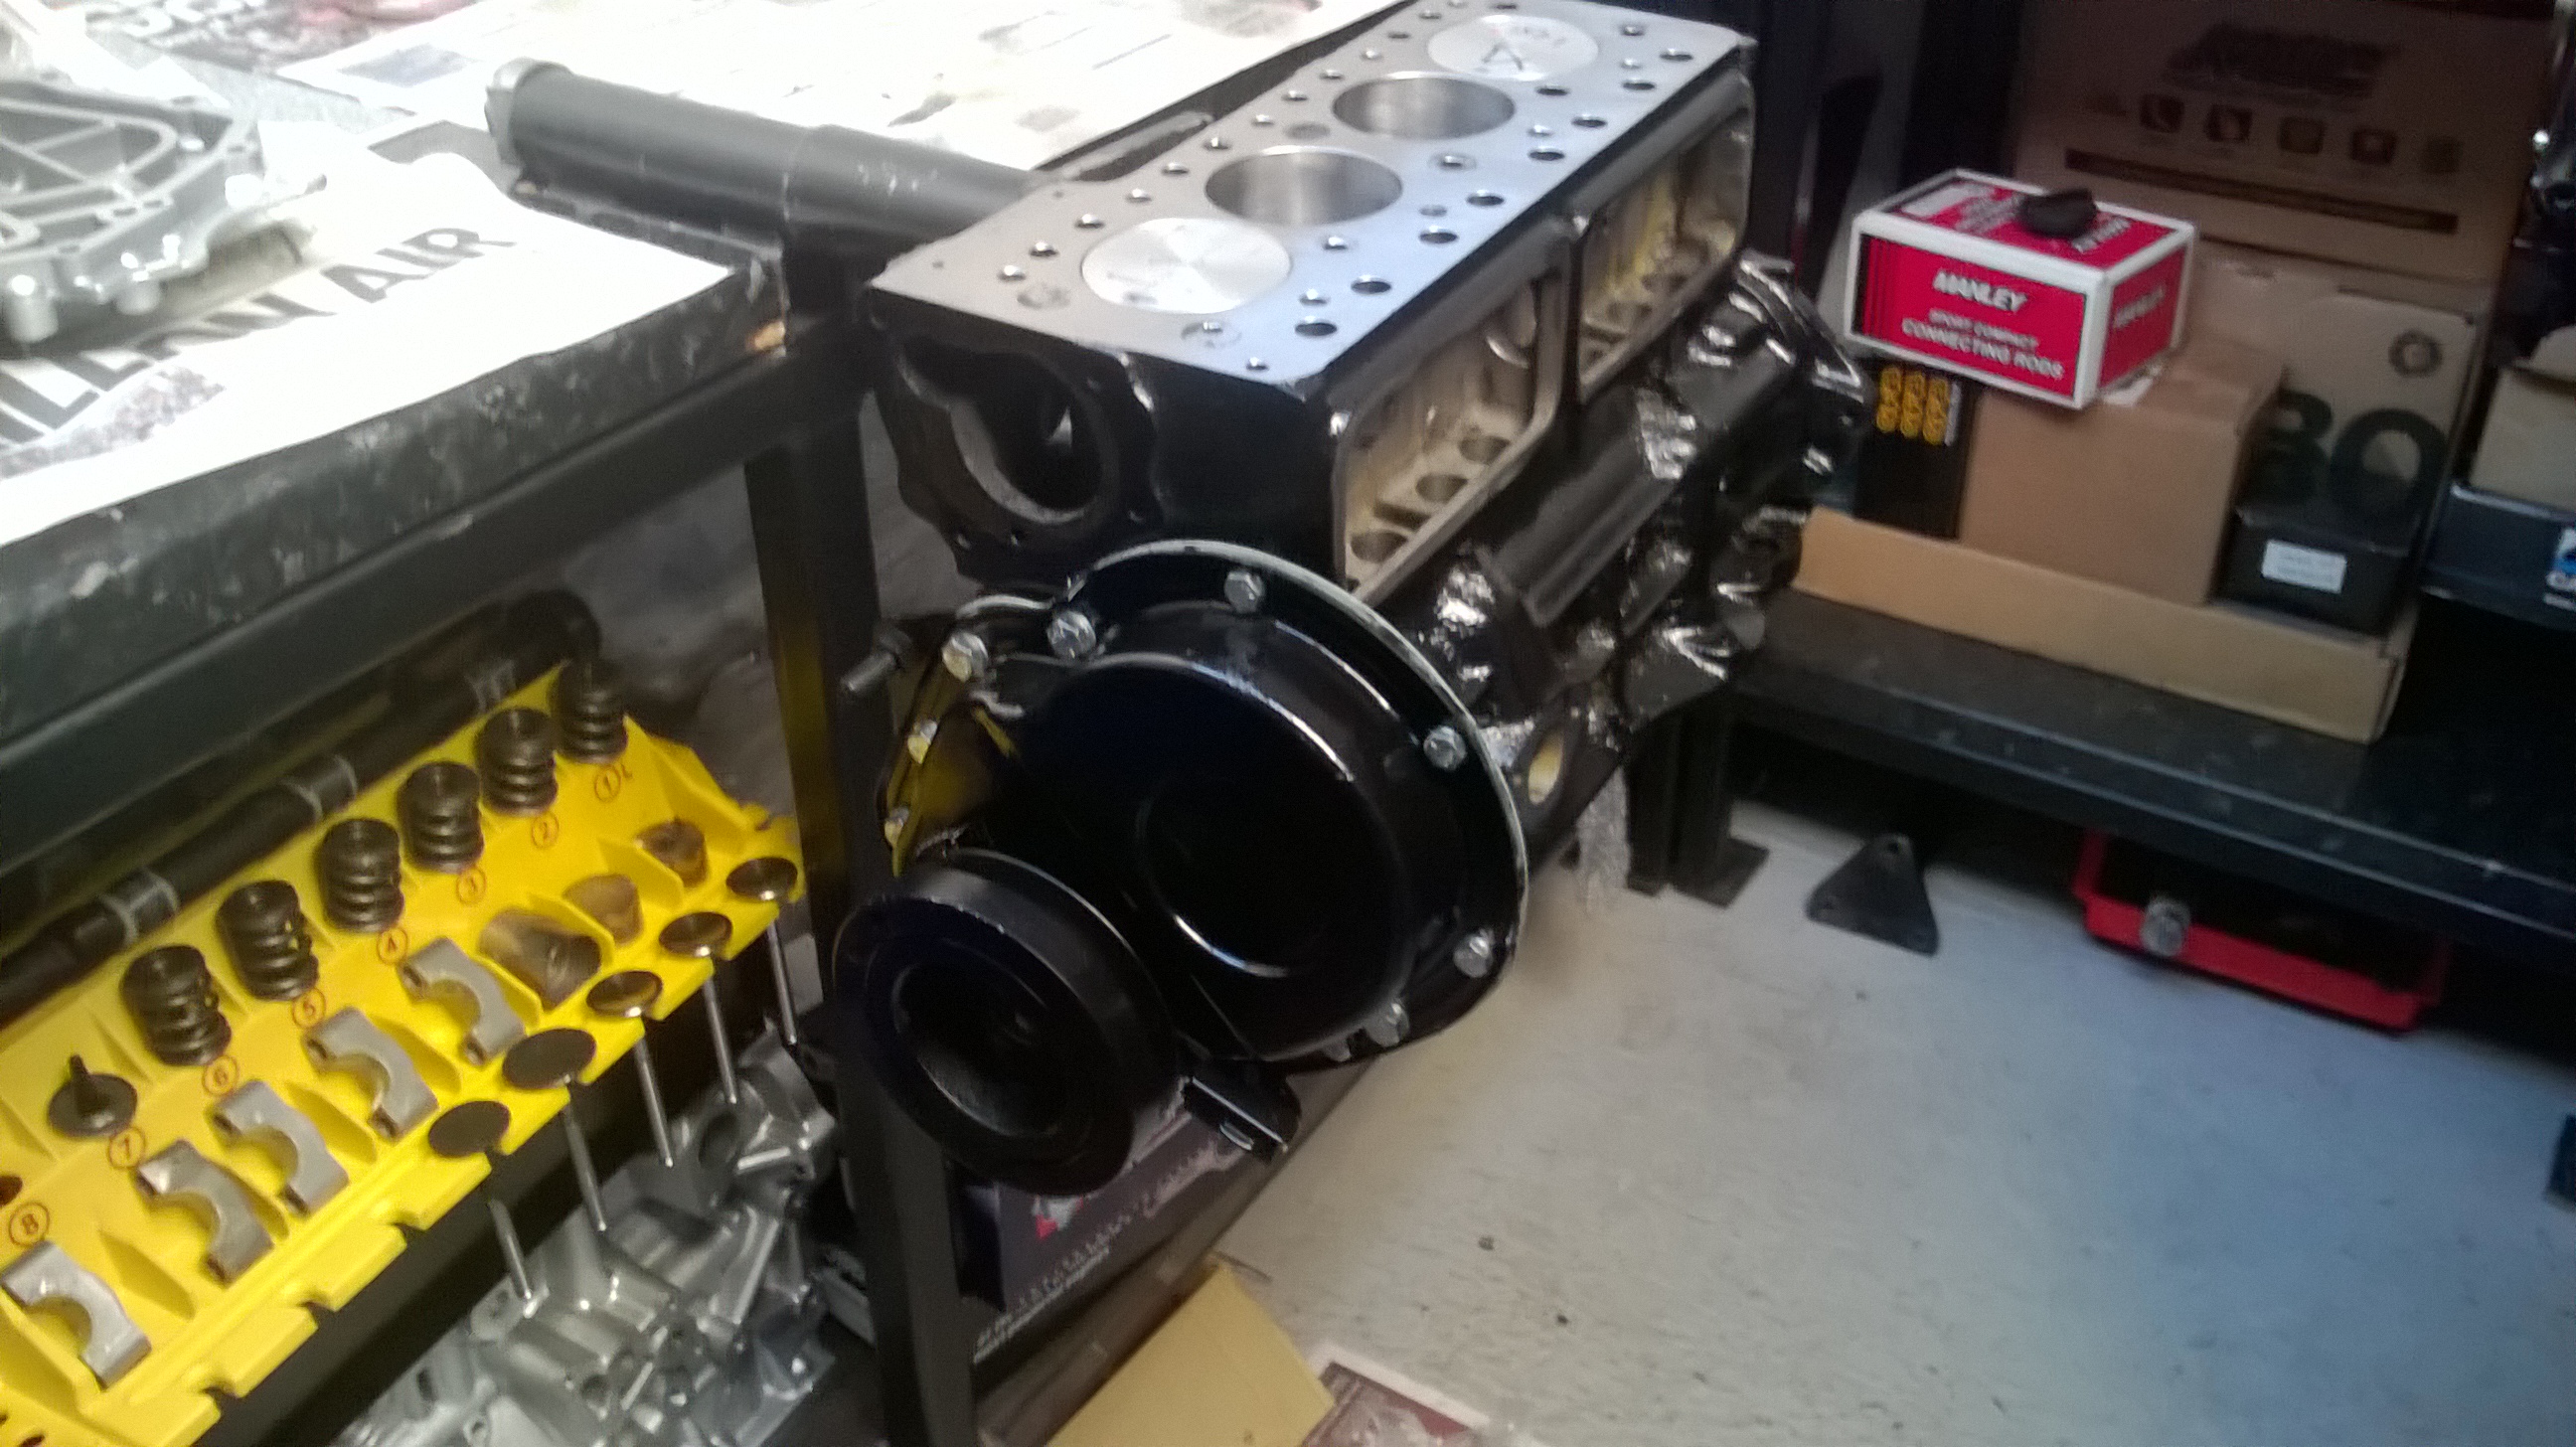
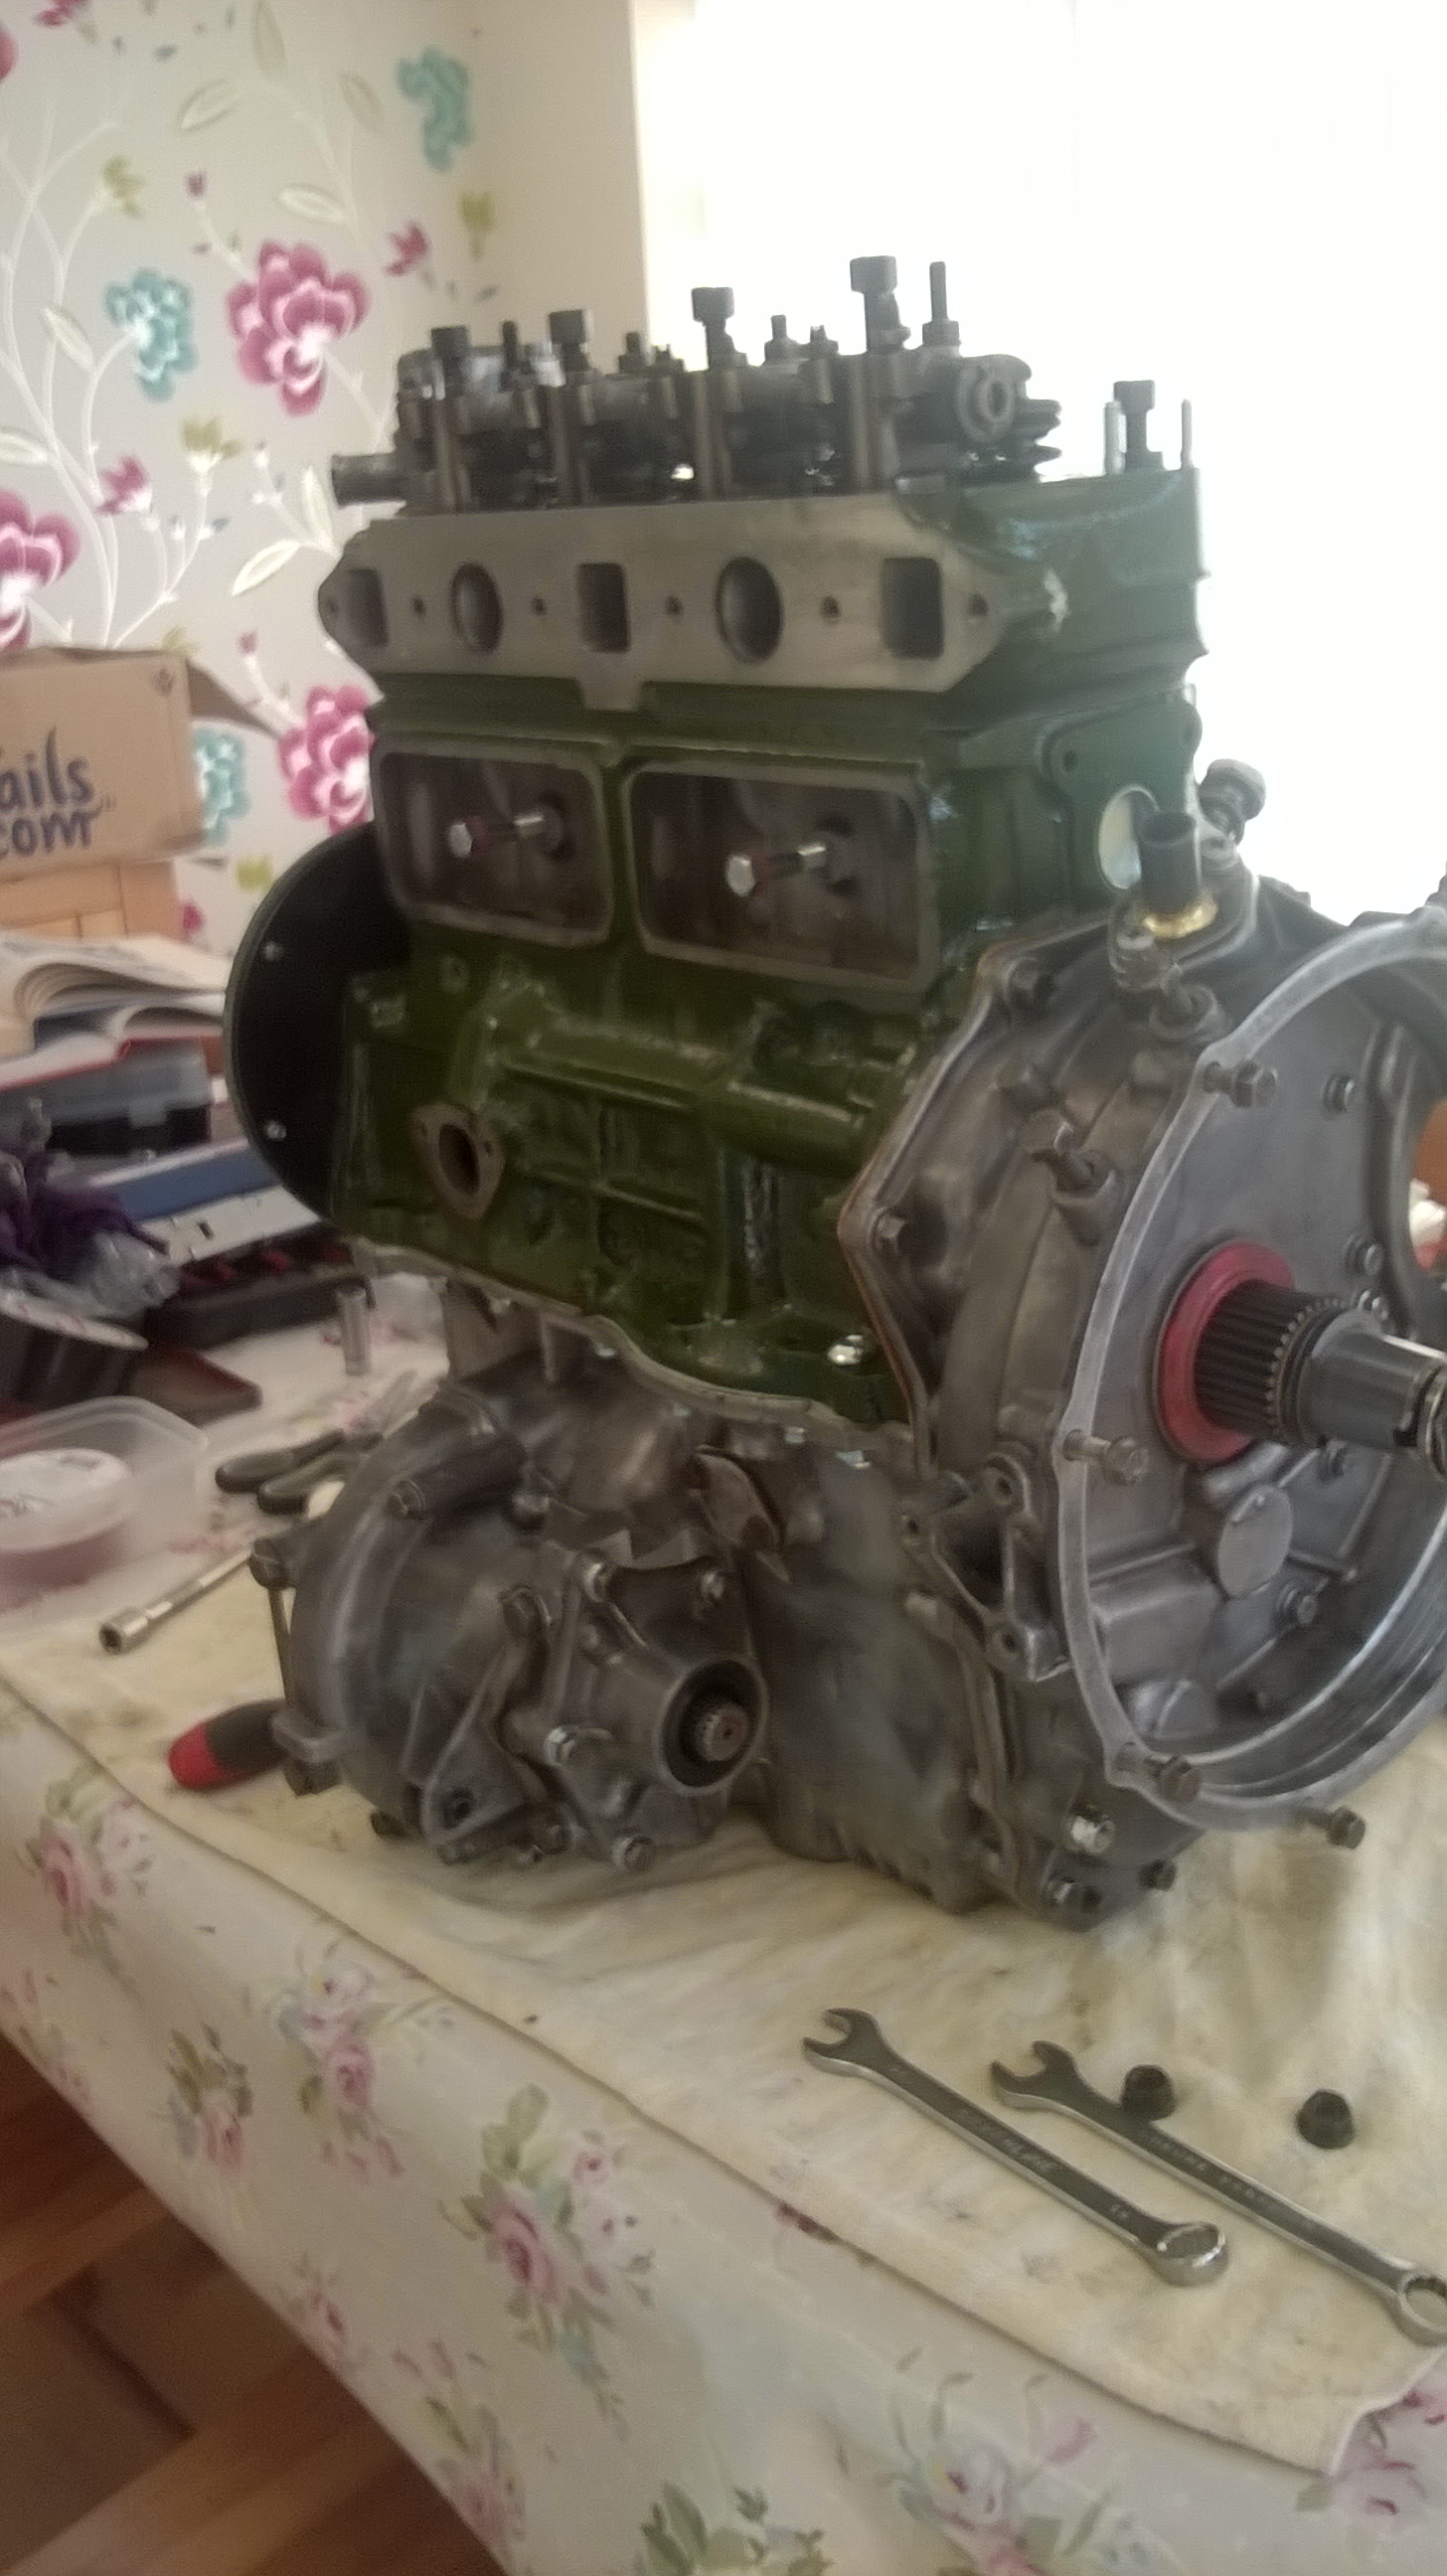
29th May, 2019 at 10:41:40pm
Have finally found some time to put the engine and gearbox together had to take a trip to Somerford Mini spares to get replacement bolts for the ones I put in a safe place about 2 1/2 years ago and can't find them just as well its a 5 minute journey.
|
||||||
 2619 Posts Member #: 1246 Post Whore Lowestoft, Suffolk. |
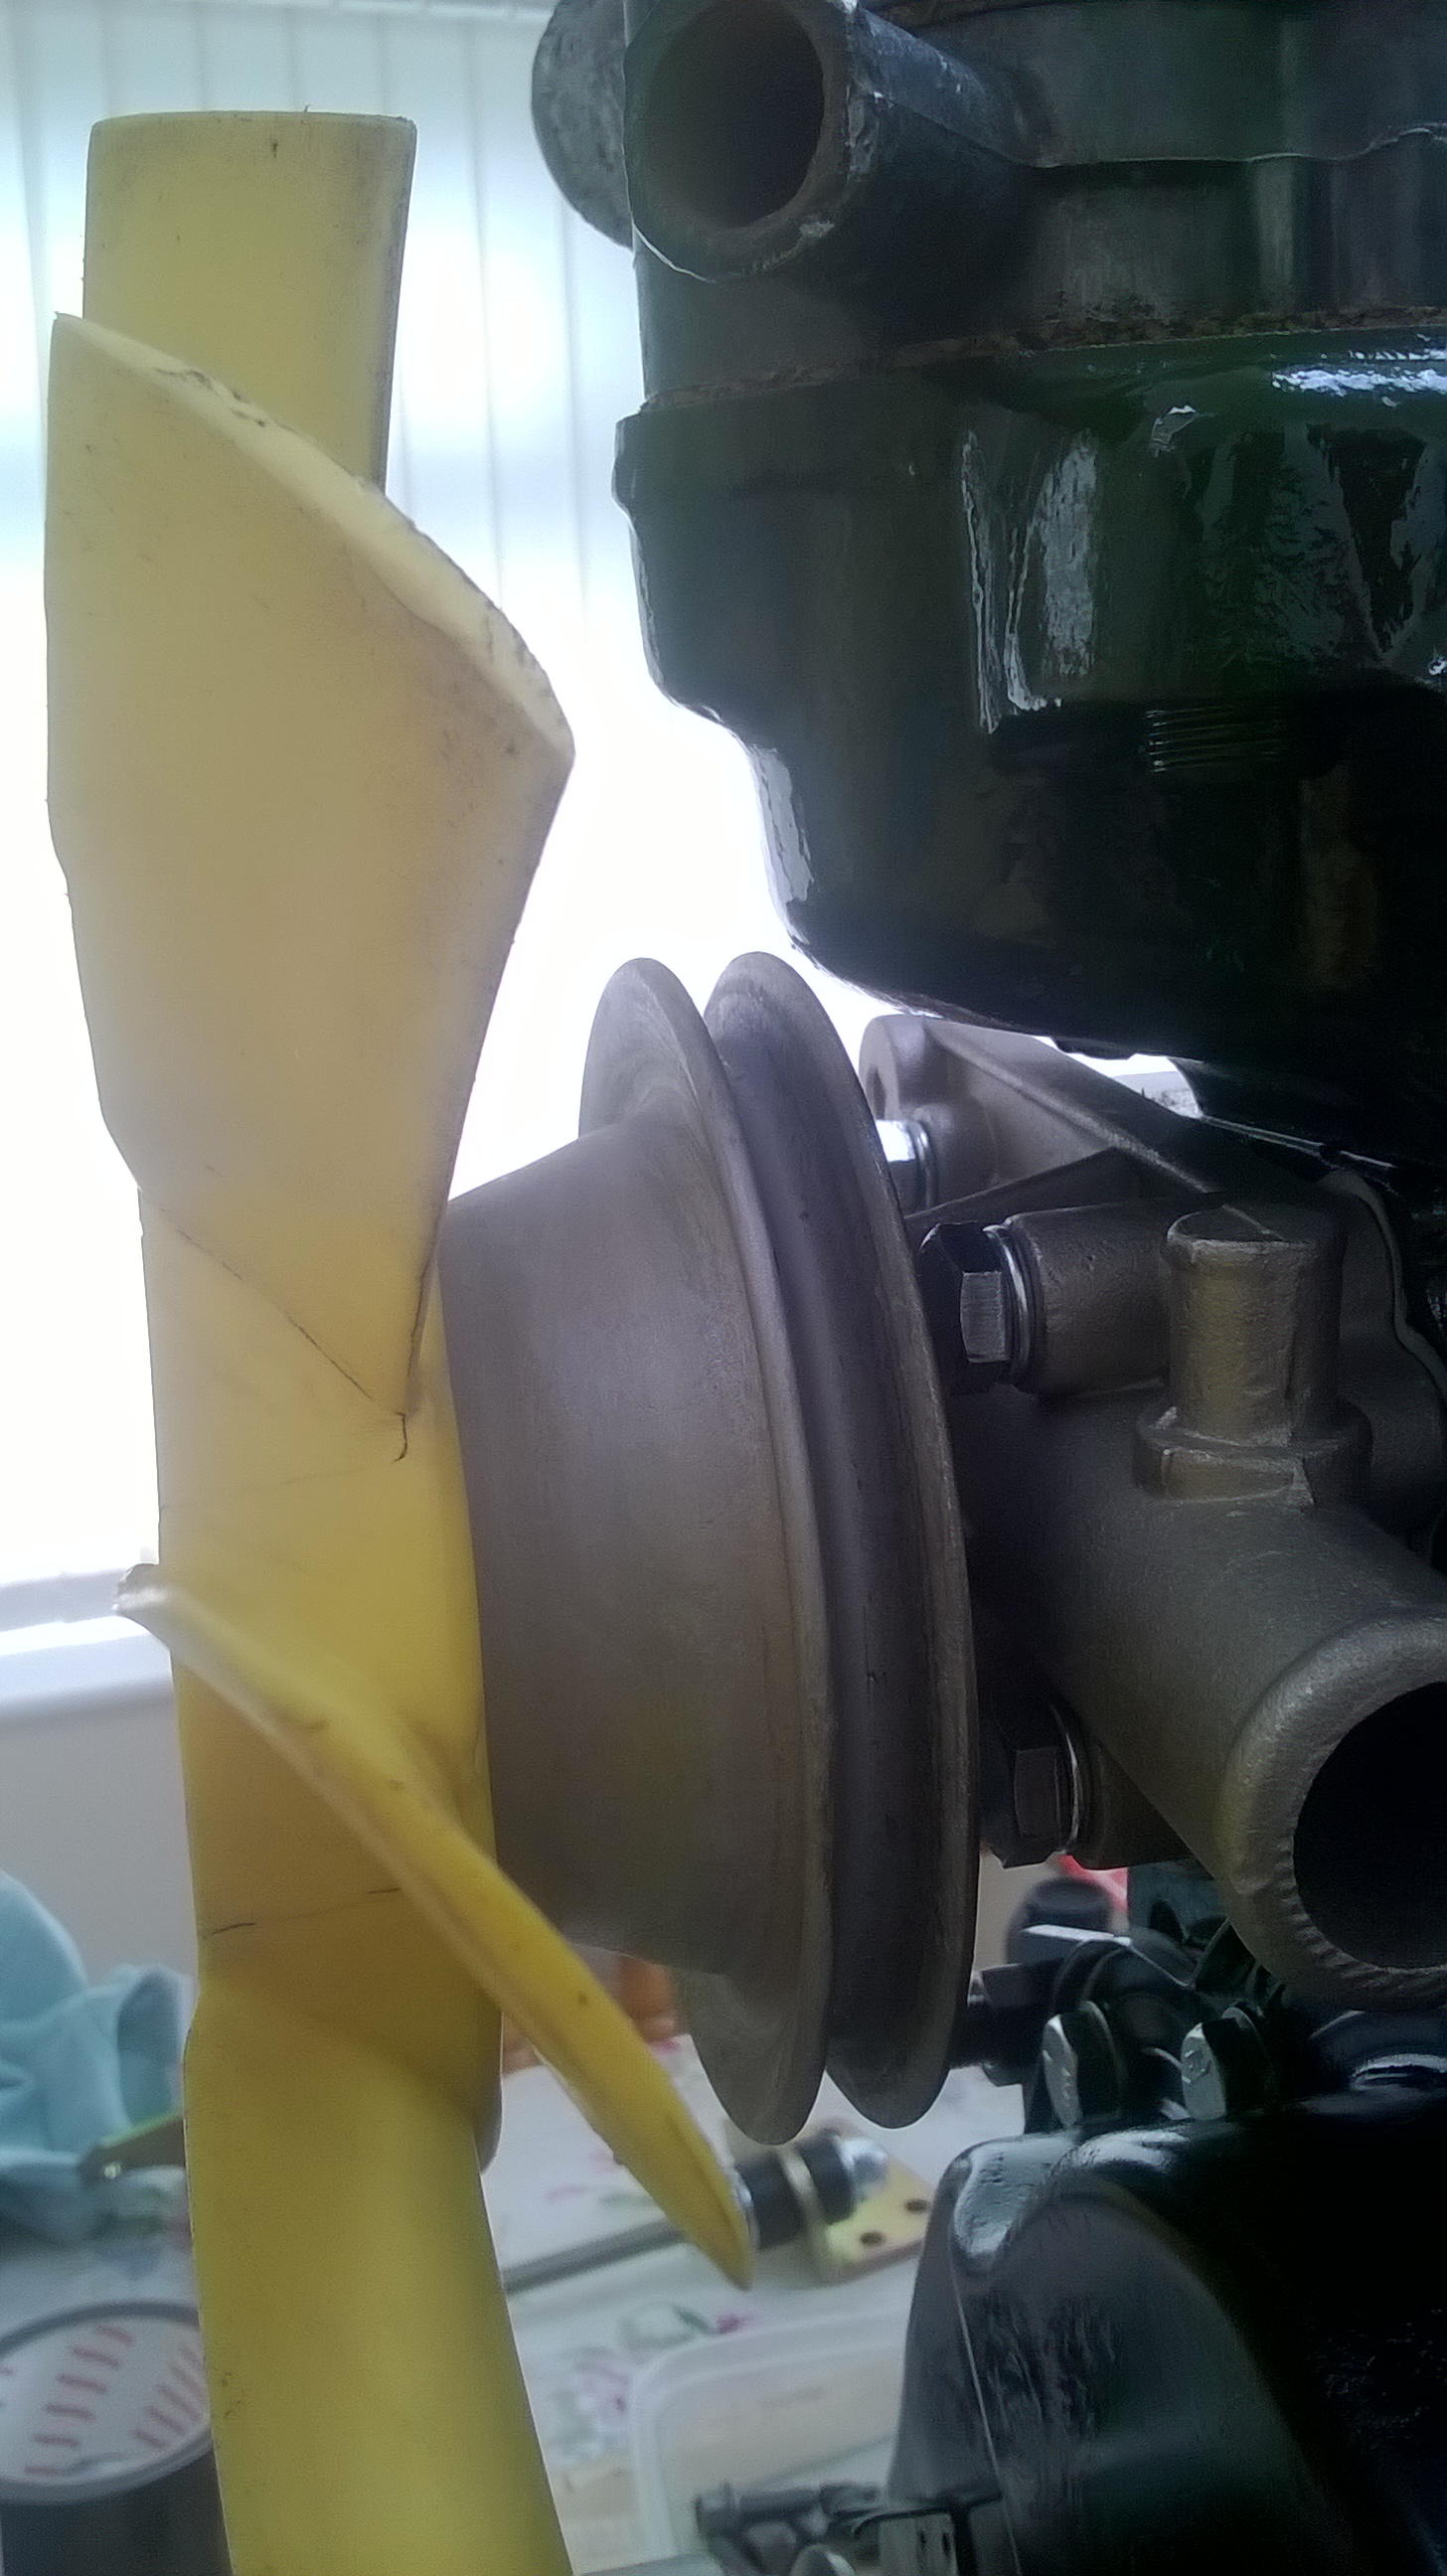
30th May, 2019 at 08:19:40pm
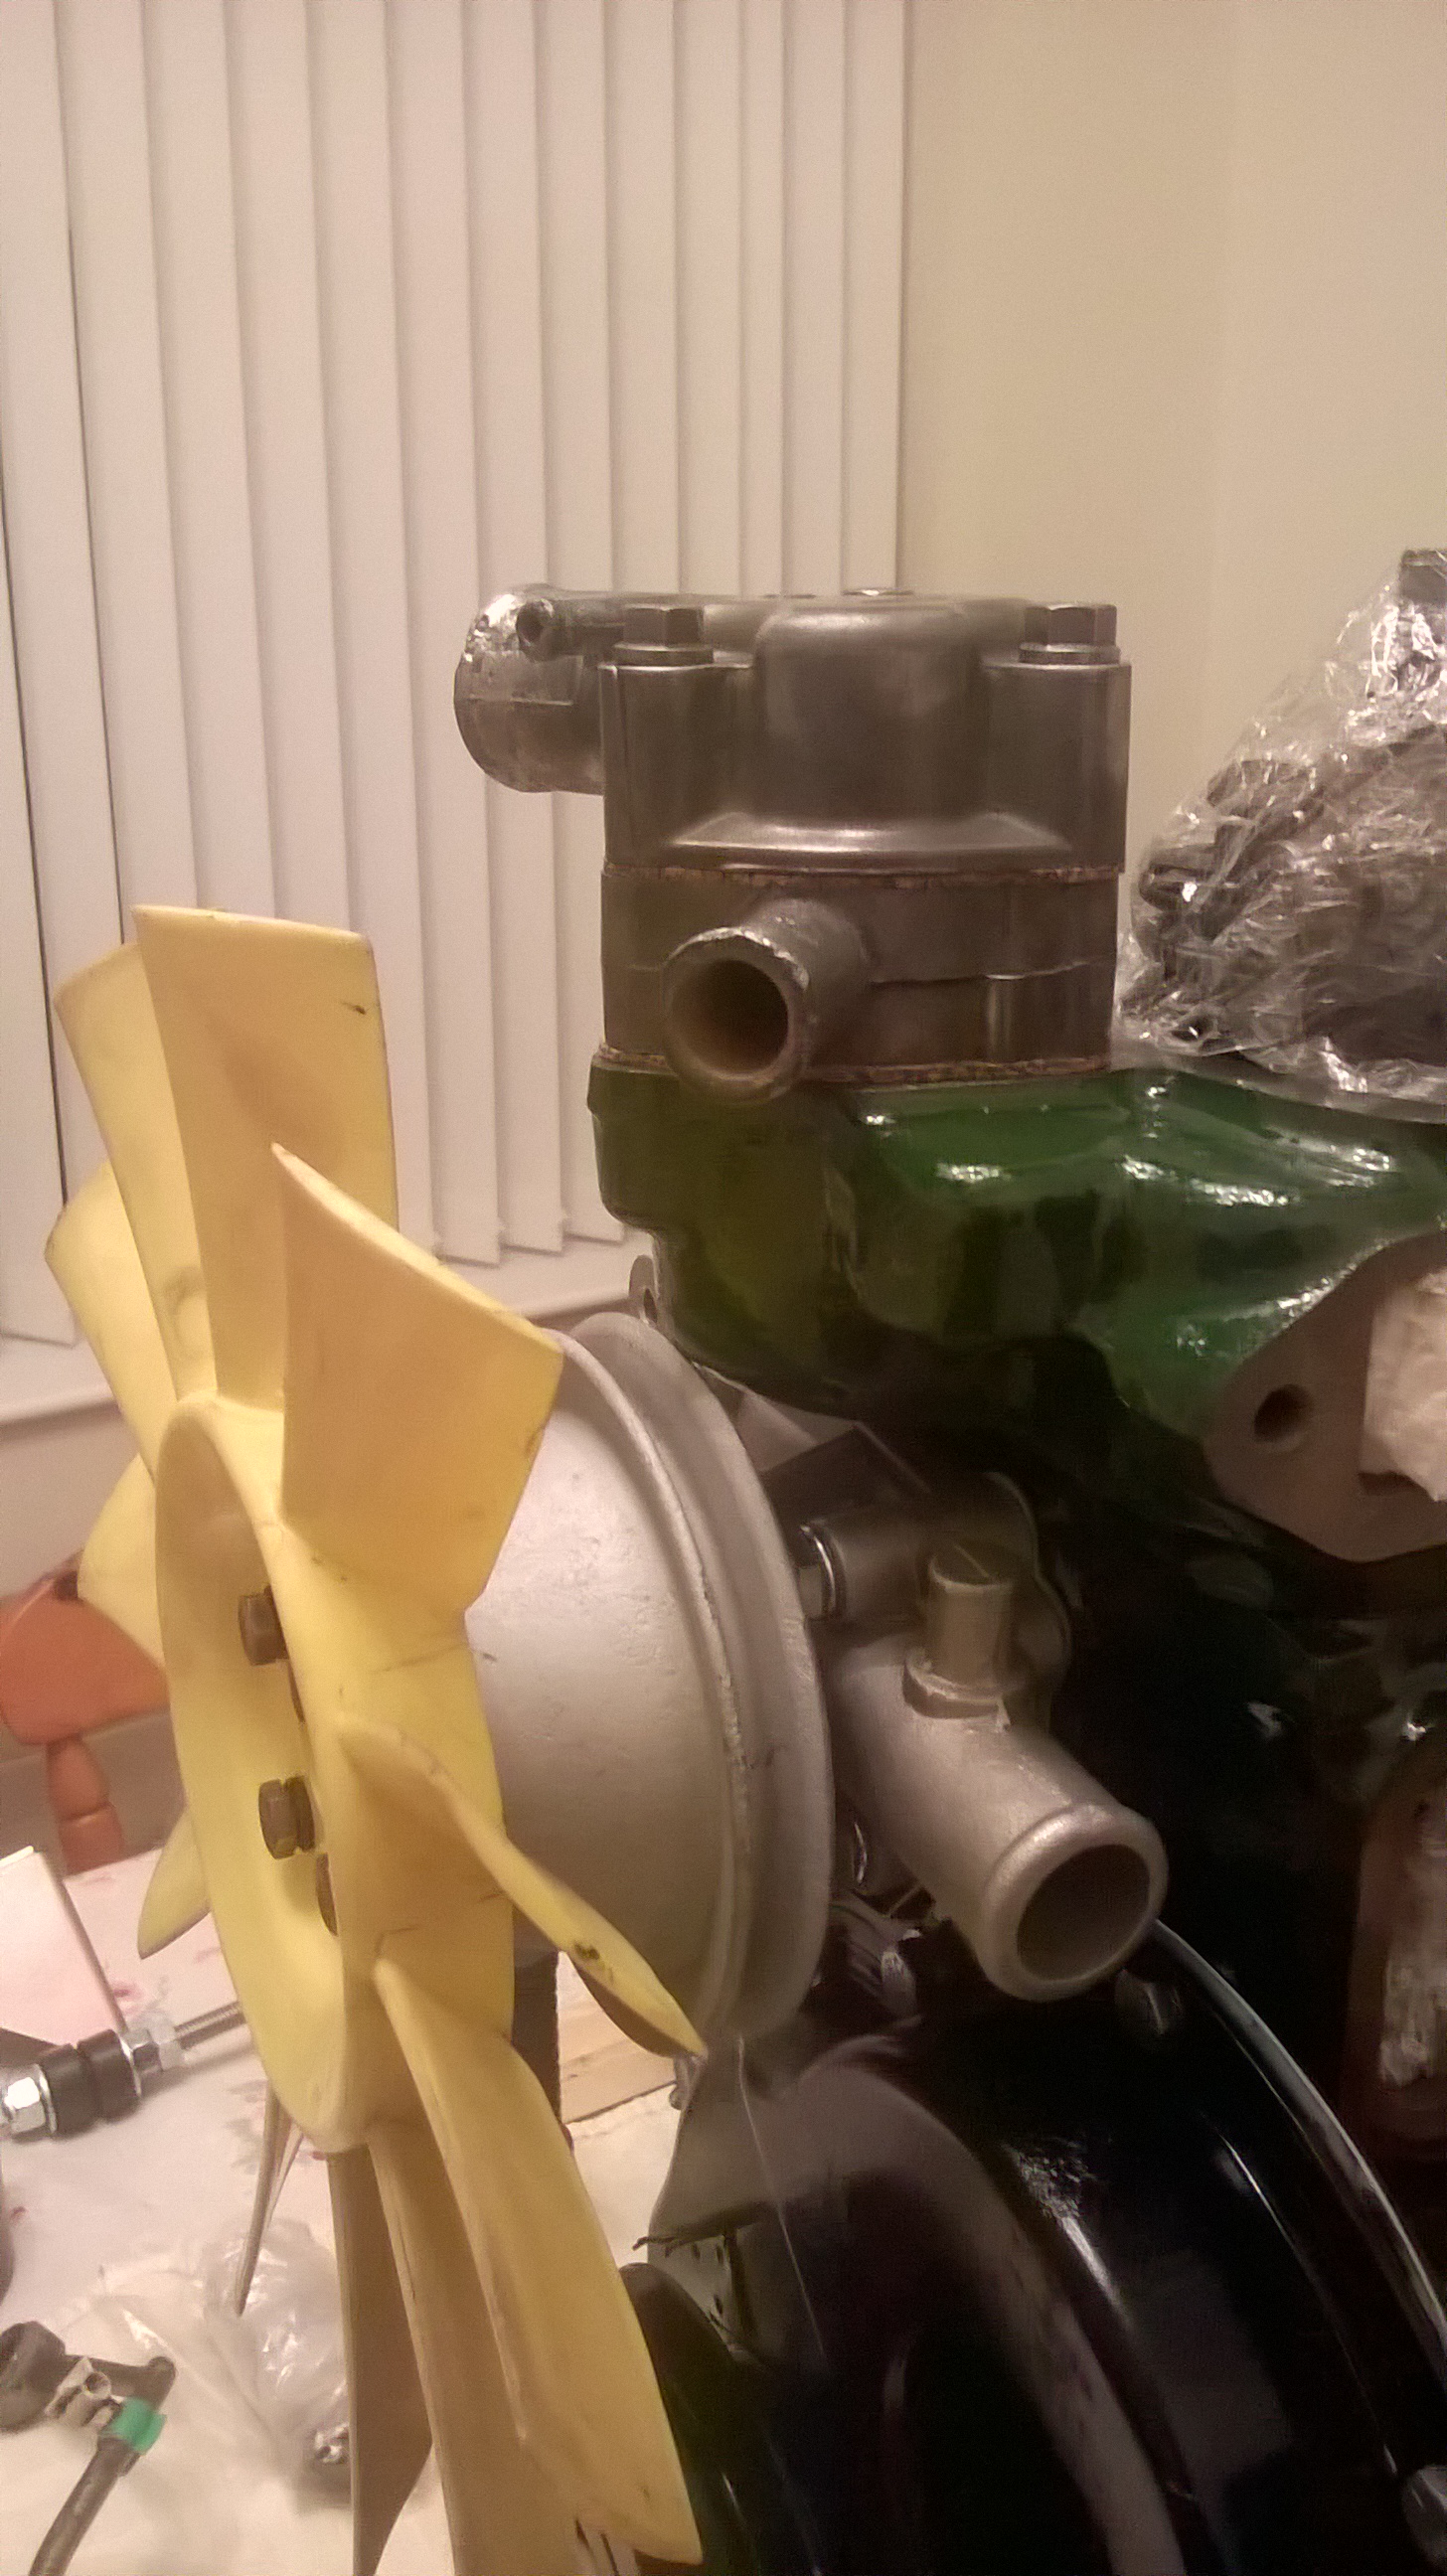
Rad fan on backwards?
|
||||||
|
80 Posts Member #: 11548 Advanced Member Calne Wiltshire |
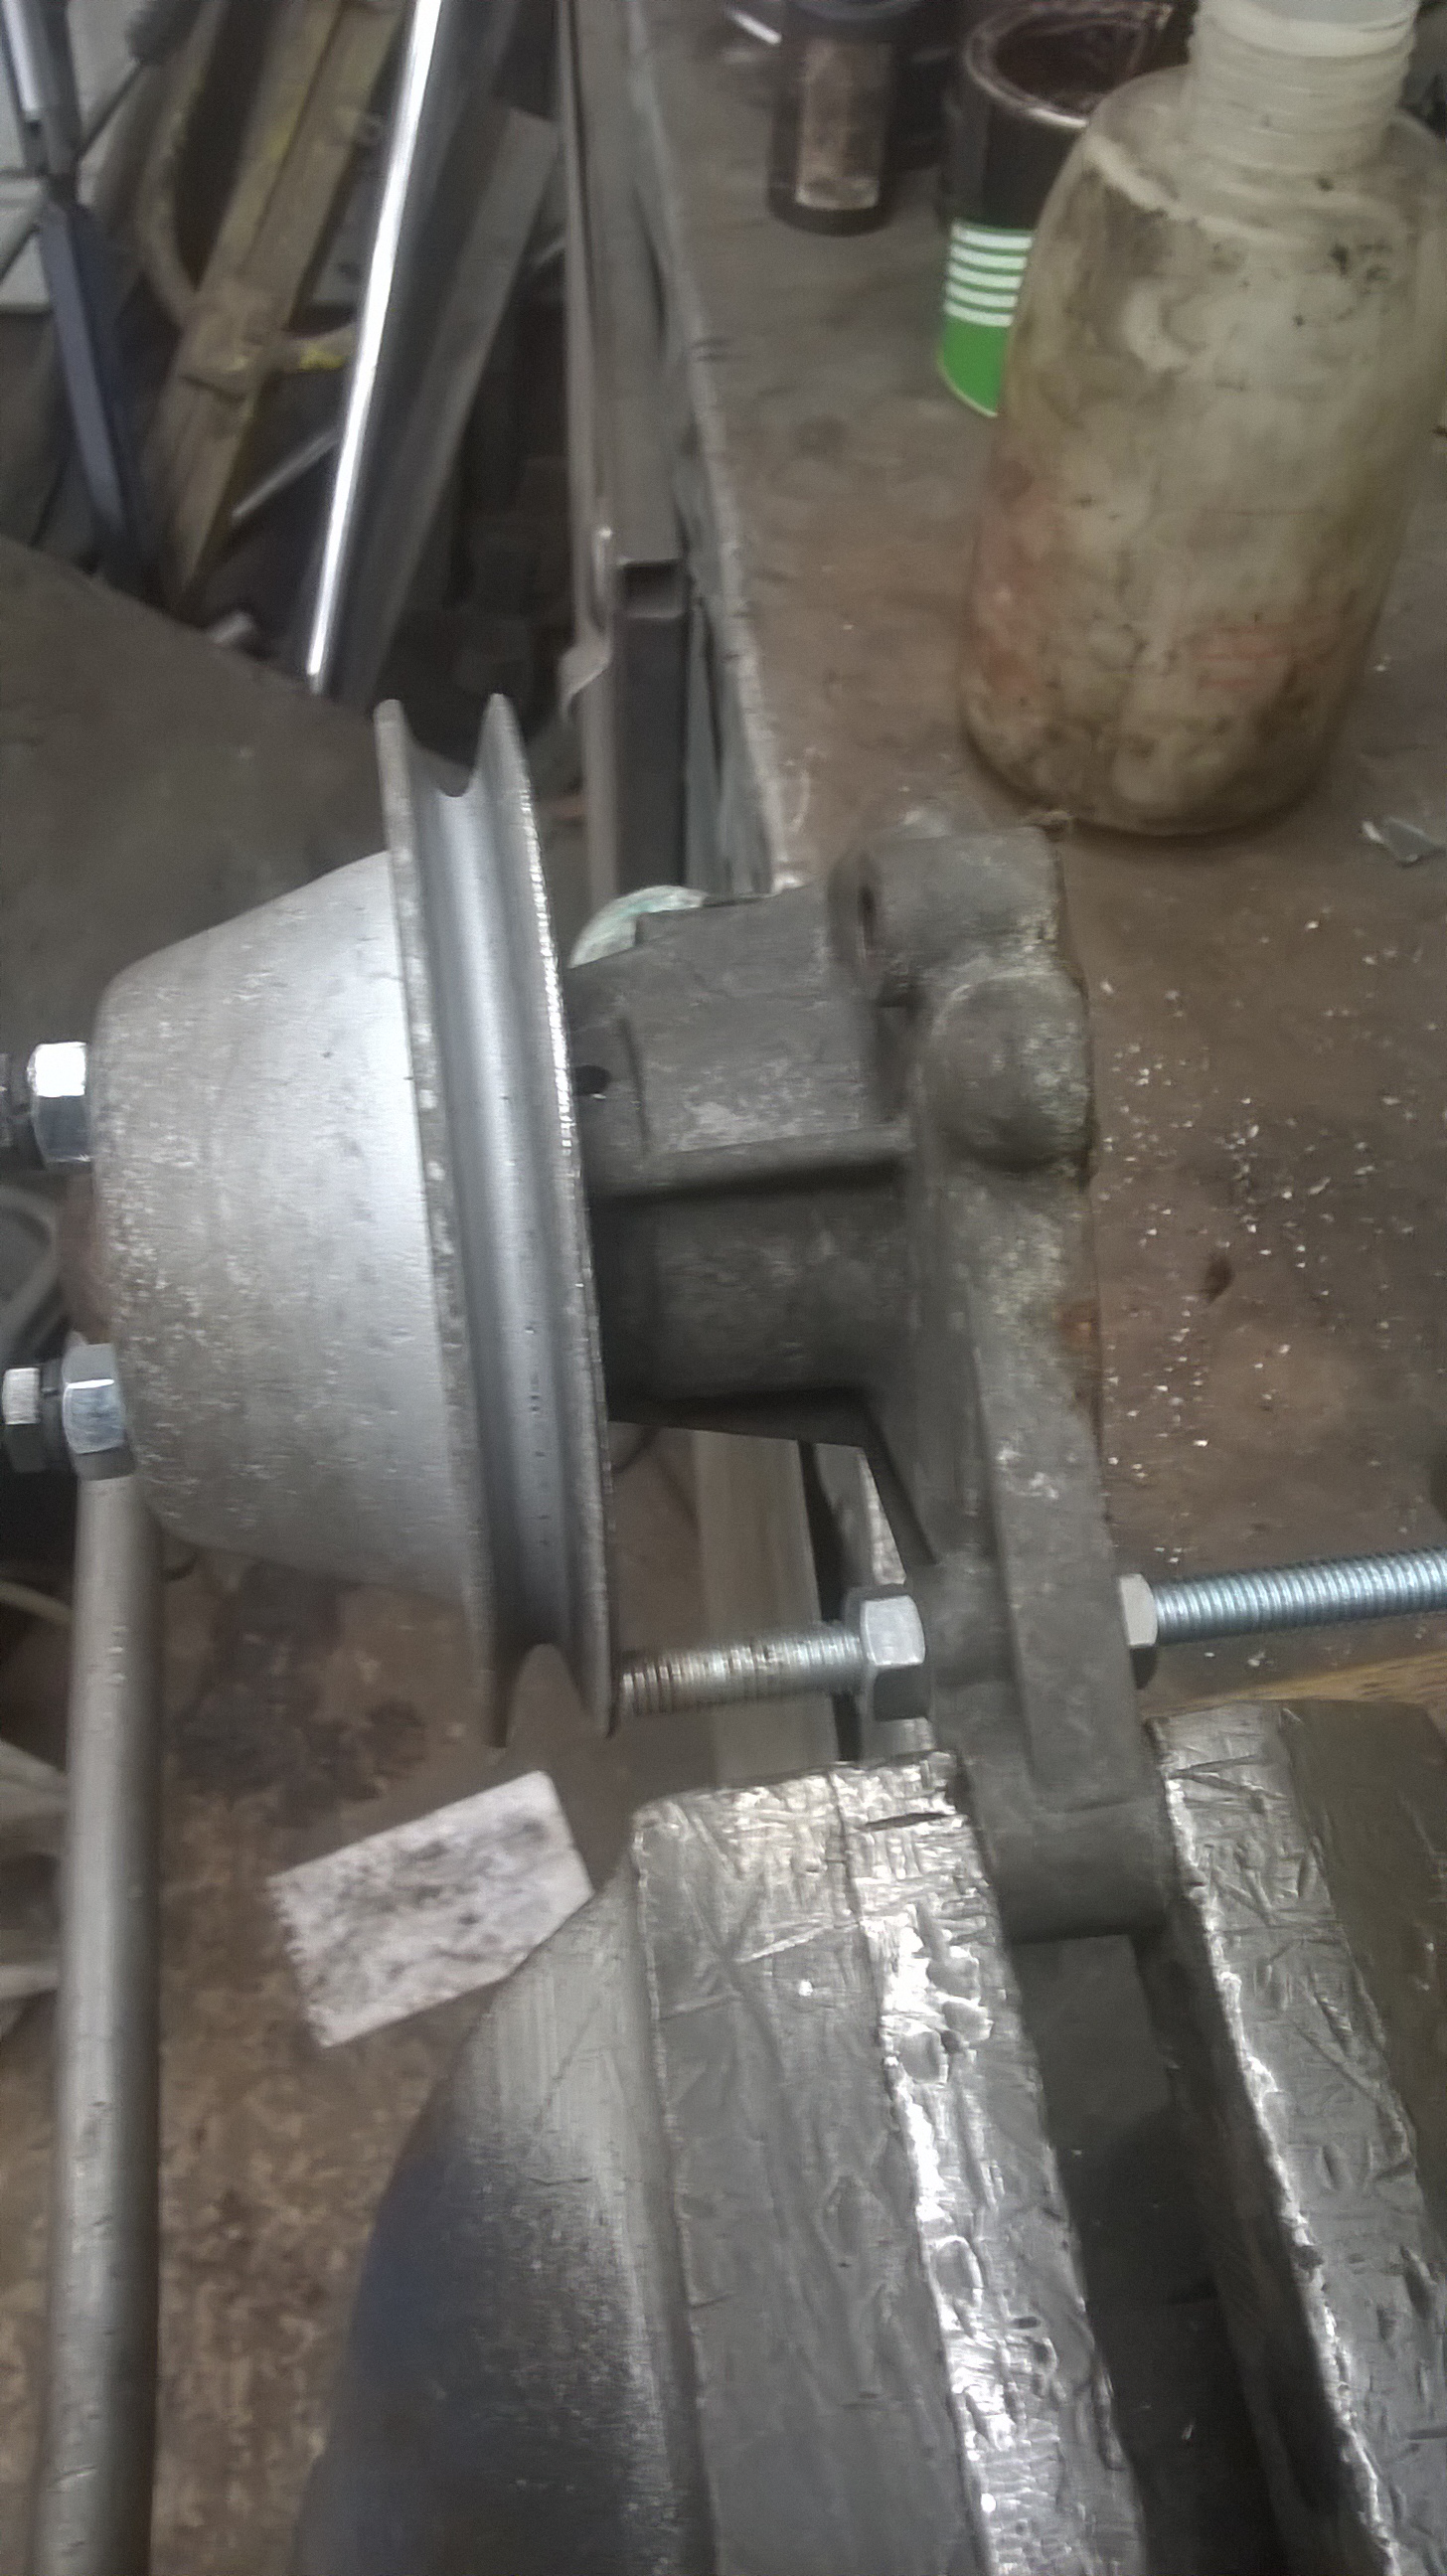
30th May, 2019 at 08:39:59pm
Thanks for pointing that out it was late did try it both ways and got confused .I've had another look today the pulley is slightly buckled so about 1/4 of a turn just rubs on thermostat housing part of the head will have to take a hammer to it . |
||||||
|
80 Posts Member #: 11548 Advanced Member Calne Wiltshire |
31st May, 2019 at 04:52:56pm
Sorted the water pump pulley at work today used the old pump with a bolt in it as guide then tweaked it with pliers now got a nice gap between the head also turned the fan around the right way |
||||||
|
80 Posts Member #: 11548 Advanced Member Calne Wiltshire |
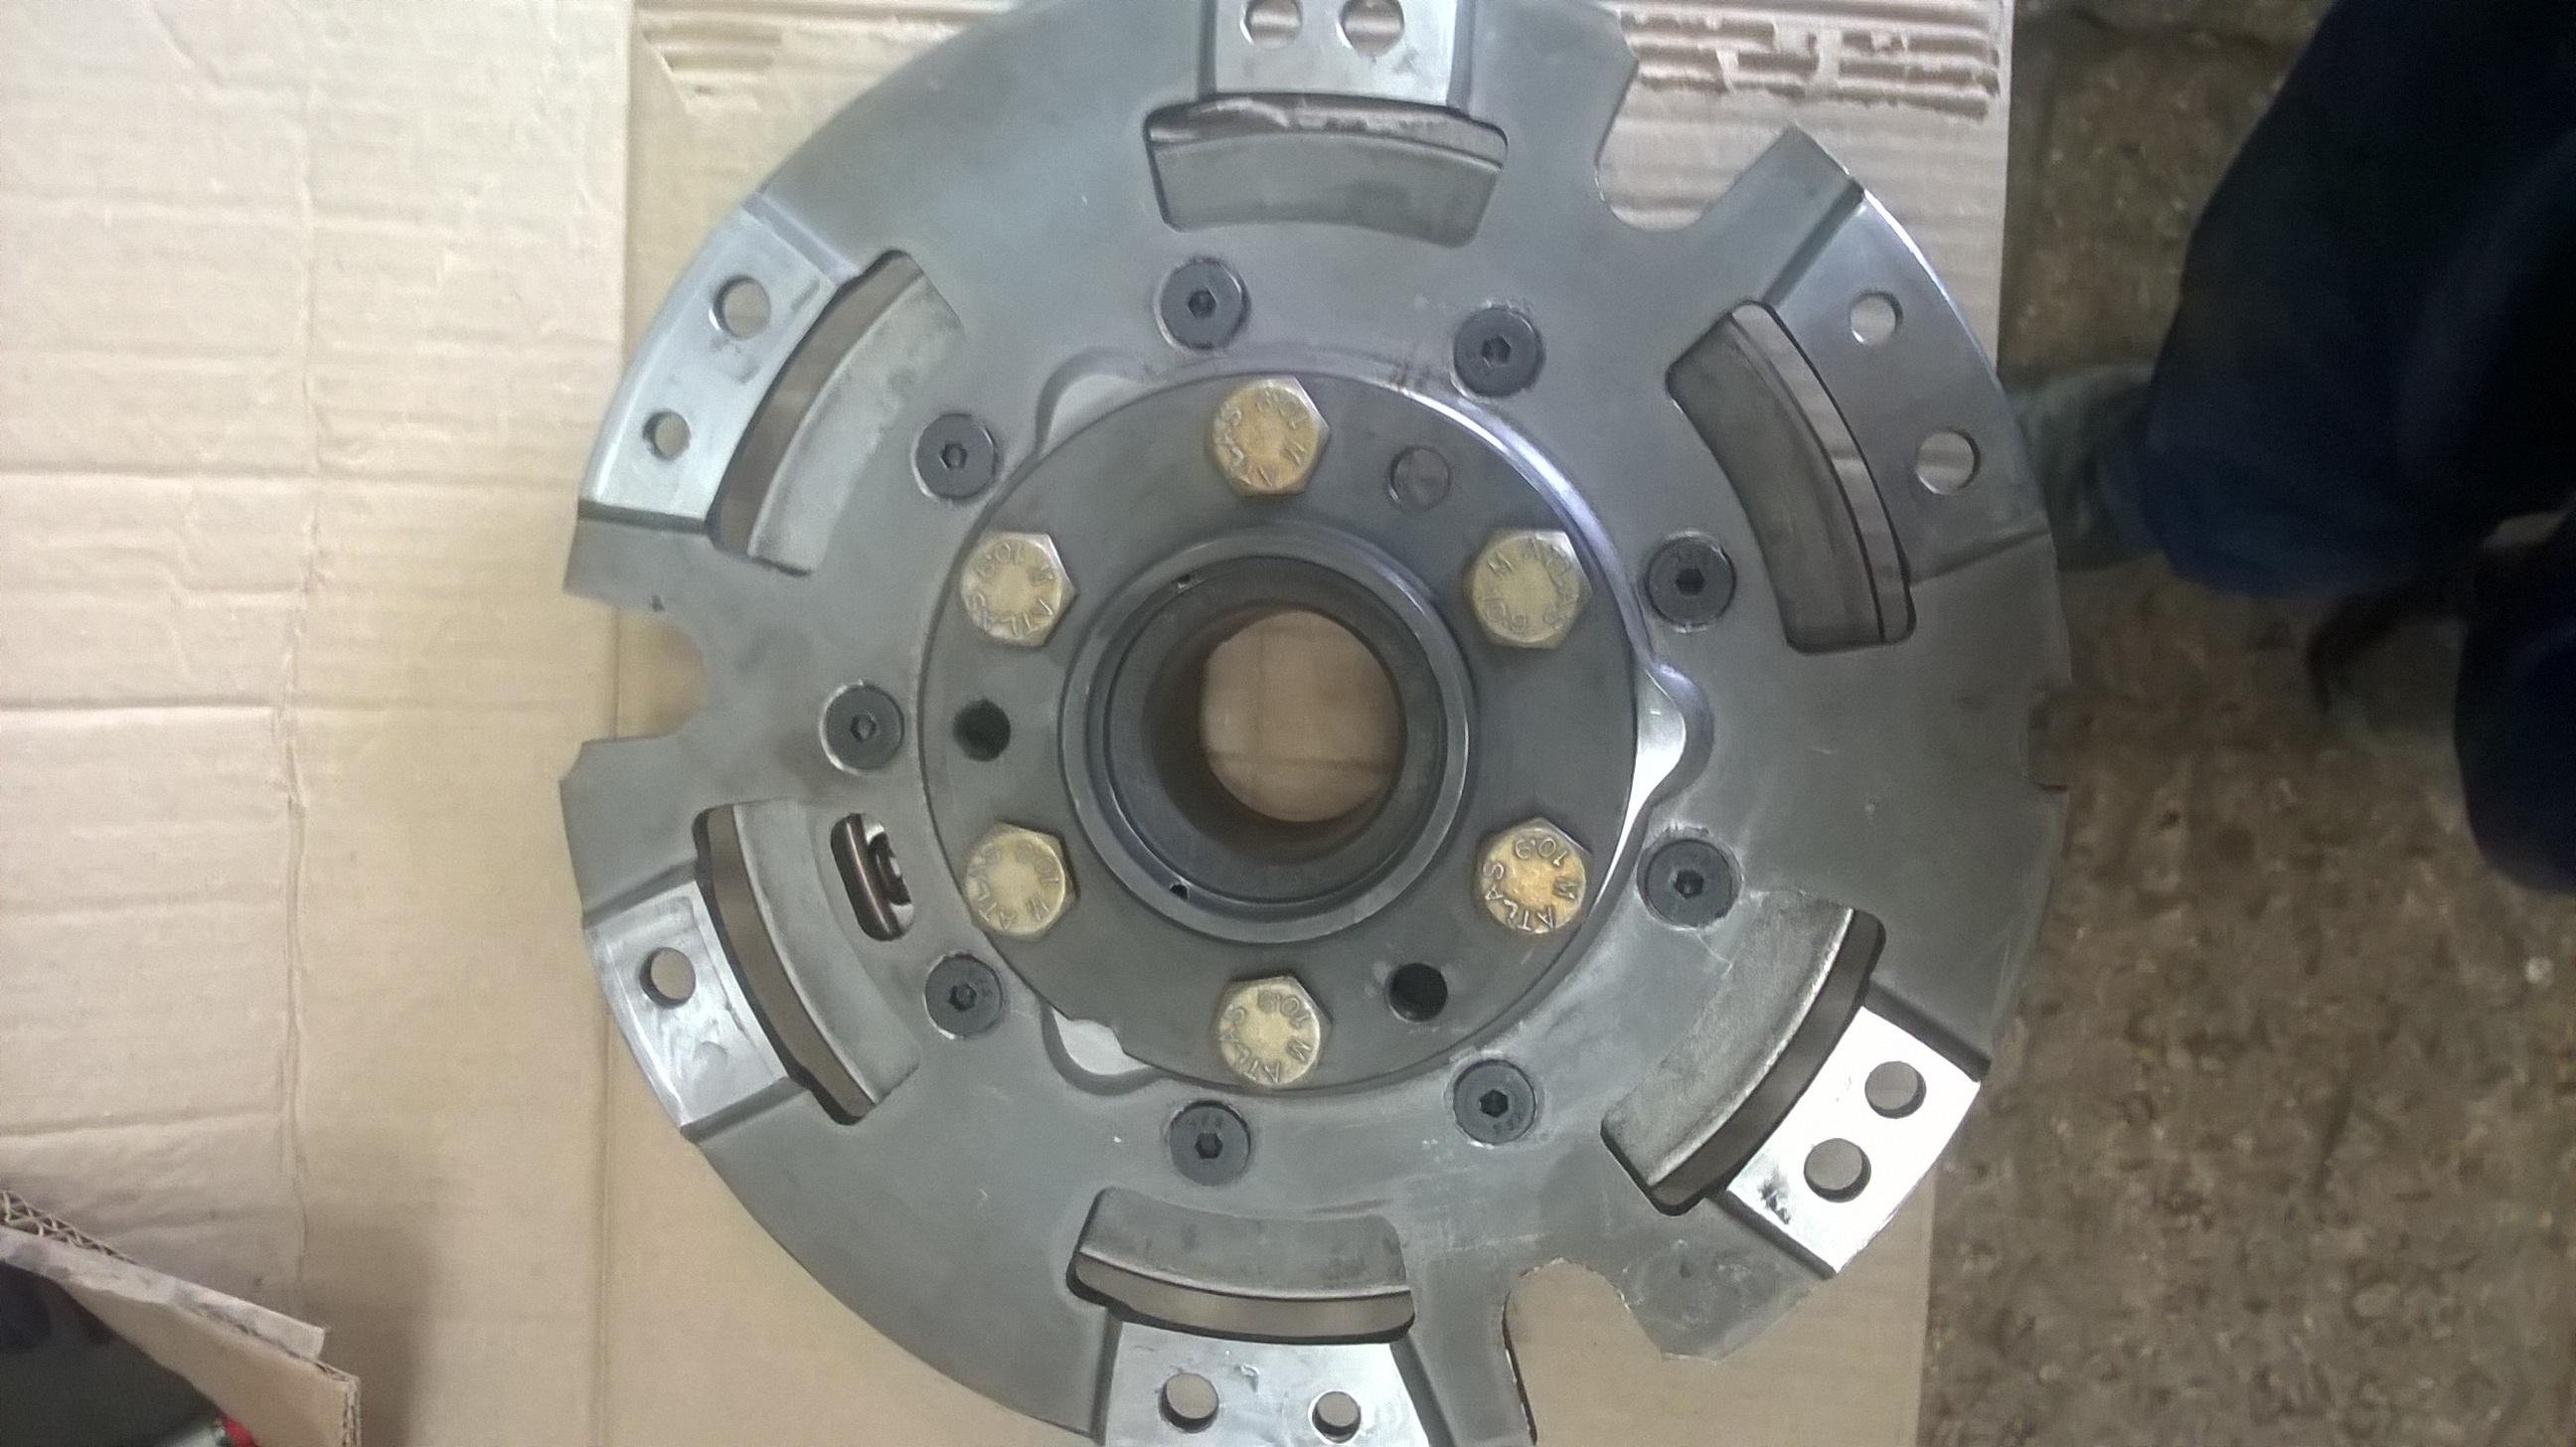
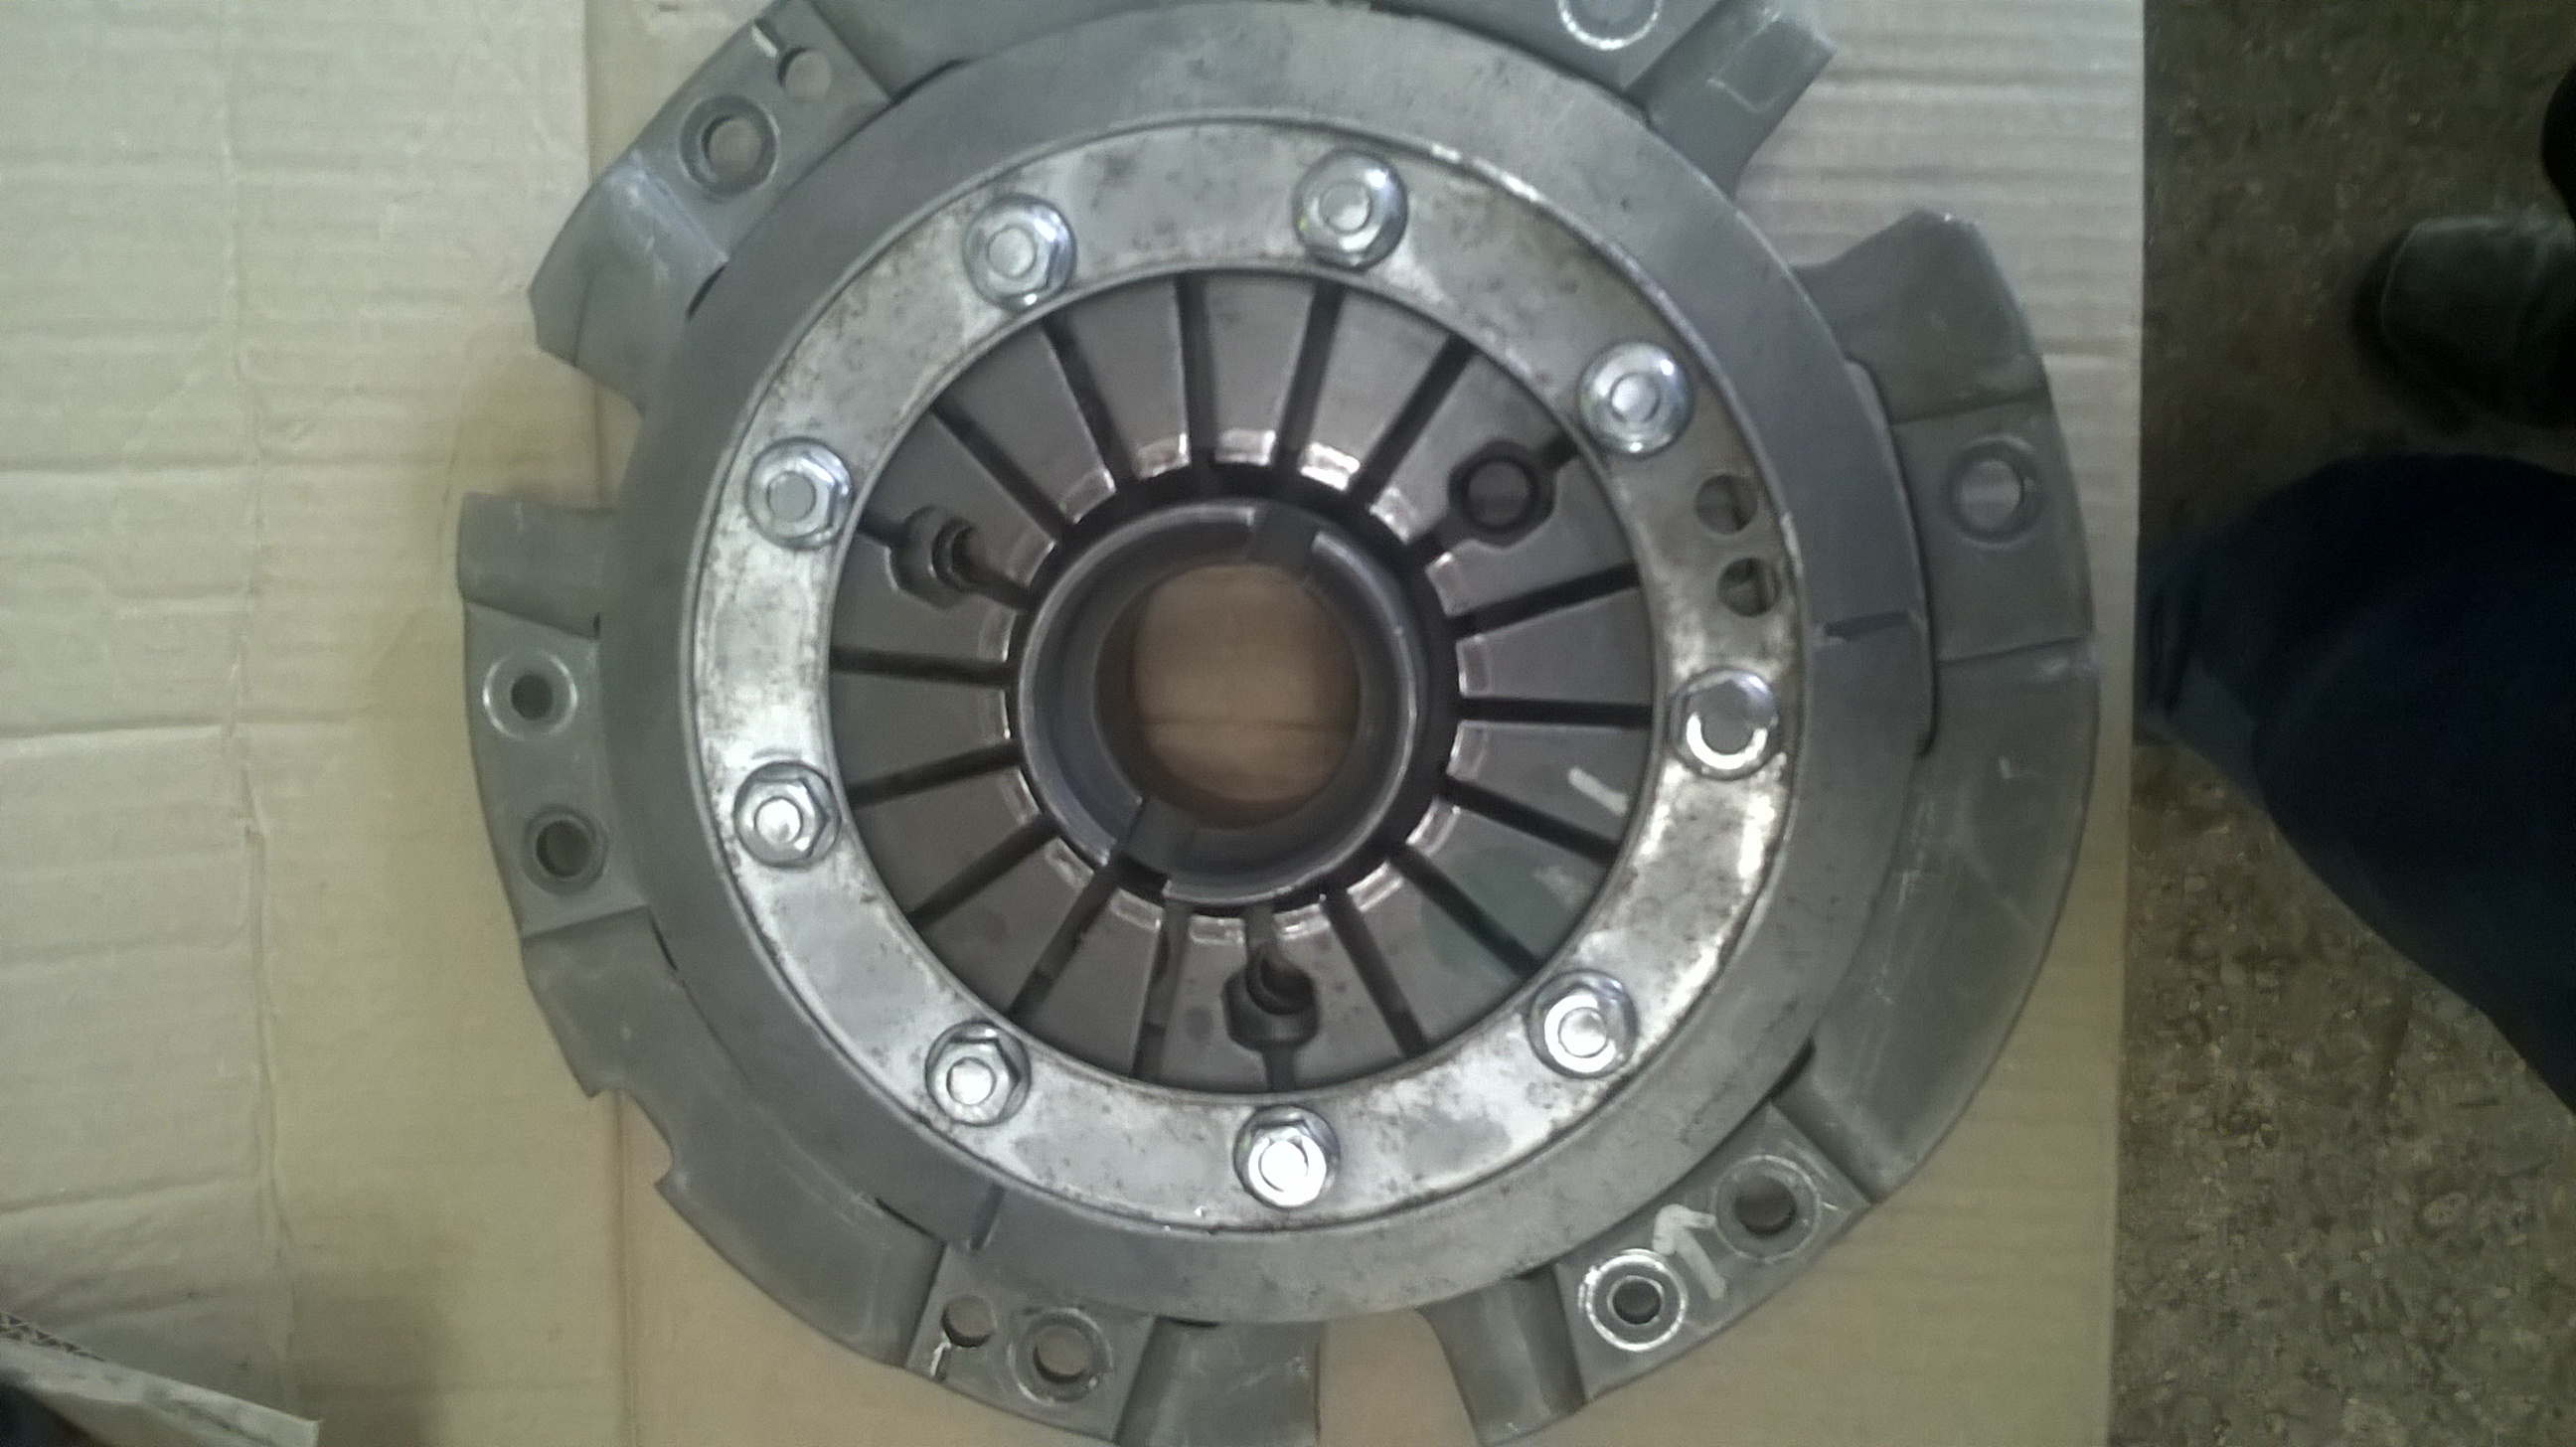
7th Jun, 2019 at 06:11:21pm
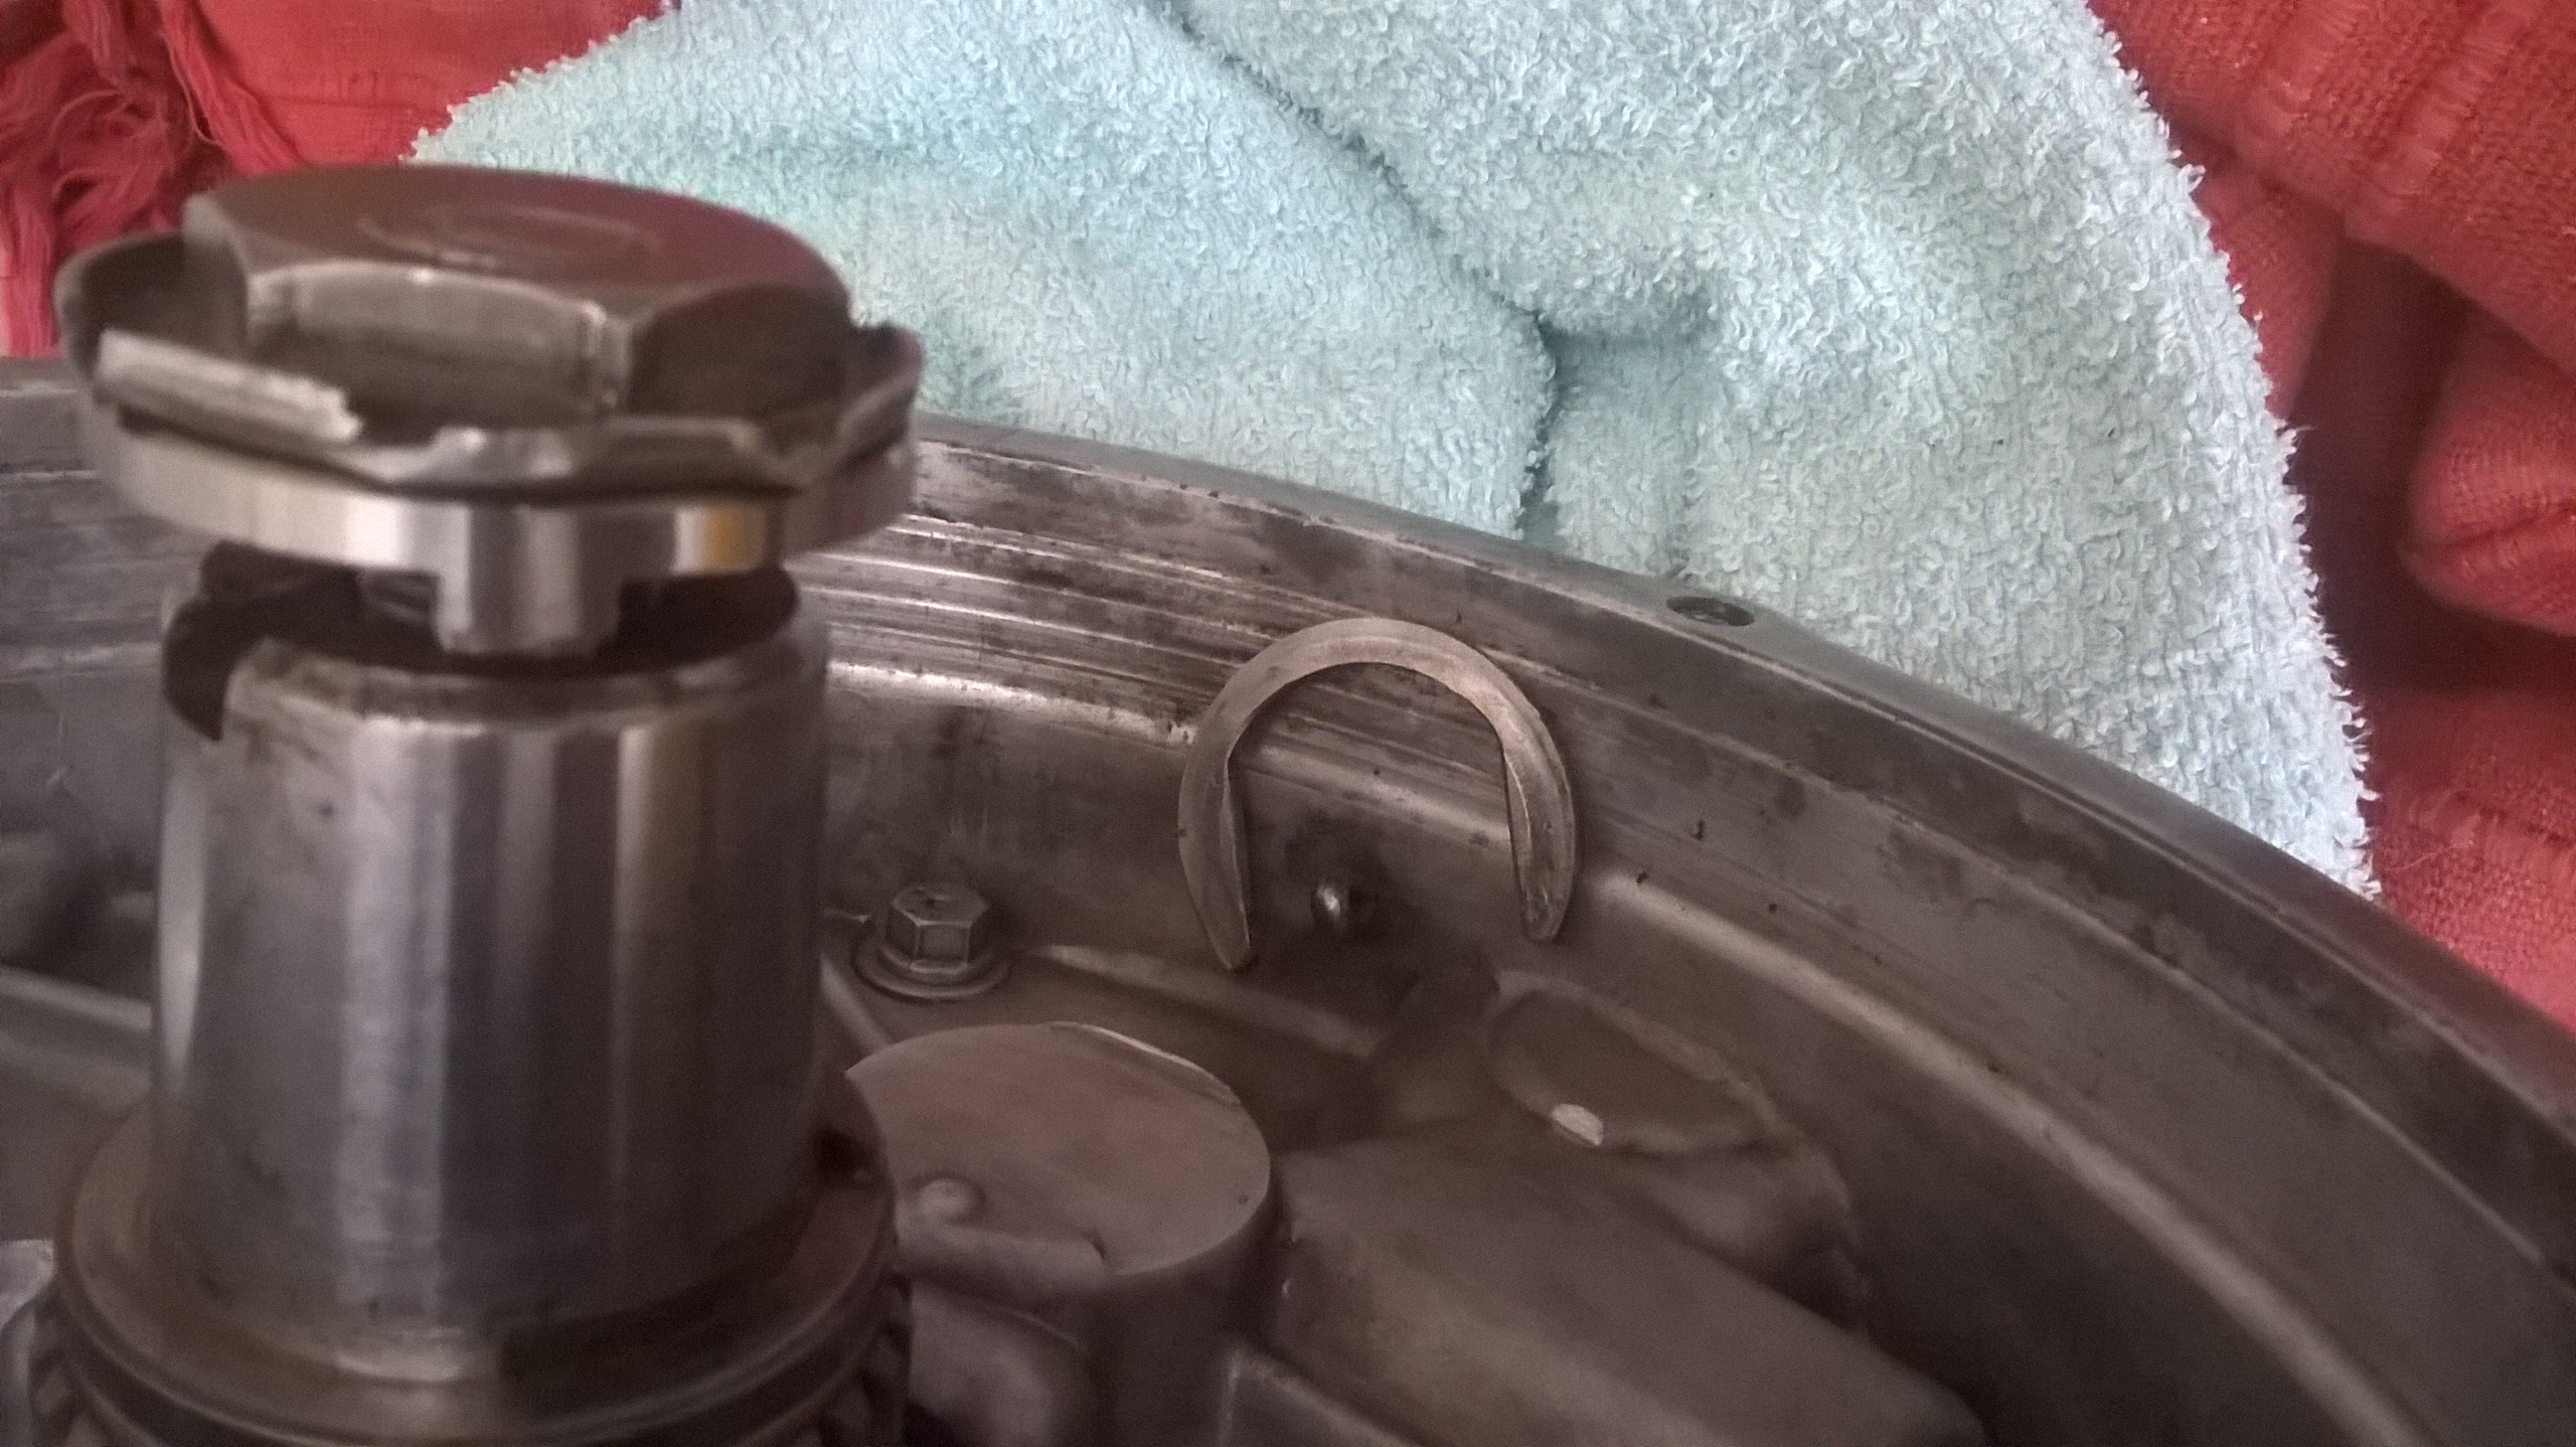
No surprize not quite gone to plan engine is still sat in the house got messed about with a speedo drive and have put together an RTS clutch that I started months ago its now together but been to busy to go and get re balanced hopefully find time next week.Also had a scare when adjusting the tappet clearances something went rattle rattle clonk fearing something had gone horribly wrong I left it for a day borrowed an inspection camera and was relieved when I looked inside the wok to find it was just the c clip for primary gear had fallen out |
||||||
|
80 Posts Member #: 11548 Advanced Member Calne Wiltshire |
15th Jun, 2019 at 11:41:48pm
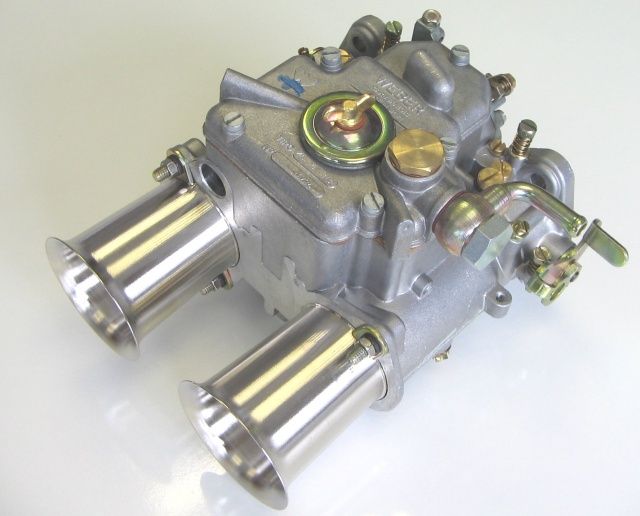
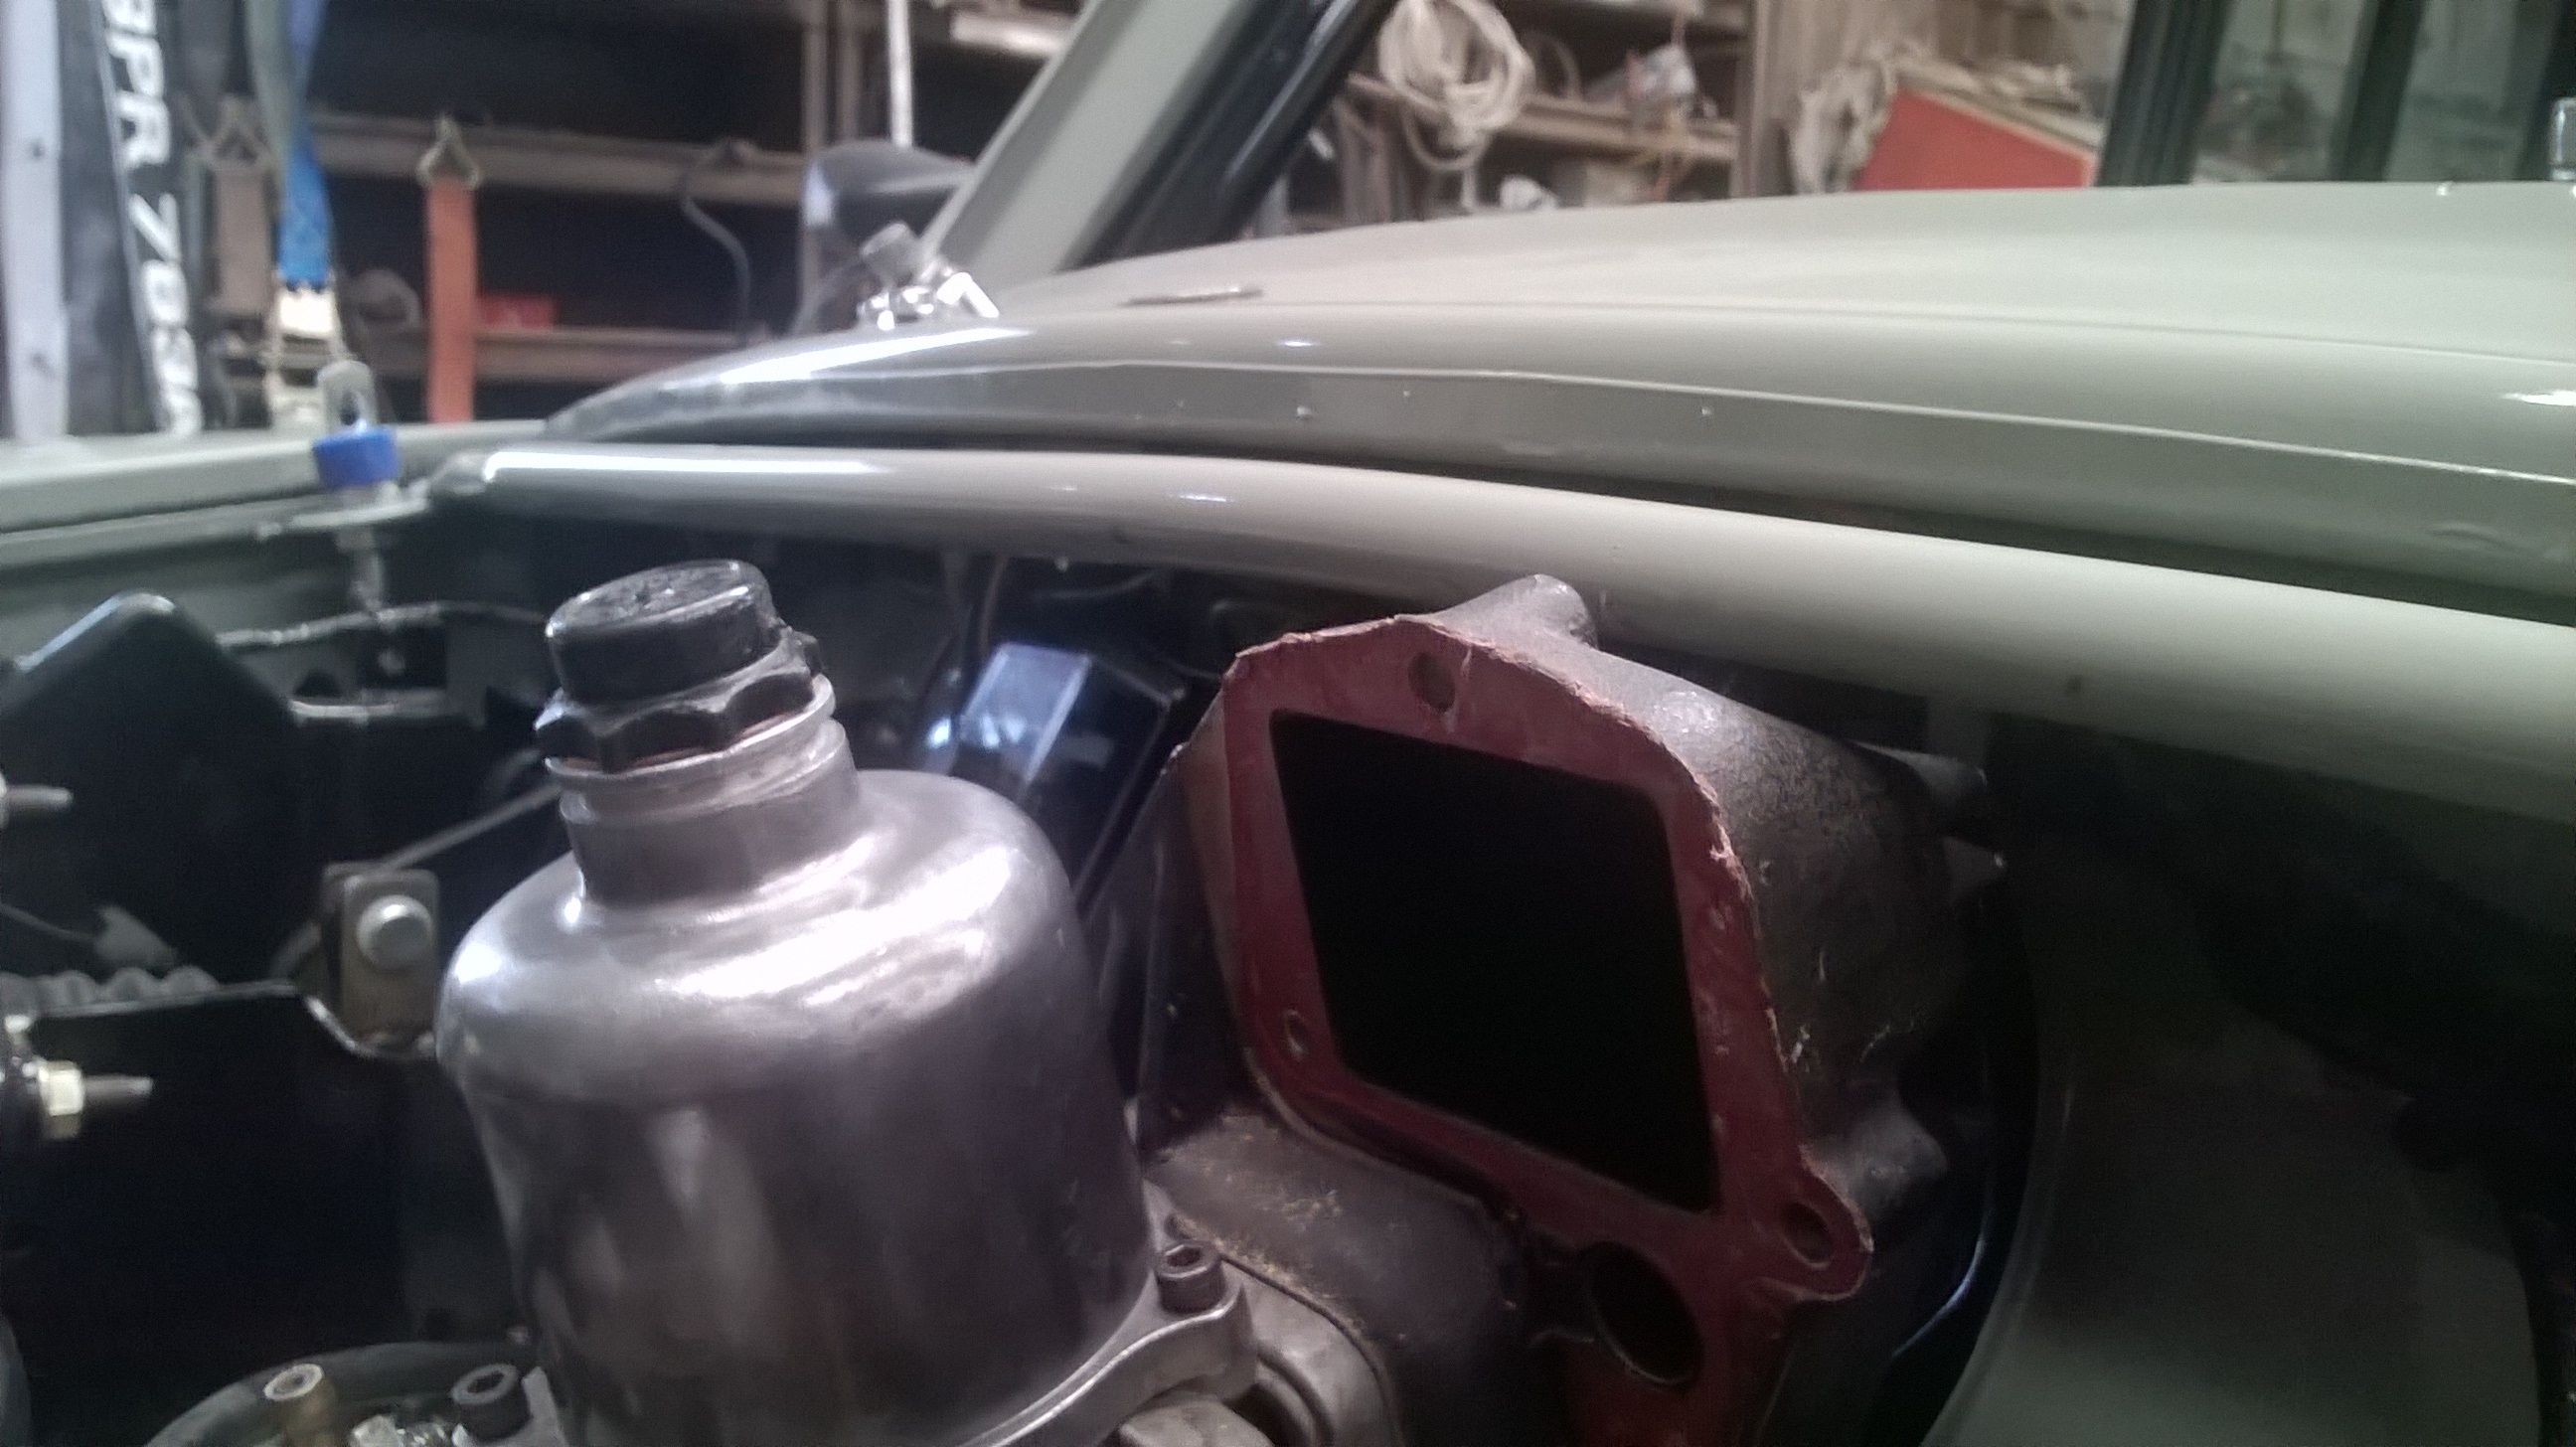
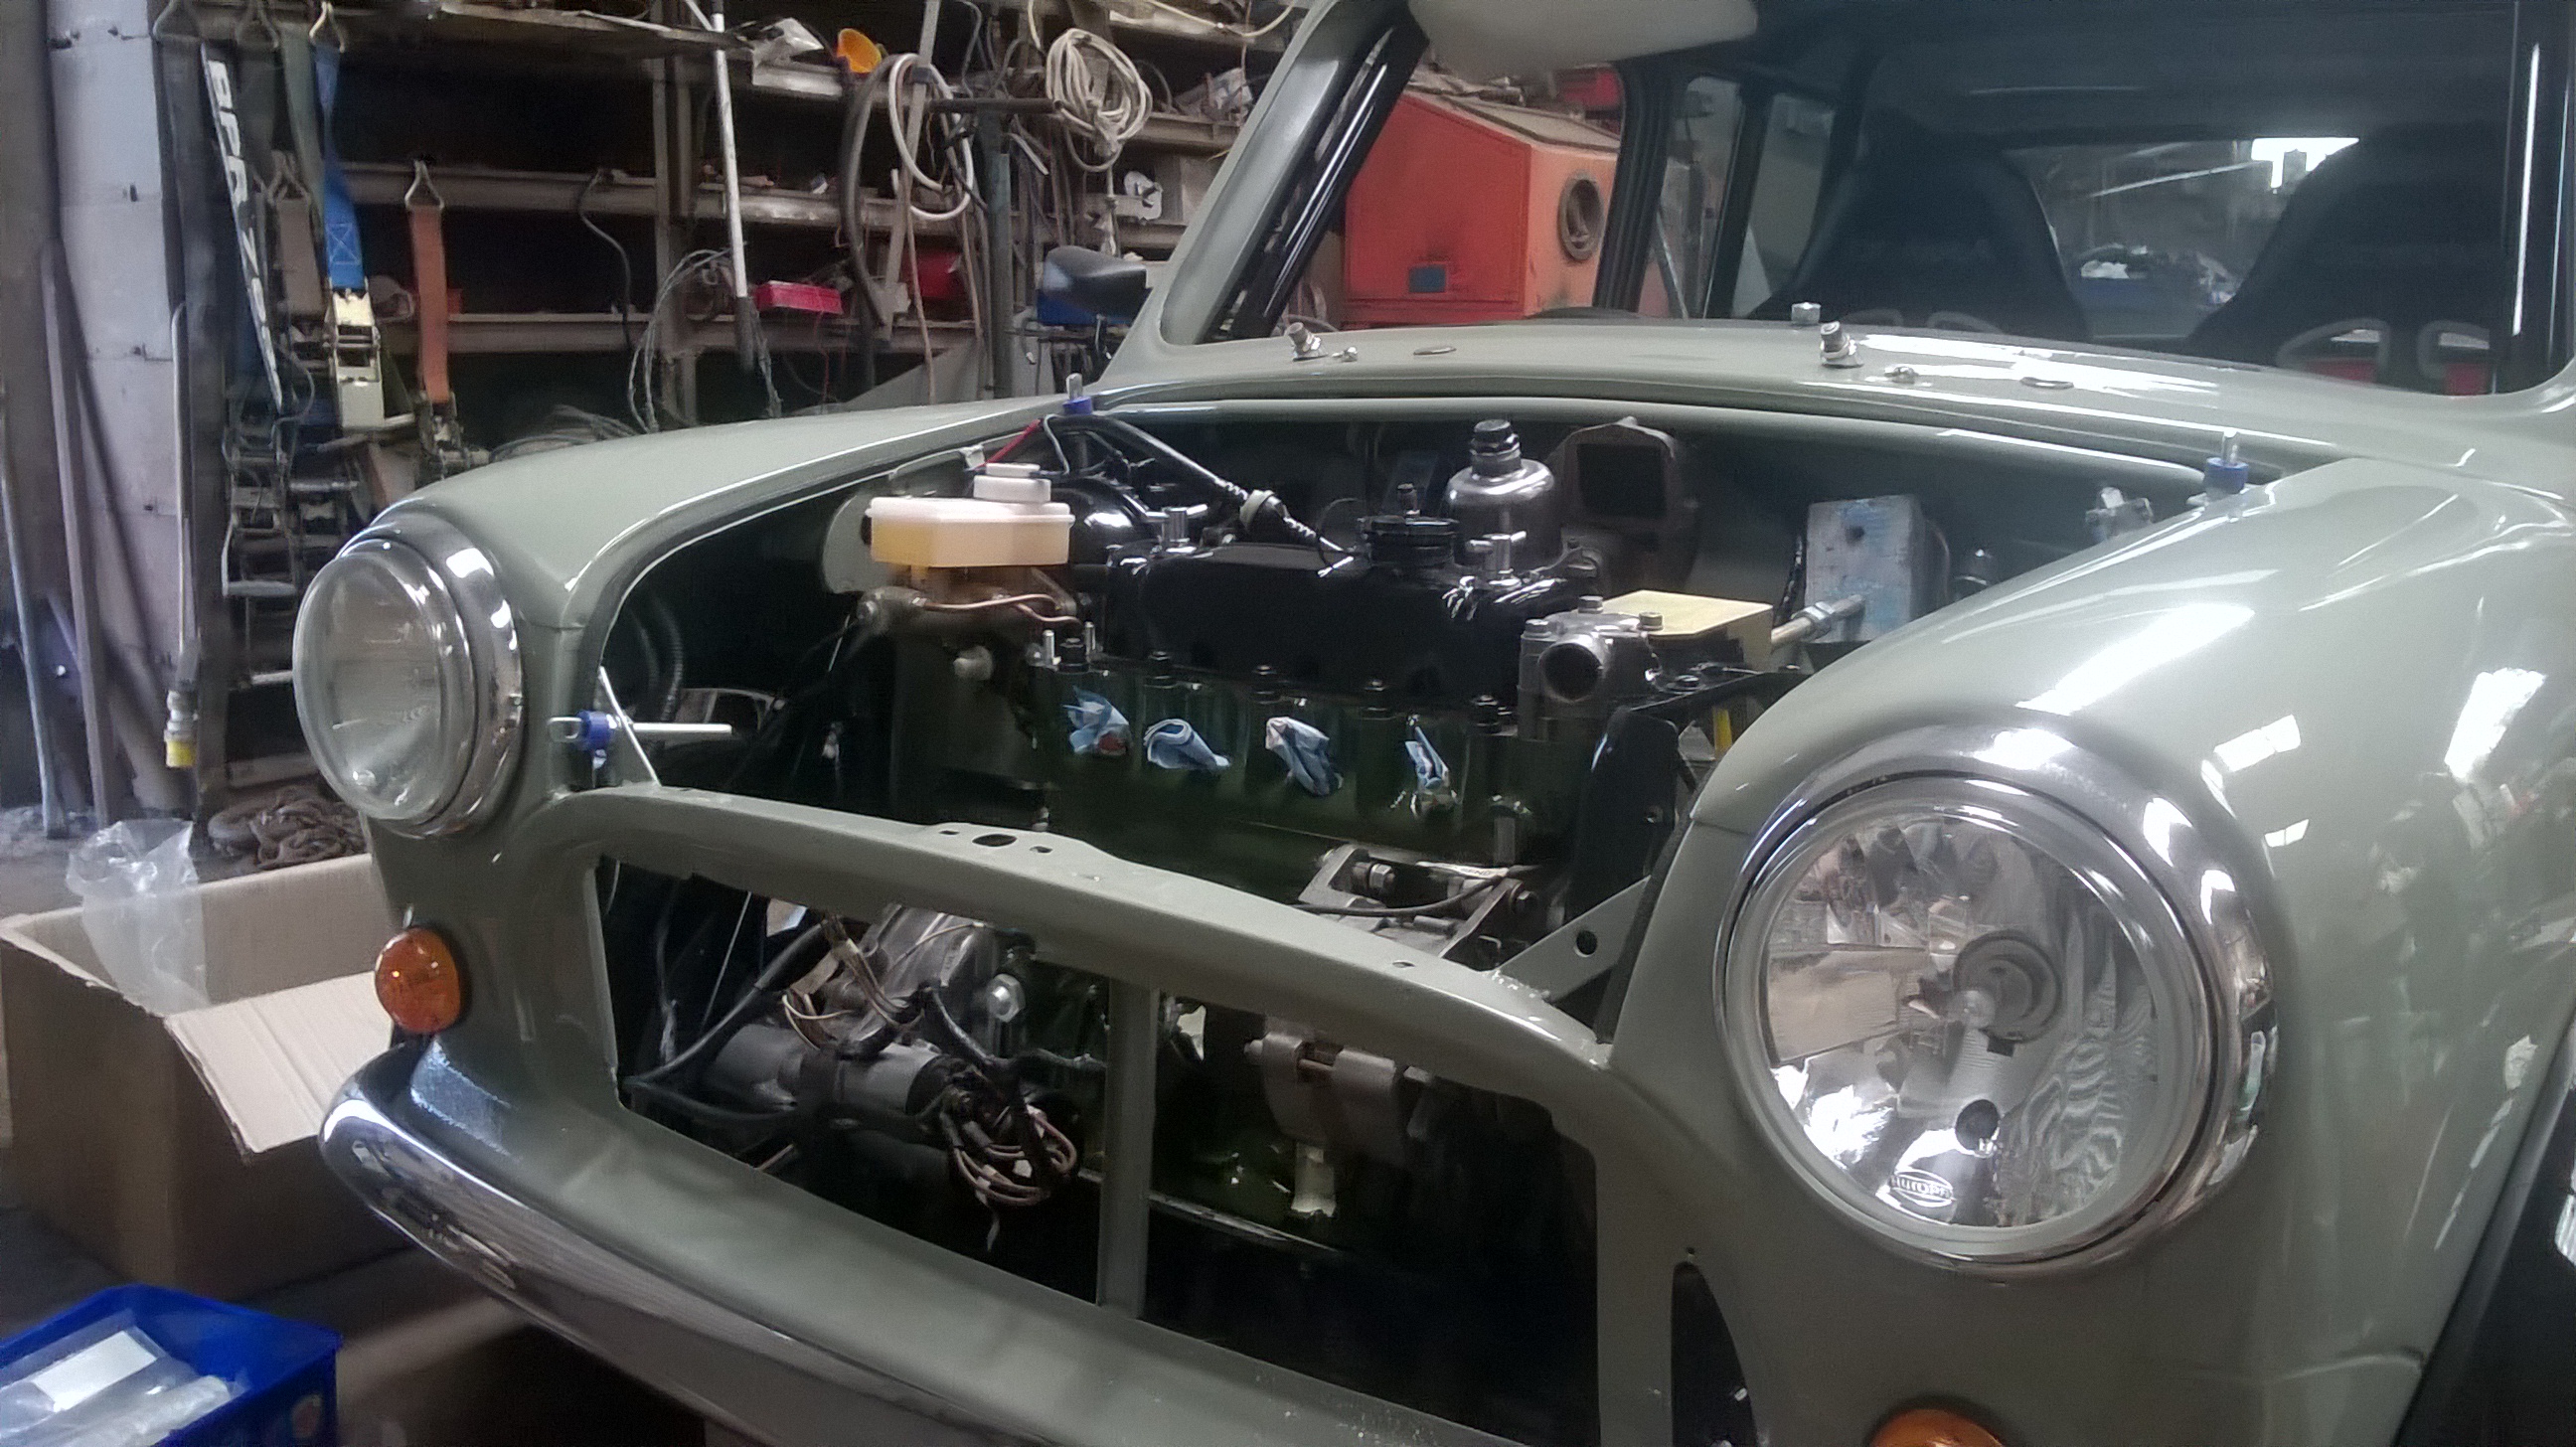
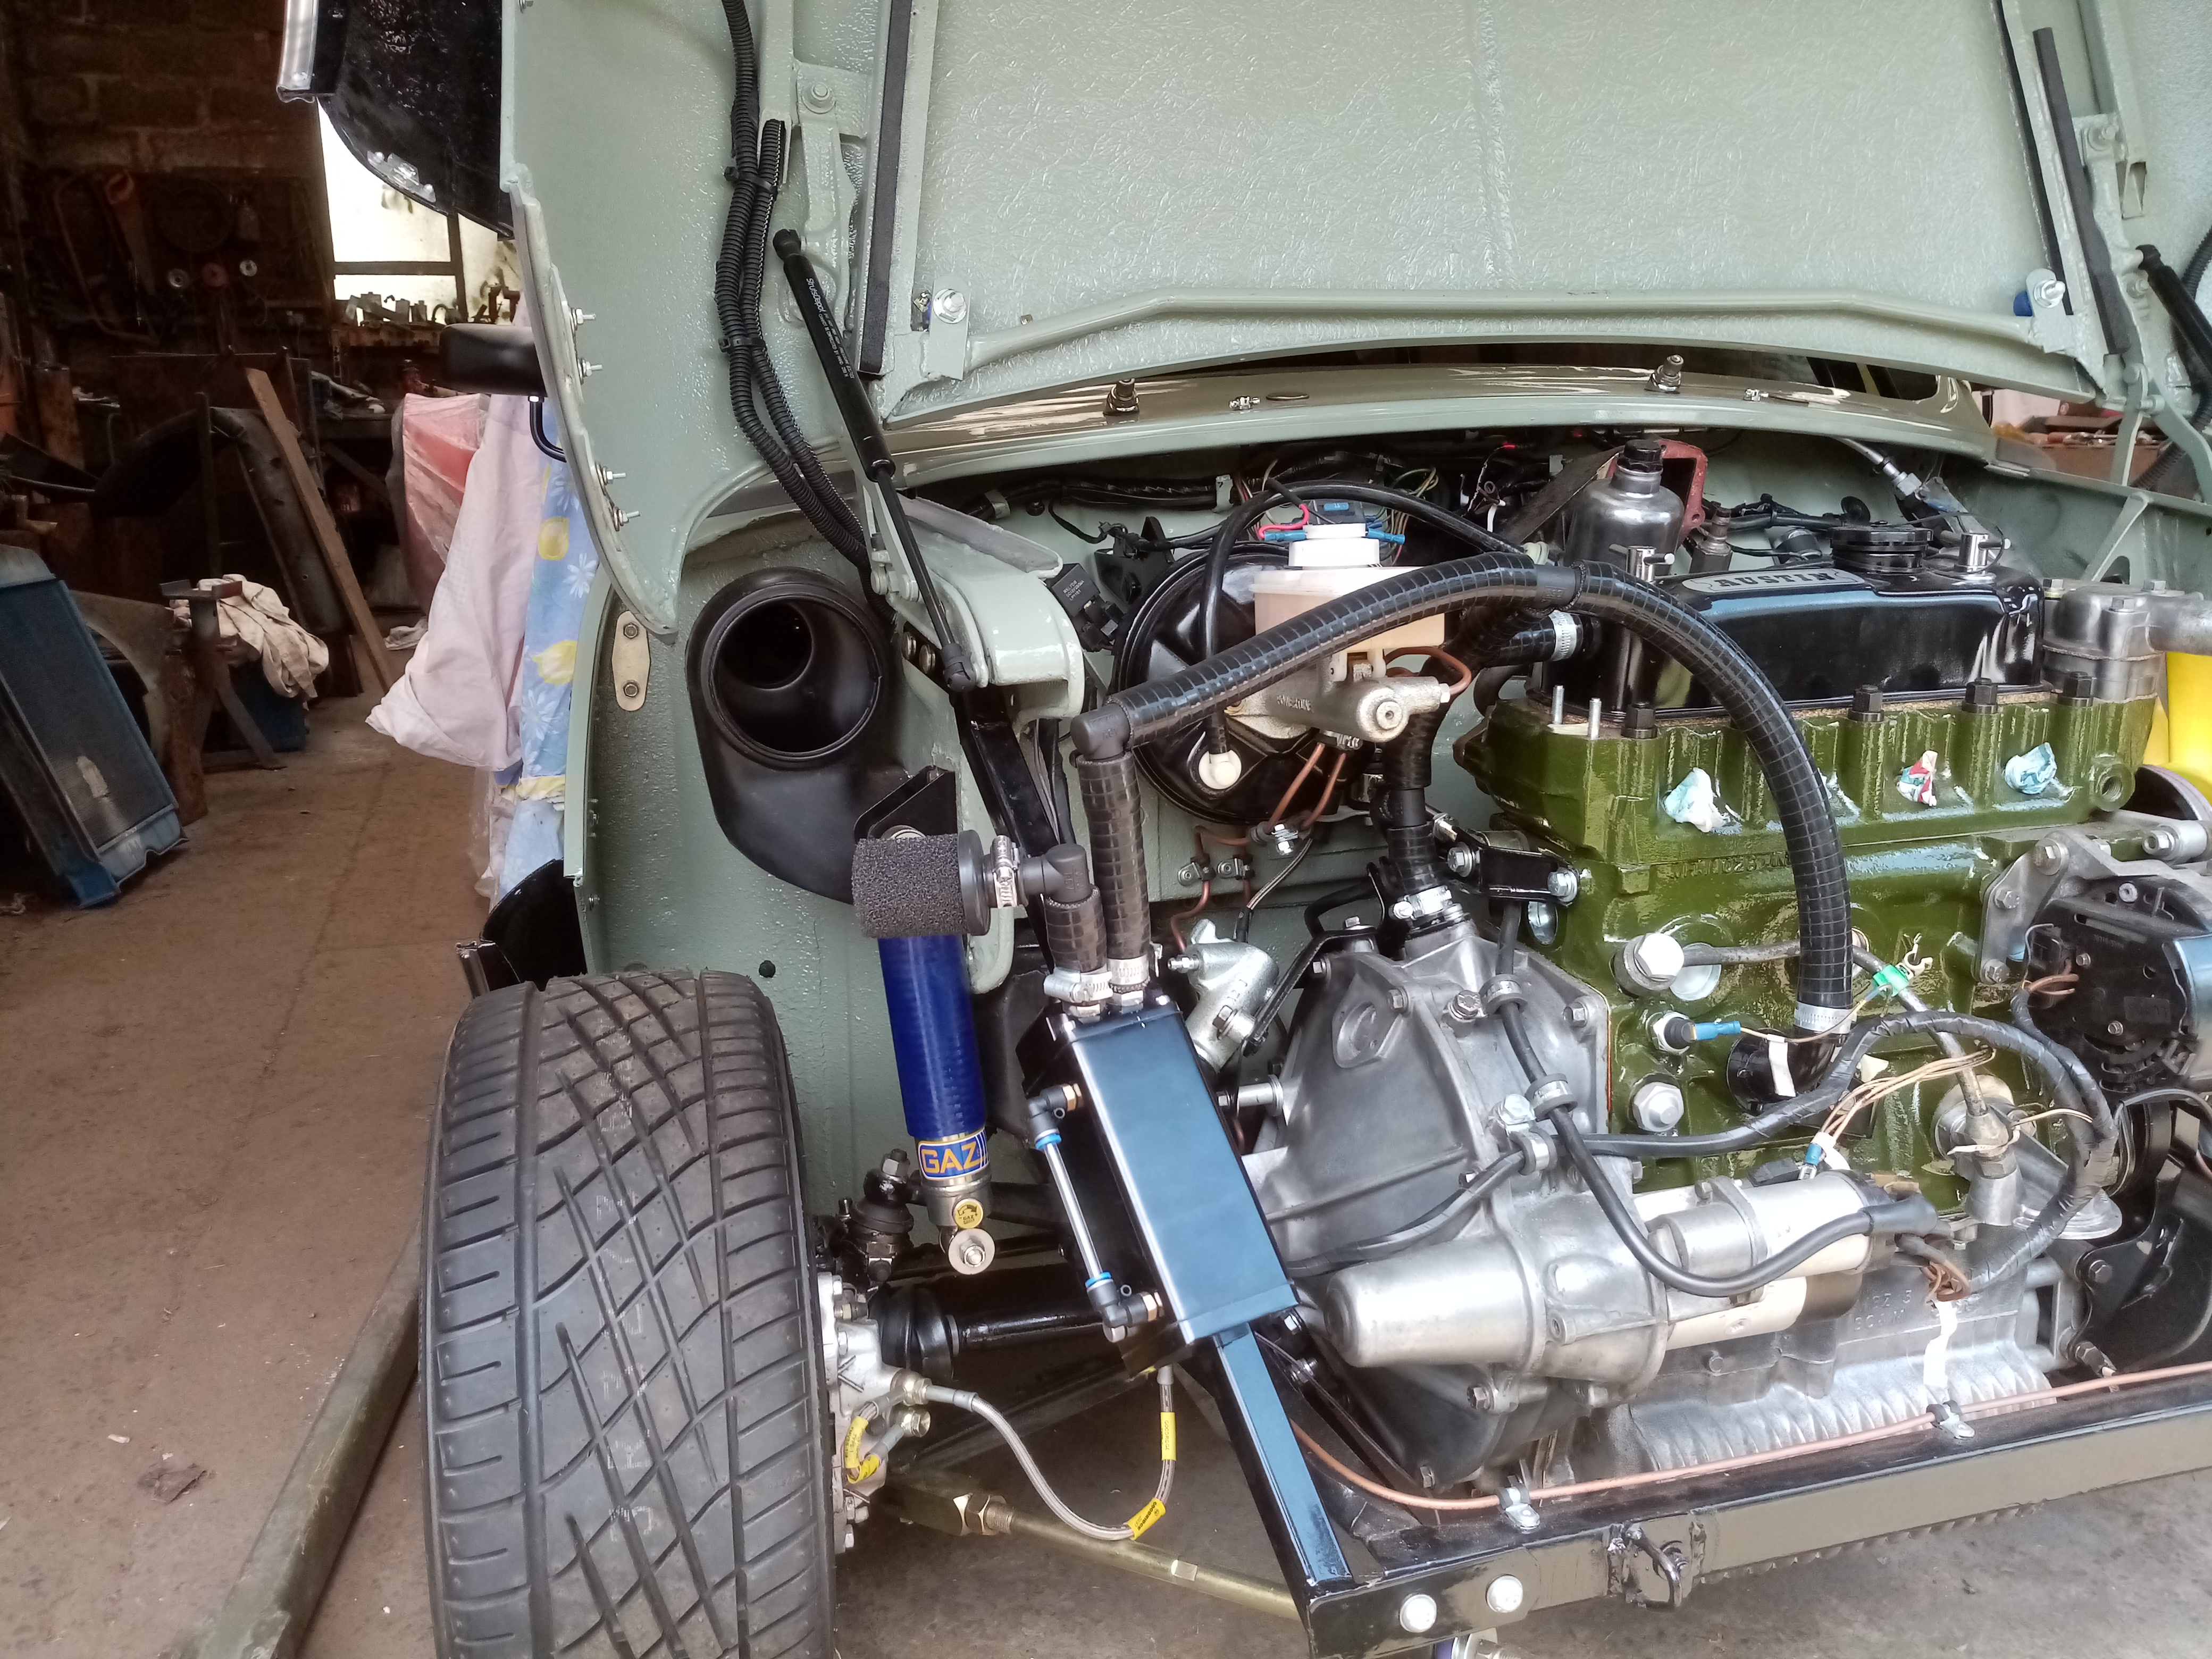
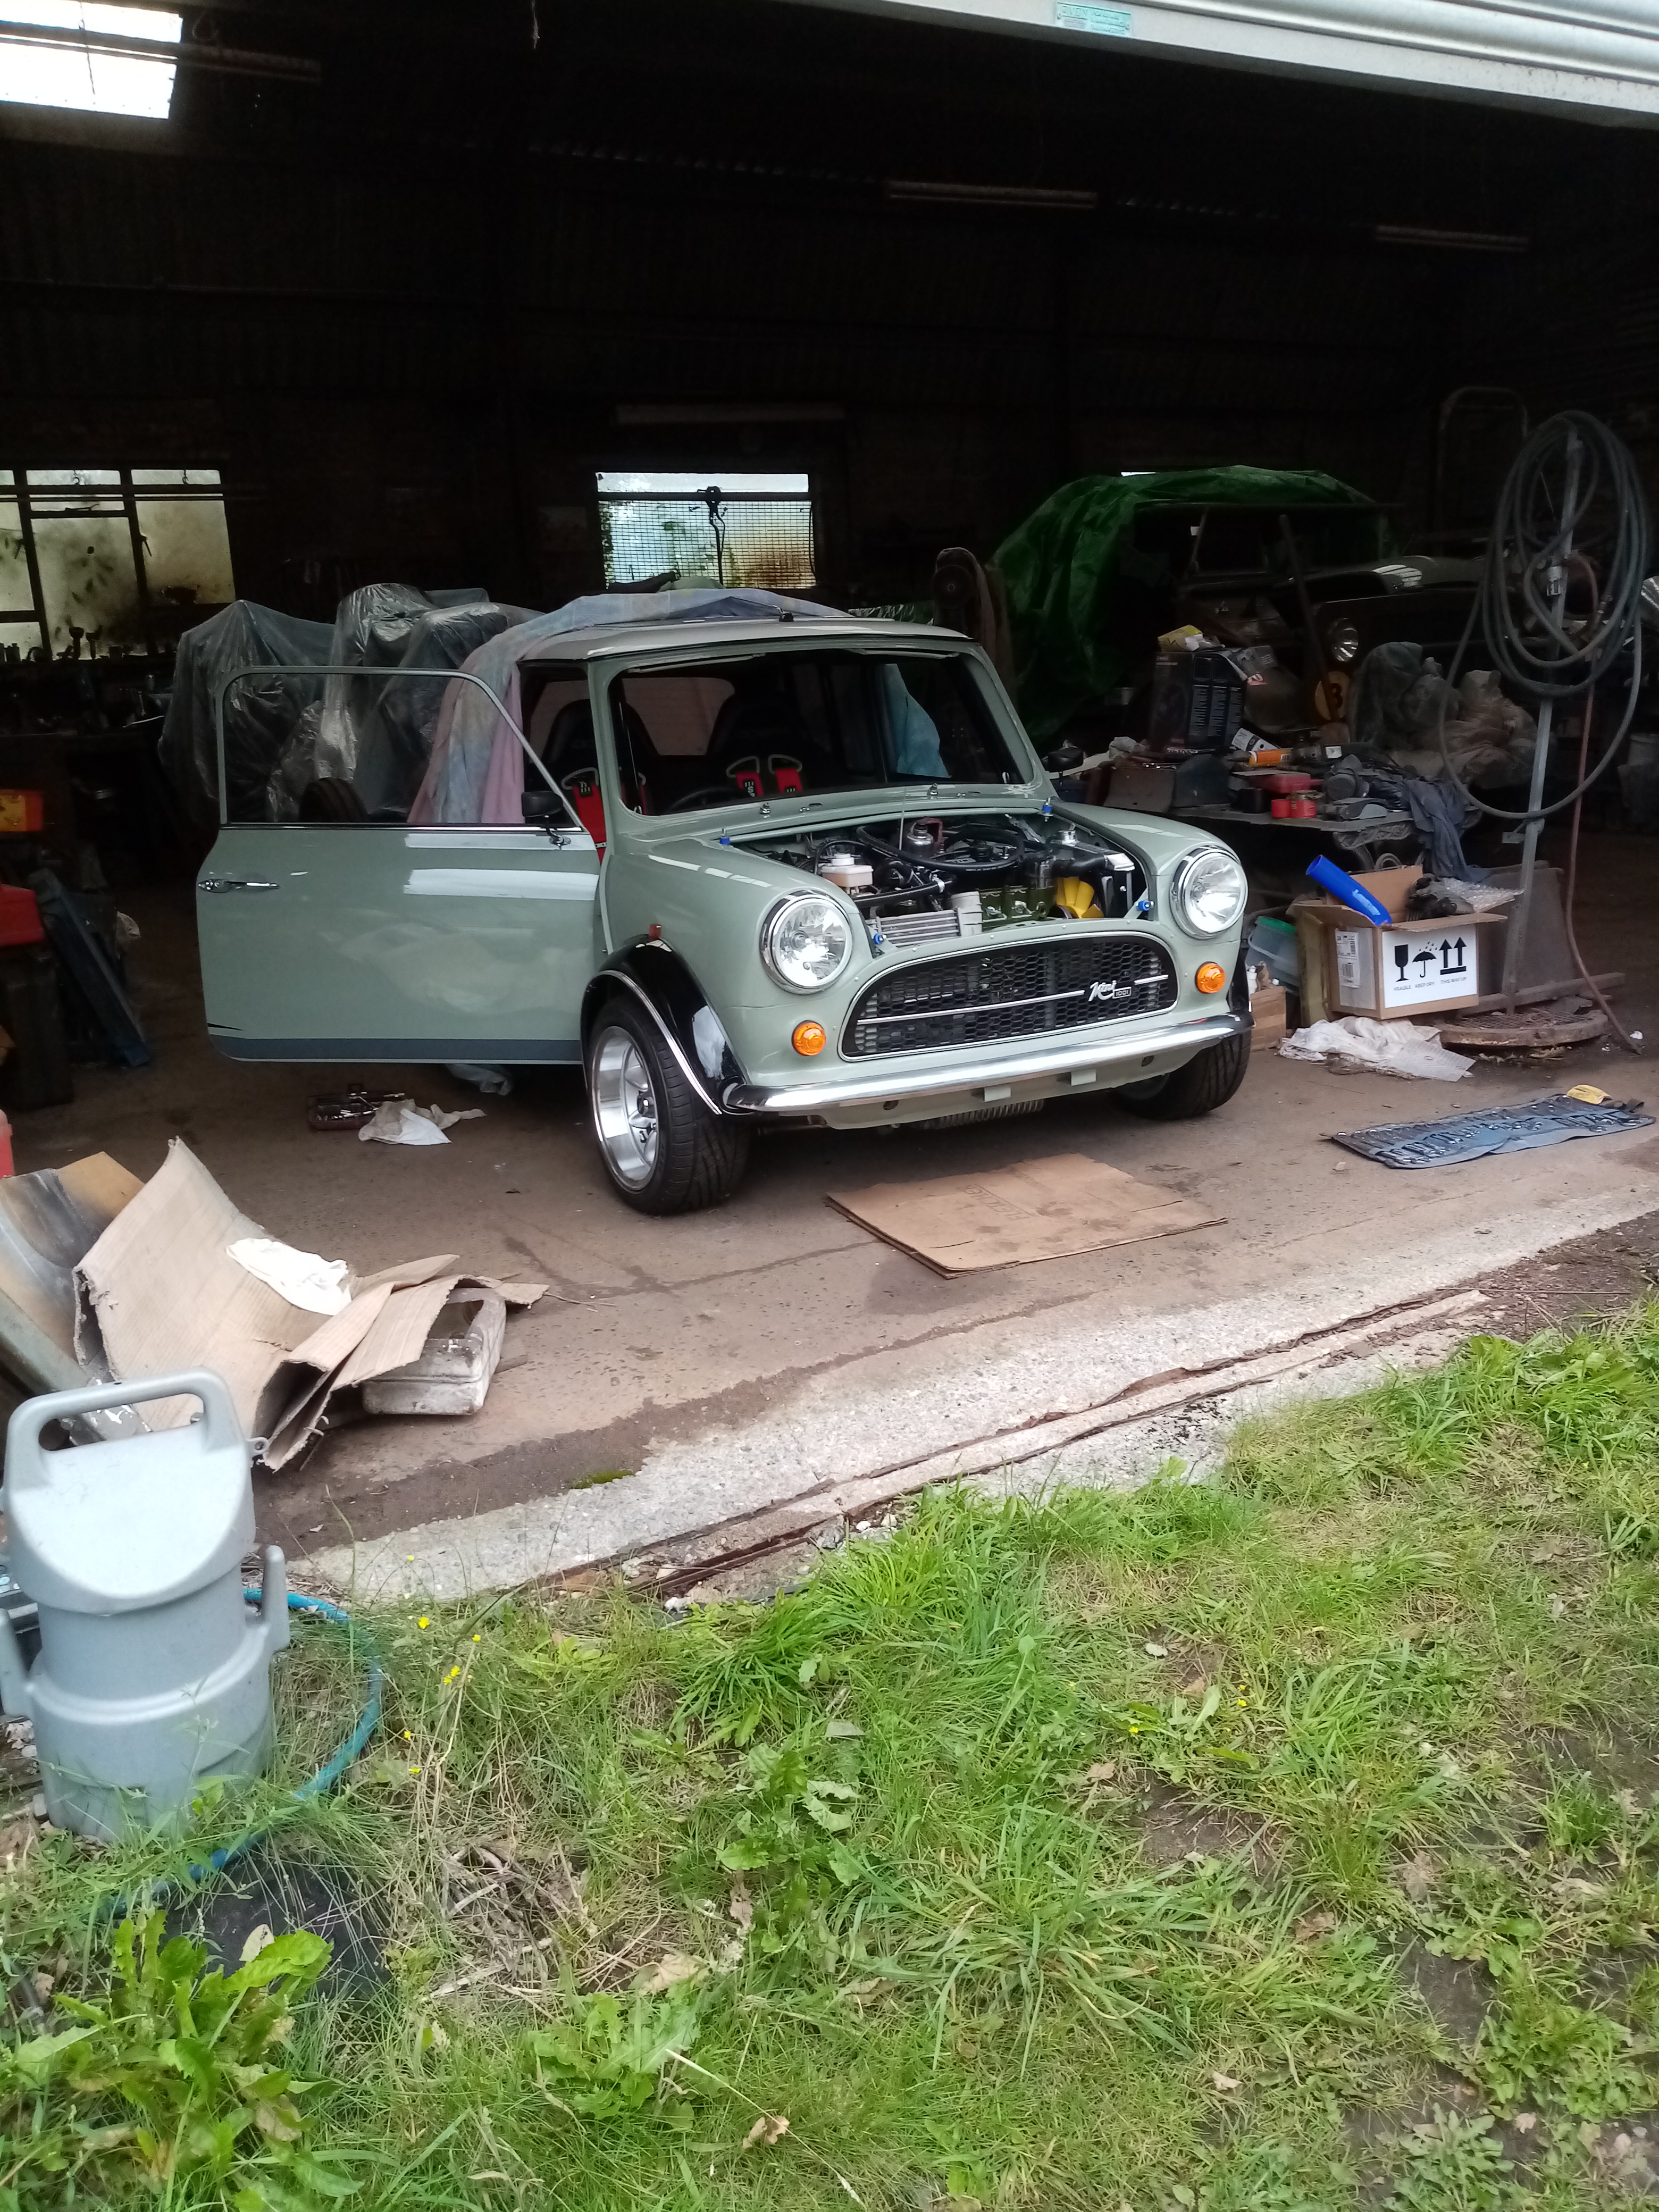
Flywheel and clutch assembly has been balanced it was 12 grams out .Managed to get the engine back into the car today and trial fit the manifolds carb and plenum was expecting to have to change the bar across the wings but only had to bend it to miss the top of the plenum chamber .Also cleaned up a manifold and carb to use to run it in. Need to mock up the turbo and intercooler next |
||||||
|
80 Posts Member #: 11548 Advanced Member Calne Wiltshire |
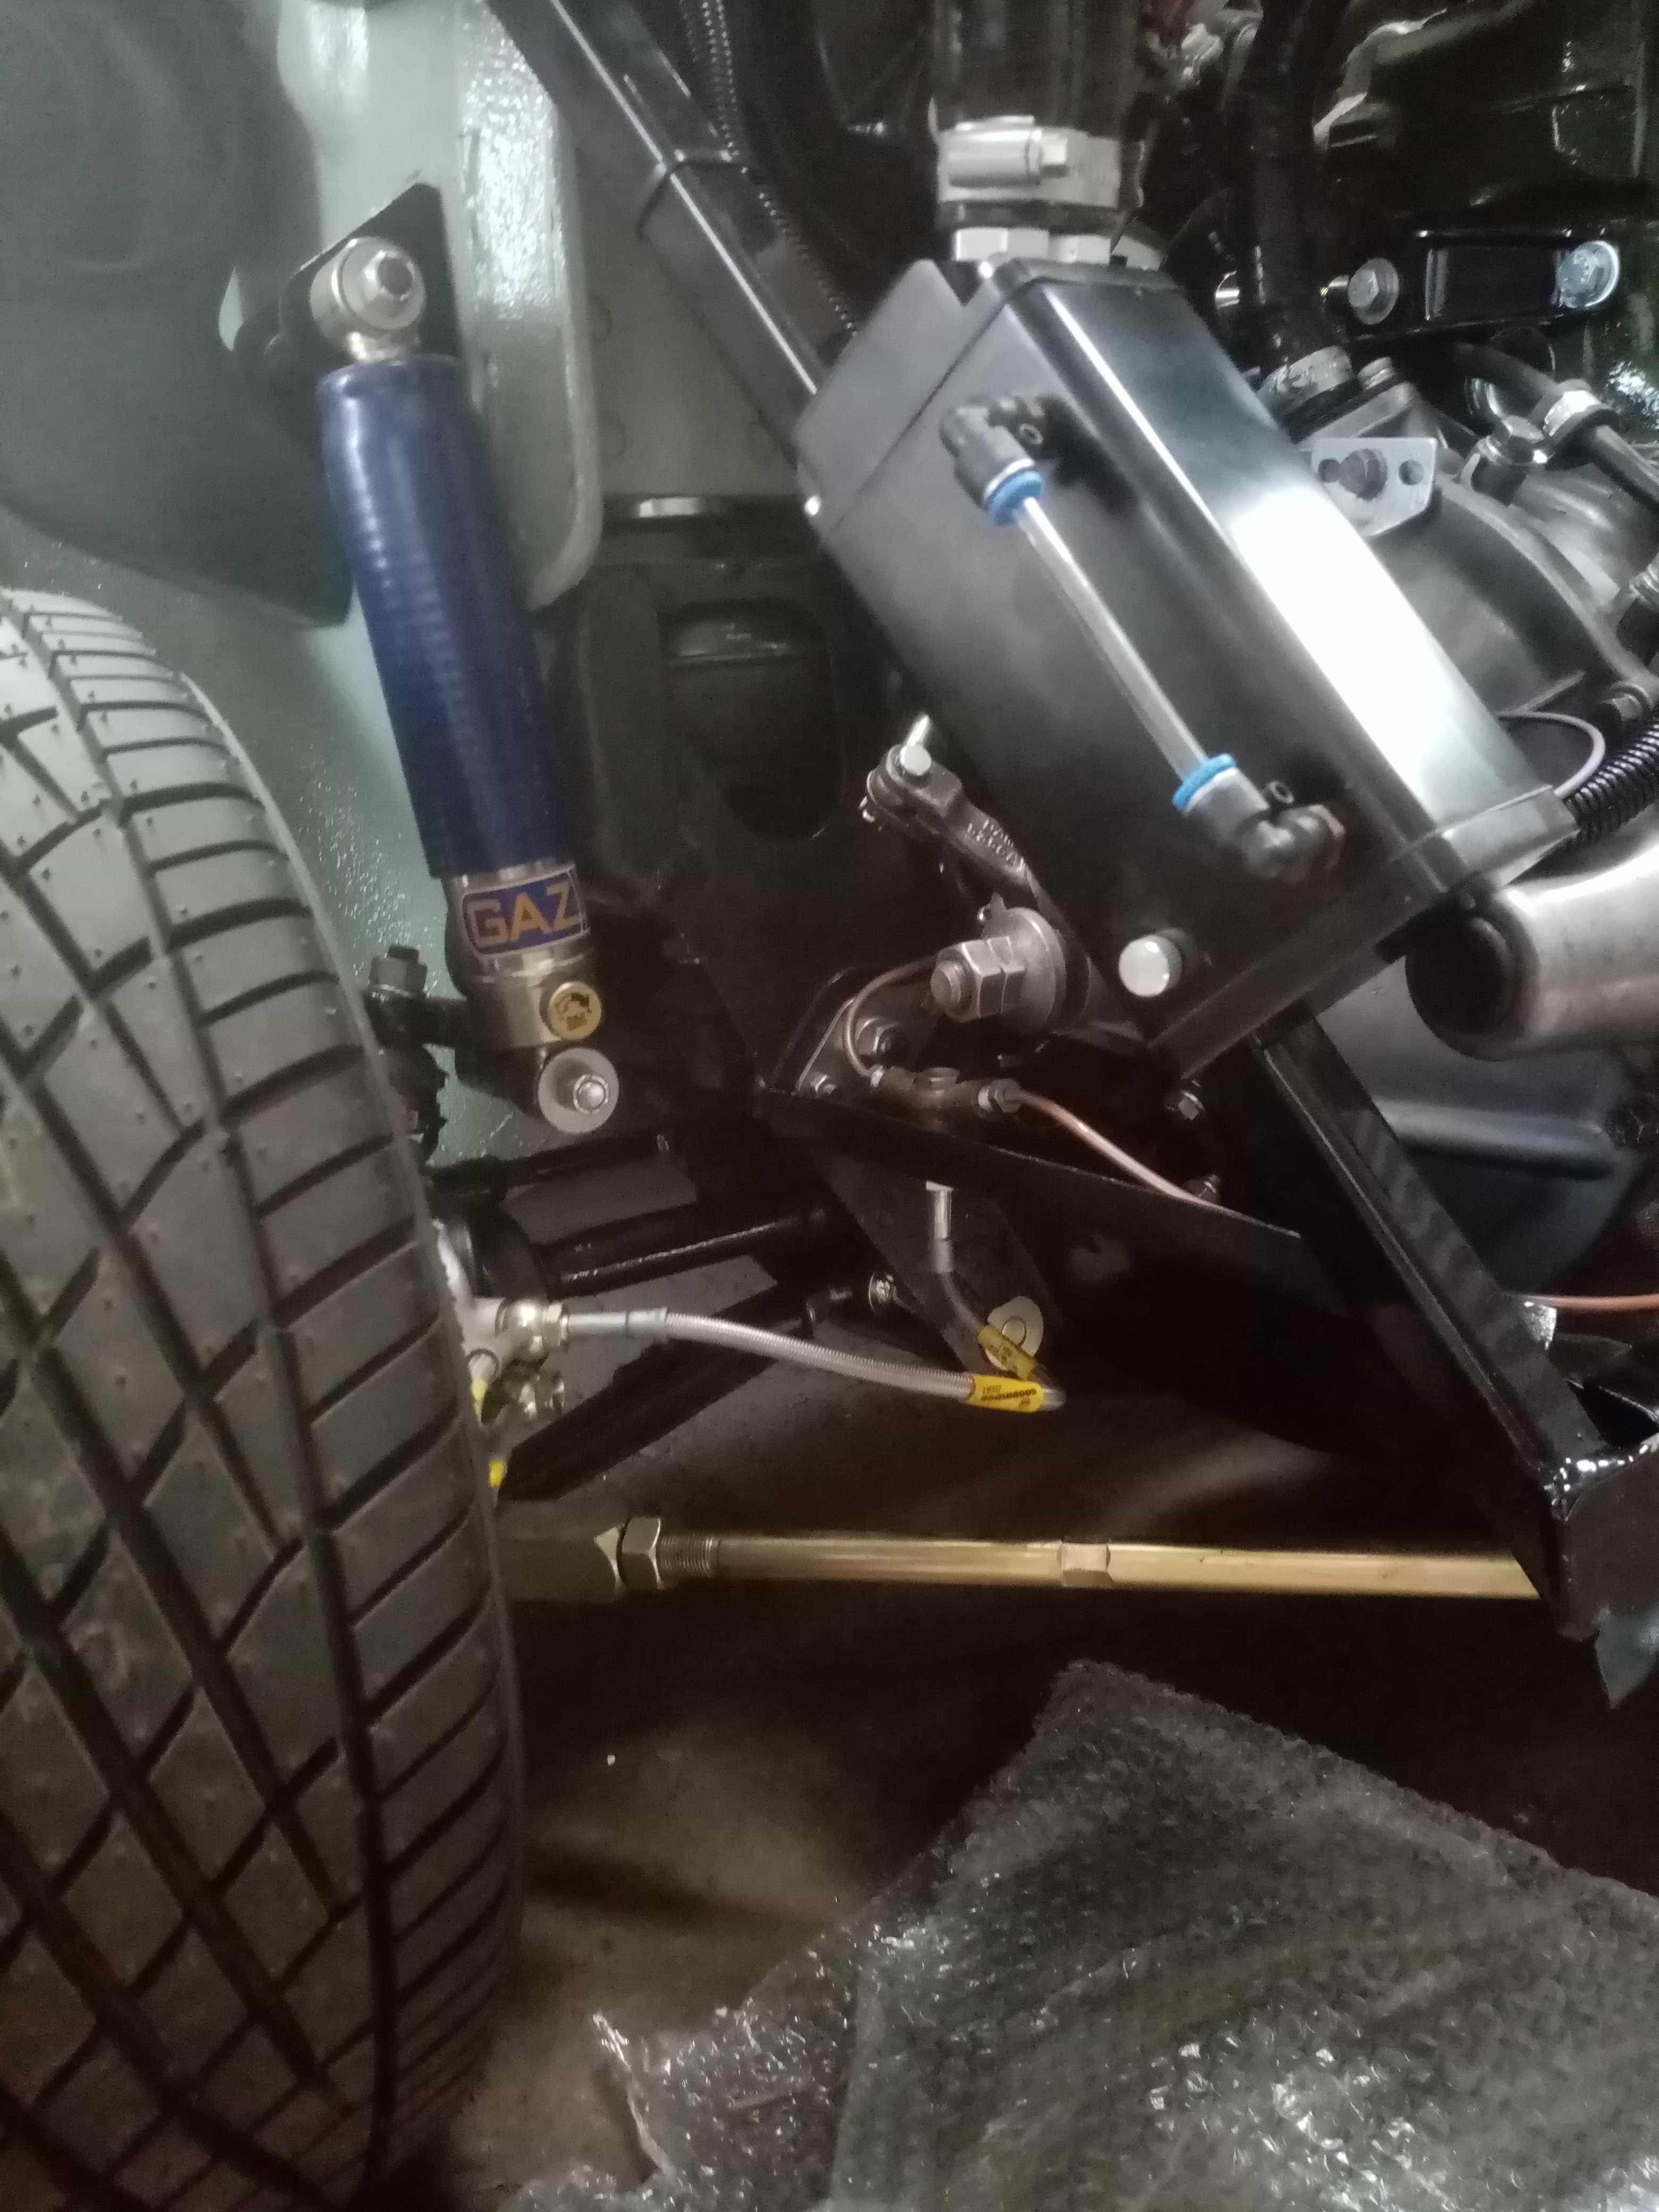
29th Jul, 2019 at 02:21:48pm
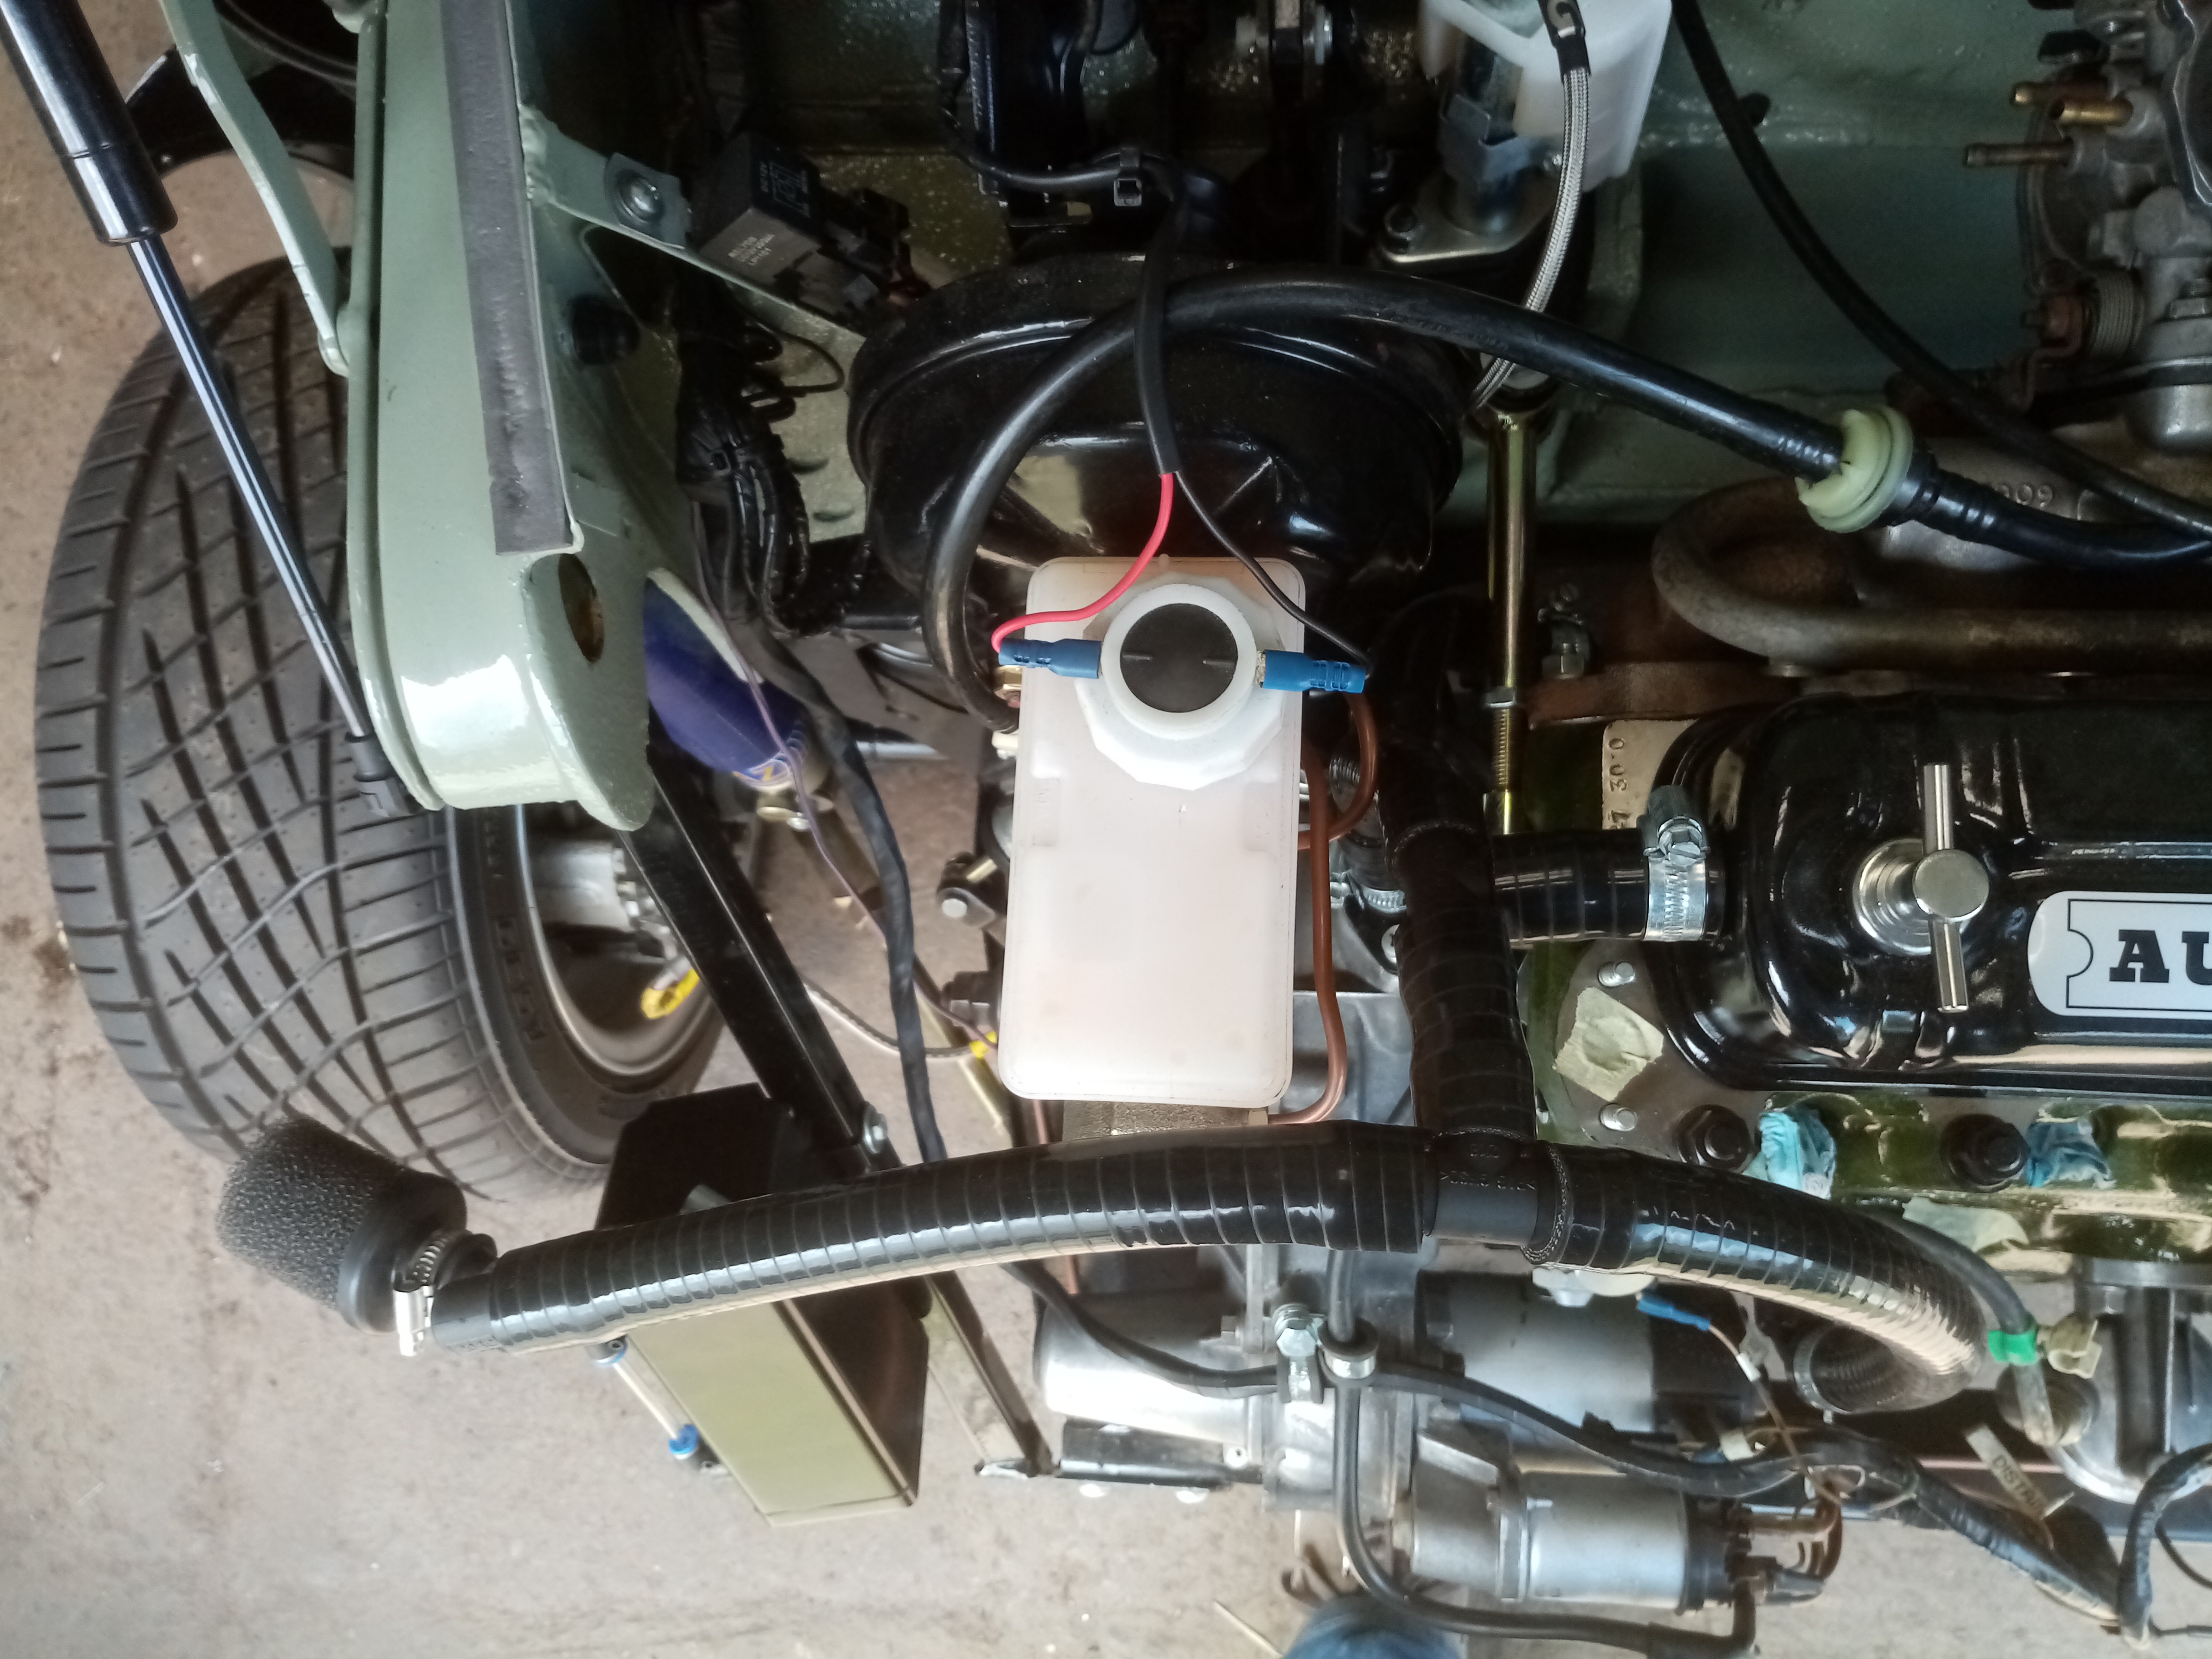
Small update not not done much lately fitted breather pipes to valve chest cover transfer case distributor hole and rocker cover all joint up and going into a catch tank then vented to atmosphere through a filter. |
||||||
 2091 Posts Member #: 9894 Post Whore Dorking |
29th Jul, 2019 at 08:32:16pm
Looks good.
|
||||||
|
80 Posts Member #: 11548 Advanced Member Calne Wiltshire |
29th Jul, 2019 at 08:40:59pm
OK see what you're saying won't be hard to re pipe. |
||||||
 967 Posts Member #: 3228 Post Whore North of the Netherlands |
30th Jul, 2019 at 11:22:12am
Nice build!
Dazed and Confused.... |
||||||
|
80 Posts Member #: 11548 Advanced Member Calne Wiltshire |
30th Jul, 2019 at 12:50:43pm
Thanks. Yeah know about the brake line just haven't sorted it out yet. Keep starting other bits and not getting around to it |
||||||
|
80 Posts Member #: 11548 Advanced Member Calne Wiltshire |
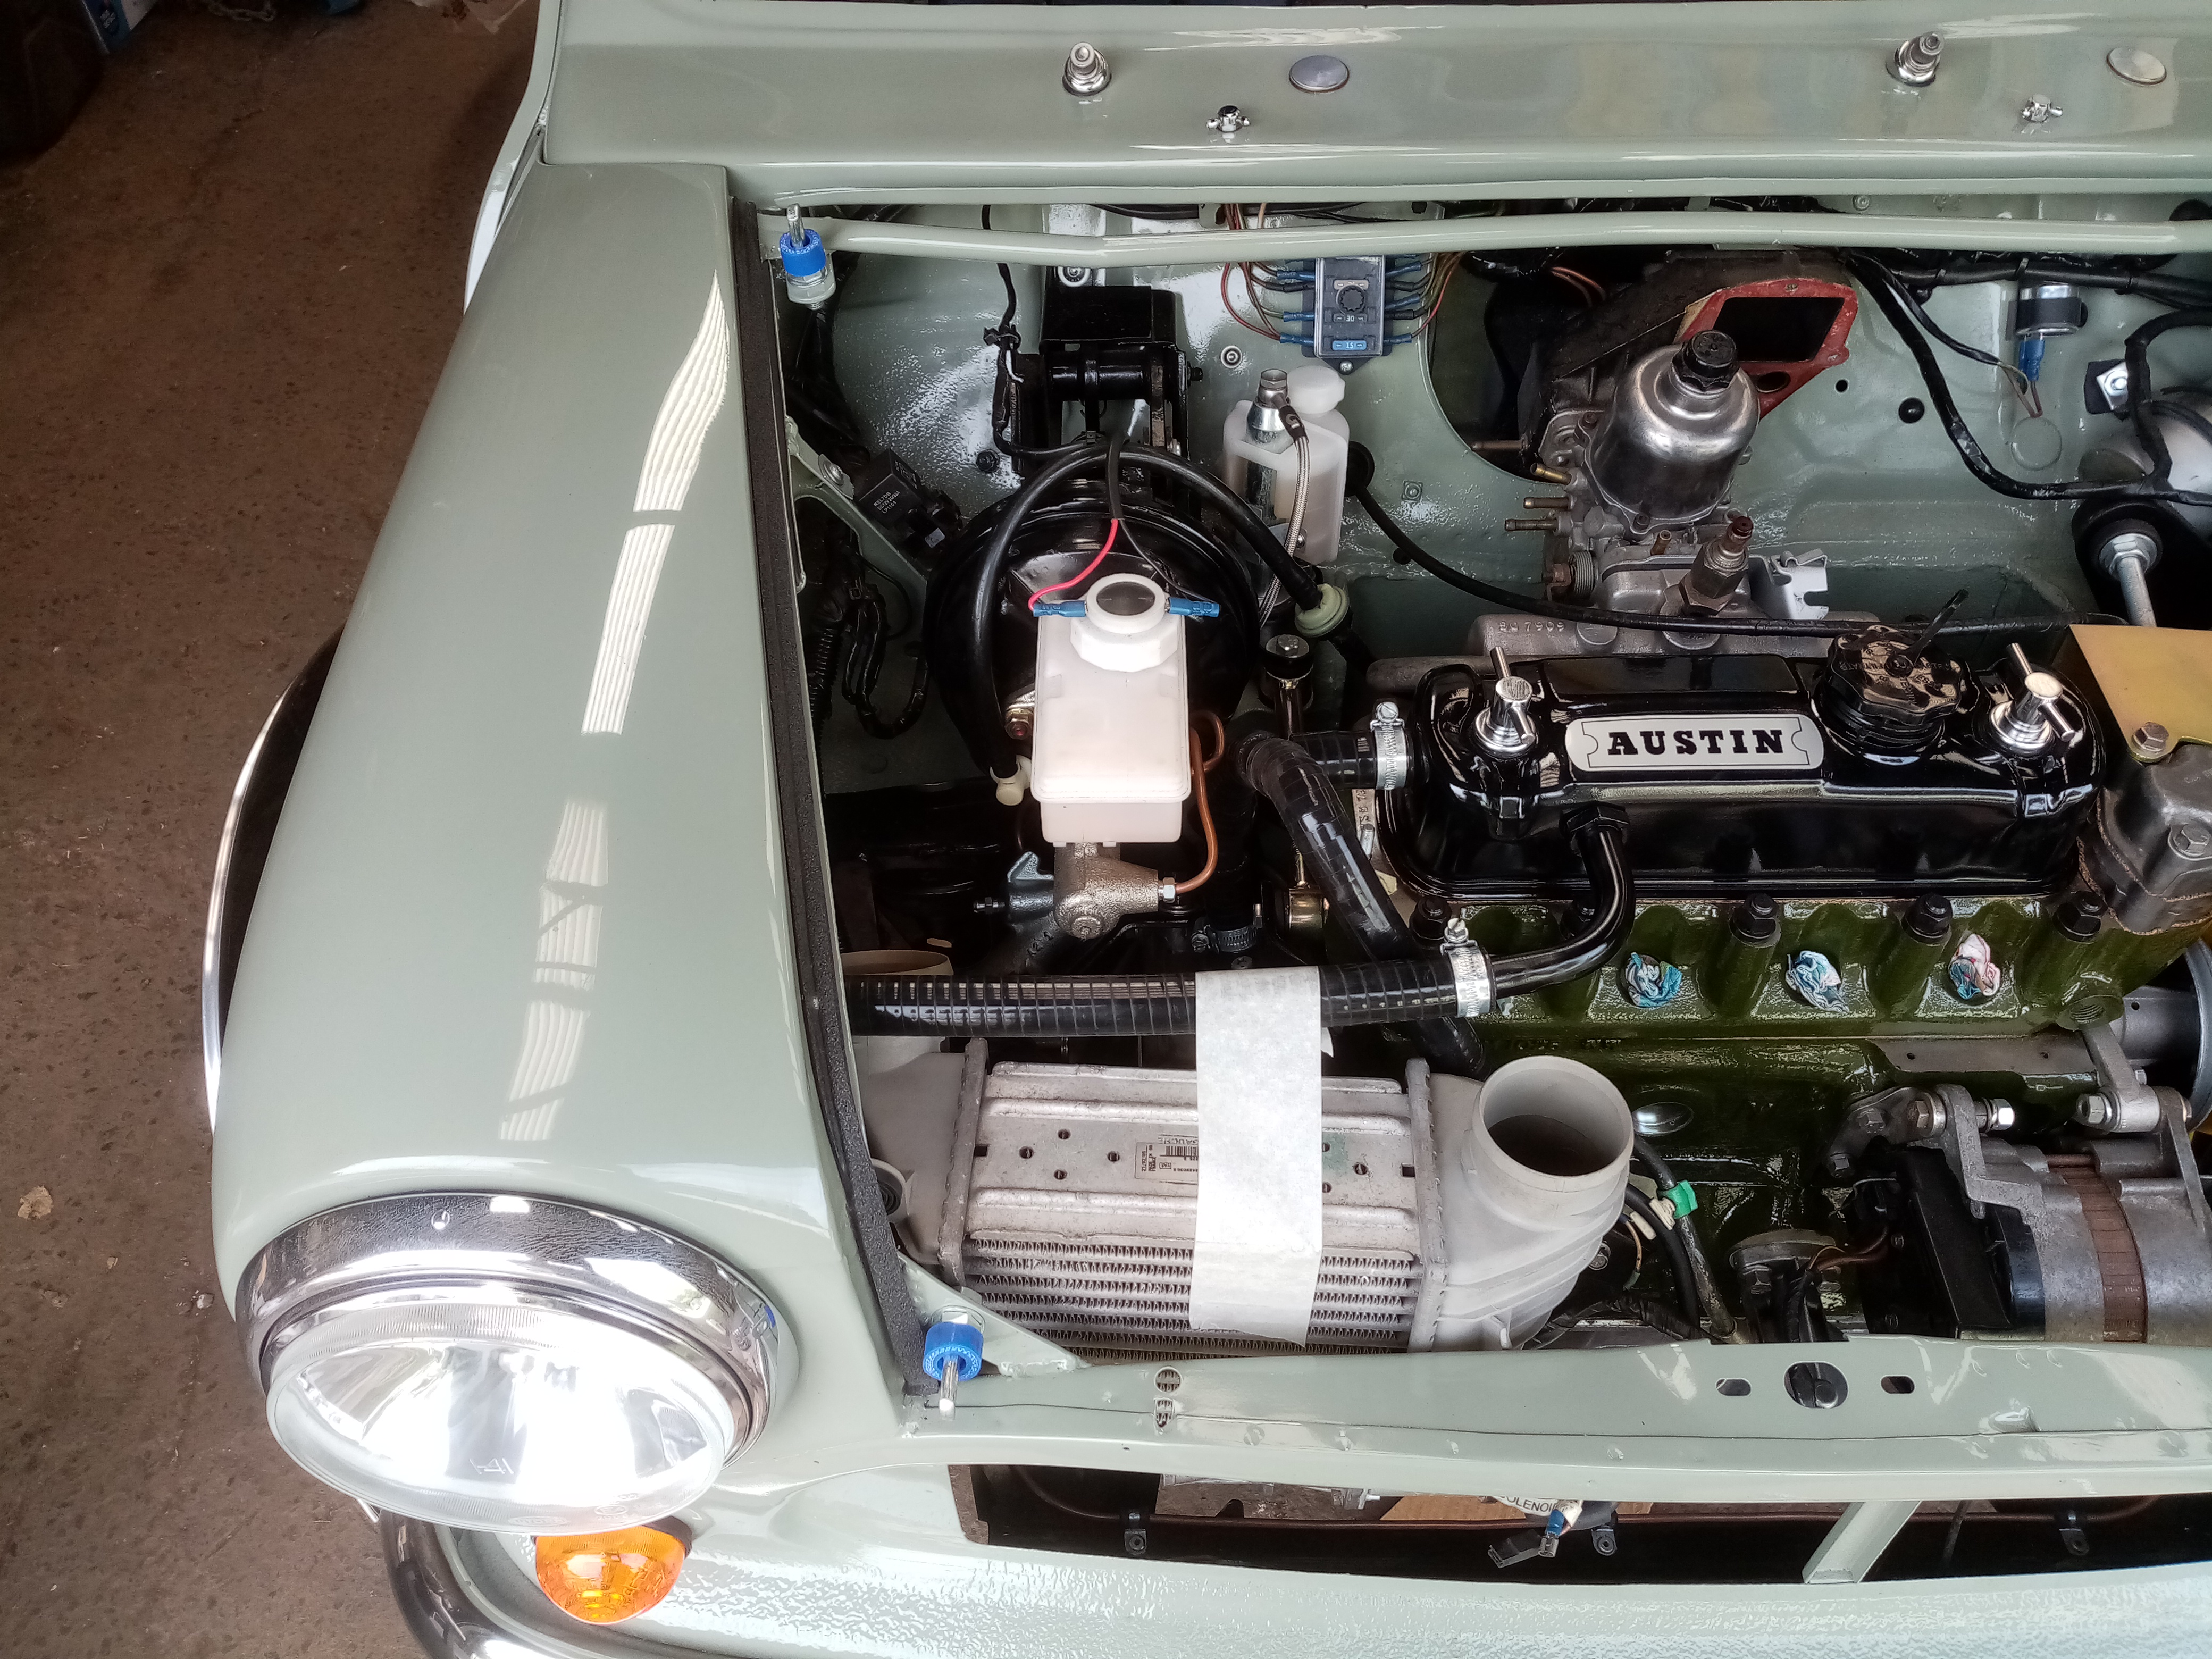
31st Jul, 2019 at 10:07:08pm
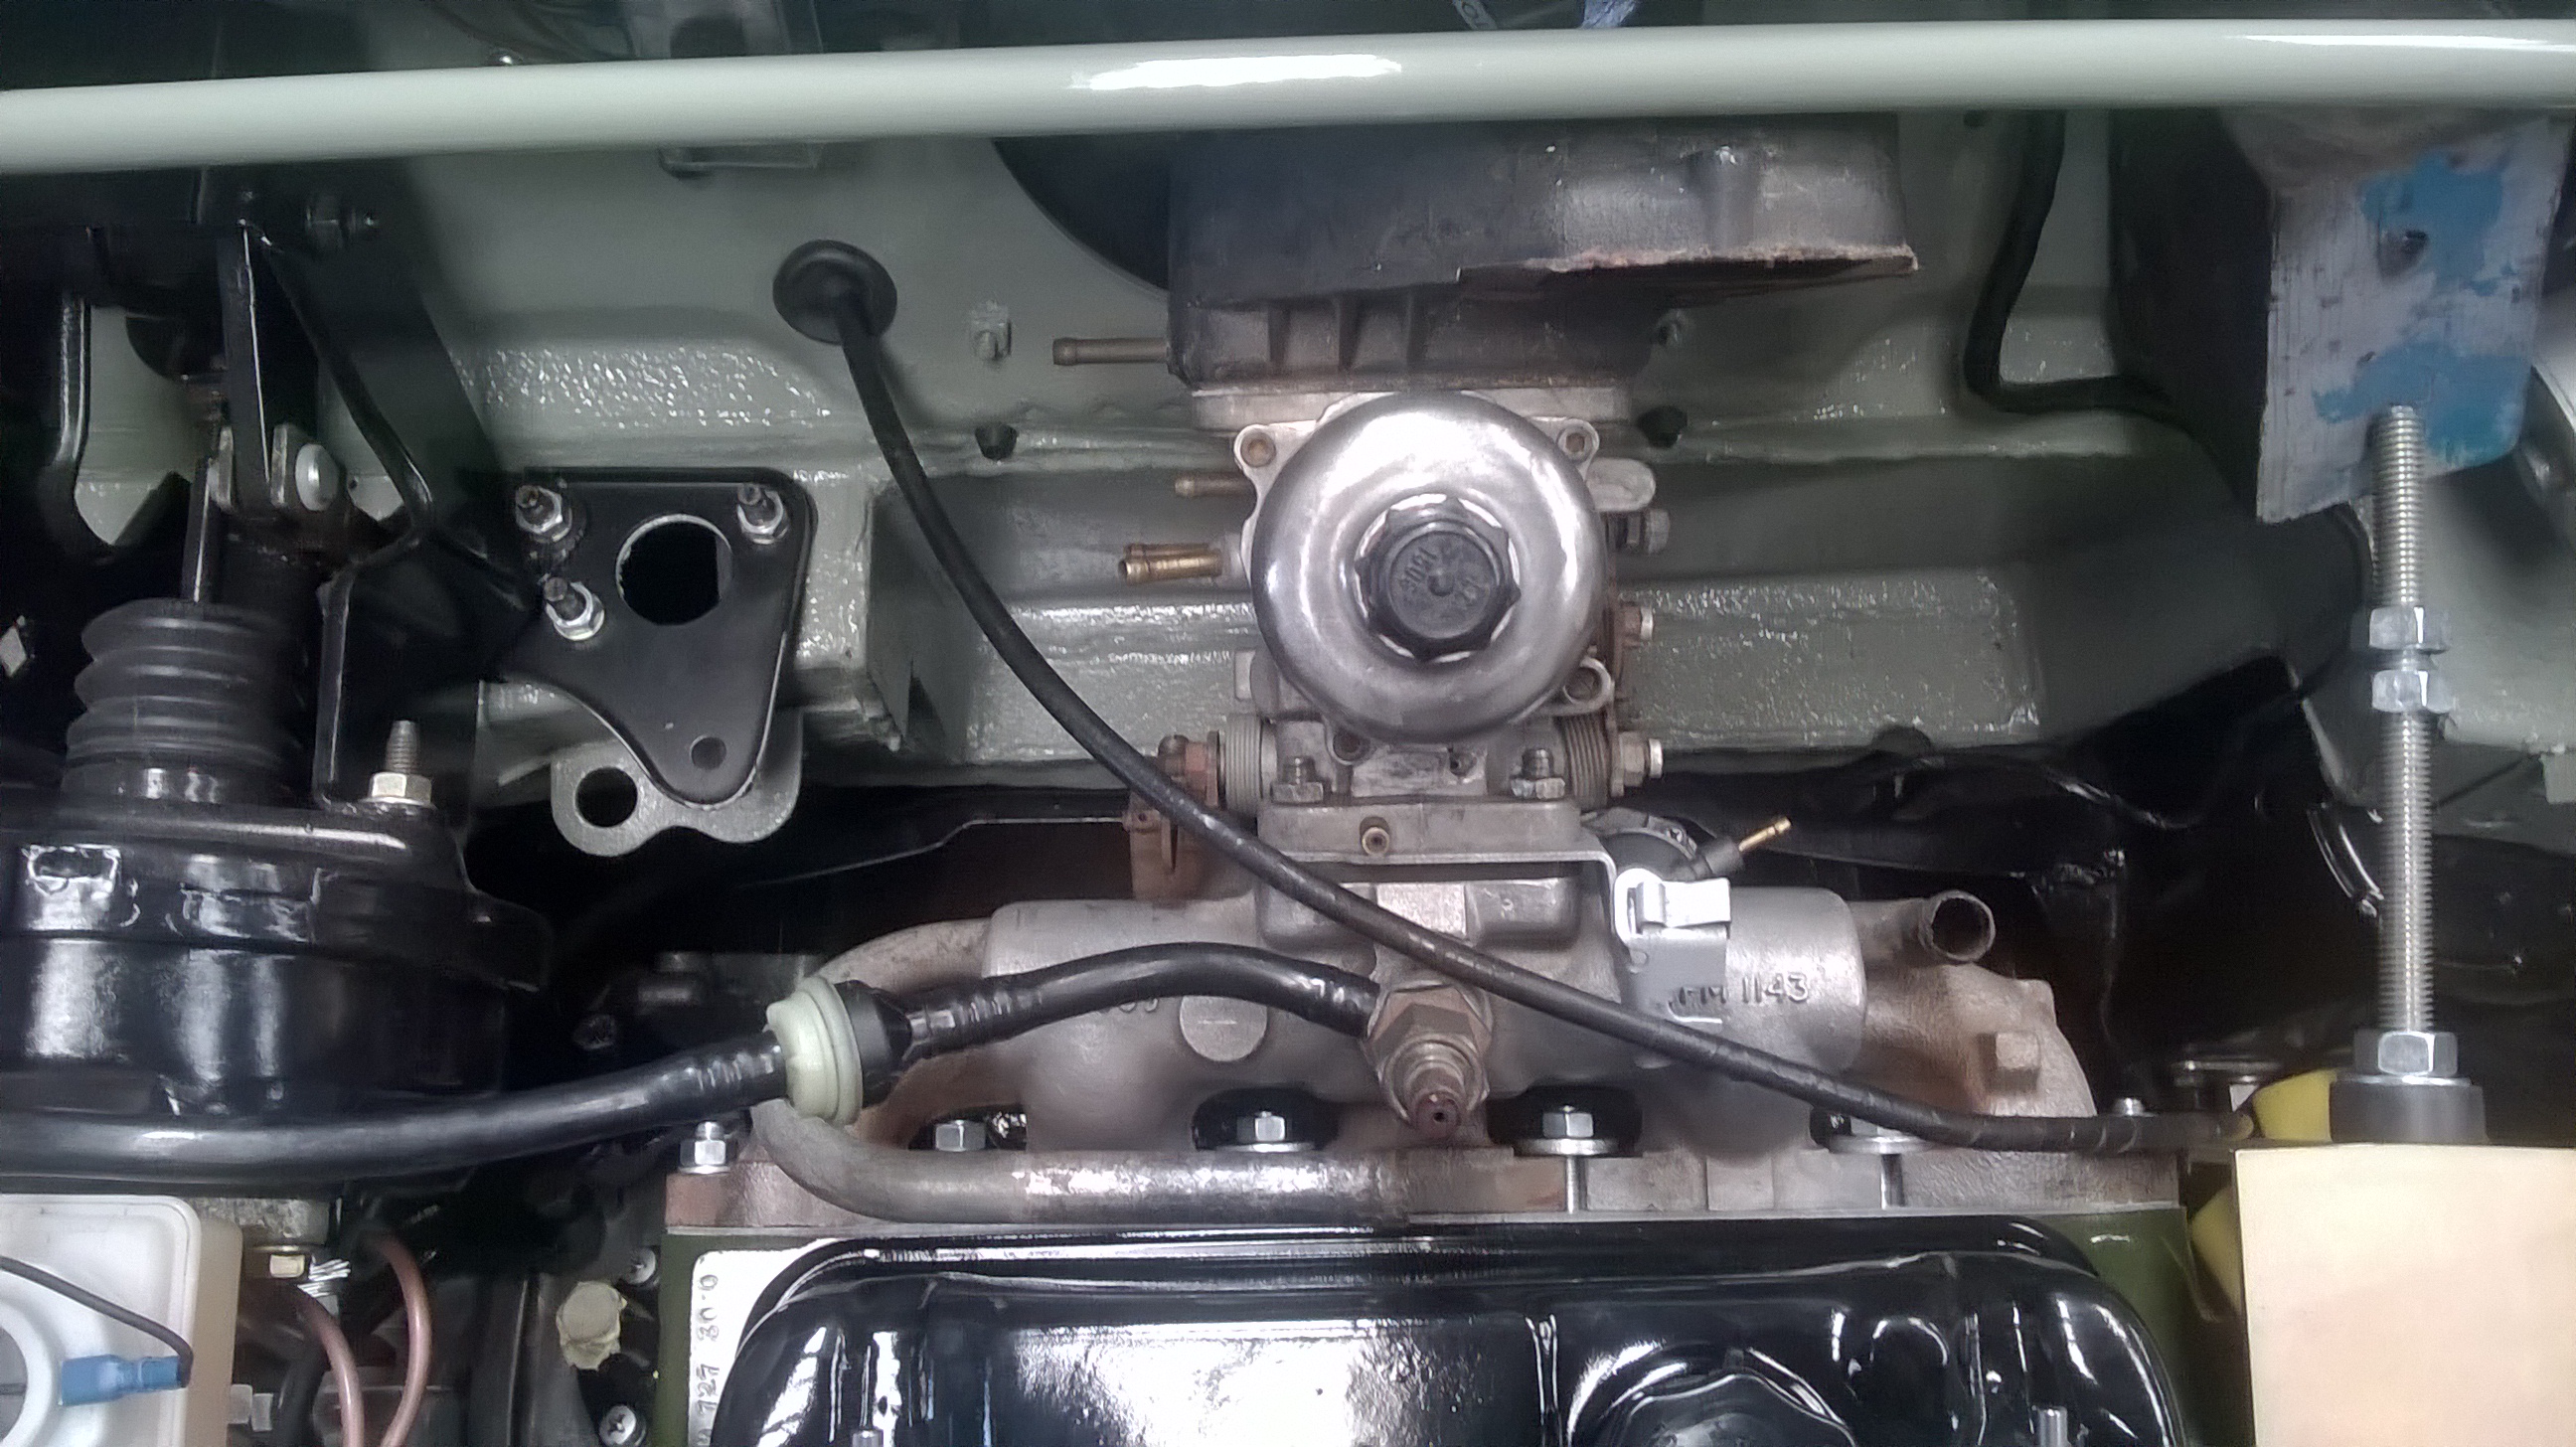
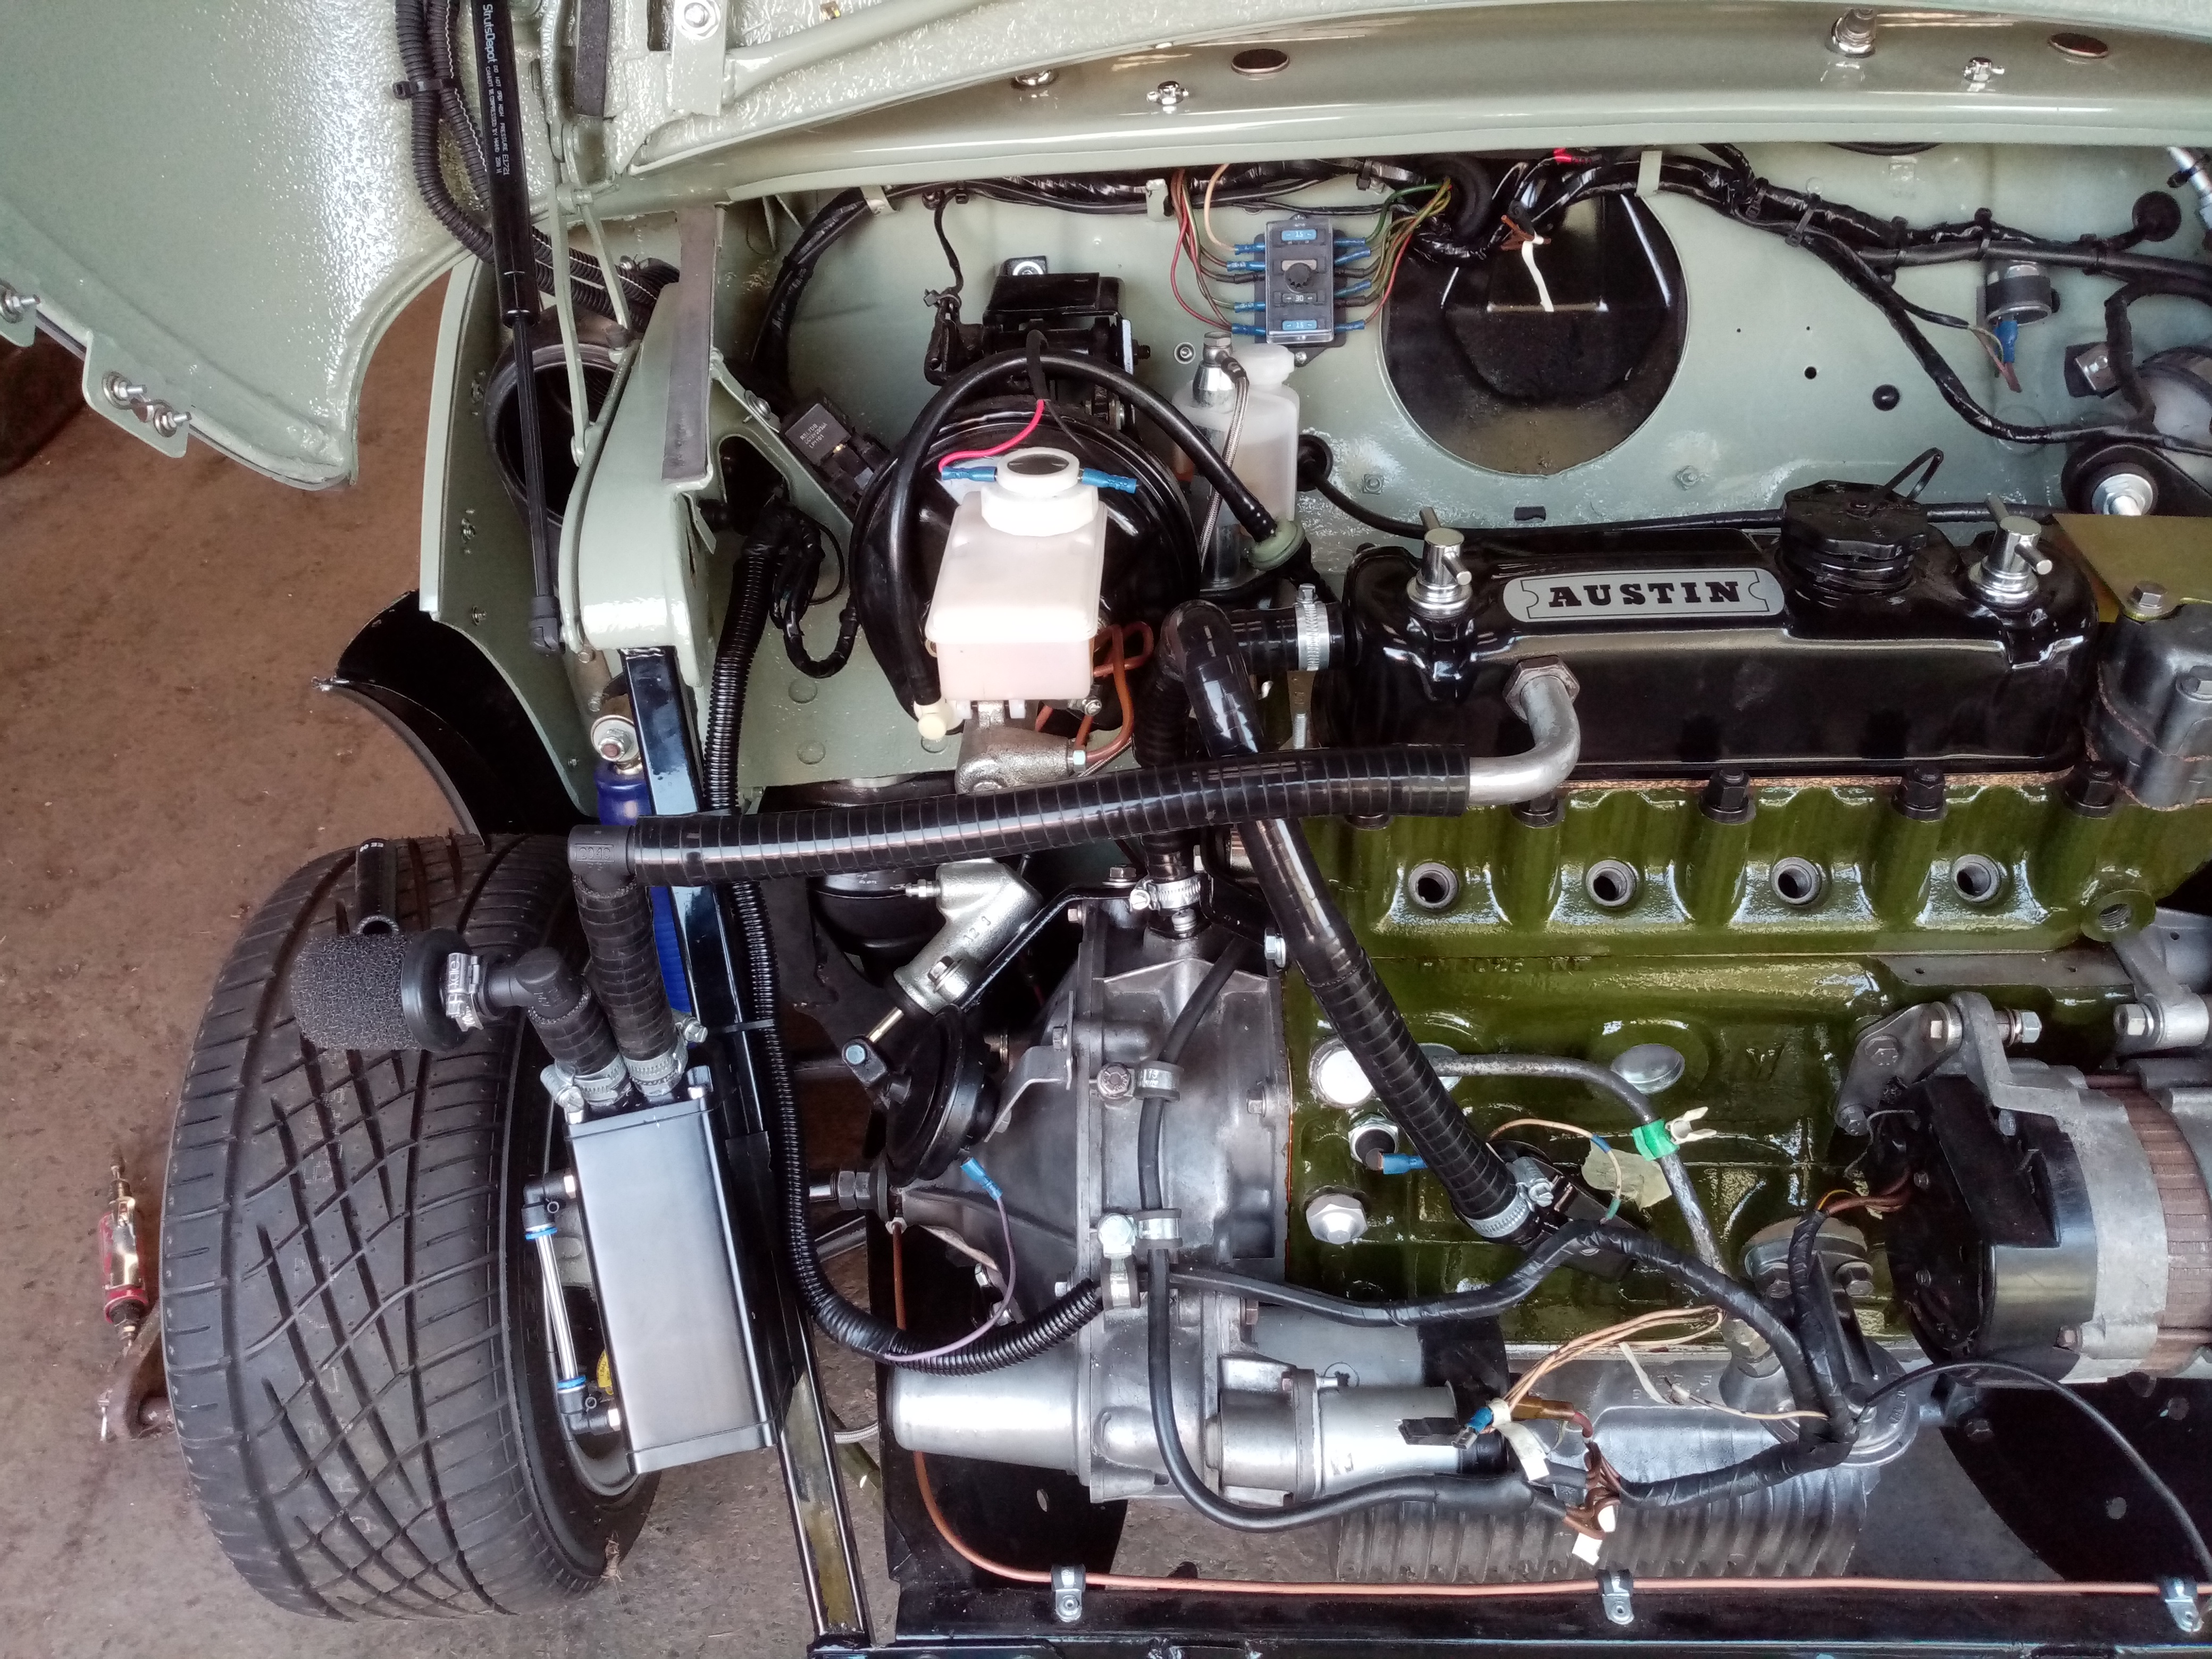
Listened to Jonny f and re arranged the breather pipes think it's a bit neater this way as well. Edited by Pete B on 5th Jan, 2020. |
||||||
 1733 Posts Member #: 1910 Post Whore Wilts |
2nd Aug, 2019 at 01:47:15pm
Pete, How come I've never seen this?
On 15th Jul, 2009 fastcarl said:
the pissed up clown stood back up, did a twirl and left bollock naked, |
||||||
|
80 Posts Member #: 11548 Advanced Member Calne Wiltshire |
3rd Aug, 2019 at 06:27:38pm
Oli pm sent |
||||||
|
80 Posts Member #: 11548 Advanced Member Calne Wiltshire |
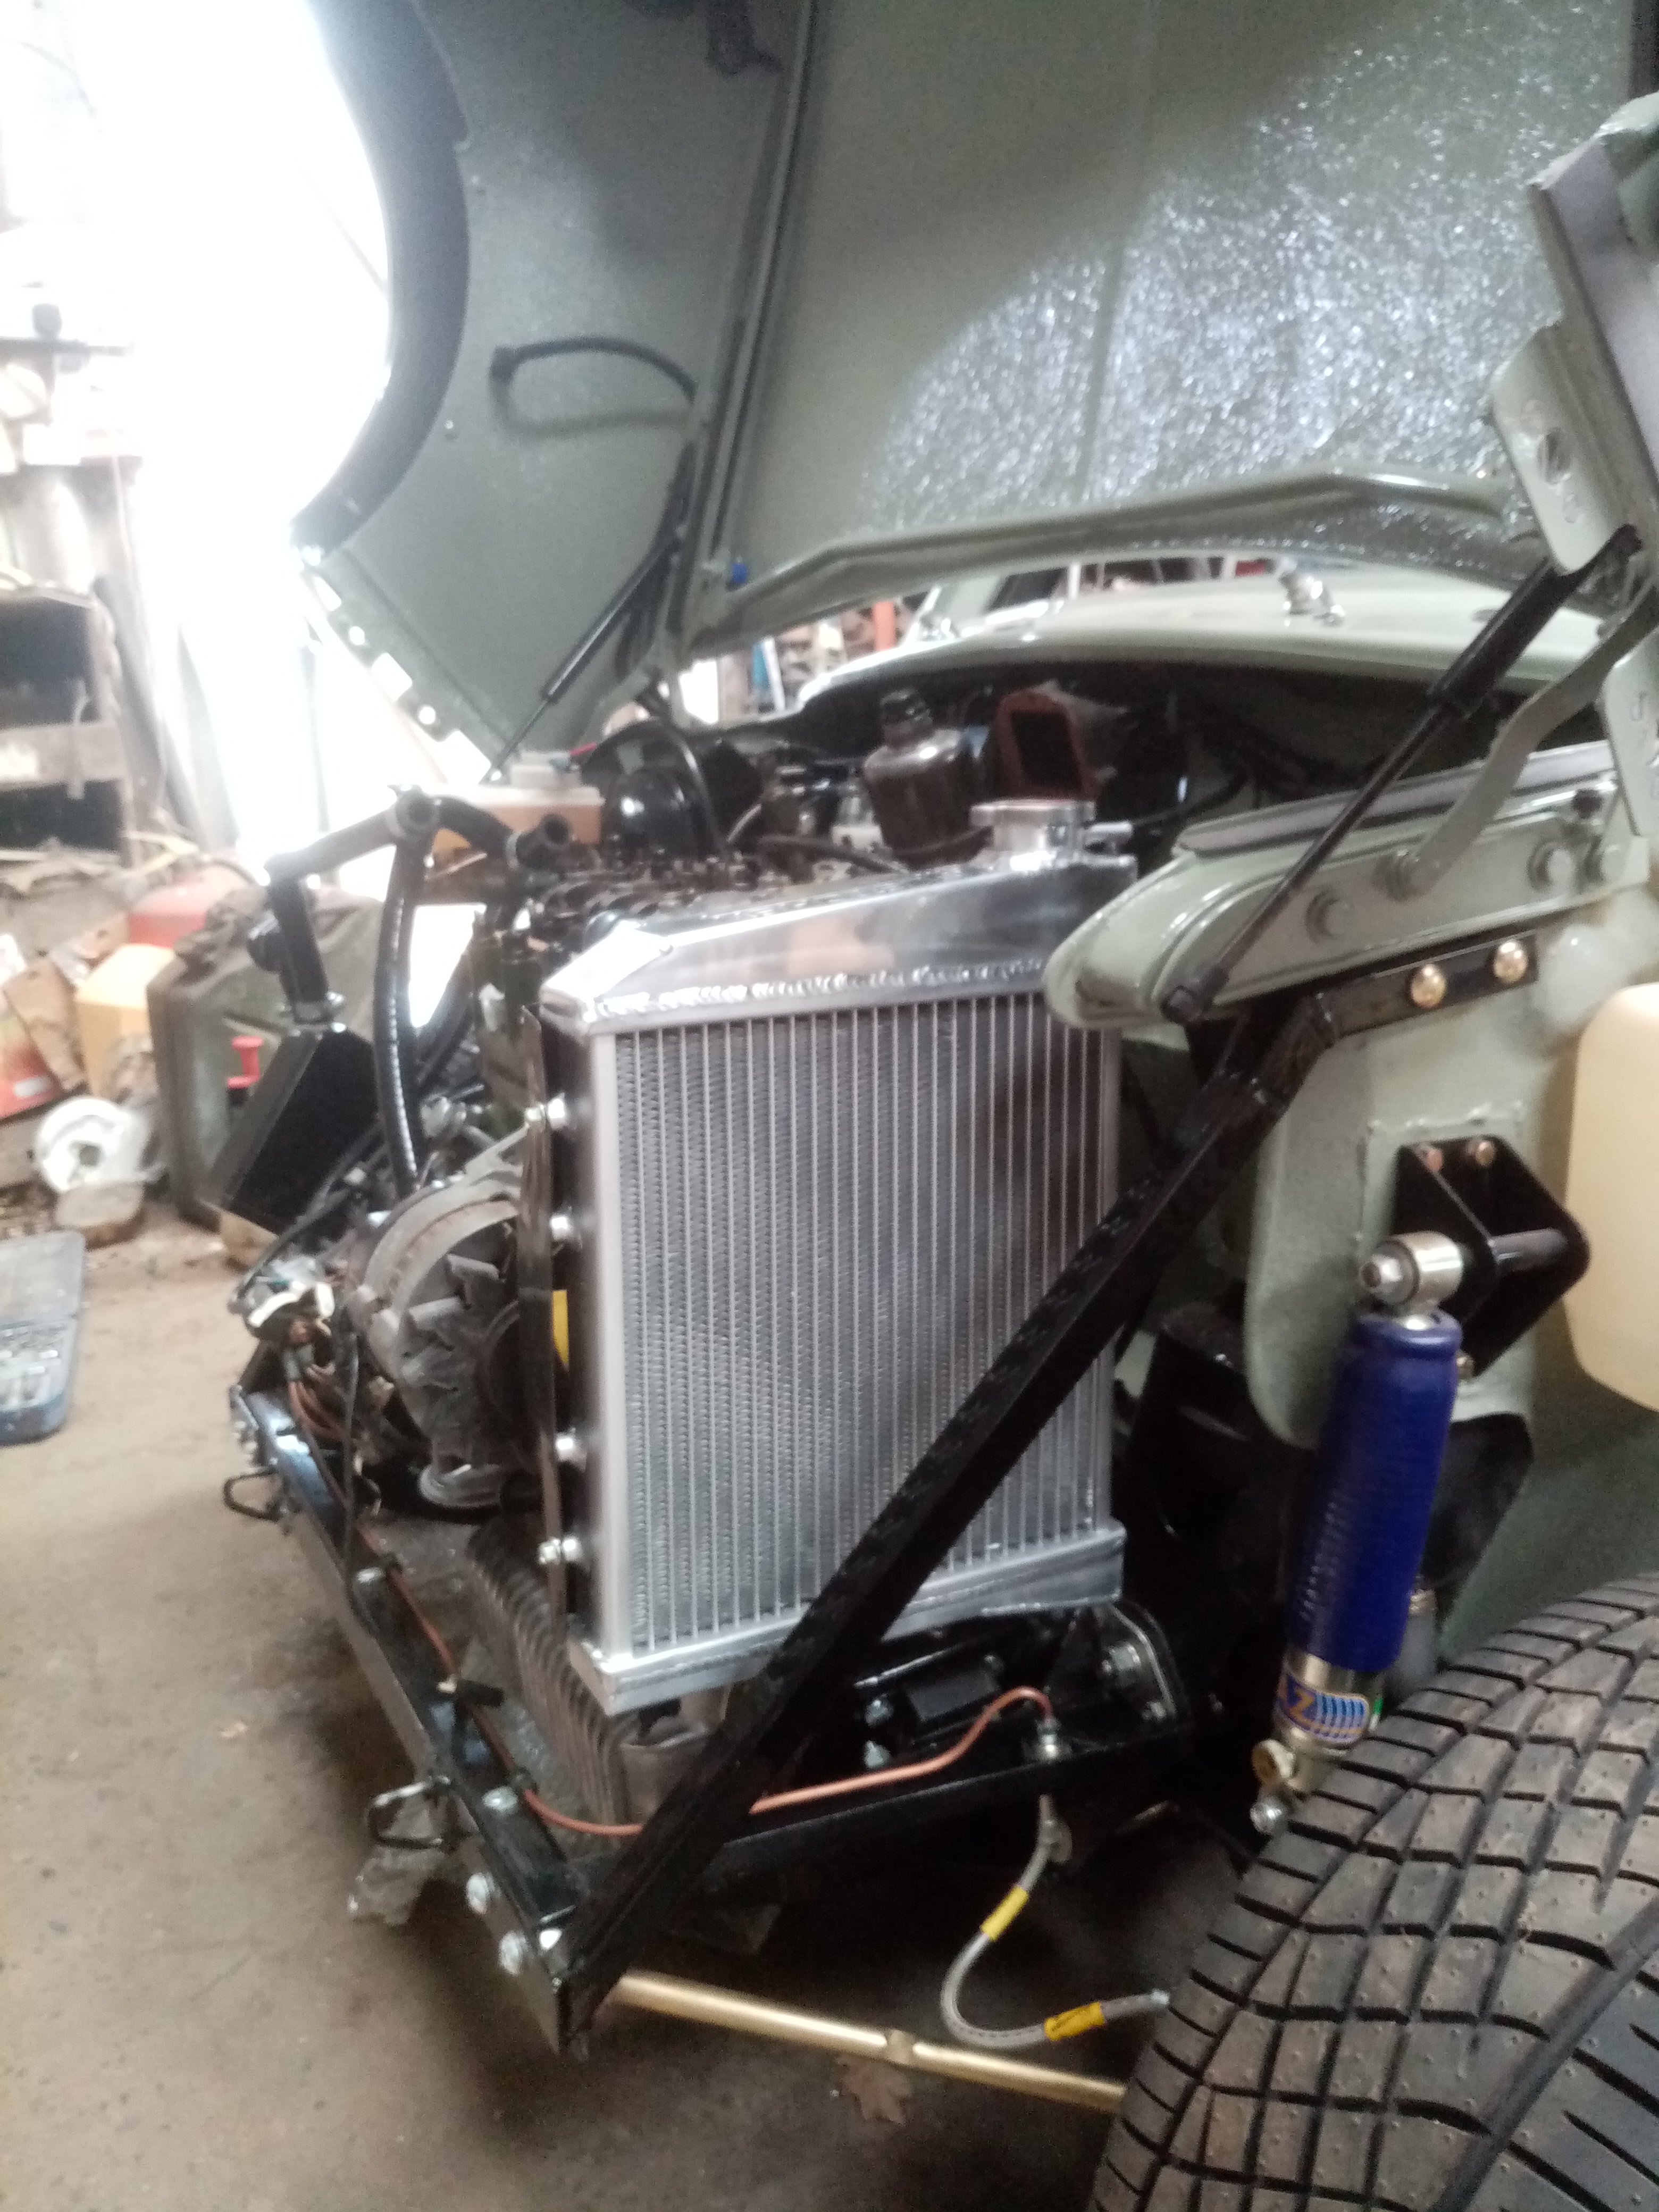
4th Aug, 2019 at 07:28:06am
Bought a Fletcher ally rad and fitted it although will have to take it out again to fit the trigger wheel to crank pulley when I buy the megajolt kit also painted the breather pipe on the rocker cover and started to make the mount for the intercooler and also sorted the brake line Edited by Pete B on 4th Aug, 2019. |
||||||
 1648 Posts Member #: 9038 Post Whore Carlisle, Cumbria |
5th Aug, 2019 at 05:07:40pm
Kean has a megajolt bracket in the ebay tread if its any use |
||||||
|
80 Posts Member #: 11548 Advanced Member Calne Wiltshire |
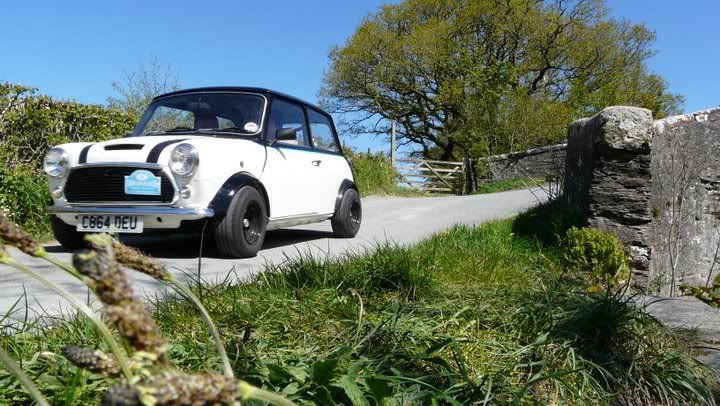
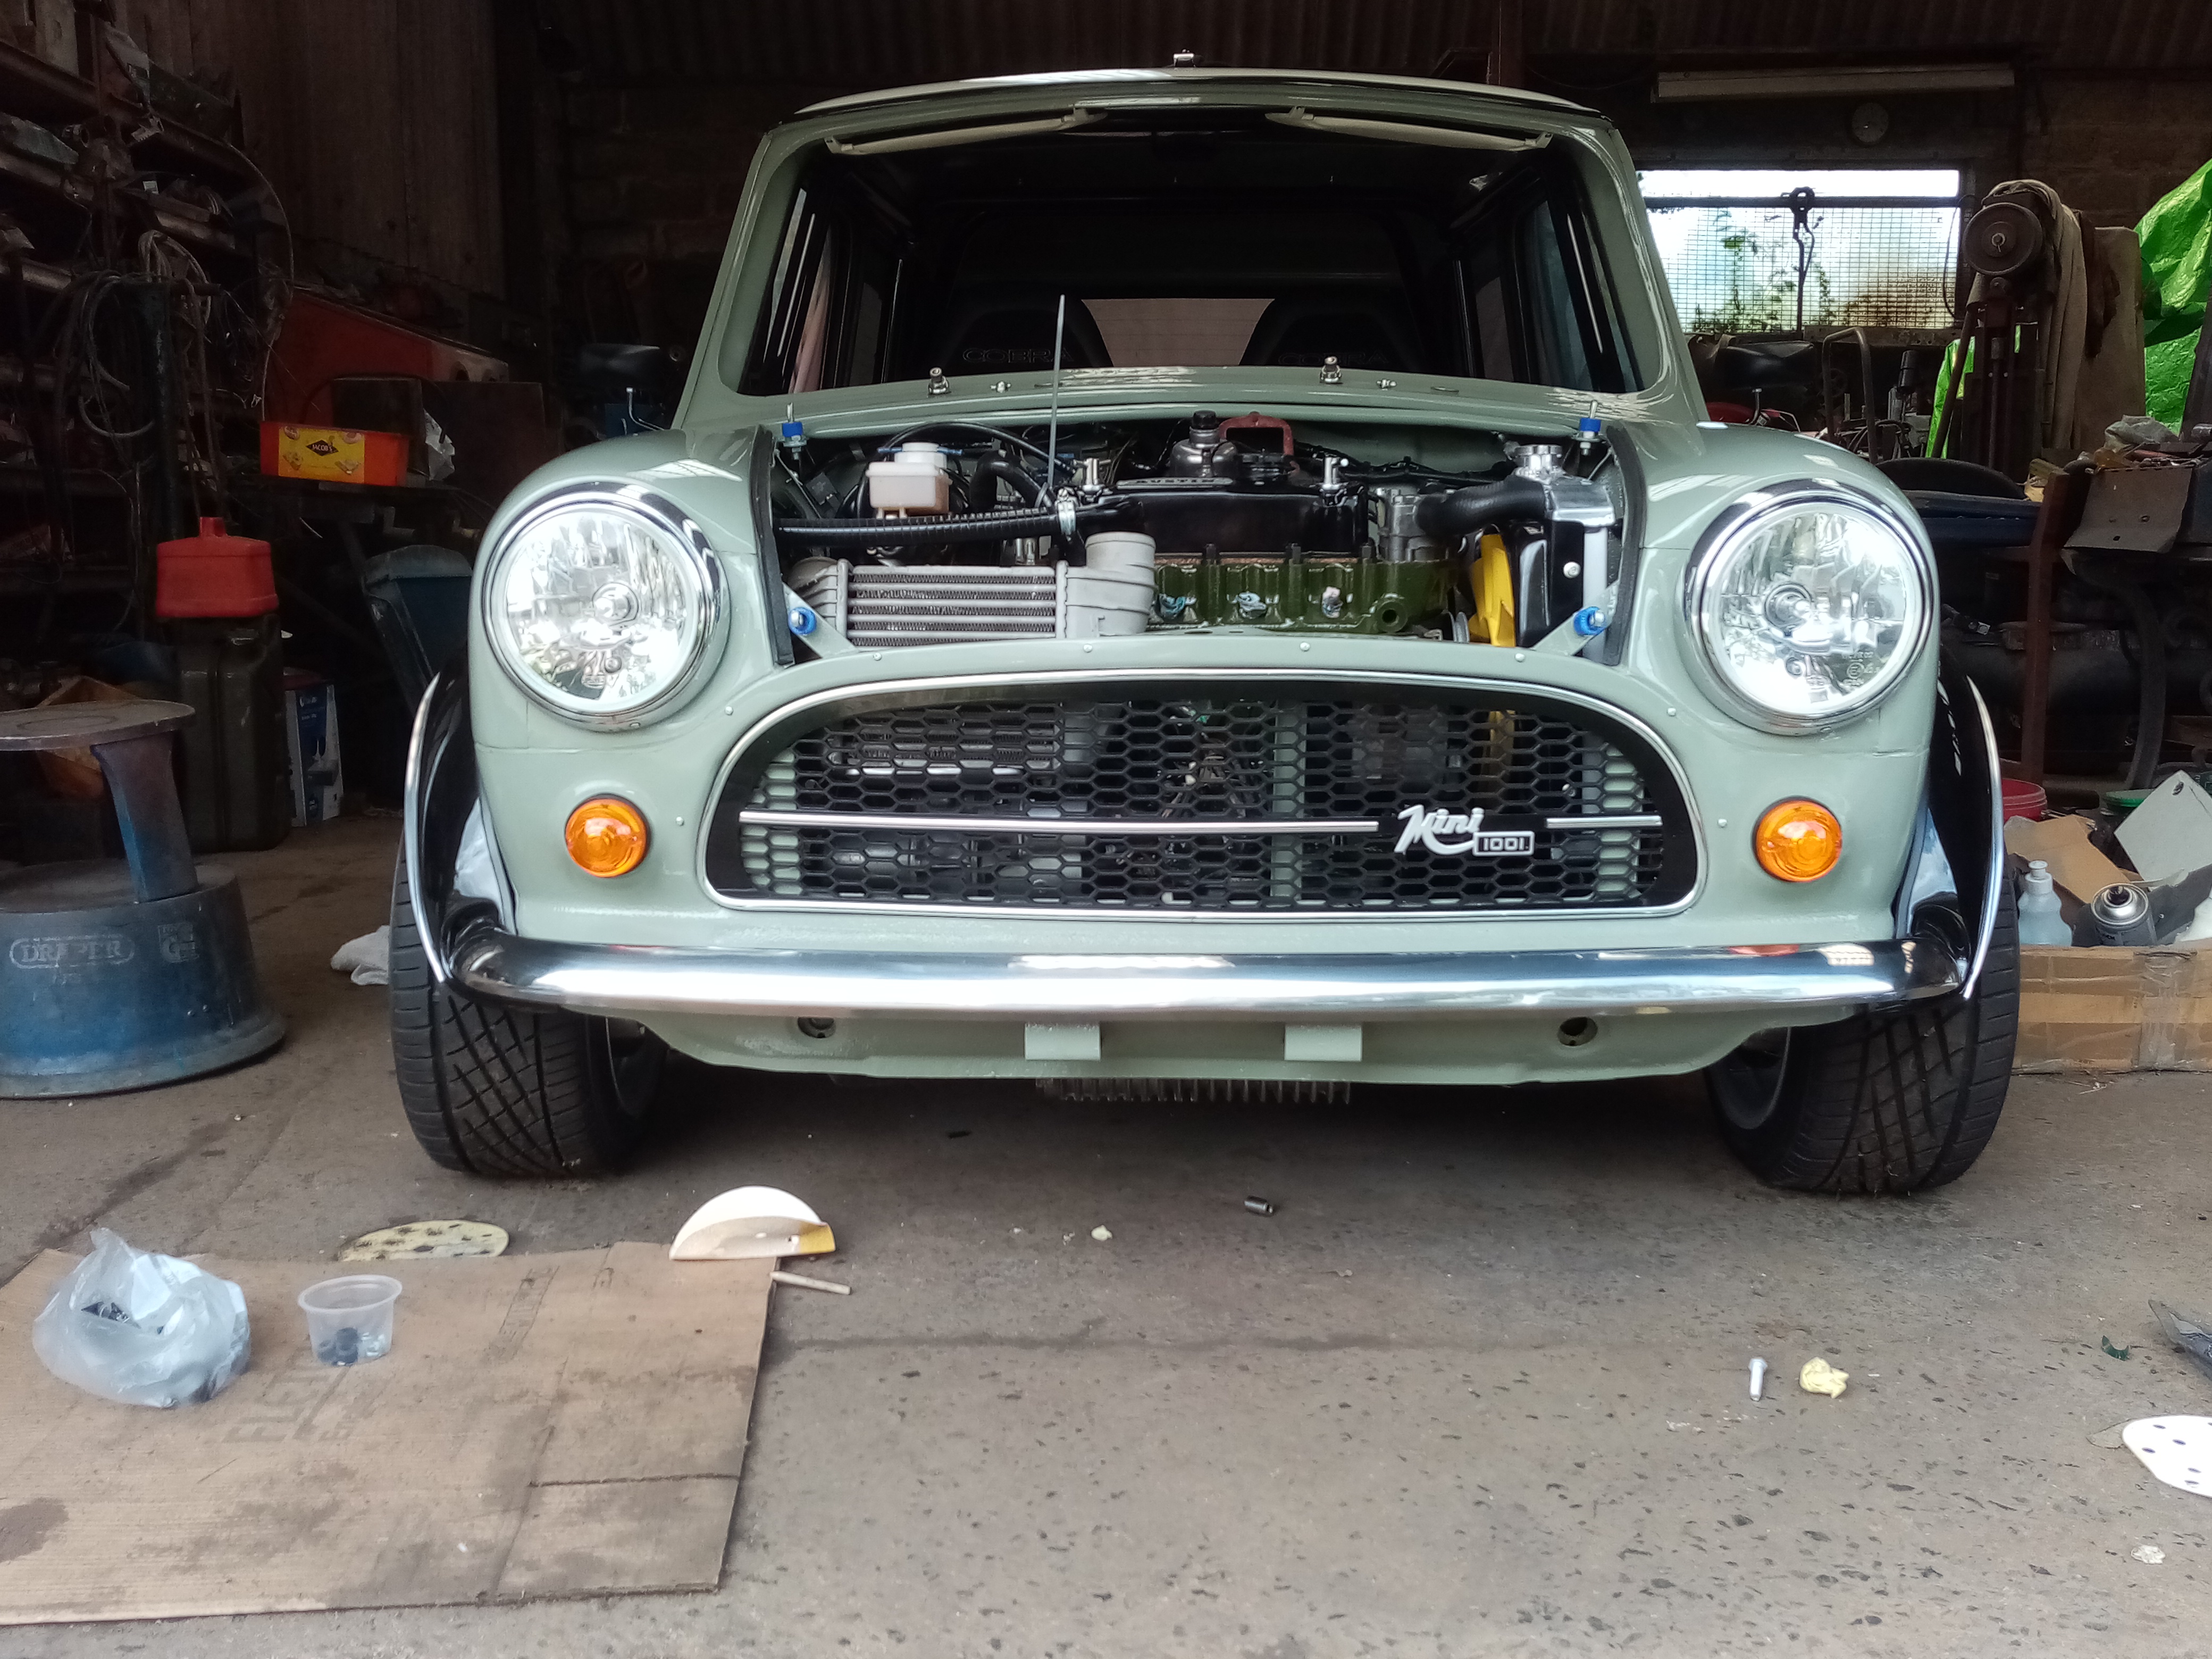
19th Aug, 2019 at 07:13:58pm
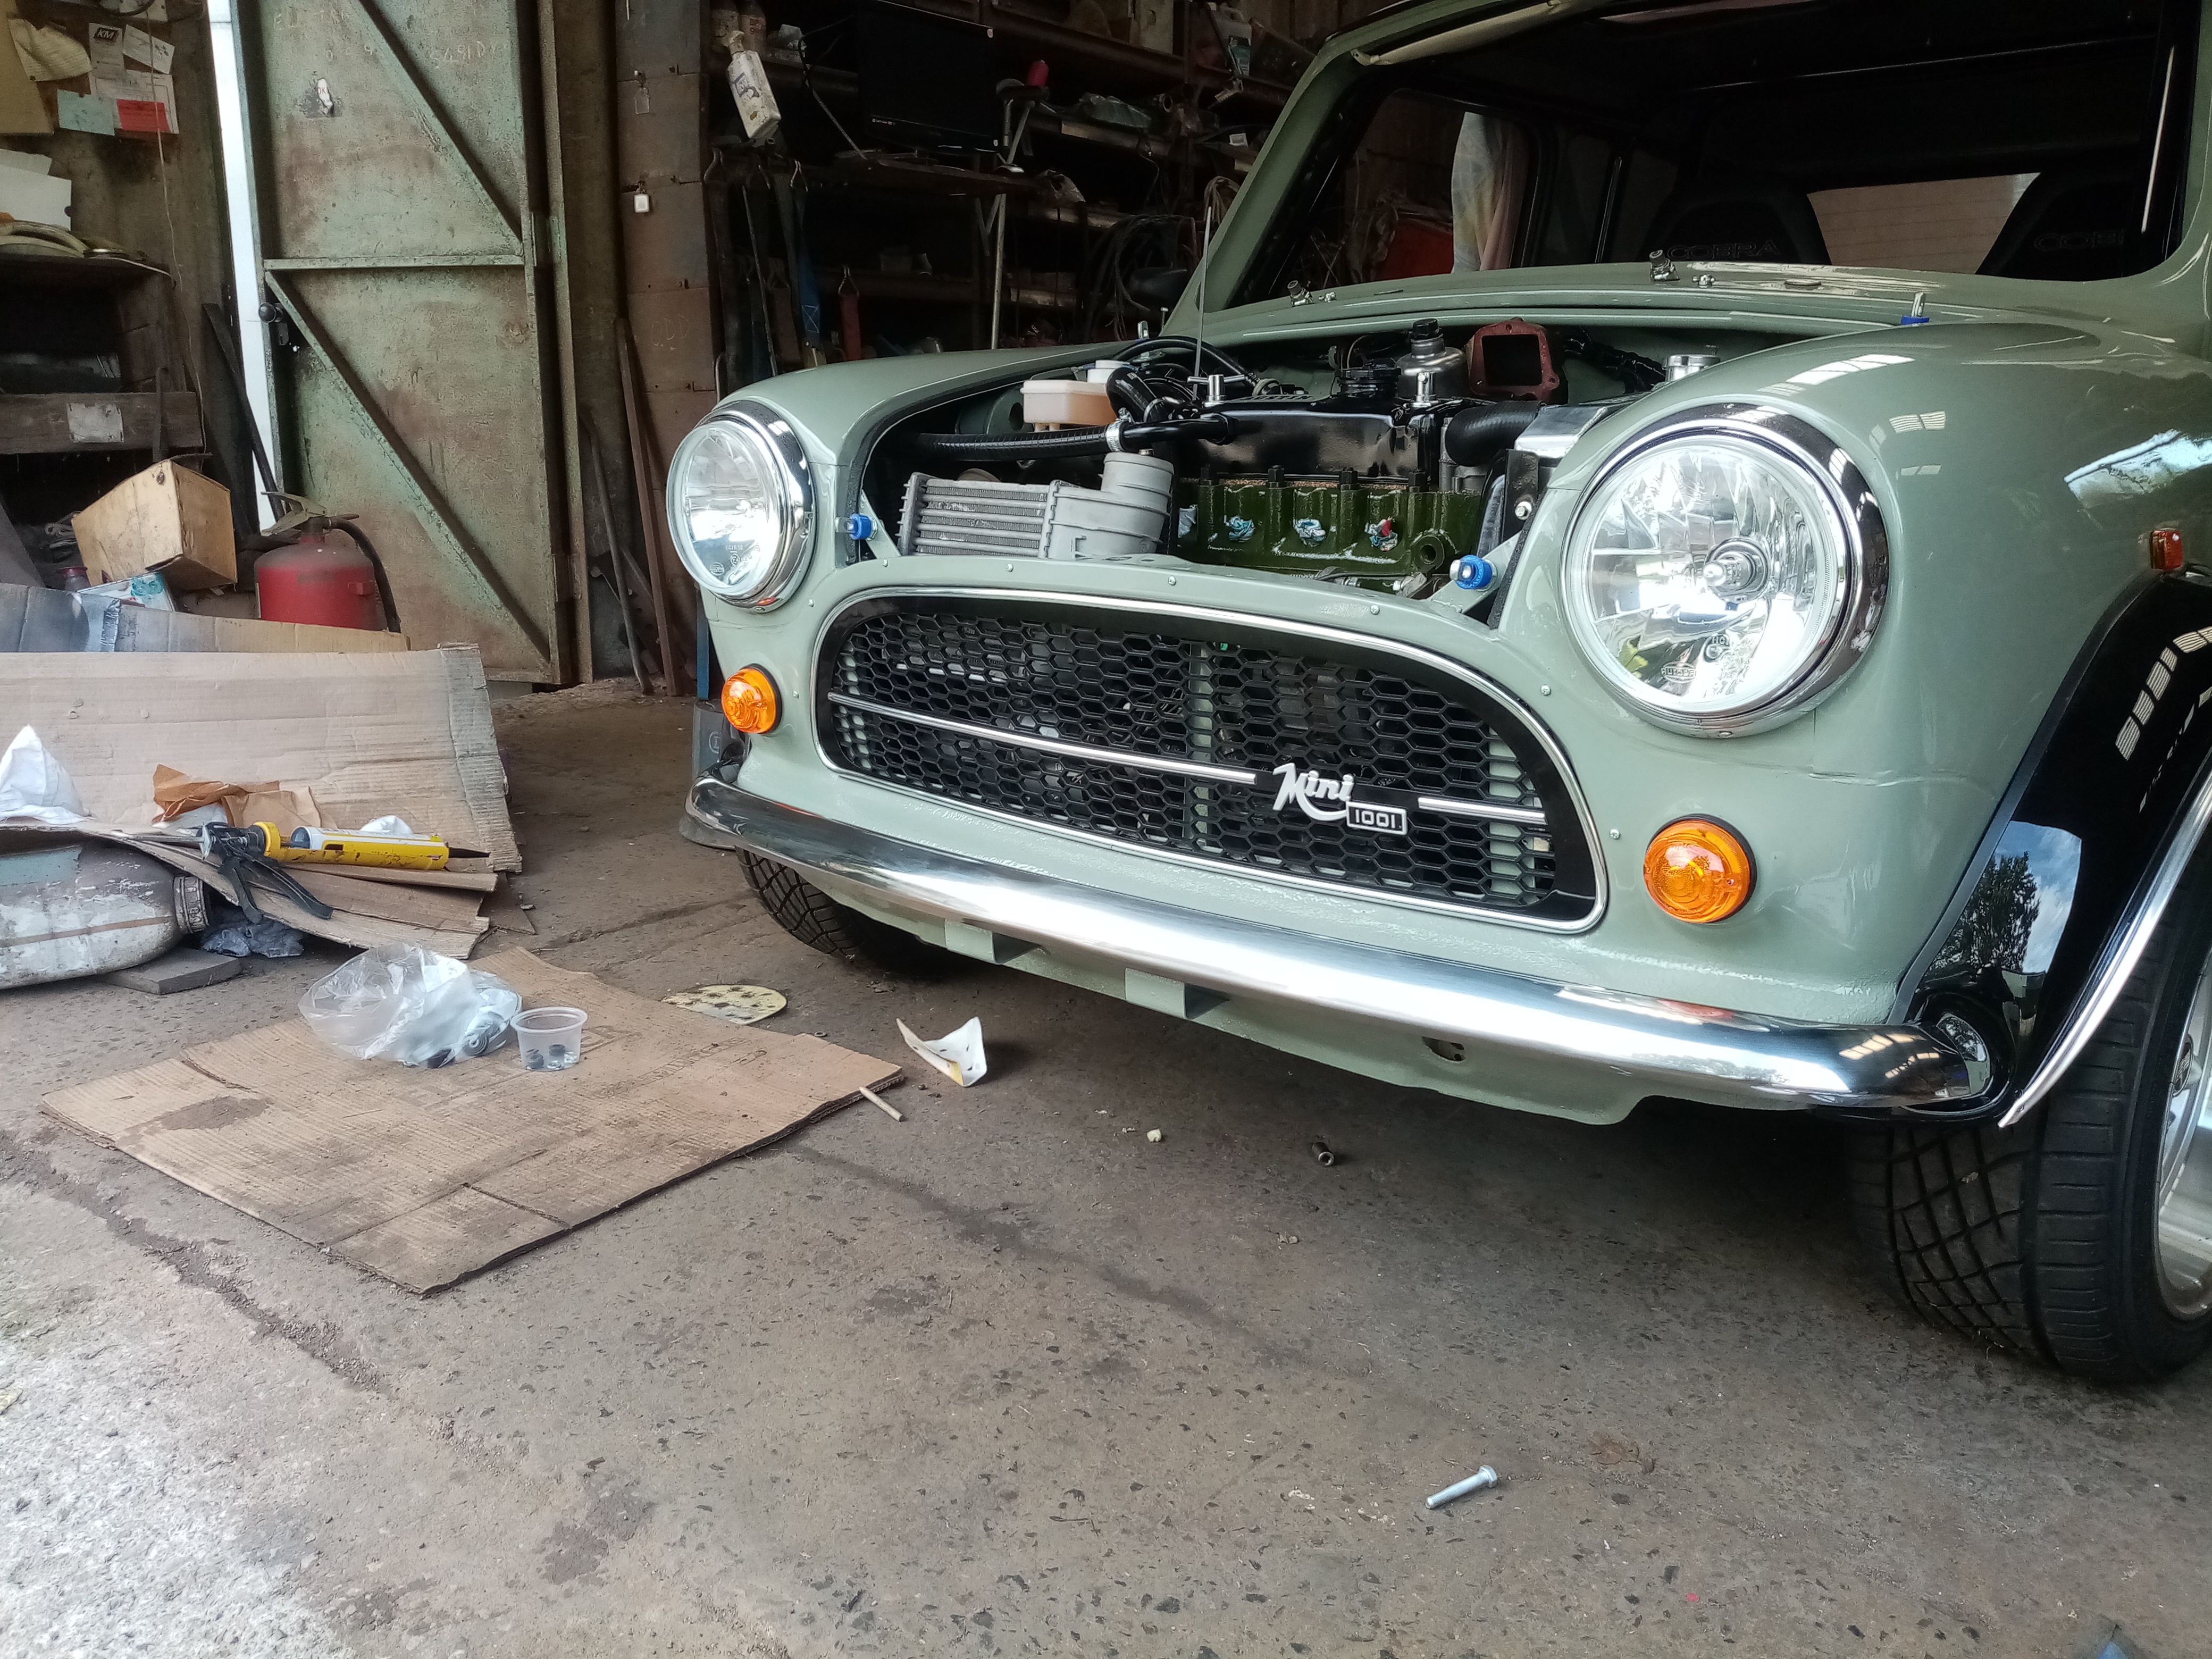
I couldn't decide what grille to use and trying to save money for other bits so bought some cheap plastic mesh and had some fibreglass sheet at work so after a few experiments came up with this. |
||||||
| Home > Show Us Yours! > Back dated build .finally getting to the engine | |||||||
|
|||||||


| Page: |