
| Page: |
| Home > Show Us Yours! > 1987 Mini City Rebuild (Alot of images) | |||||||
 695 Posts Member #: 984 Post Whore Westhoughton, Bolton |
23rd Feb, 2008 at 02:51:27pm
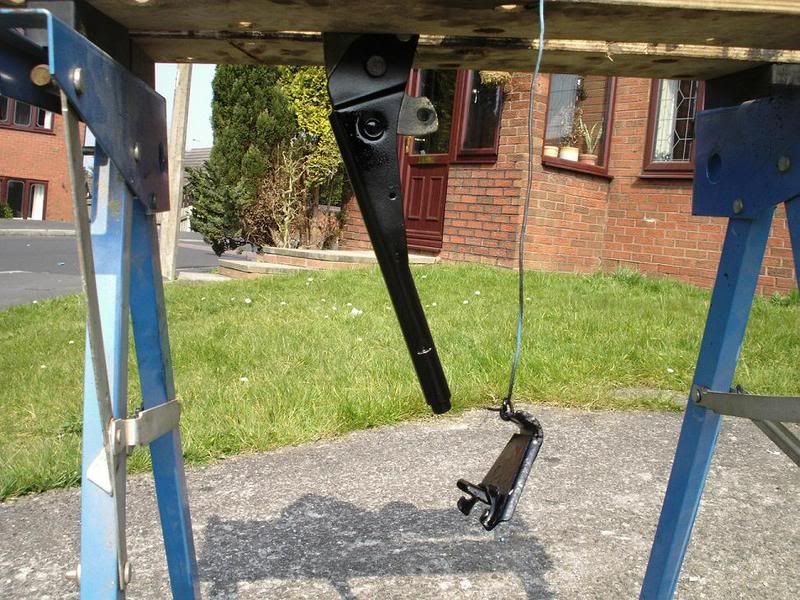
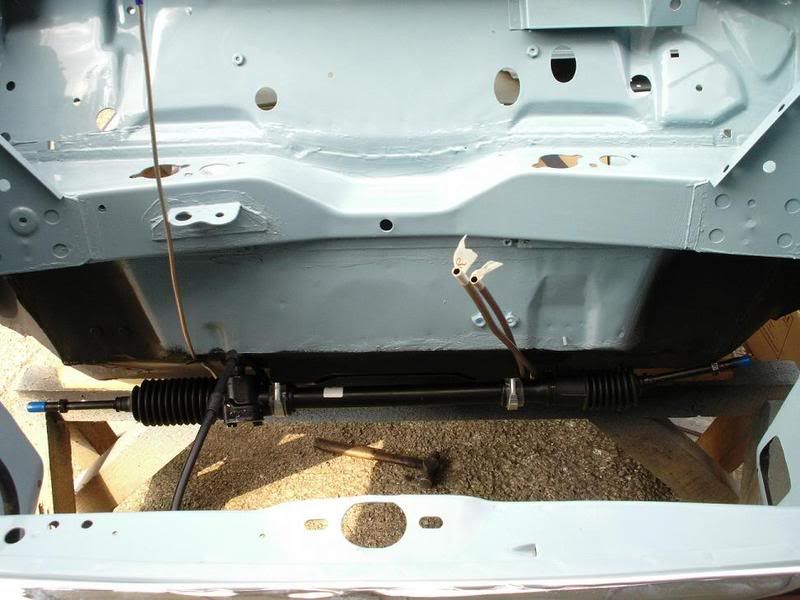
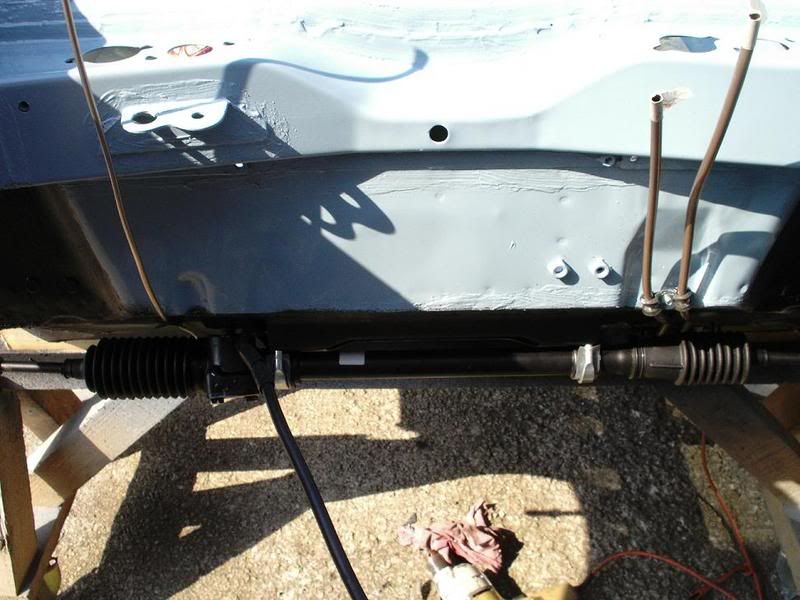
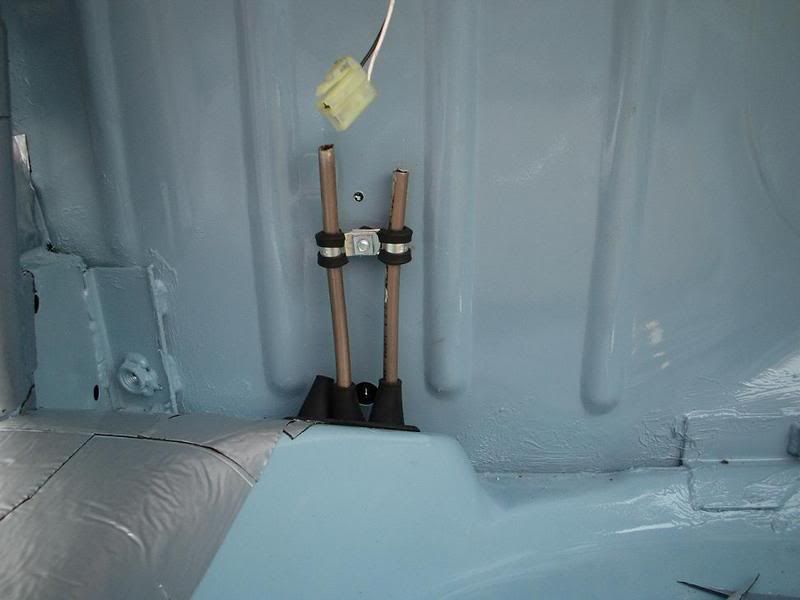
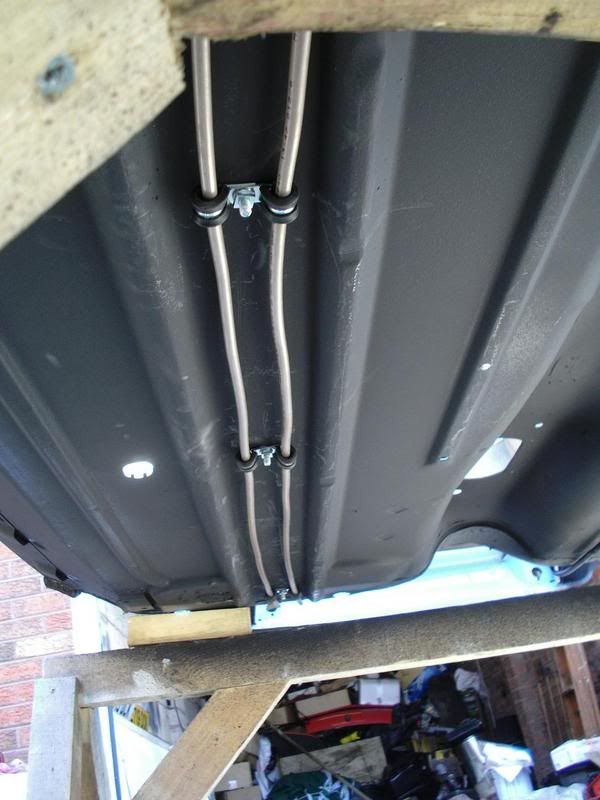
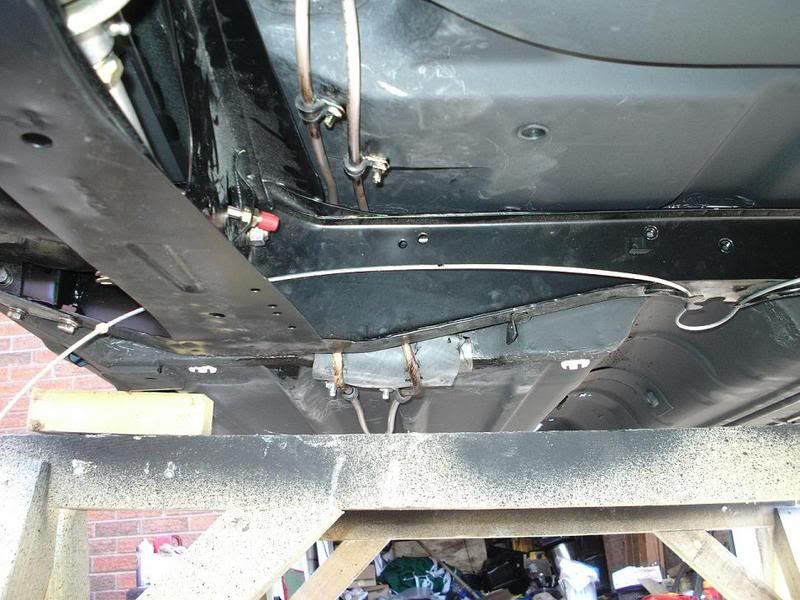
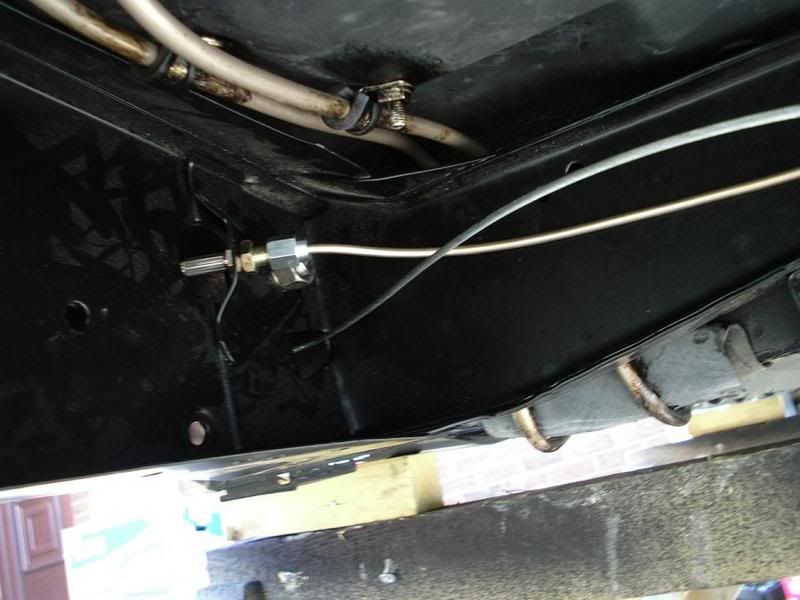
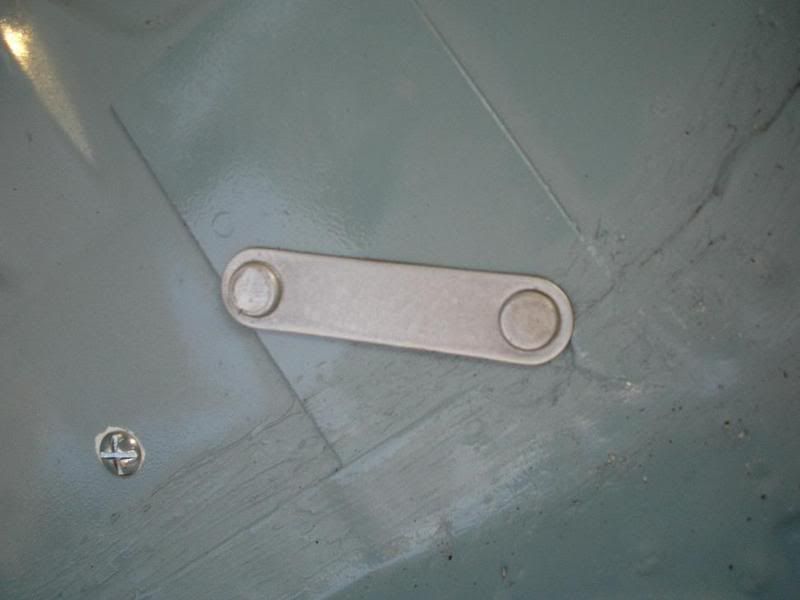
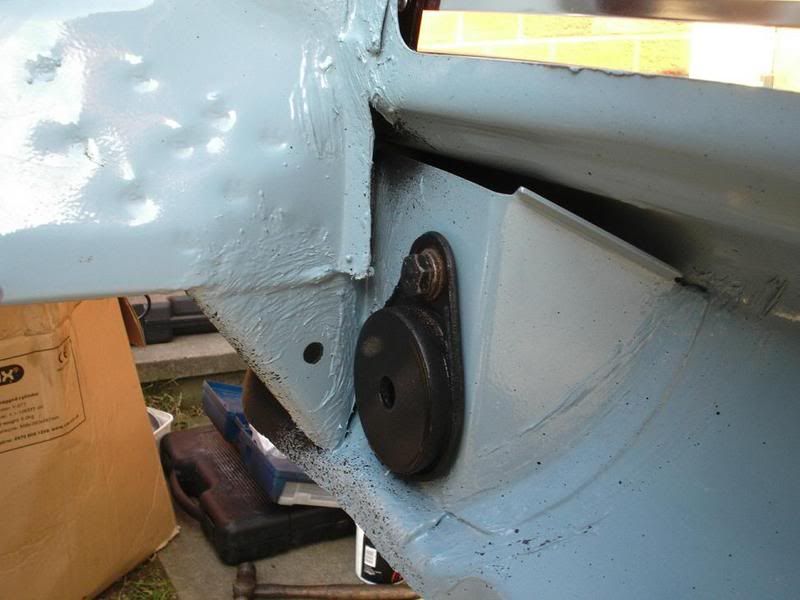
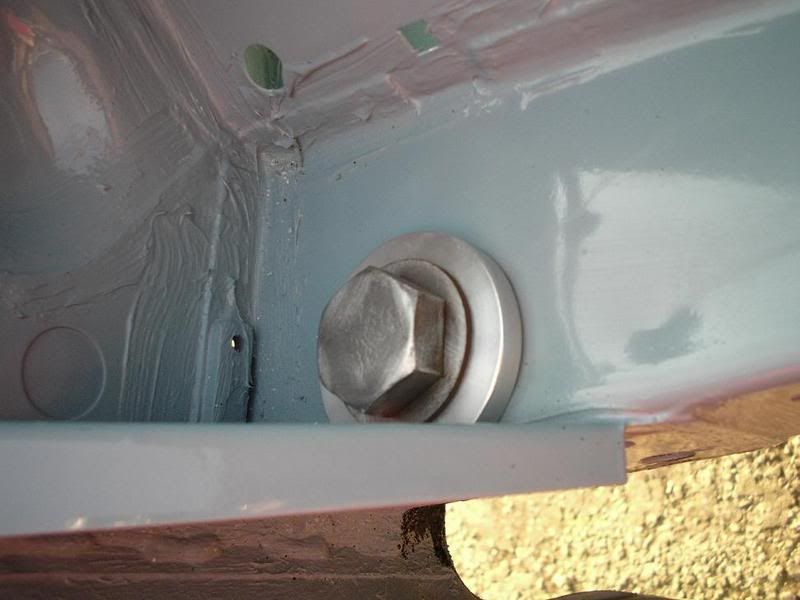
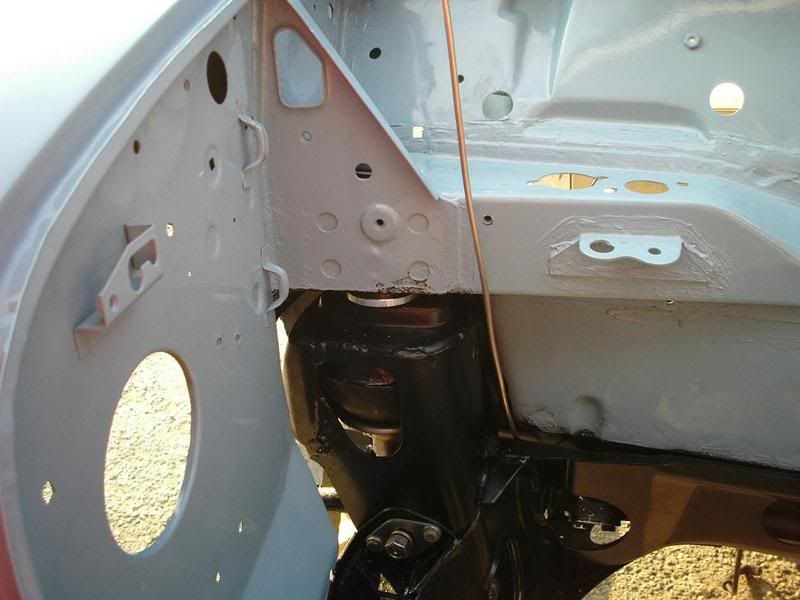
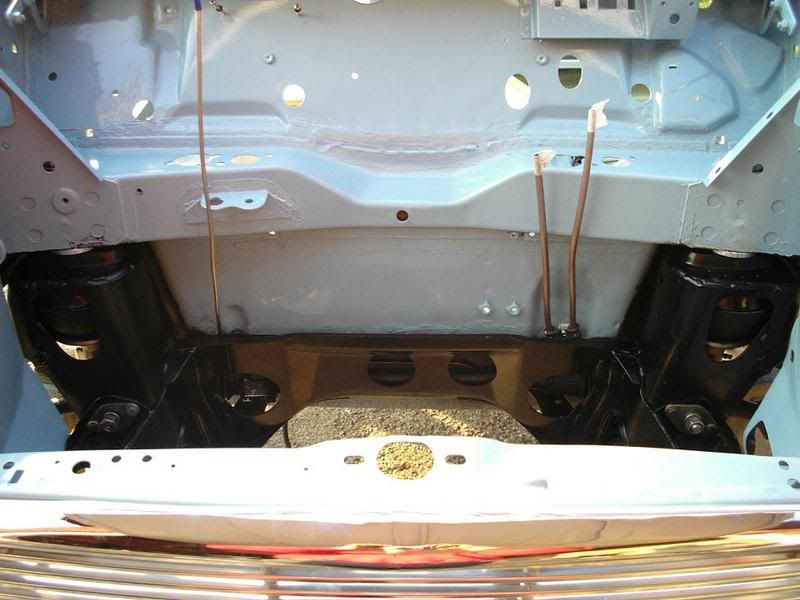
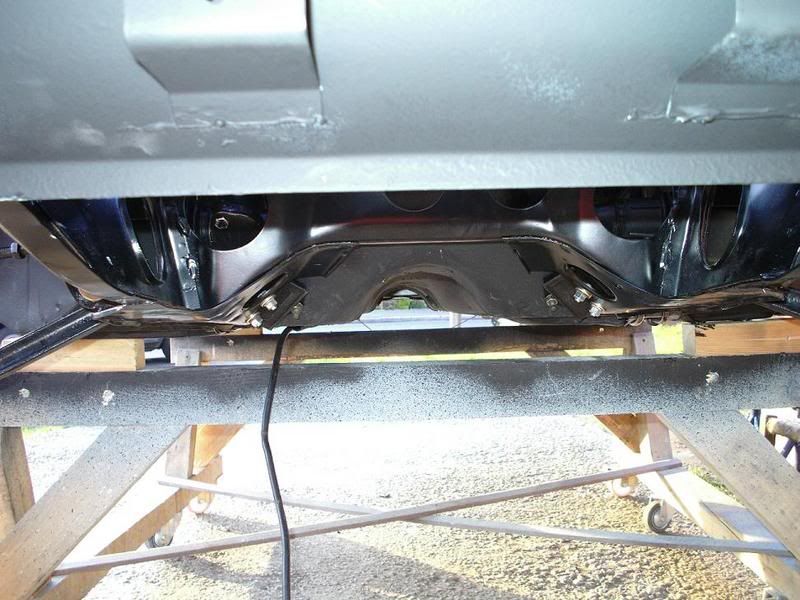
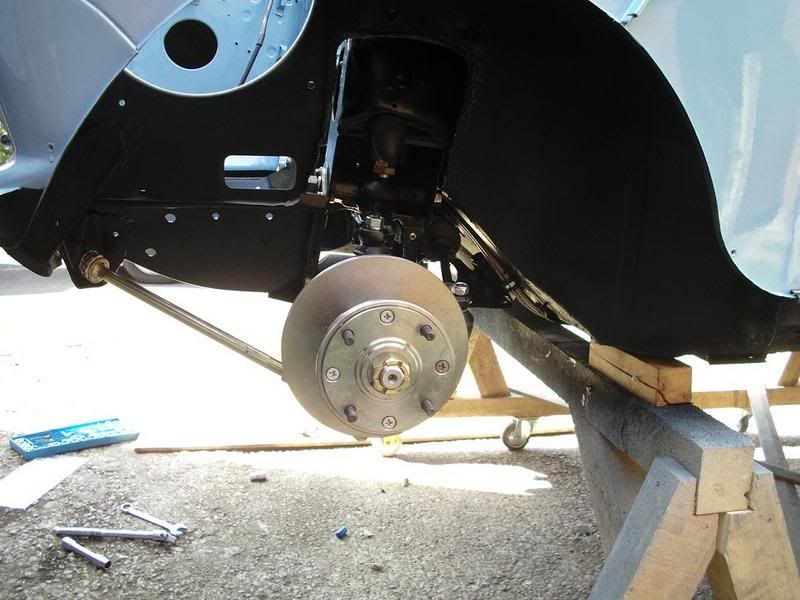
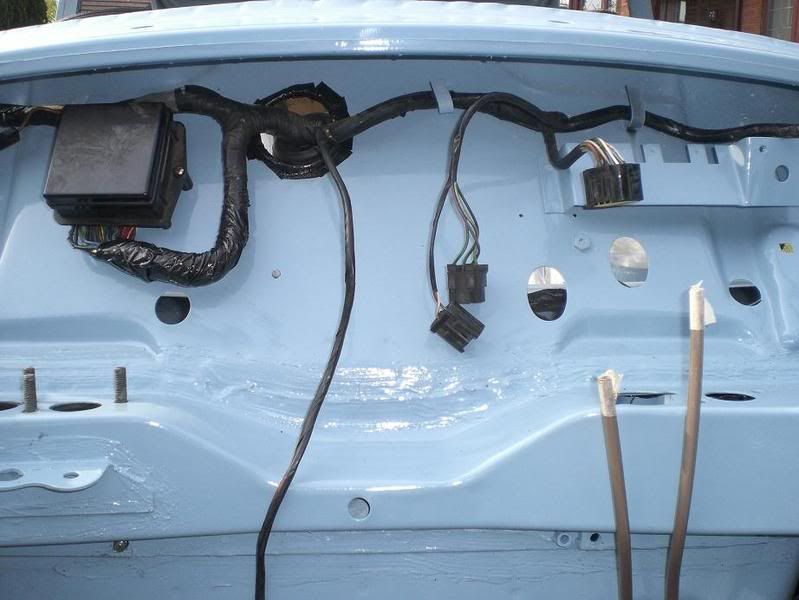
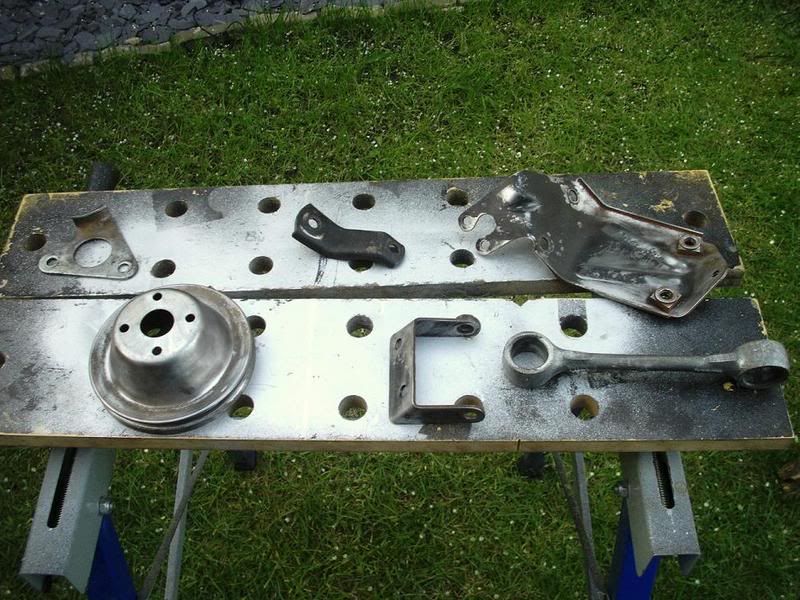
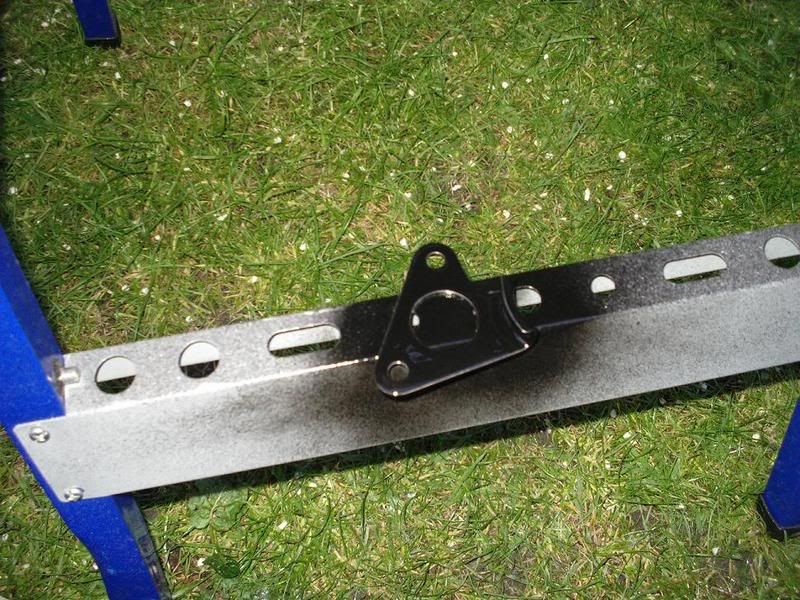
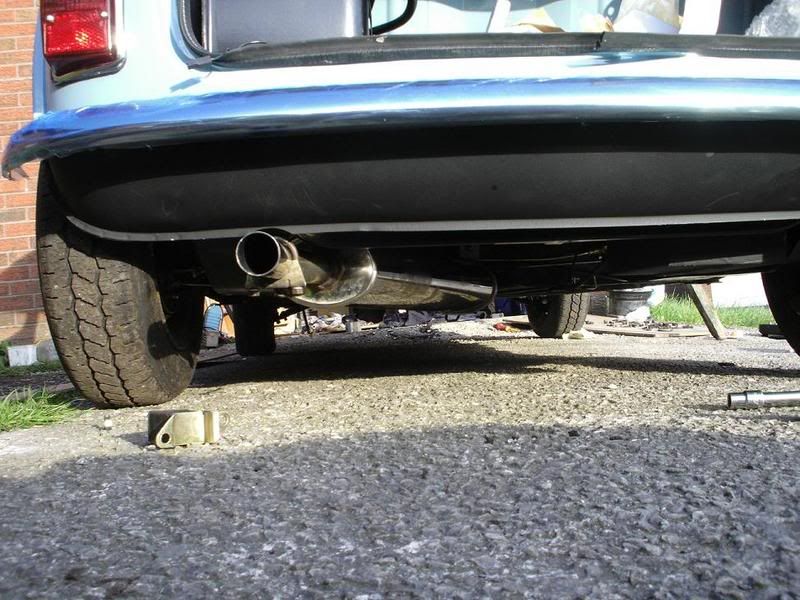
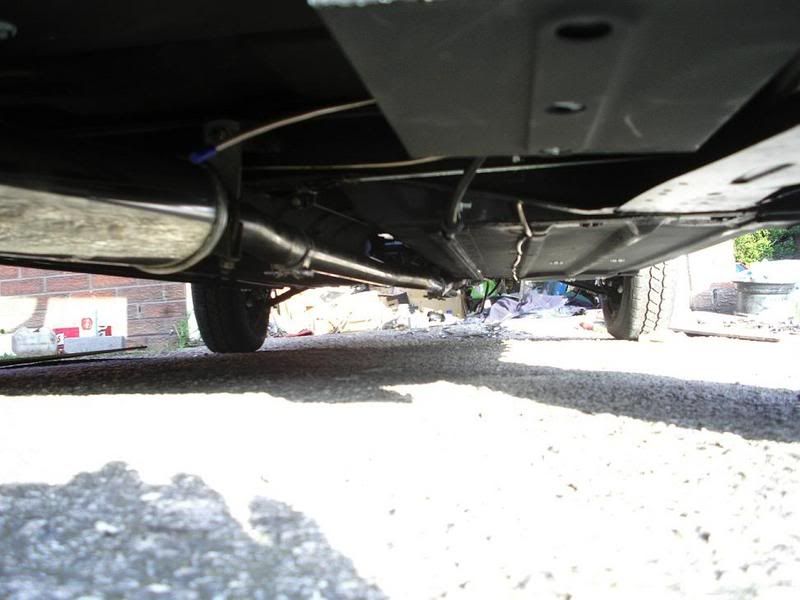
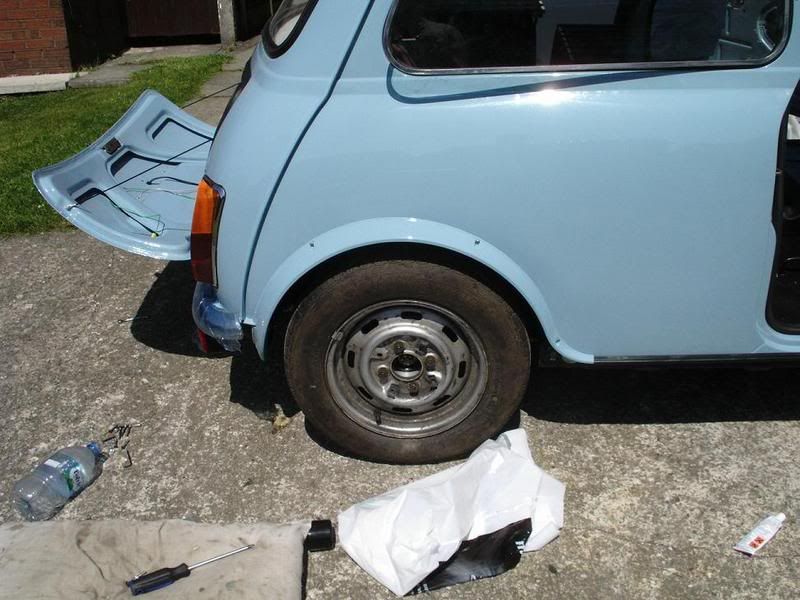
Rite quick update, the rear subframe is almost complete, just the lines to the brake cylinders are left to do and the main run needs attaching, handbrake cable is attached now. Put the fuel lines on proper so they are now secure and run away from metal components so no rattles, put some rubber near the body where the pipes bend around to make sure they dont rub or rattle against the bodywork.
|
||||||
|
695 Posts Member #: 984 Post Whore Westhoughton, Bolton |
23rd Feb, 2008 at 02:51:51pm
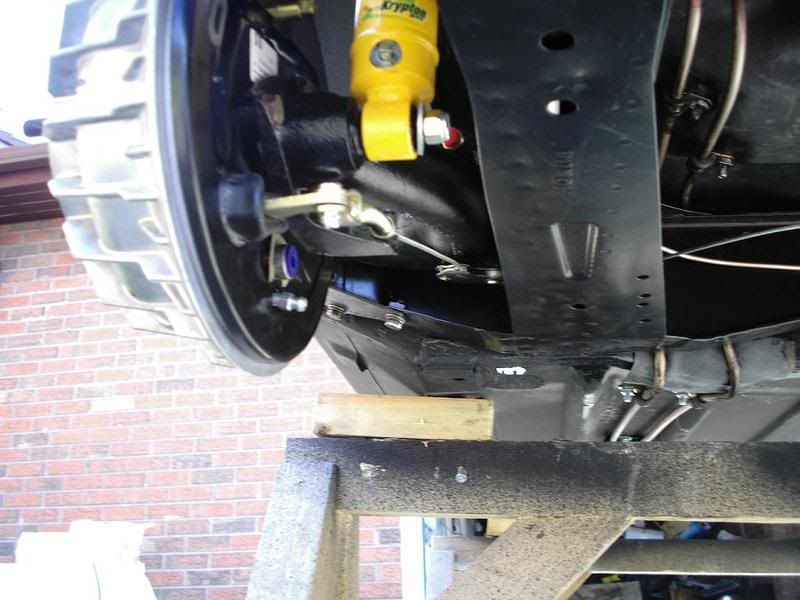
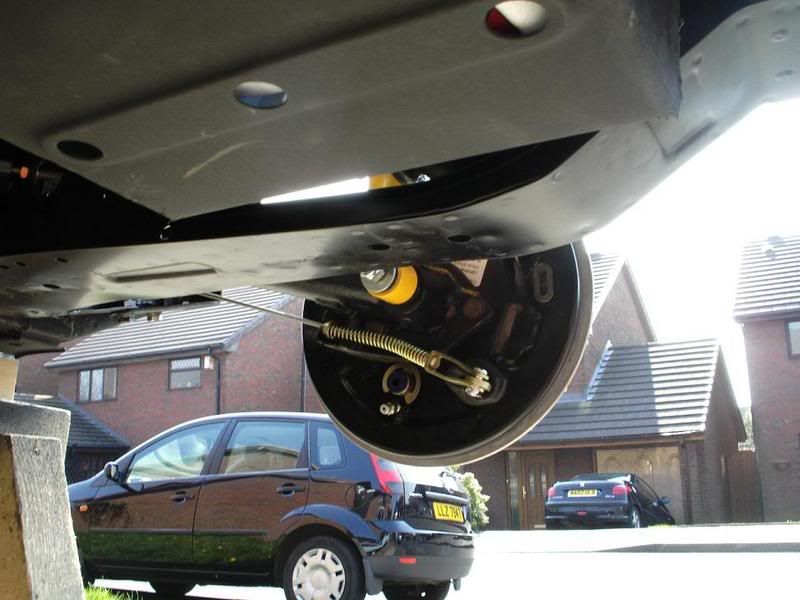
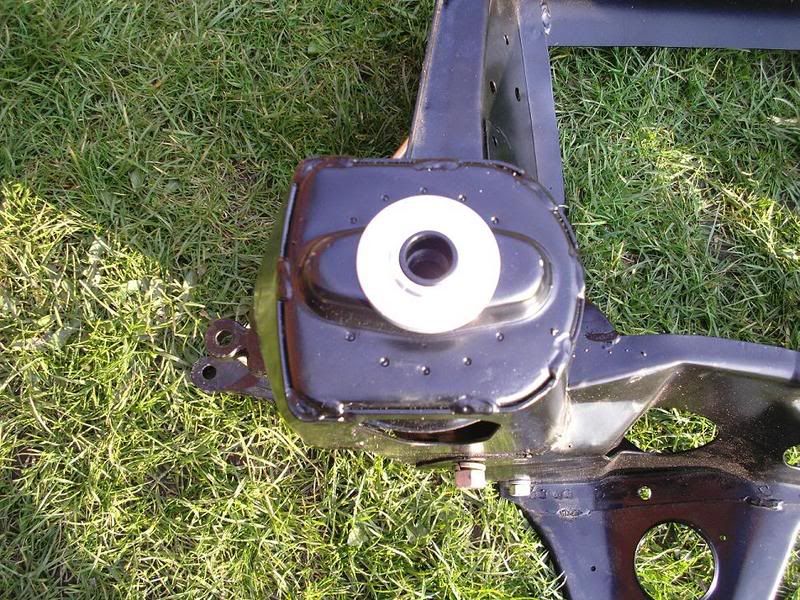
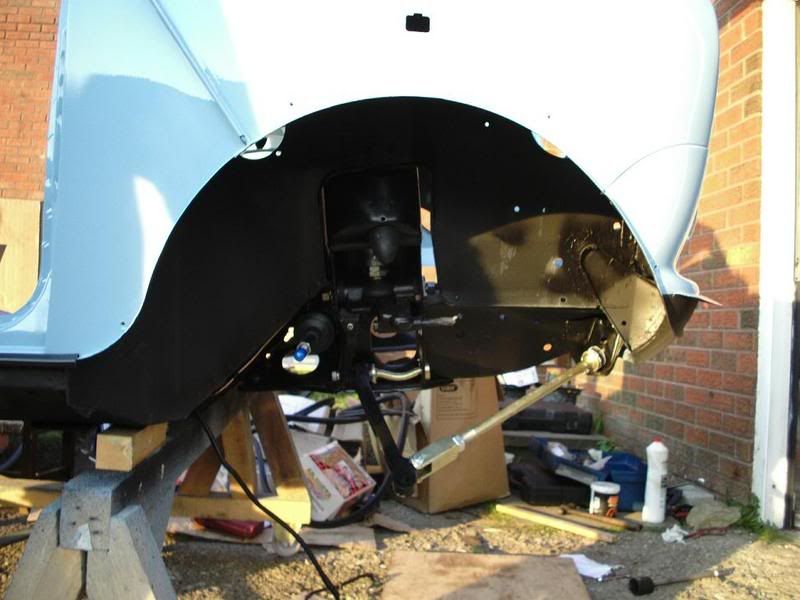
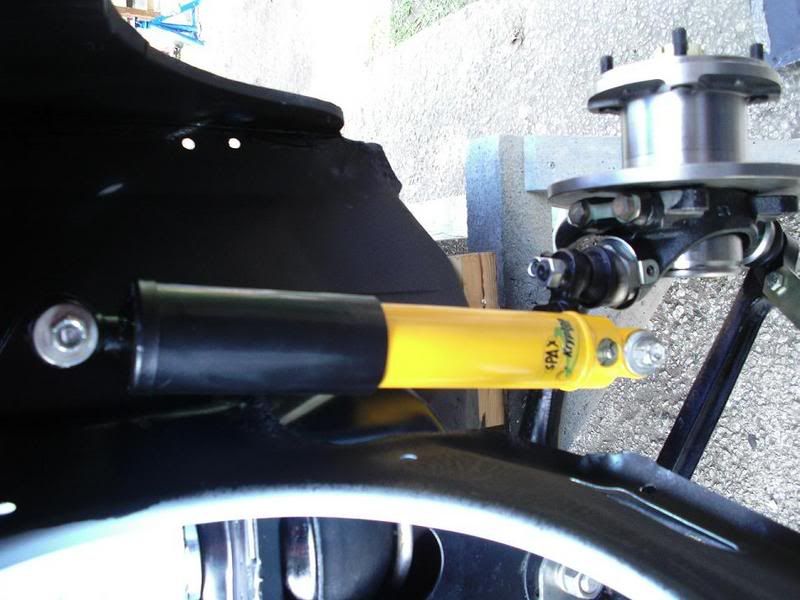
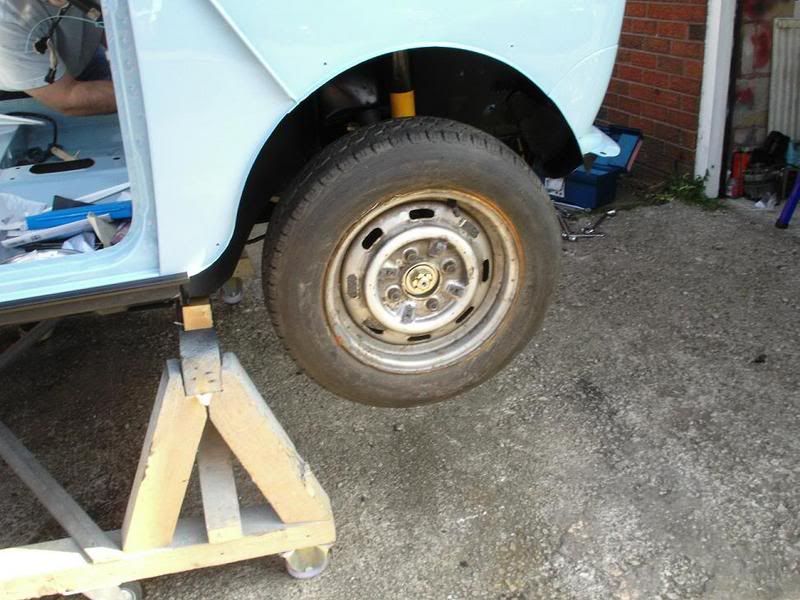
Hub on
|
||||||
|
695 Posts Member #: 984 Post Whore Westhoughton, Bolton |
23rd Feb, 2008 at 02:52:16pm
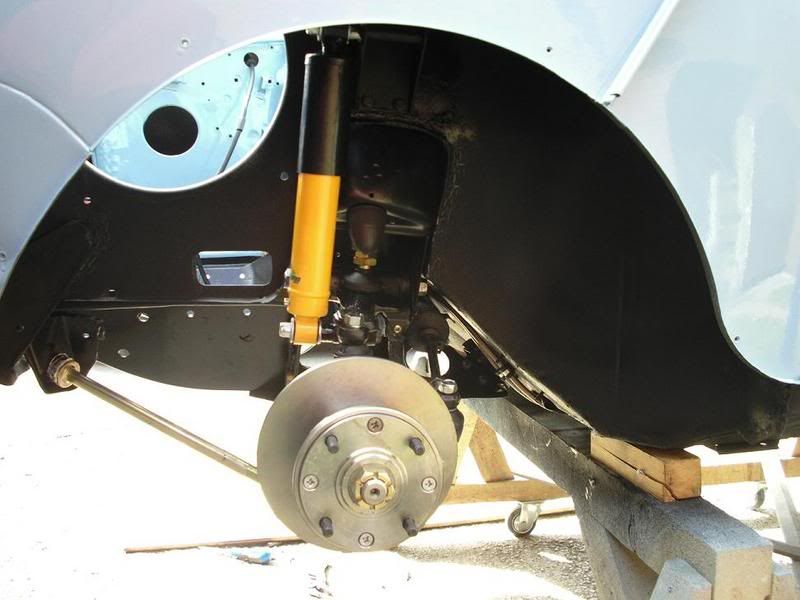
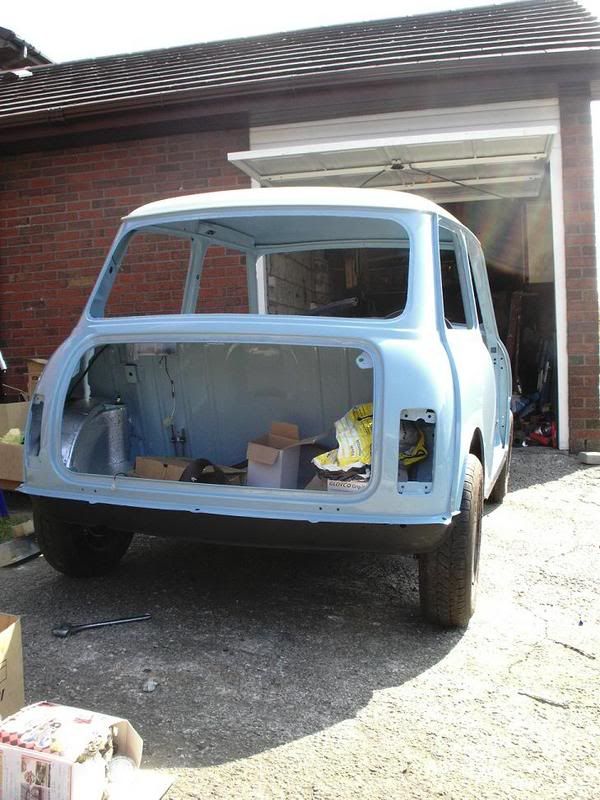
Here are a few pics... well alot.
|
||||||
|
695 Posts Member #: 984 Post Whore Westhoughton, Bolton |
23rd Feb, 2008 at 02:52:56pm
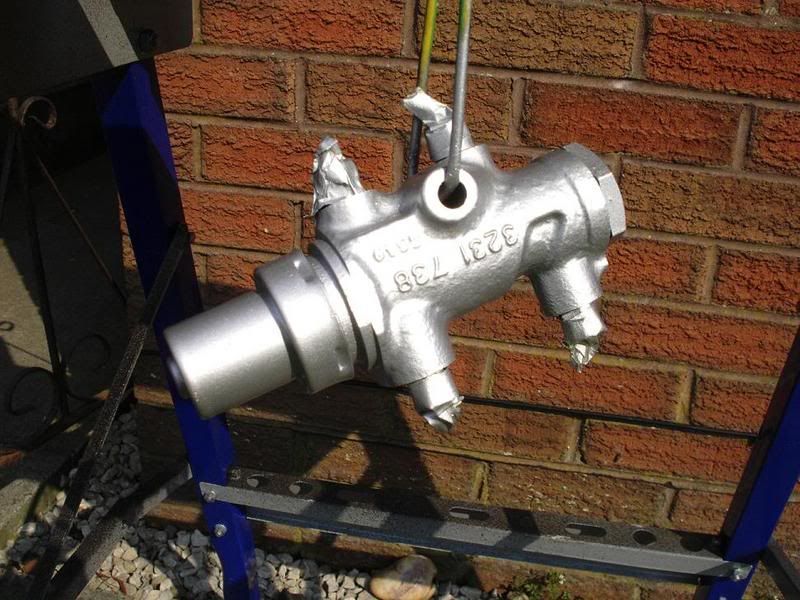
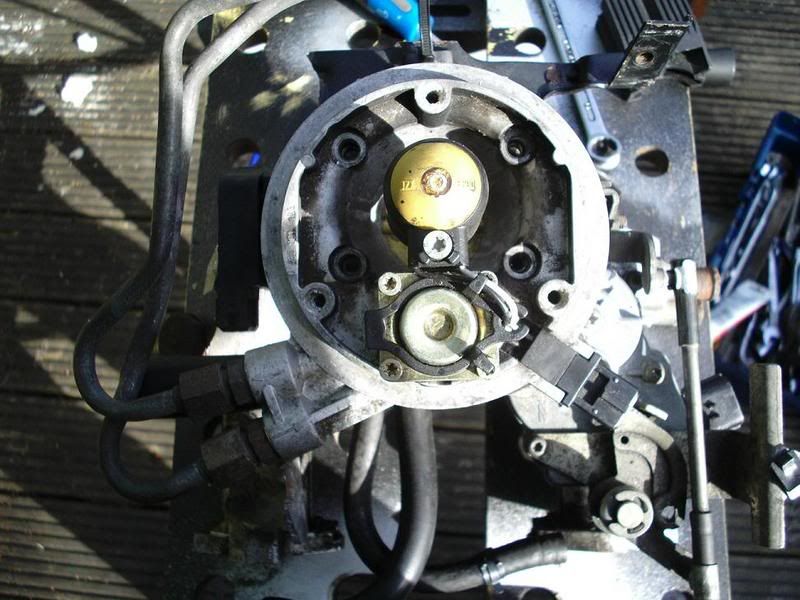
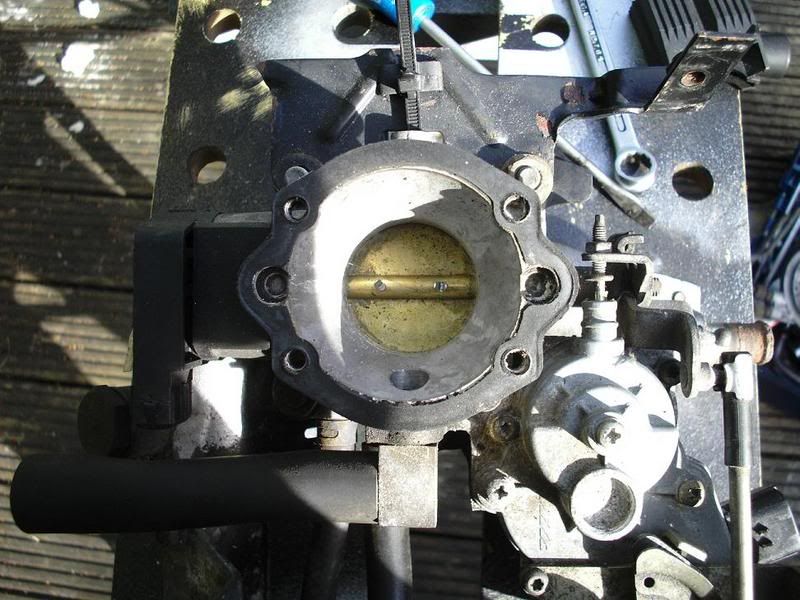
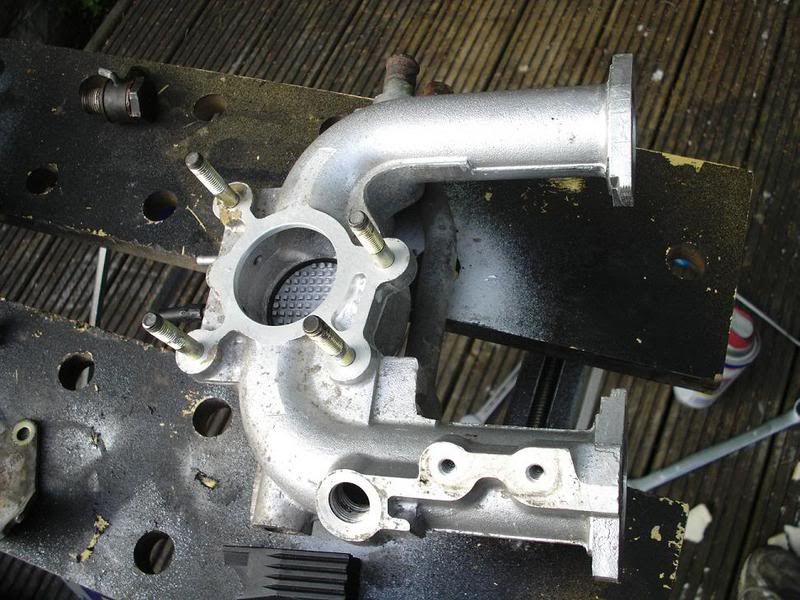
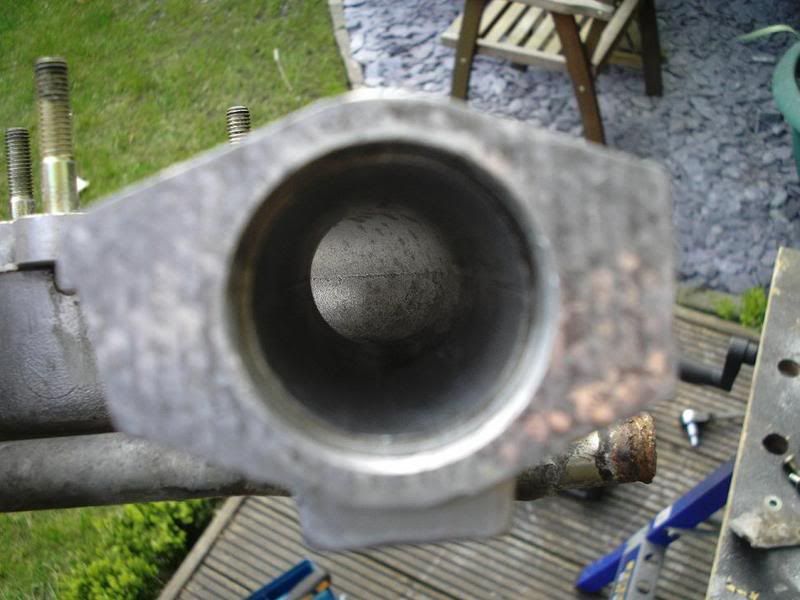
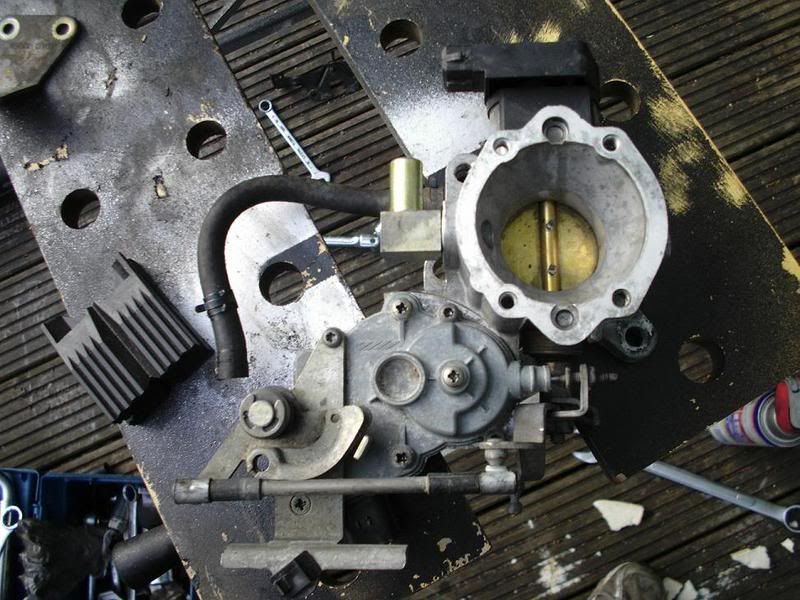
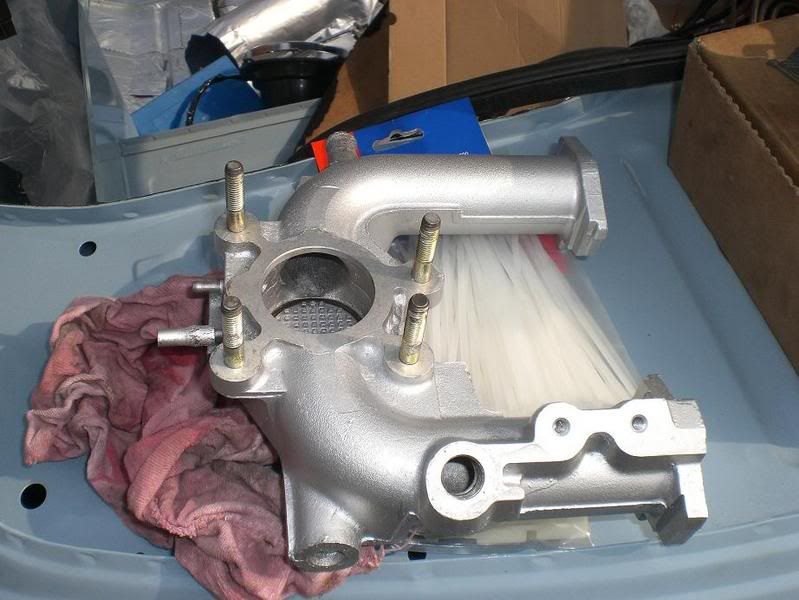
This week i have stripped and cleaned my SPI inlet and throttle body.
|
||||||
|
695 Posts Member #: 984 Post Whore Westhoughton, Bolton |
23rd Feb, 2008 at 02:53:16pm
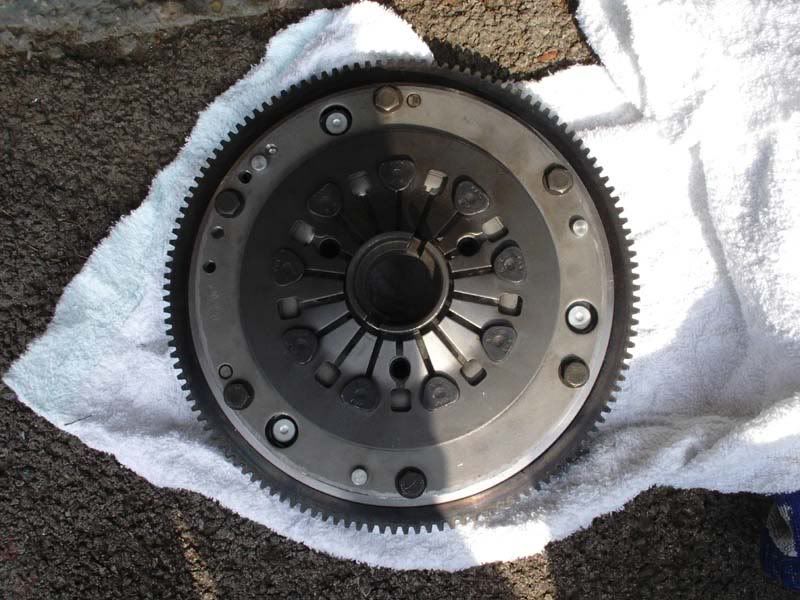
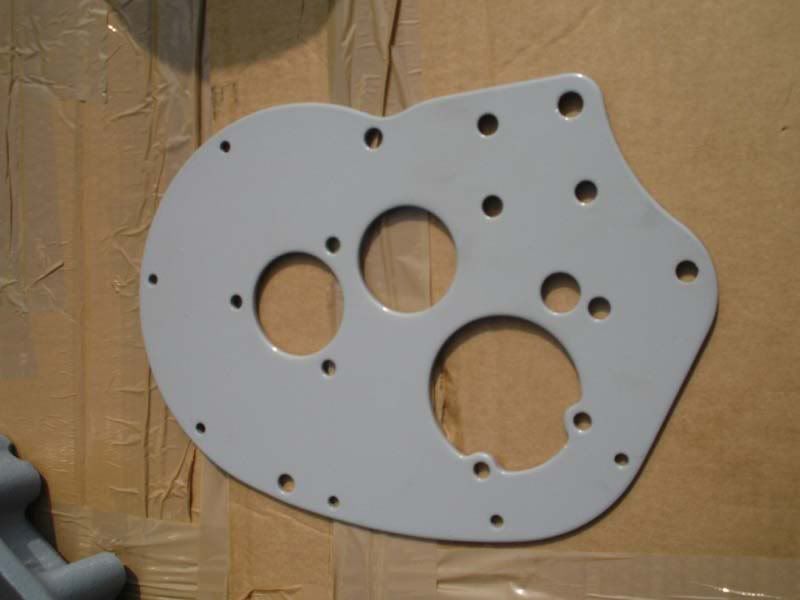
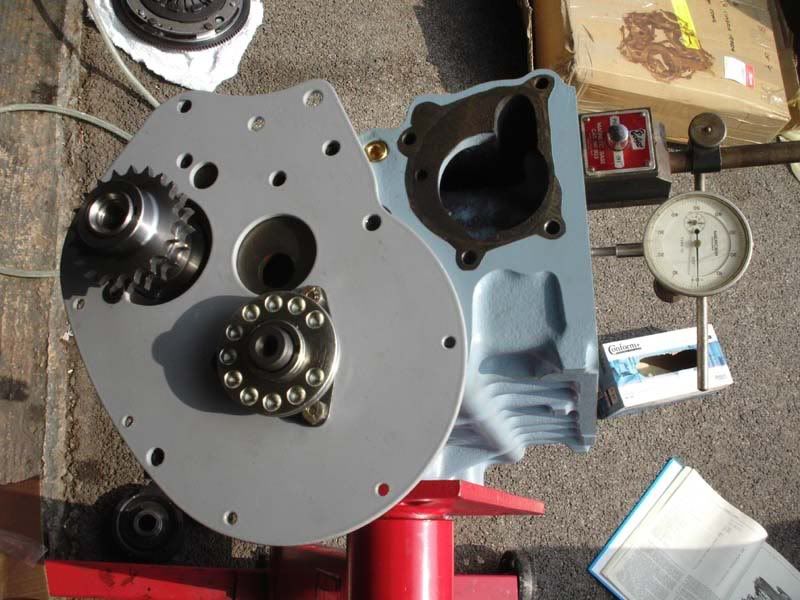
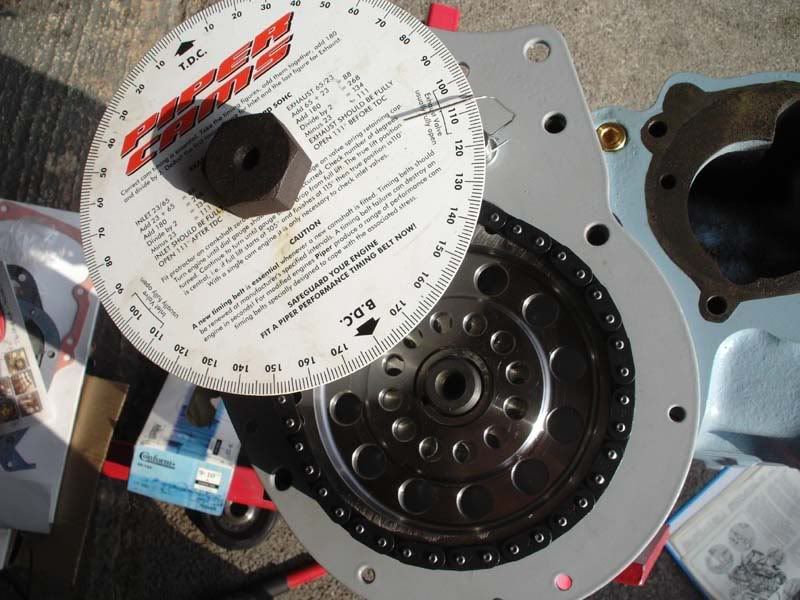
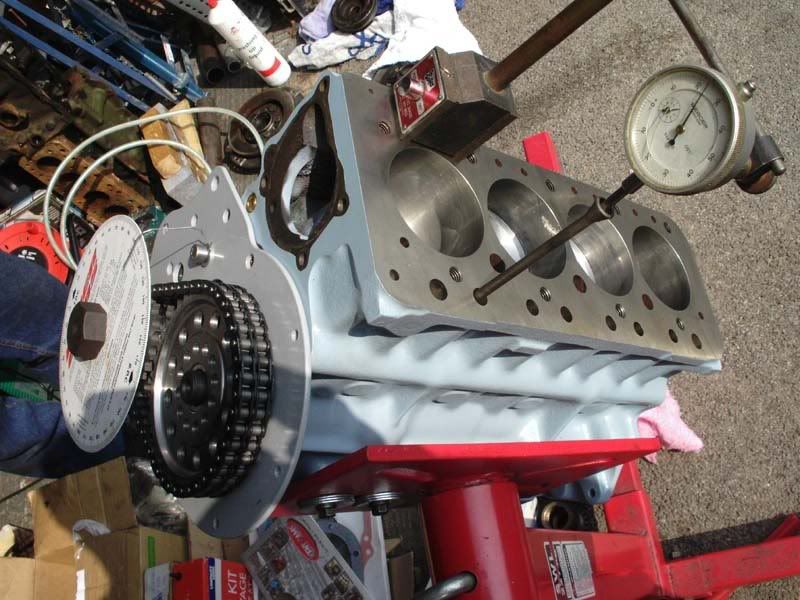
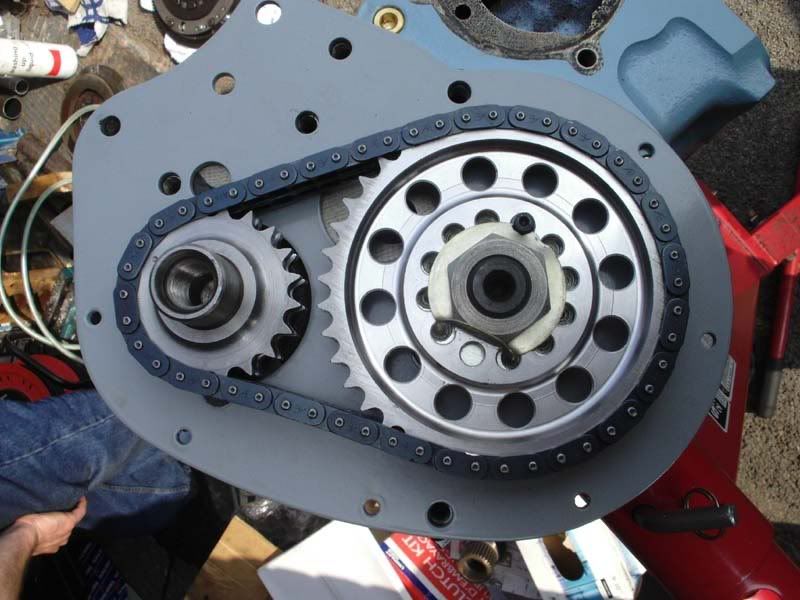
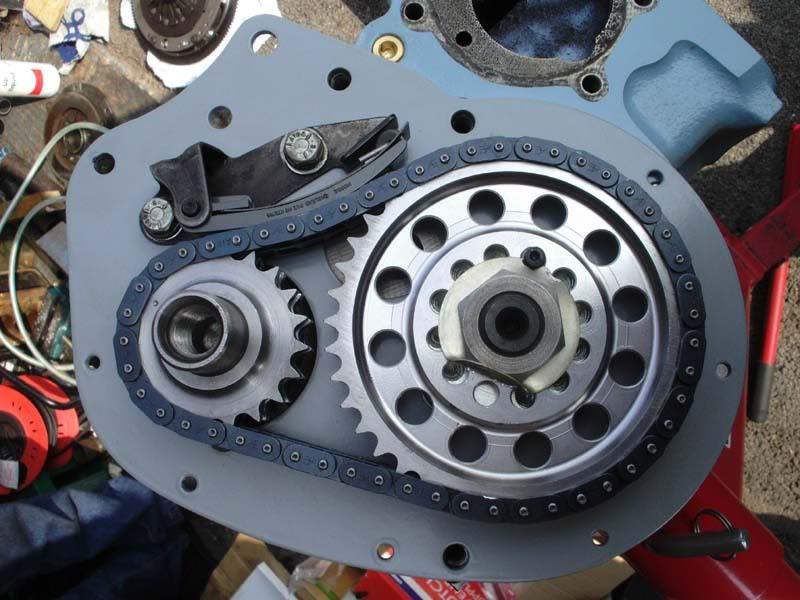
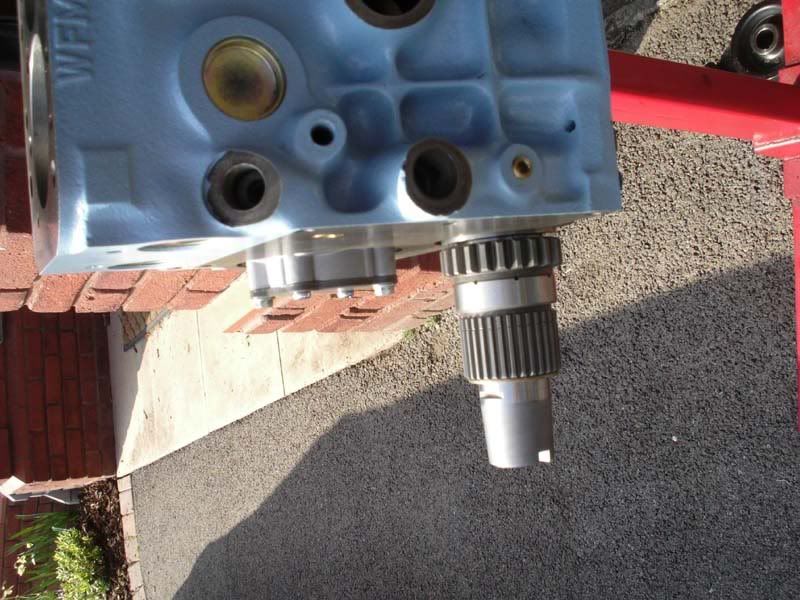
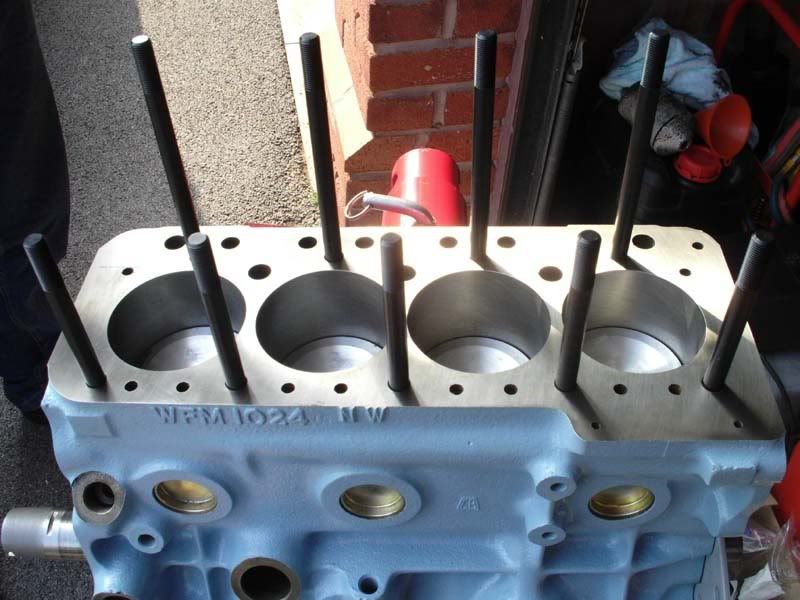
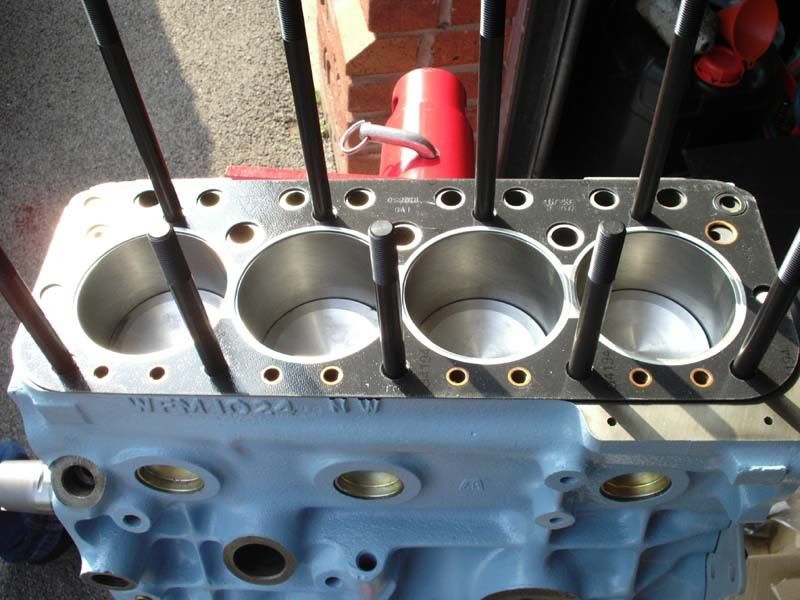
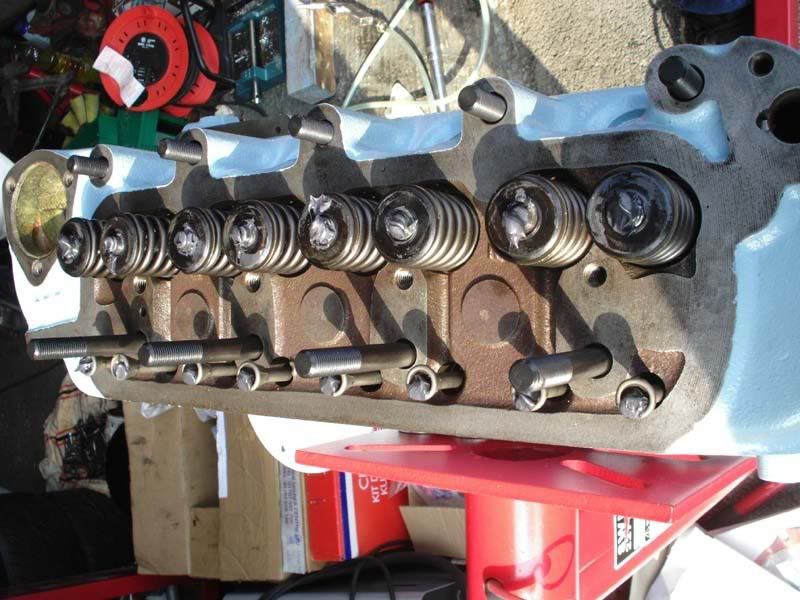
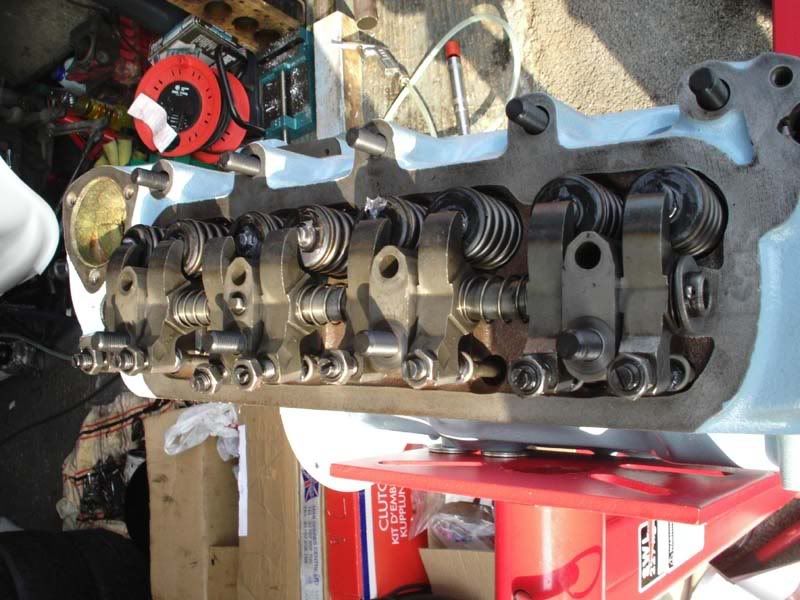
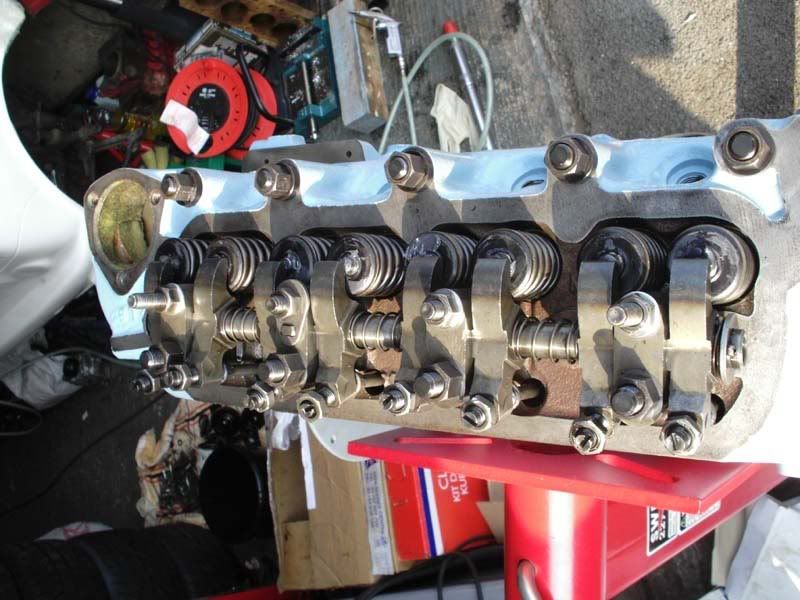
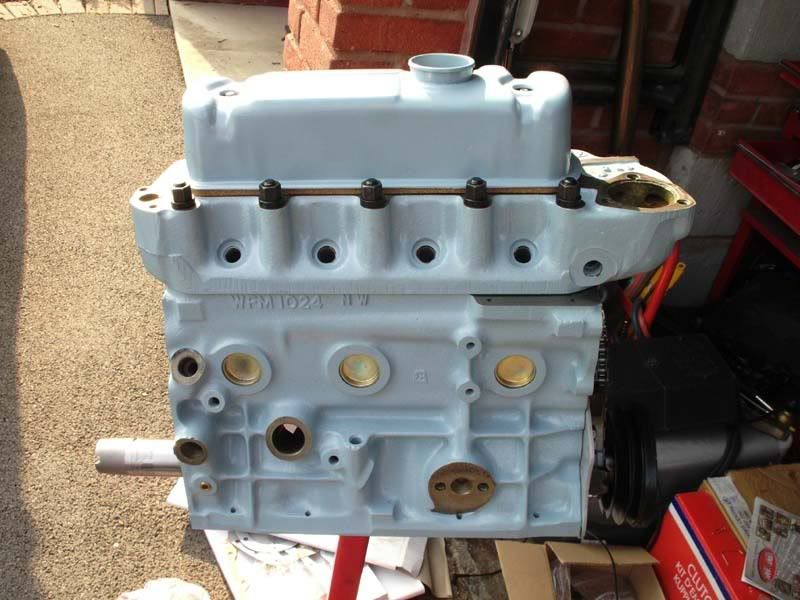
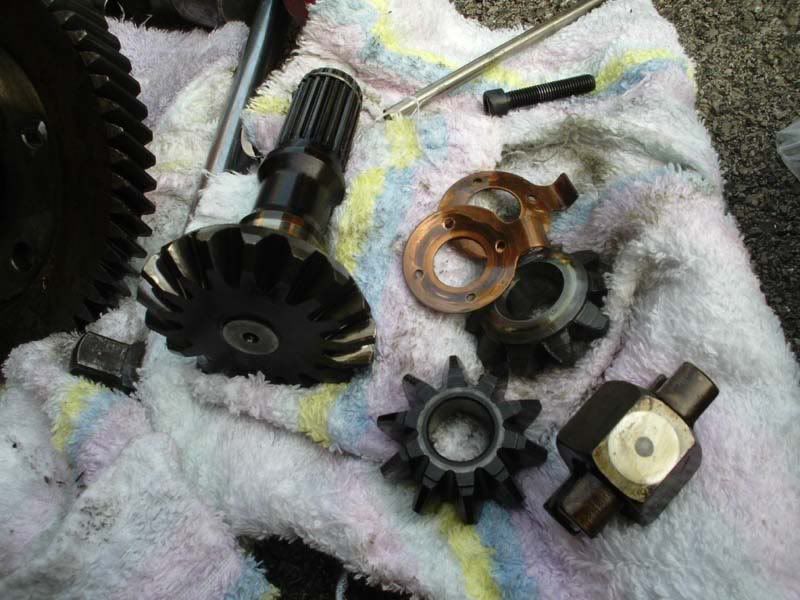
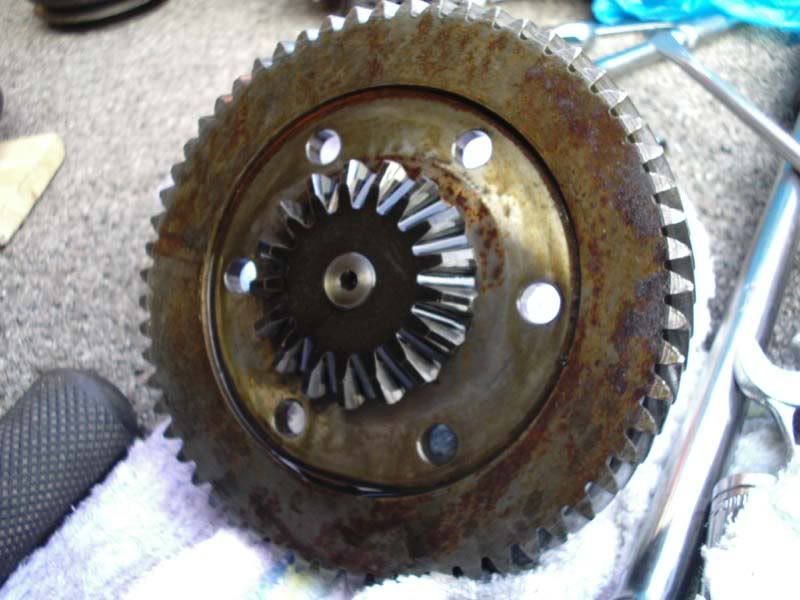
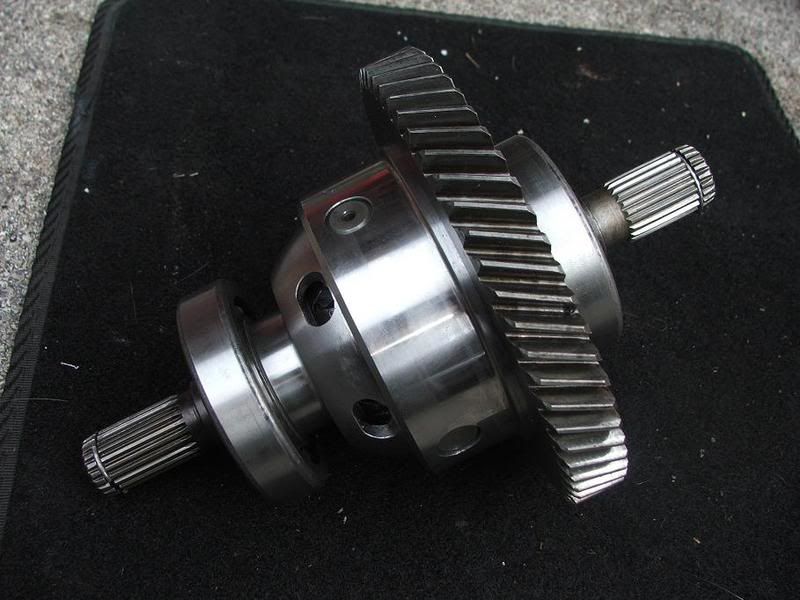
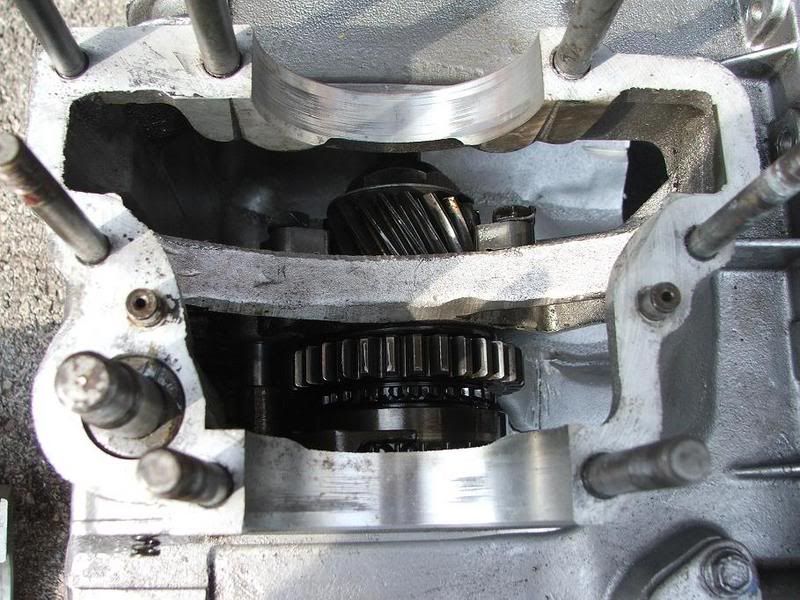
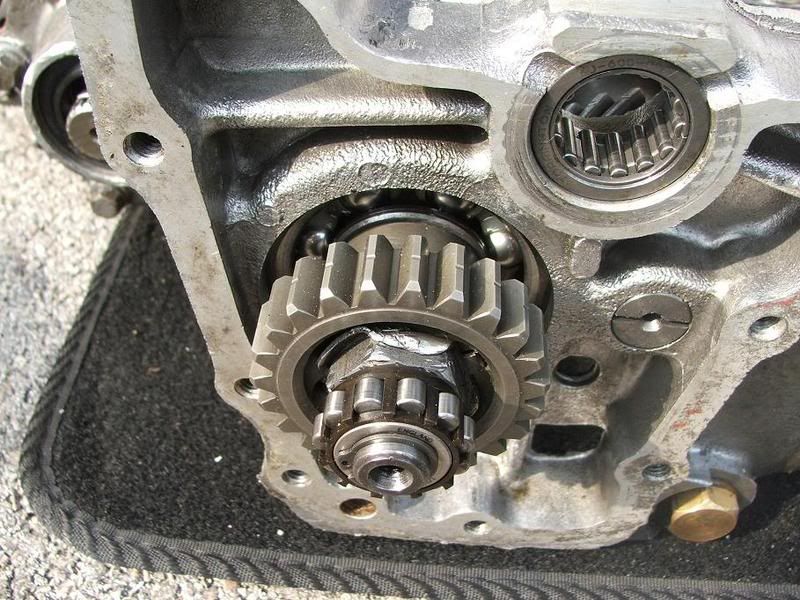
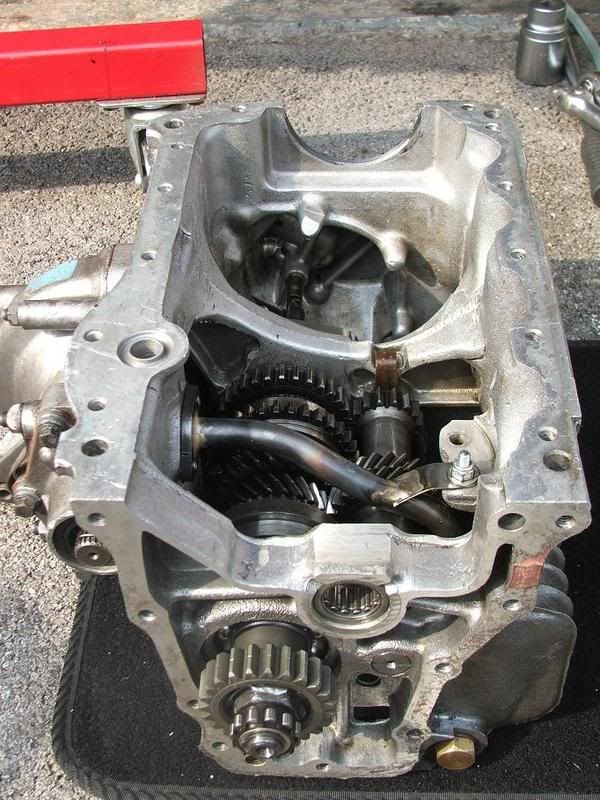
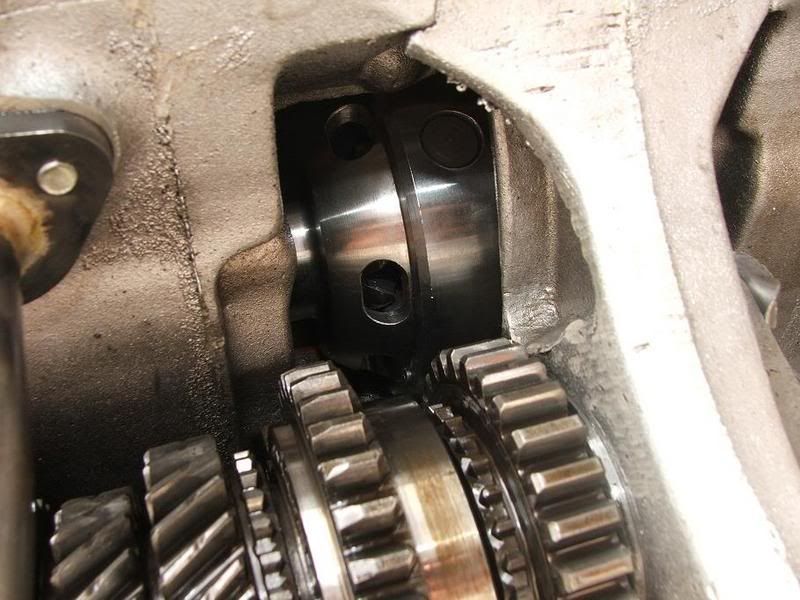
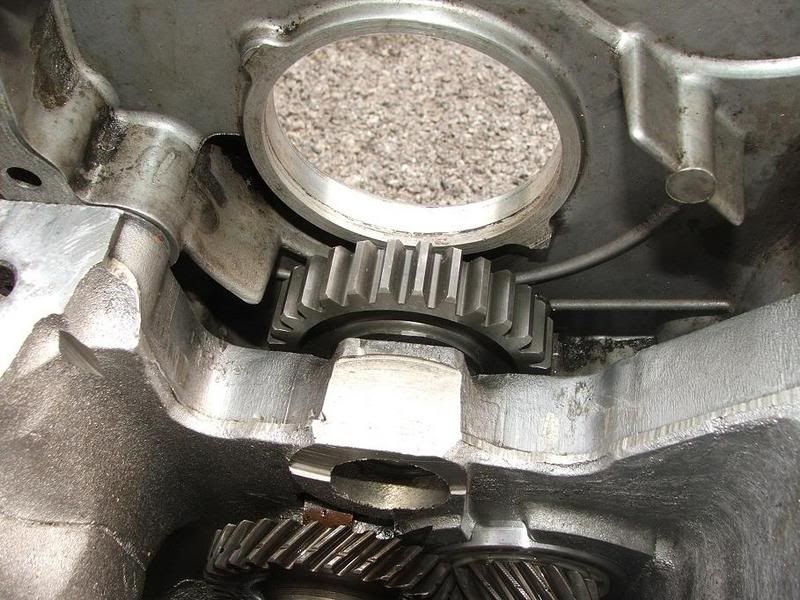
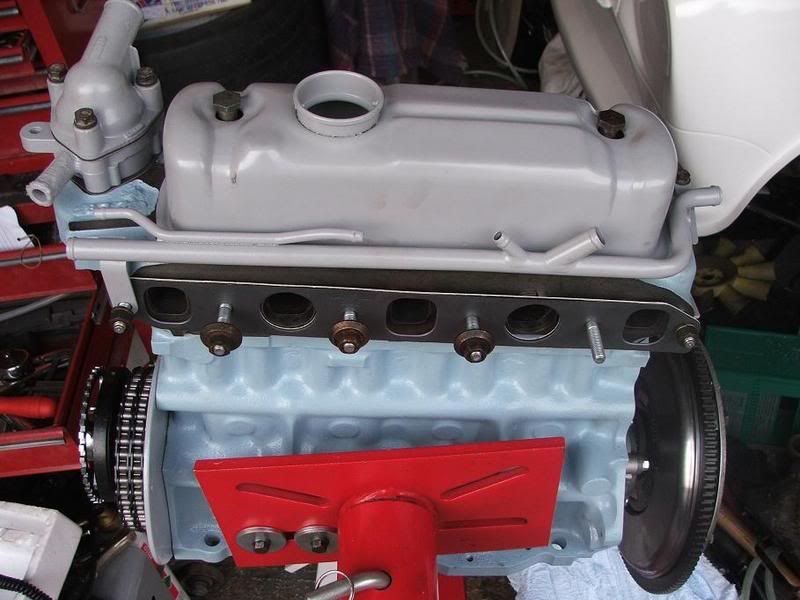
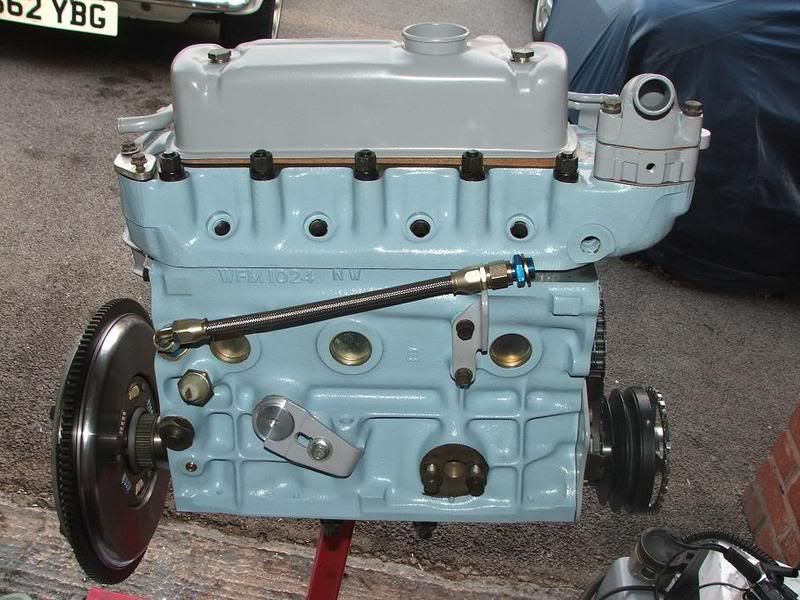
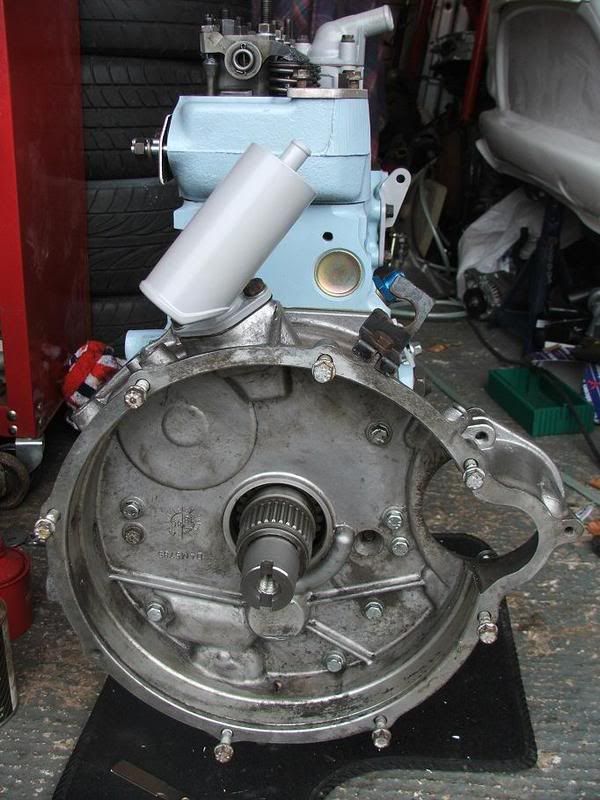
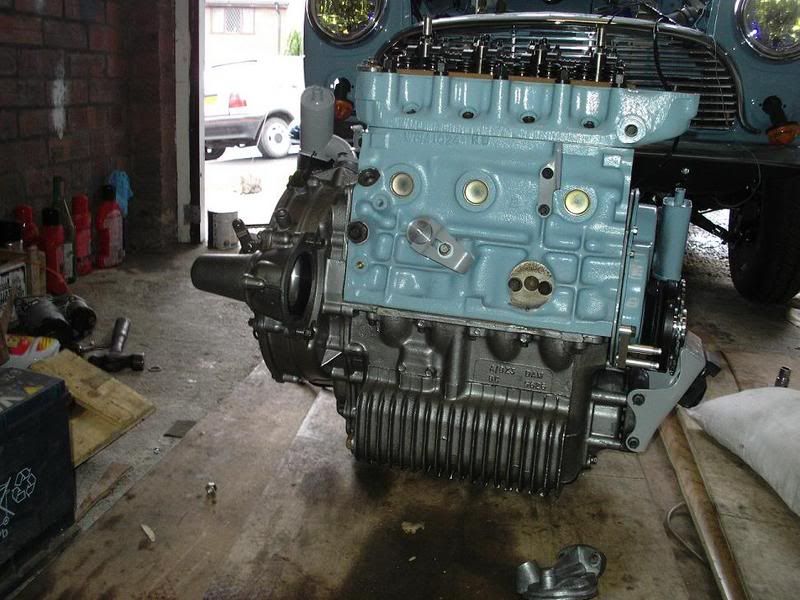
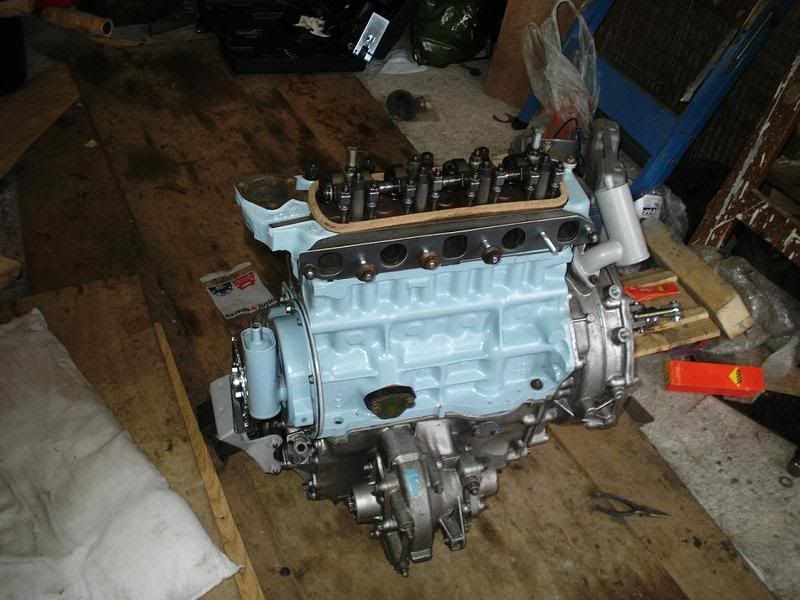
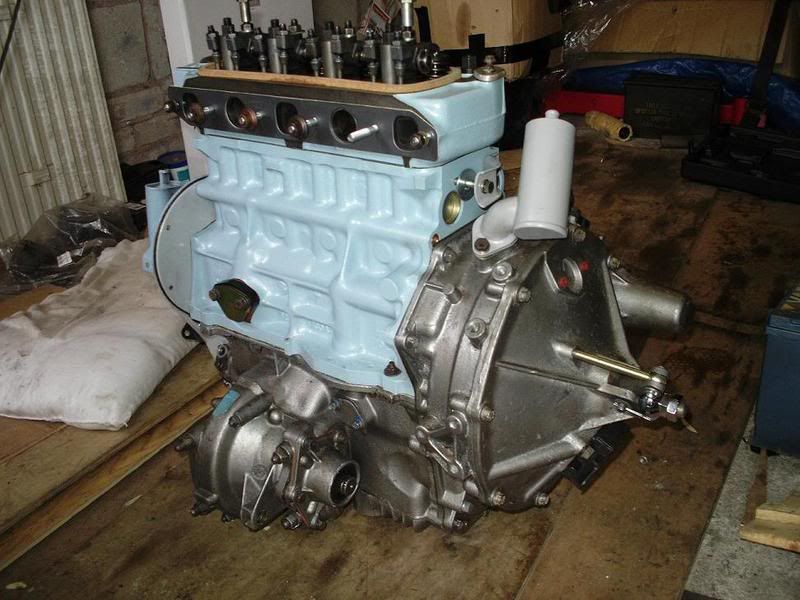
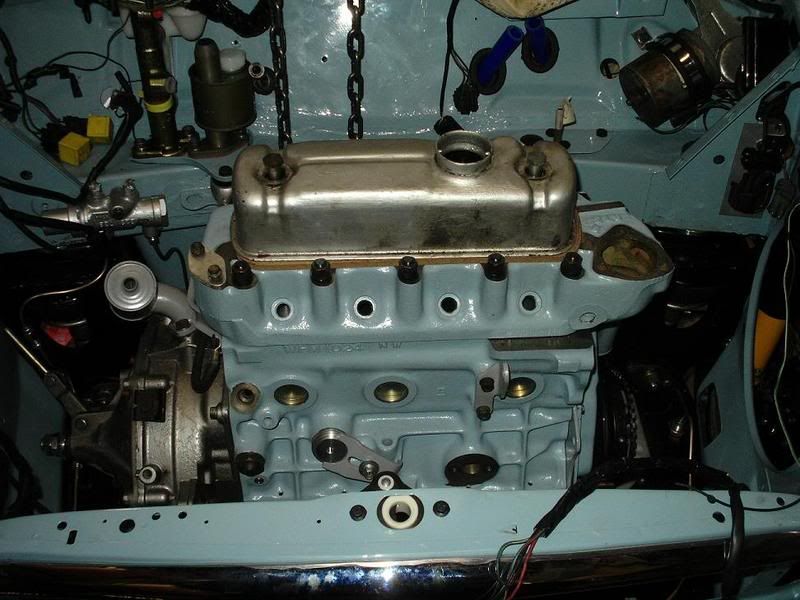
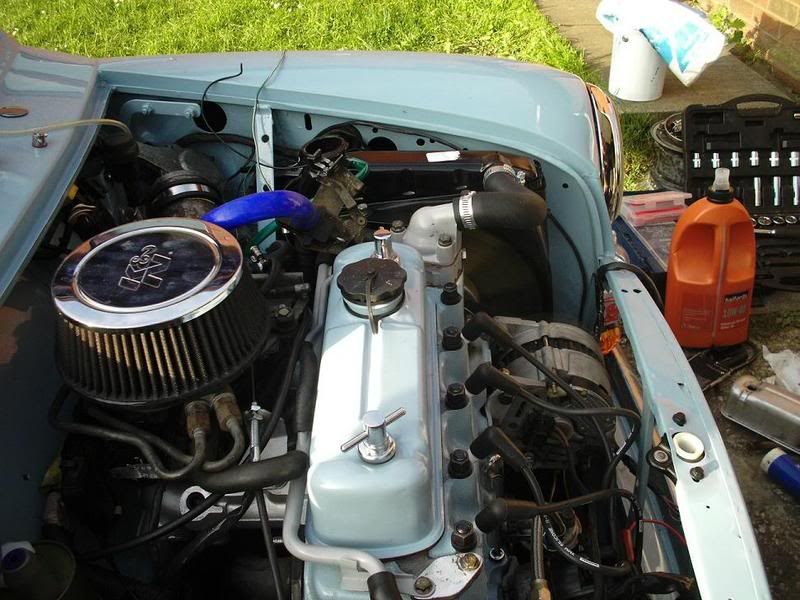
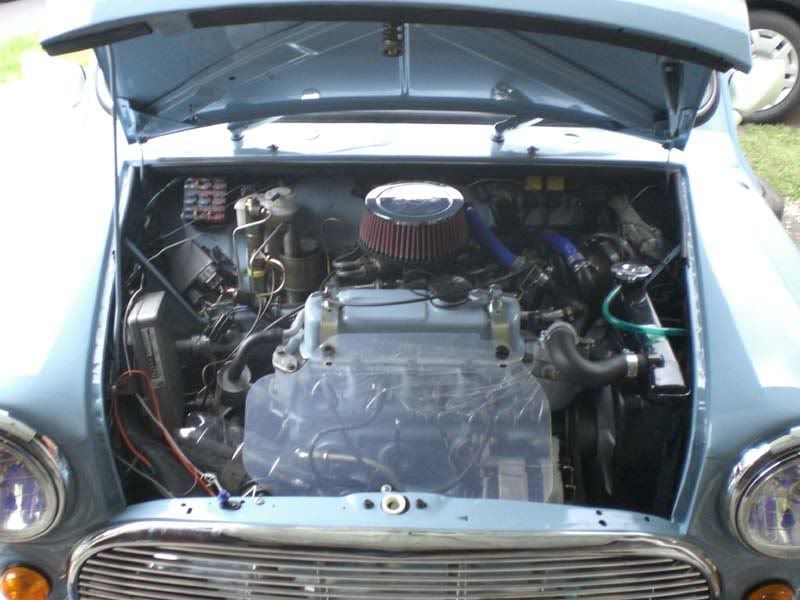
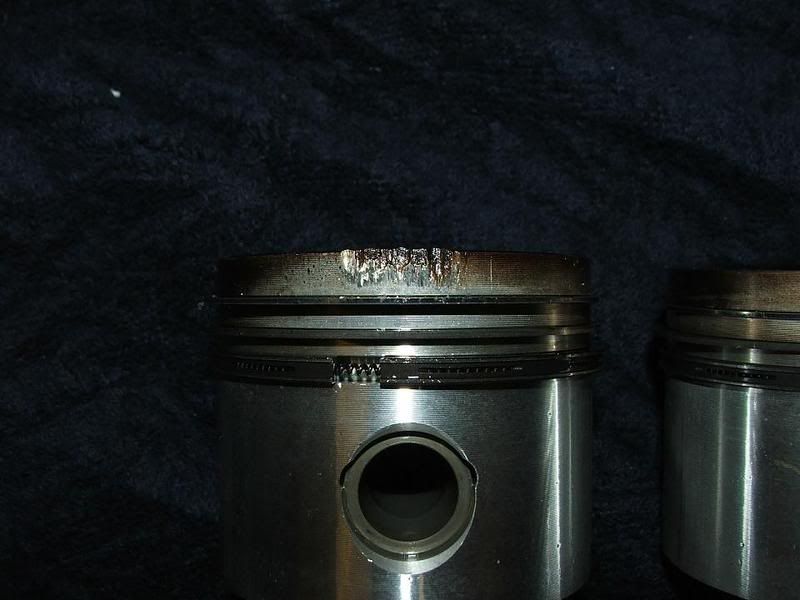
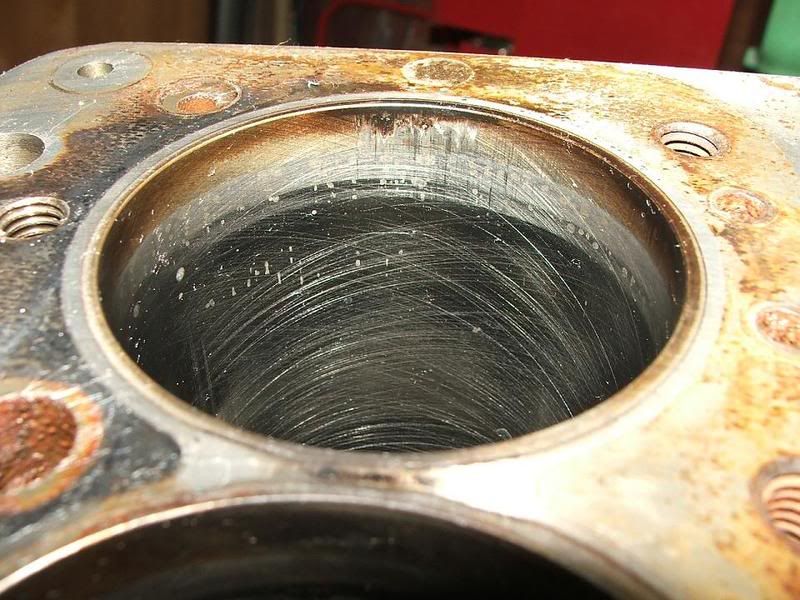
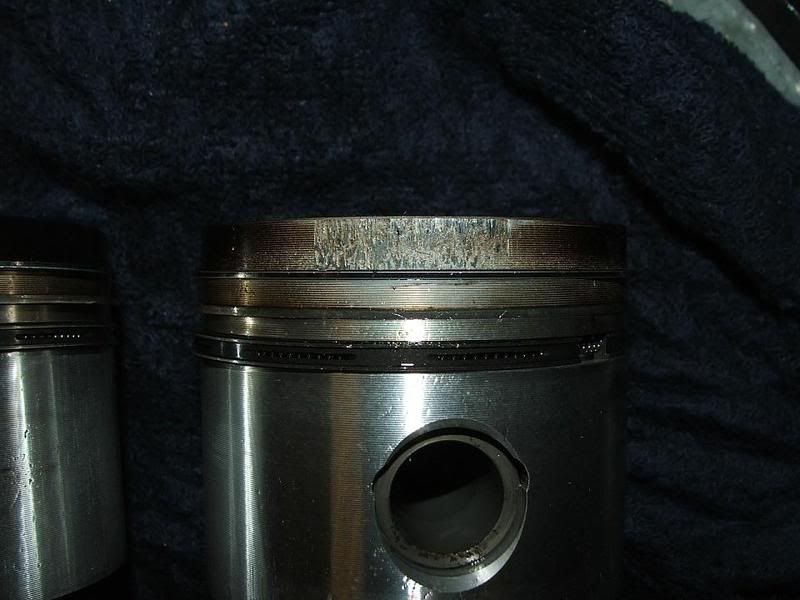
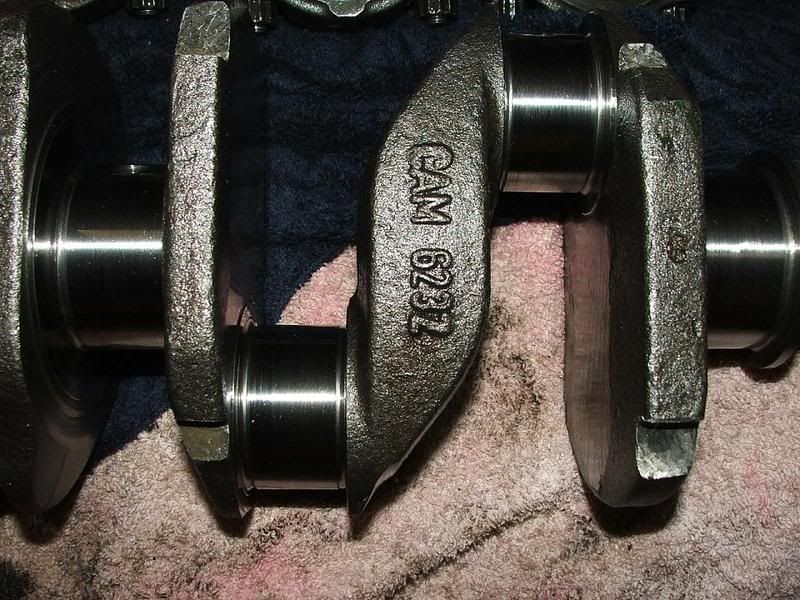
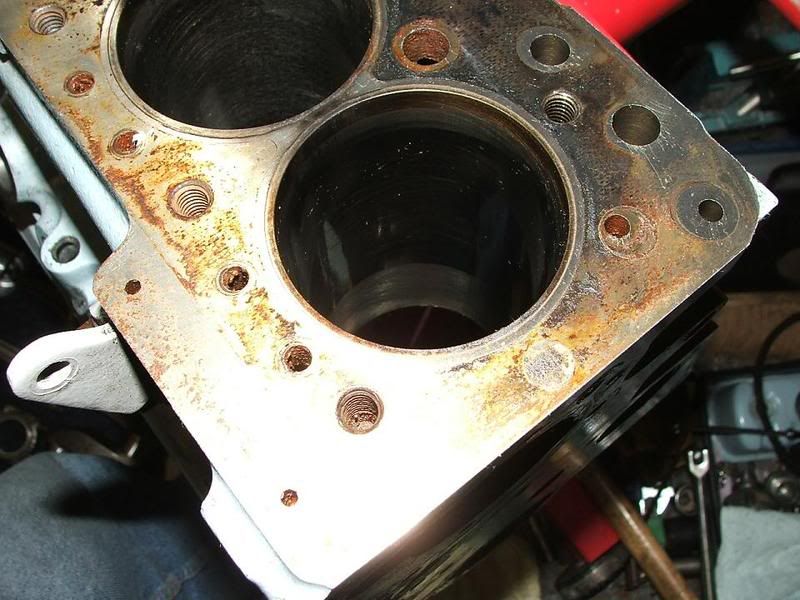
More pics from the engine rebuild
|
||||||
|
695 Posts Member #: 984 Post Whore Westhoughton, Bolton |
23rd Feb, 2008 at 02:53:32pm
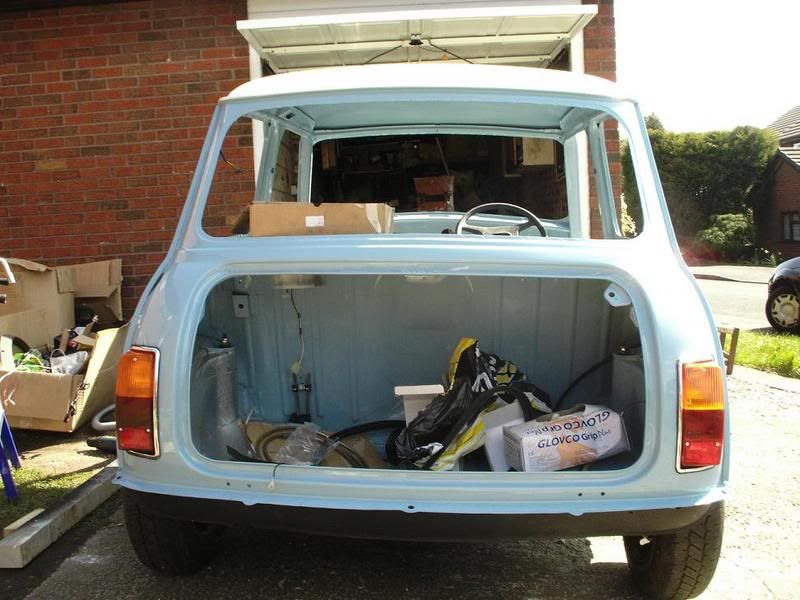
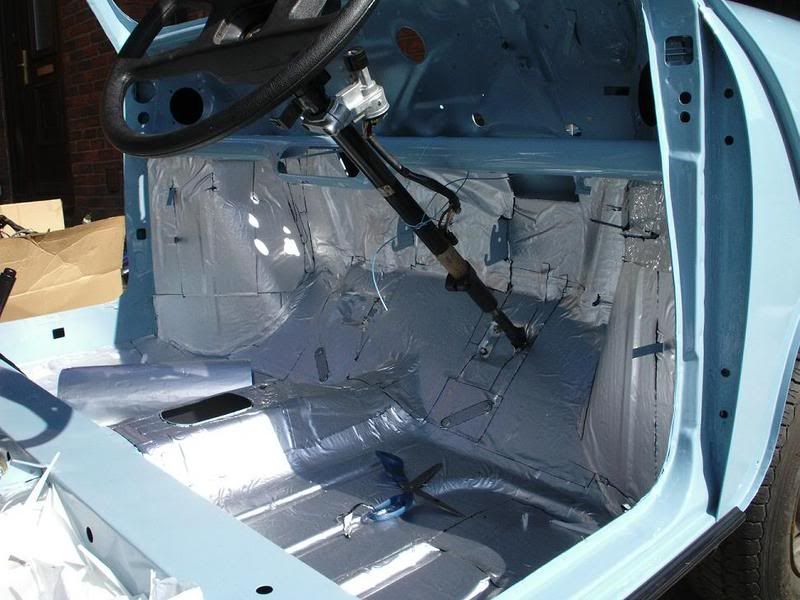
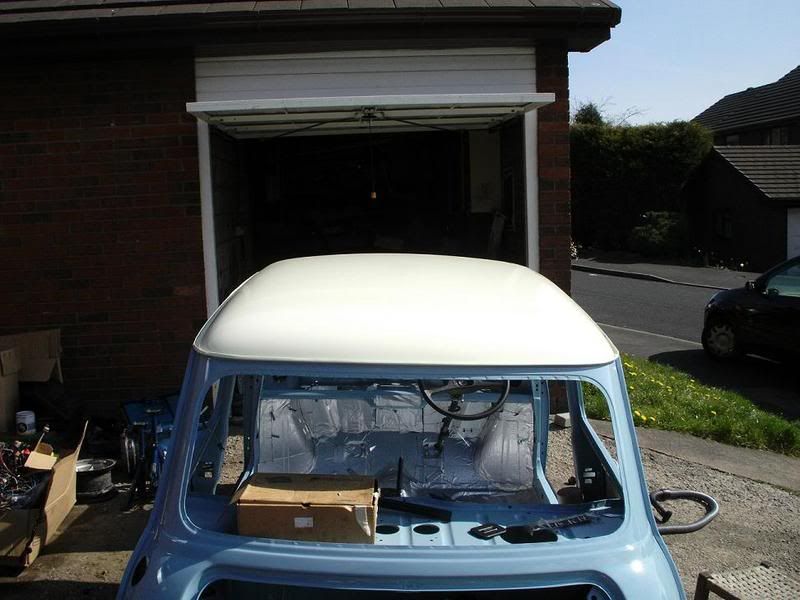
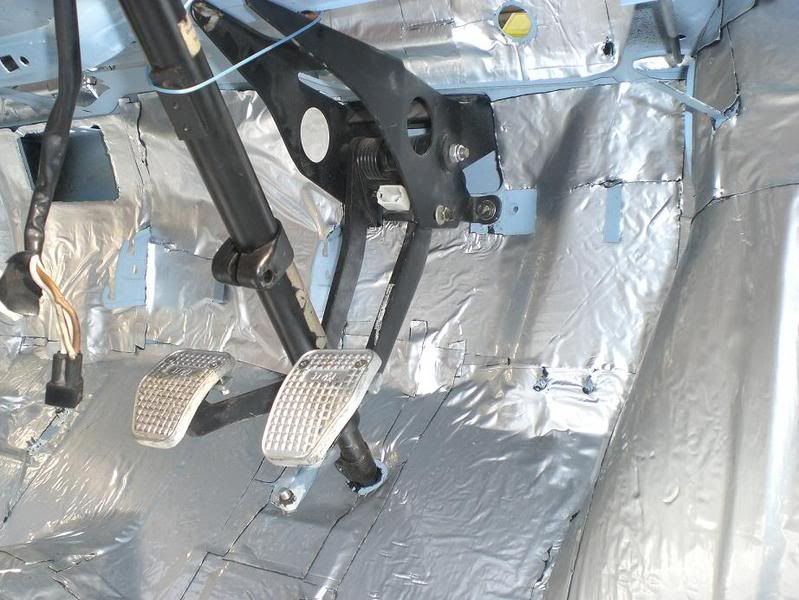
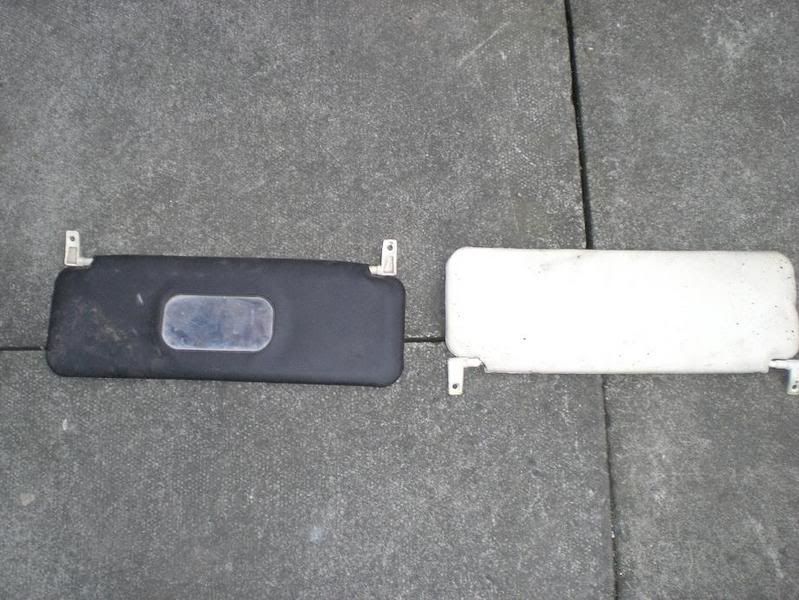
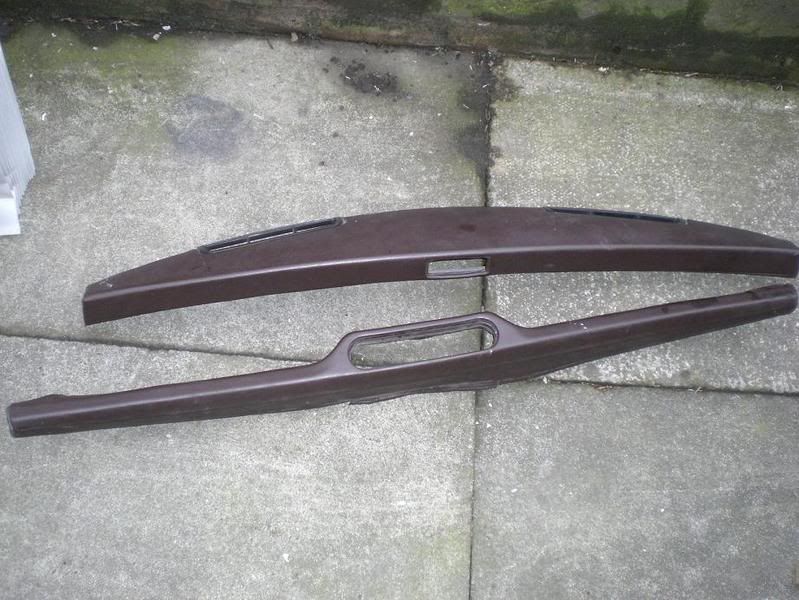
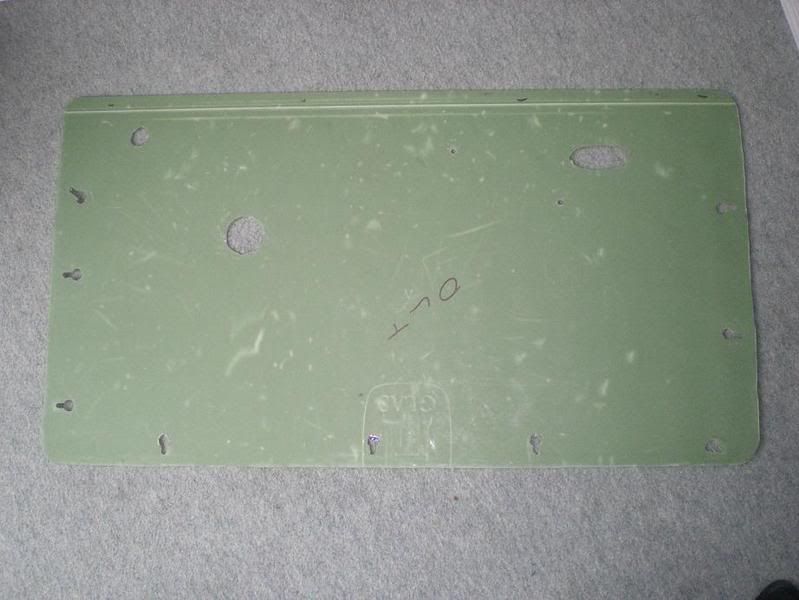
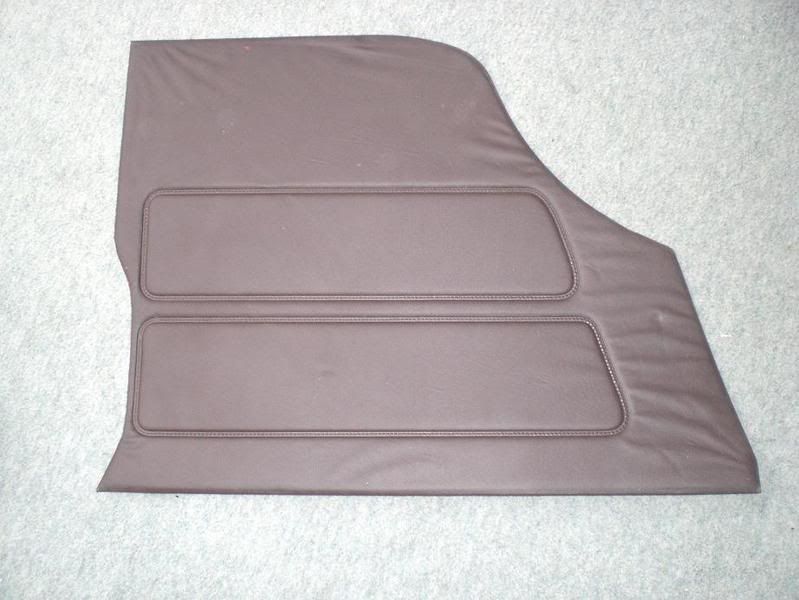
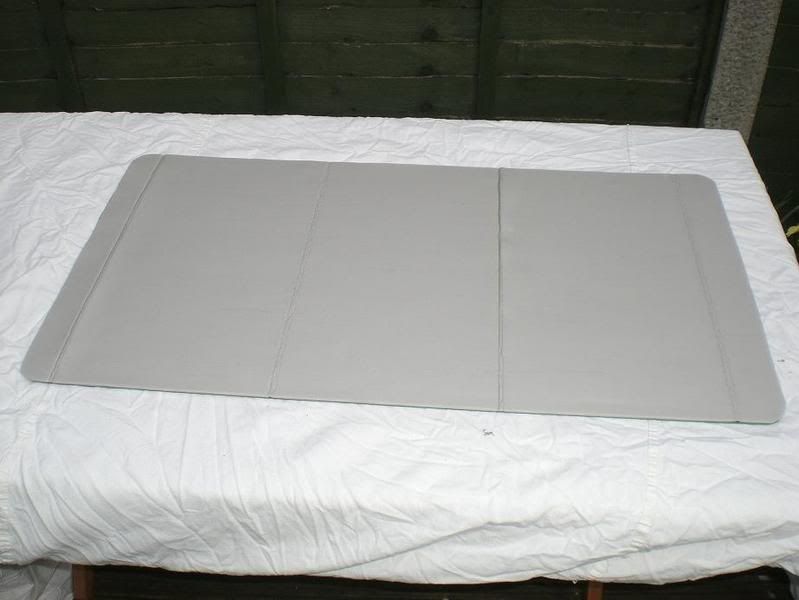
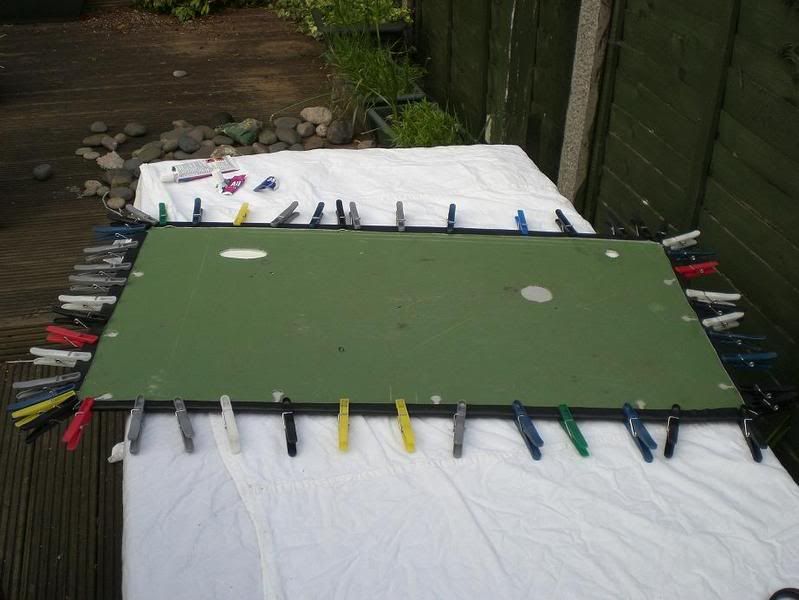
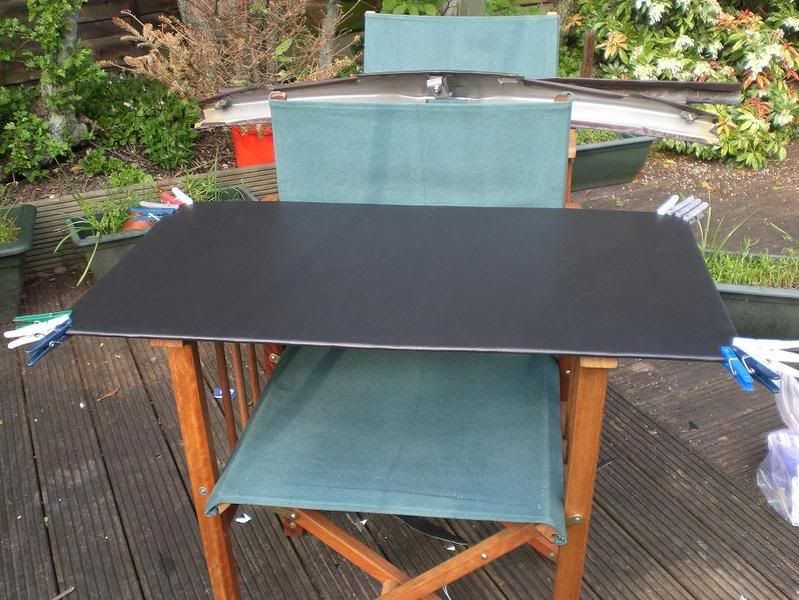
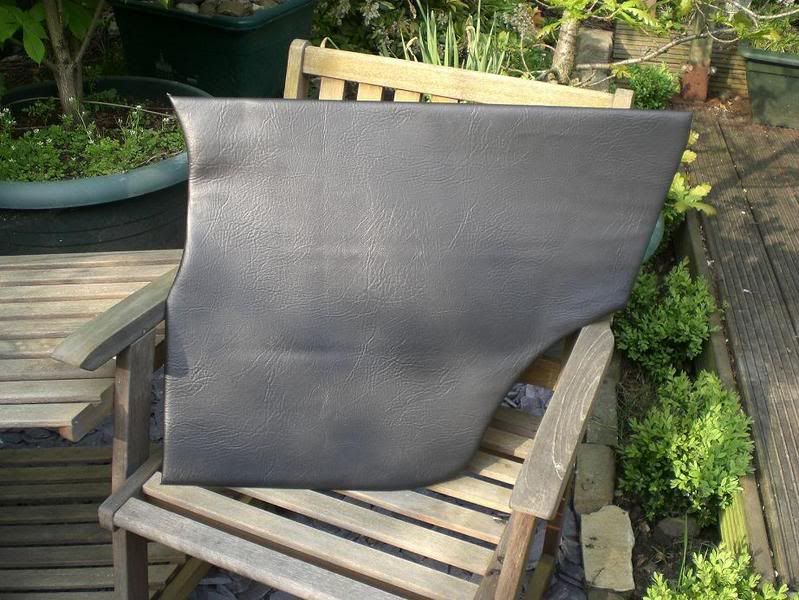
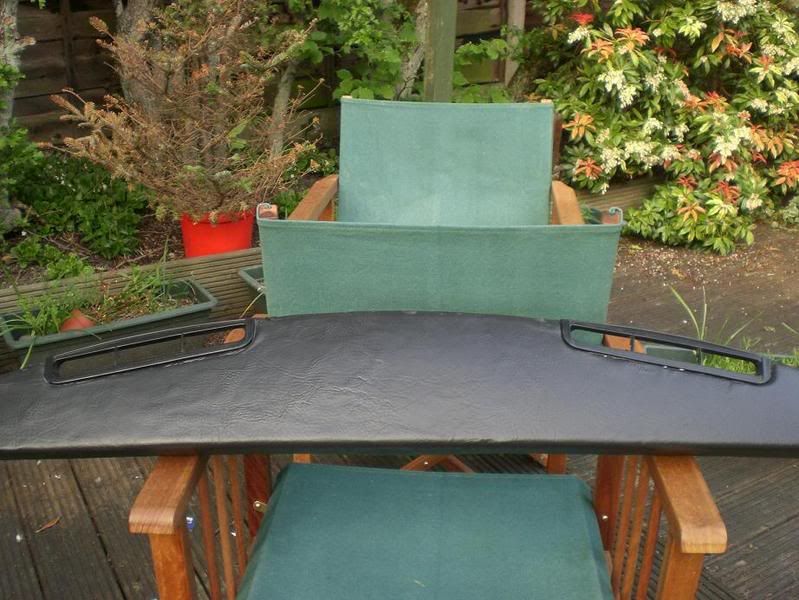
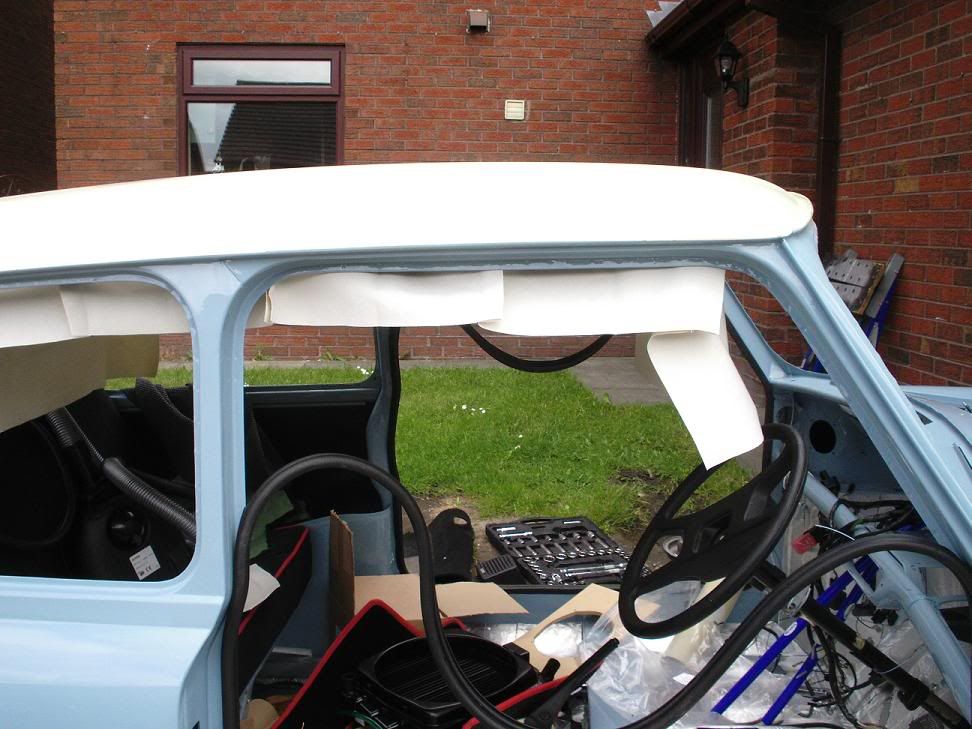
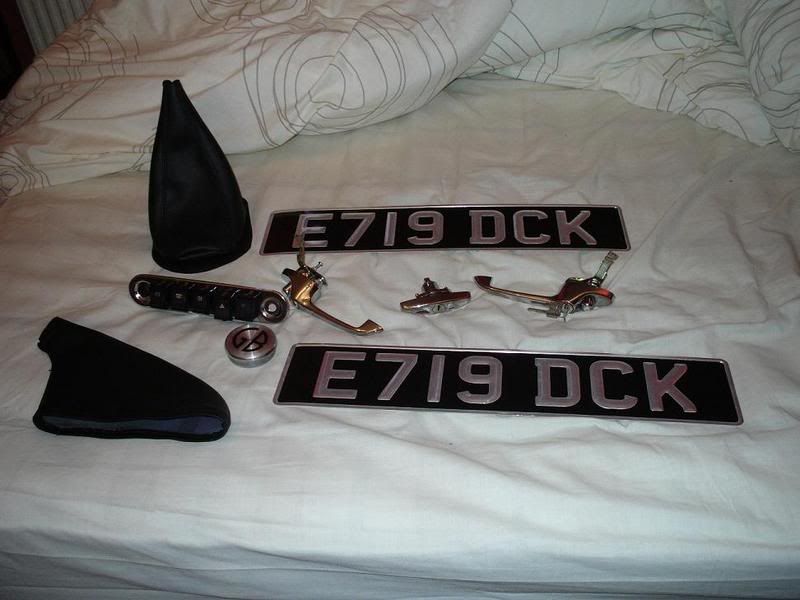
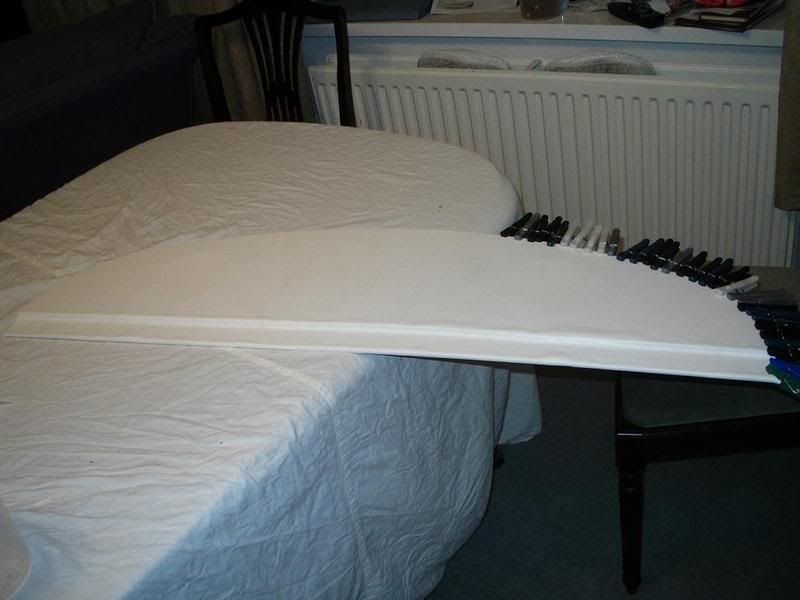
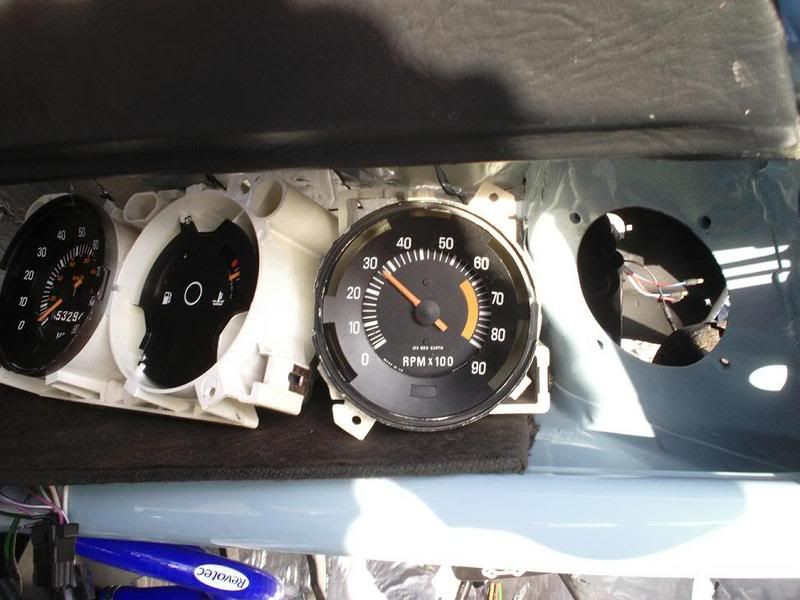
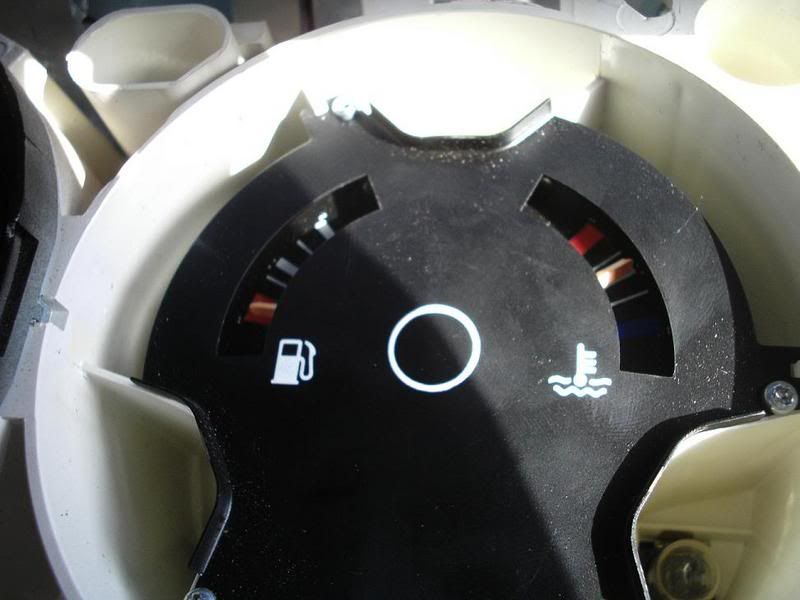
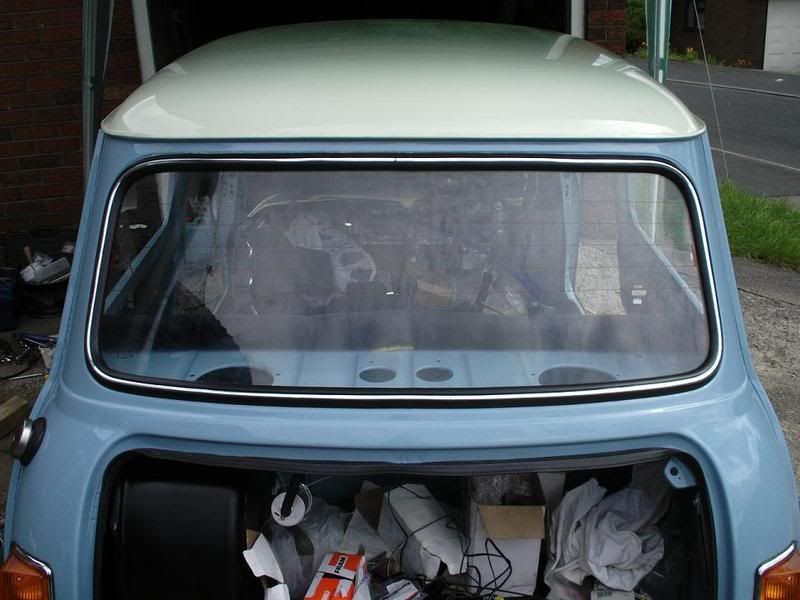
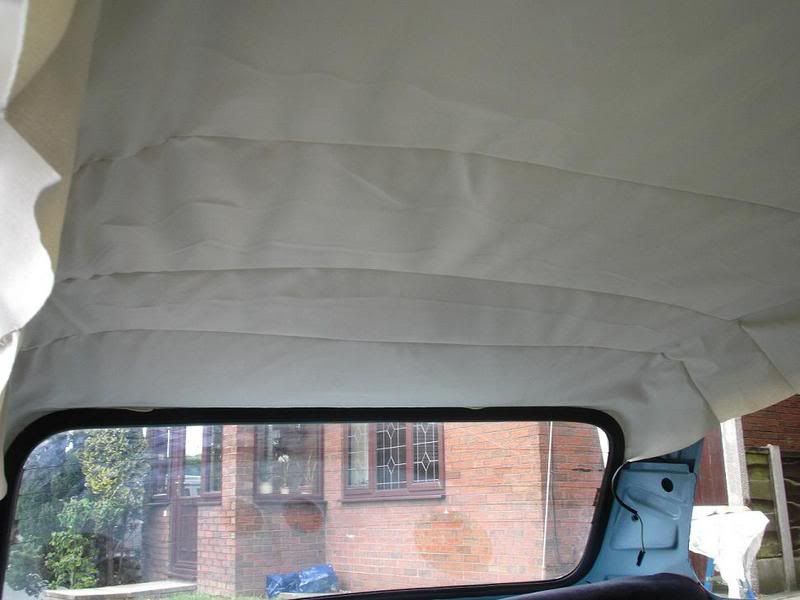
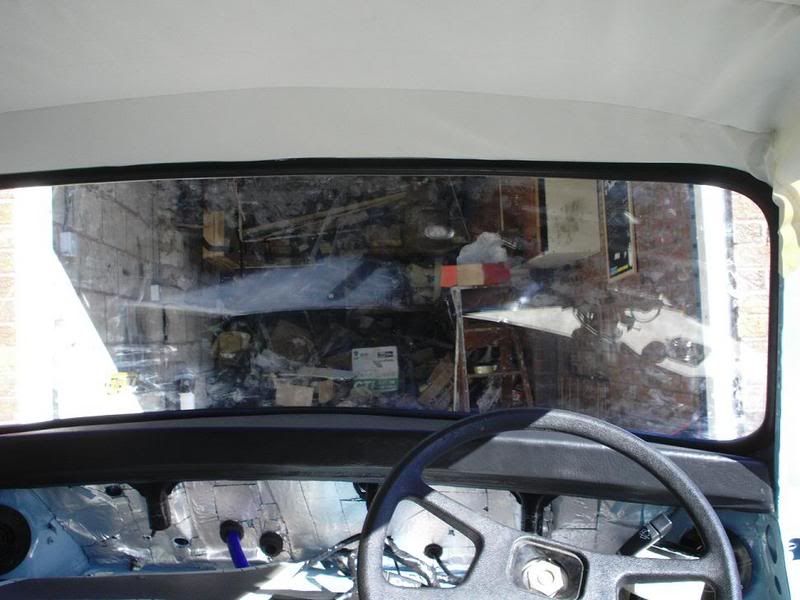
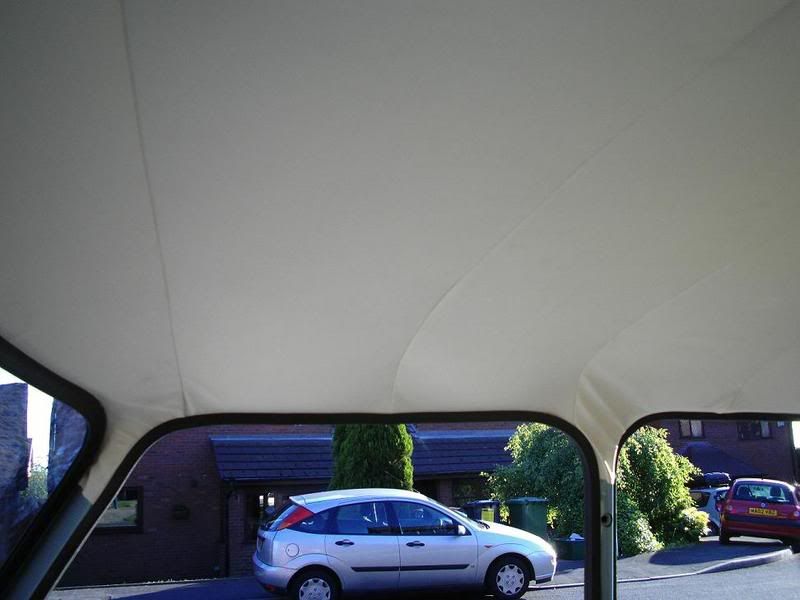
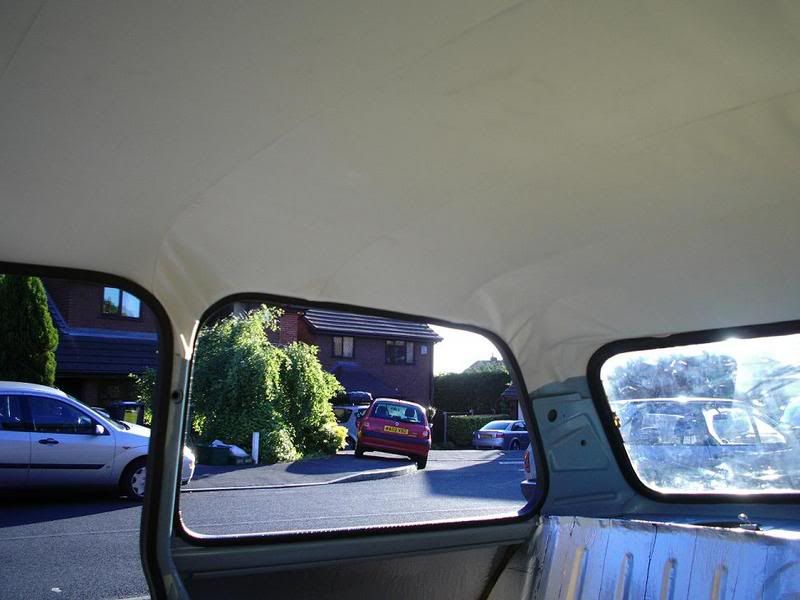
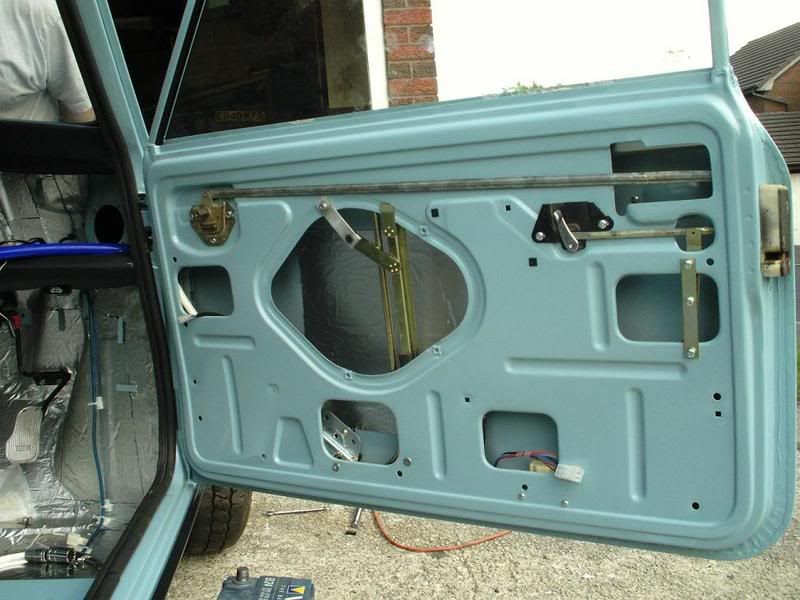
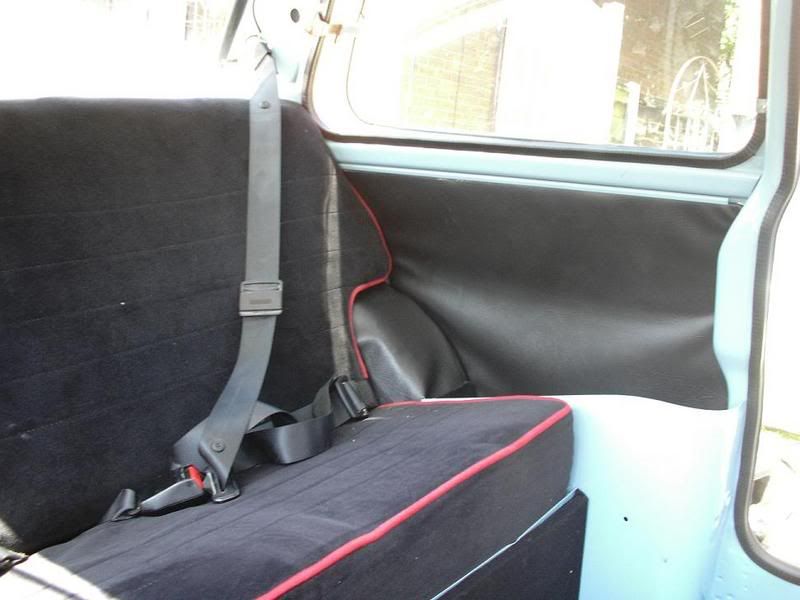
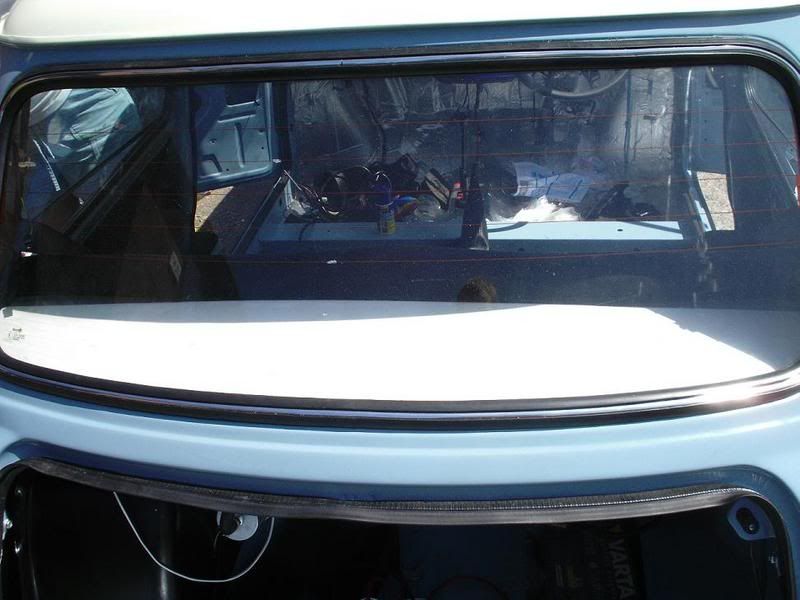
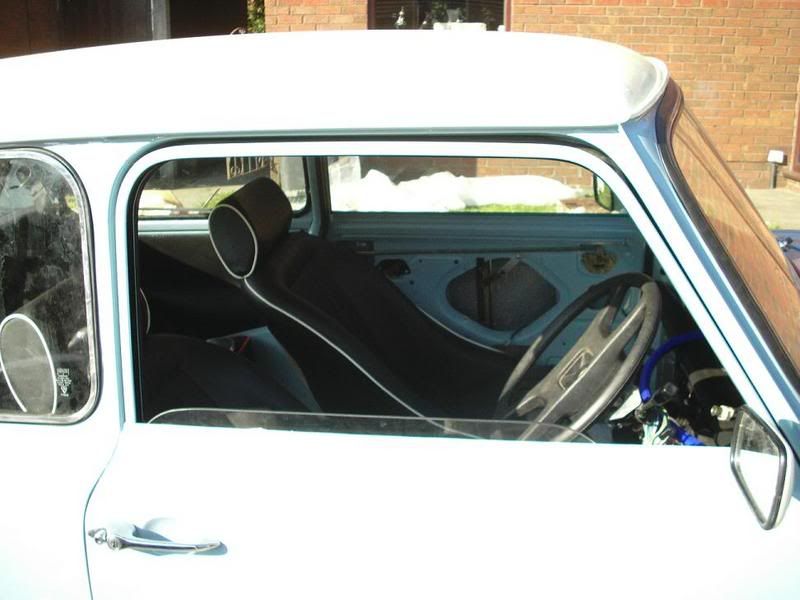
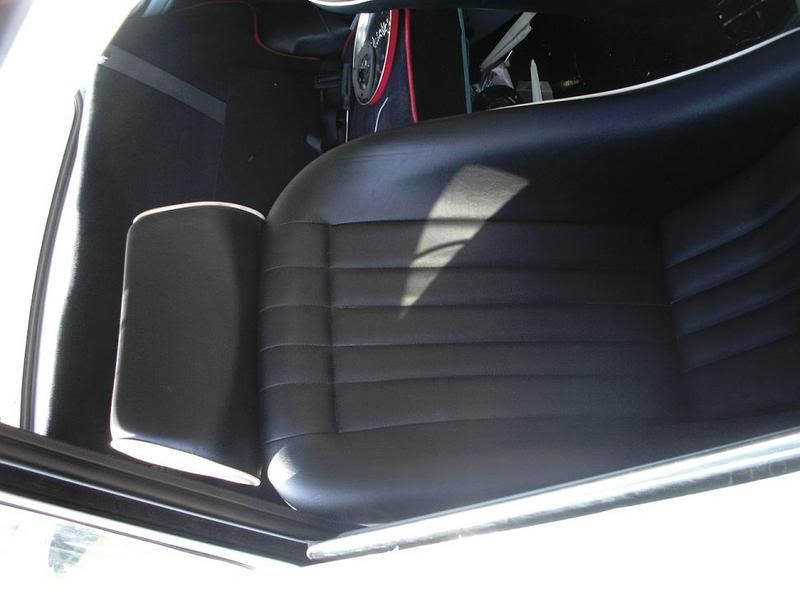
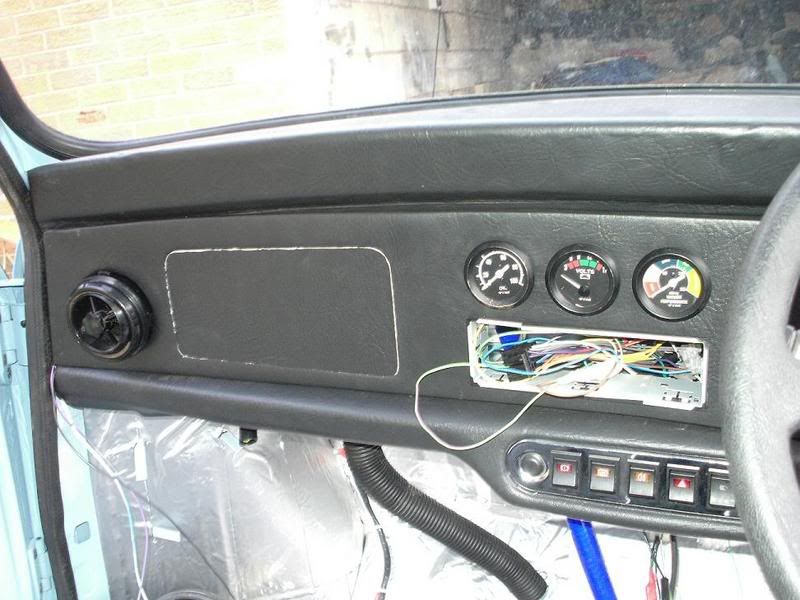
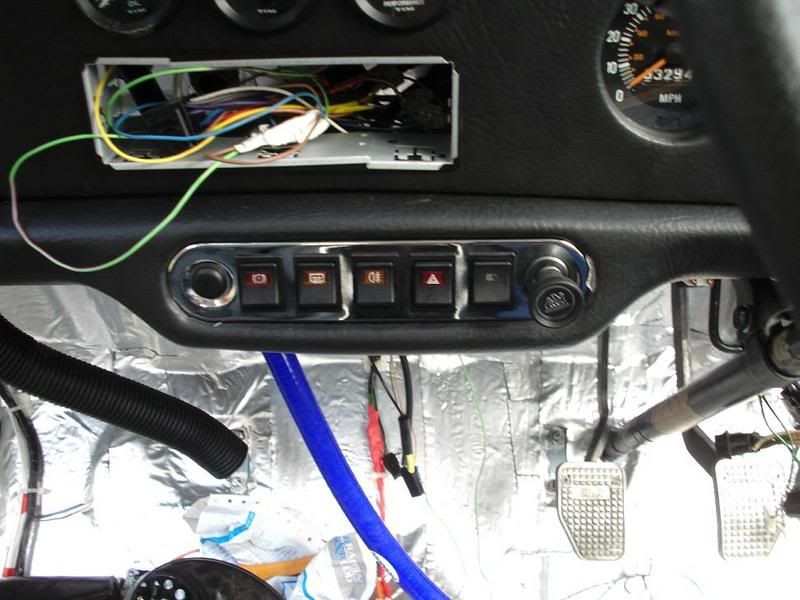
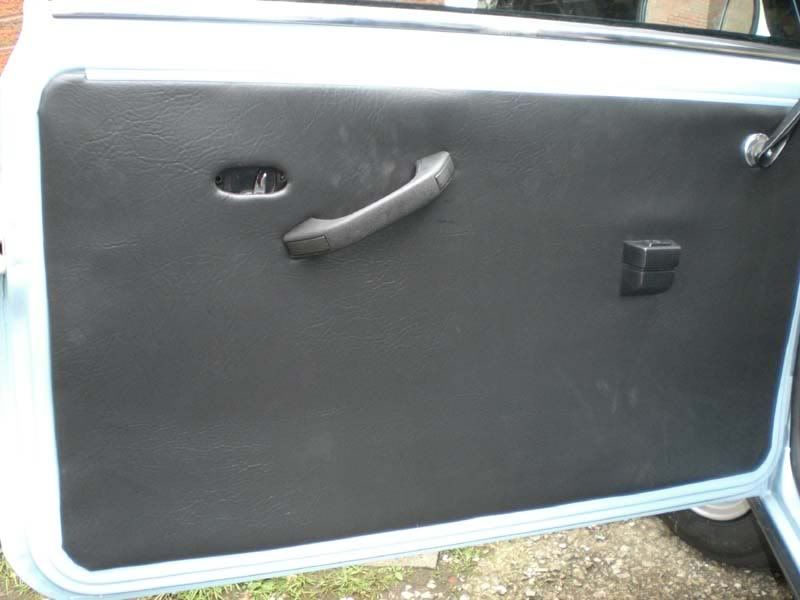
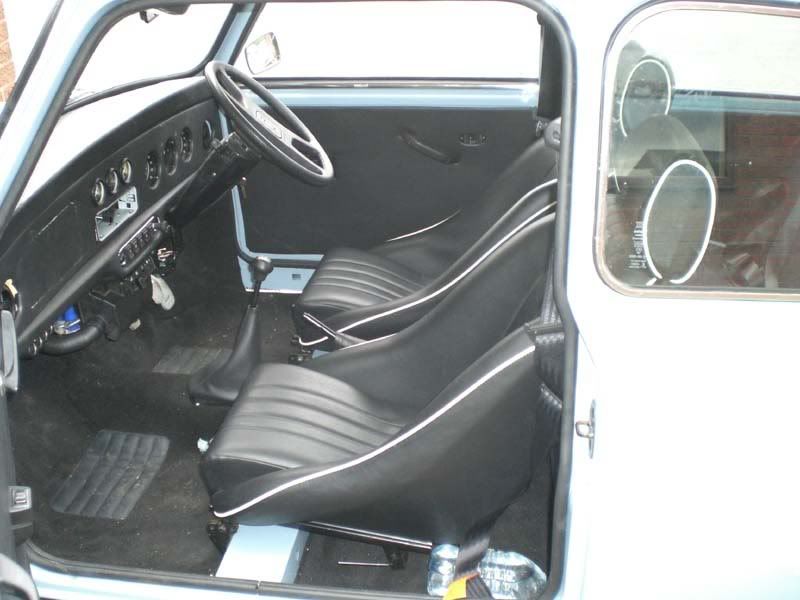
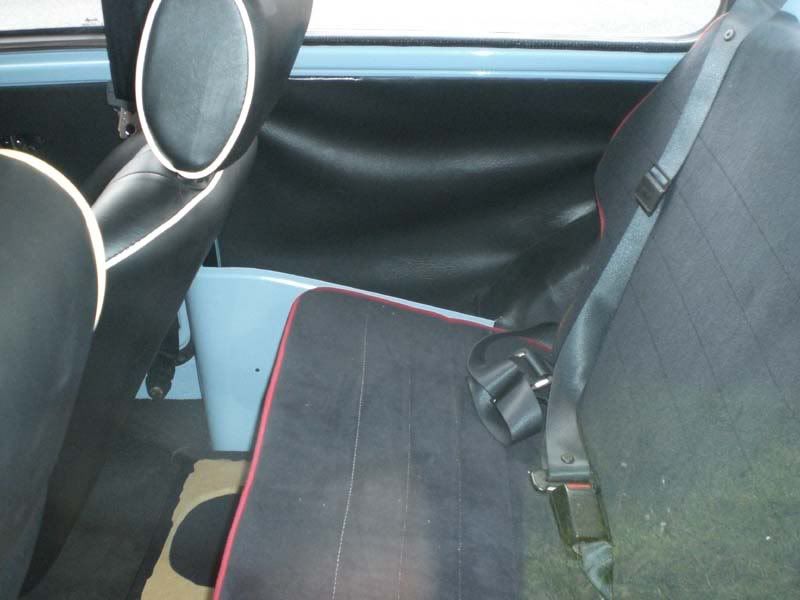
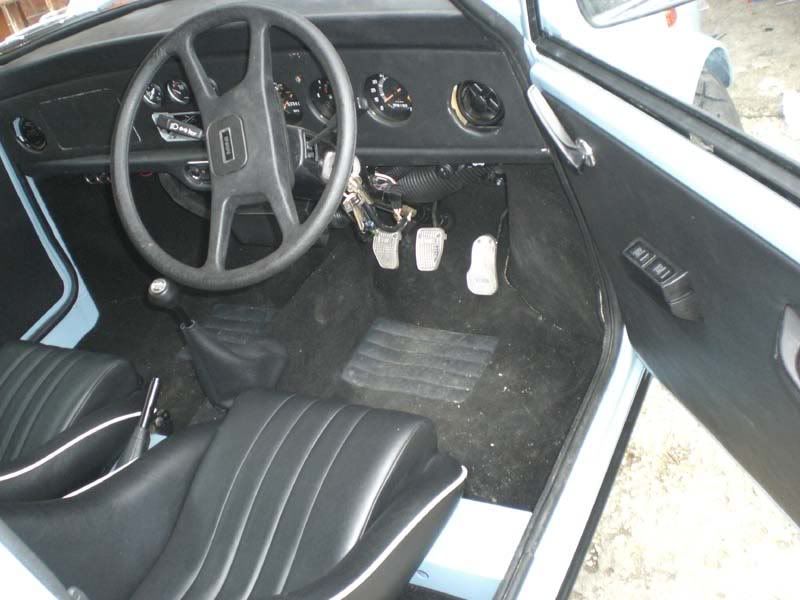
Done some of the interior. Here are a few pics.
|
||||||
|
695 Posts Member #: 984 Post Whore Westhoughton, Bolton |
23rd Feb, 2008 at 02:53:50pm
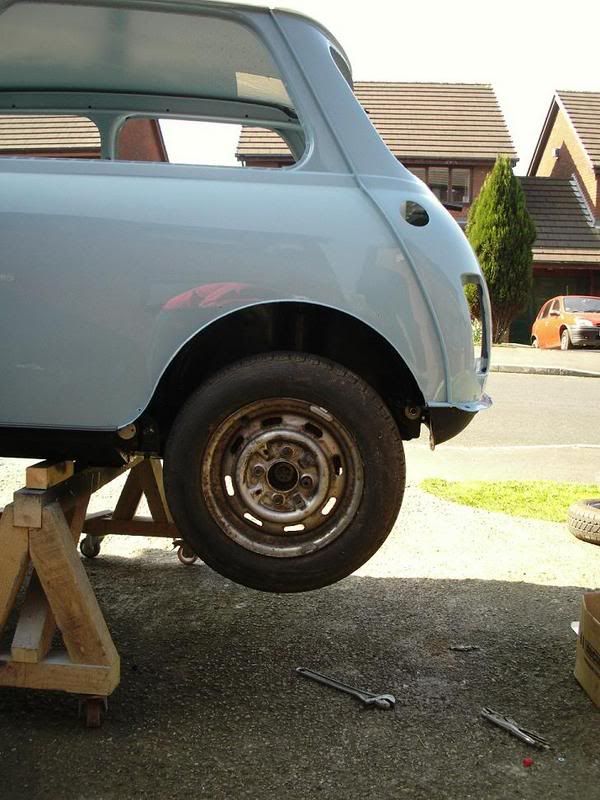
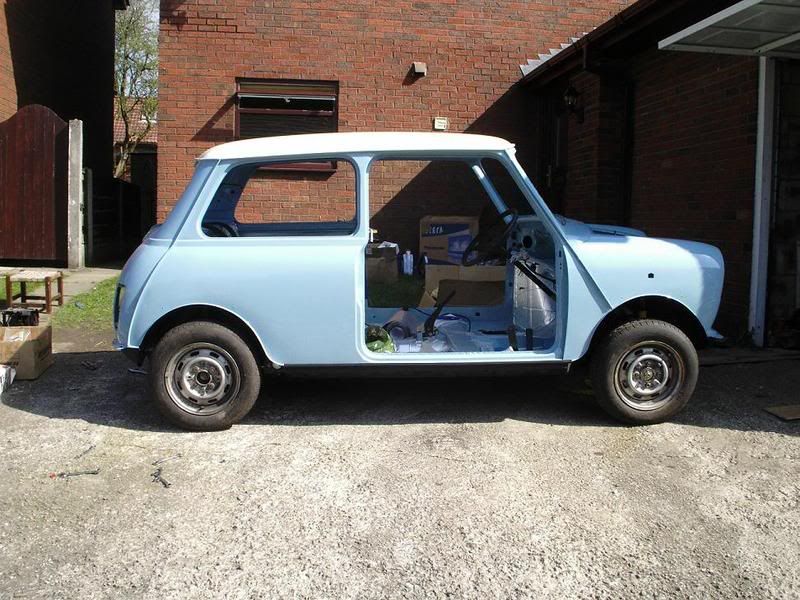
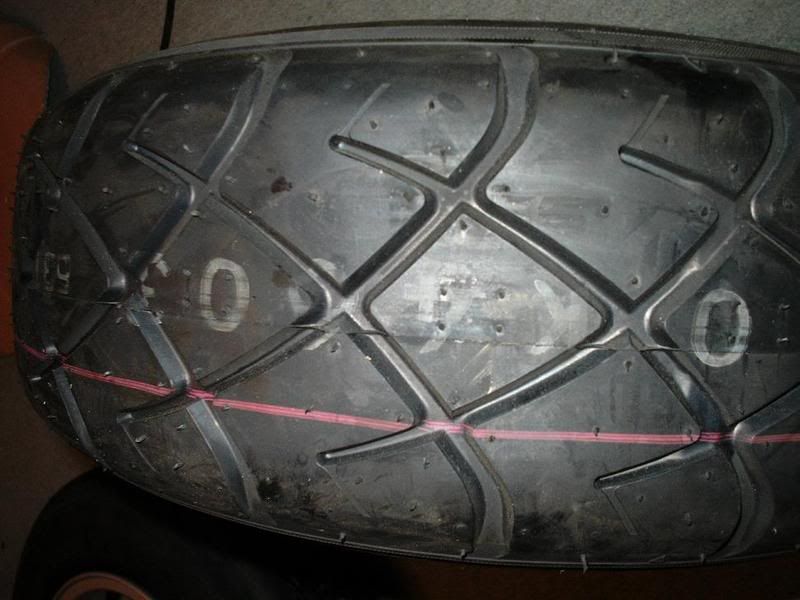
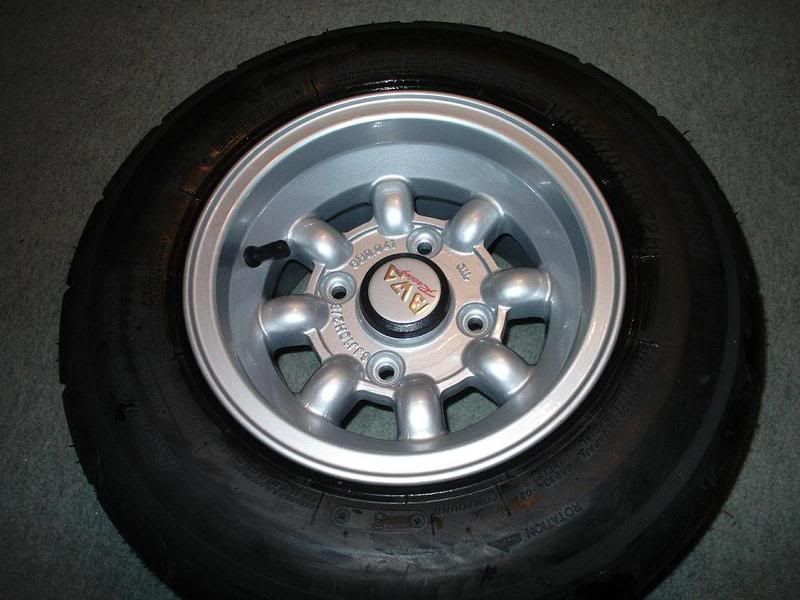
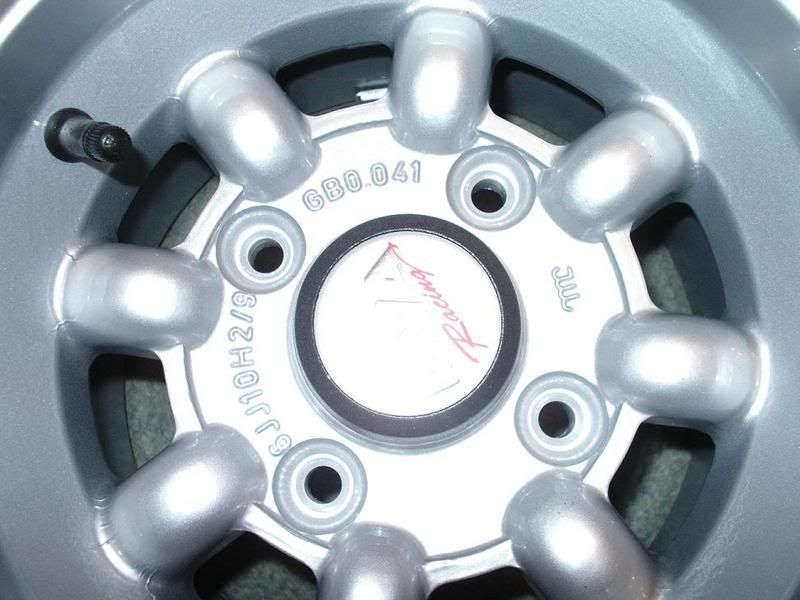
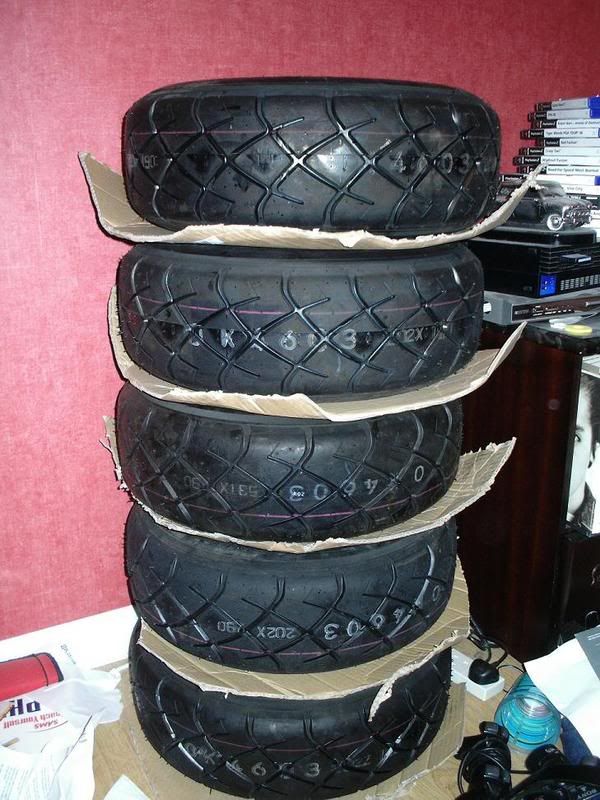
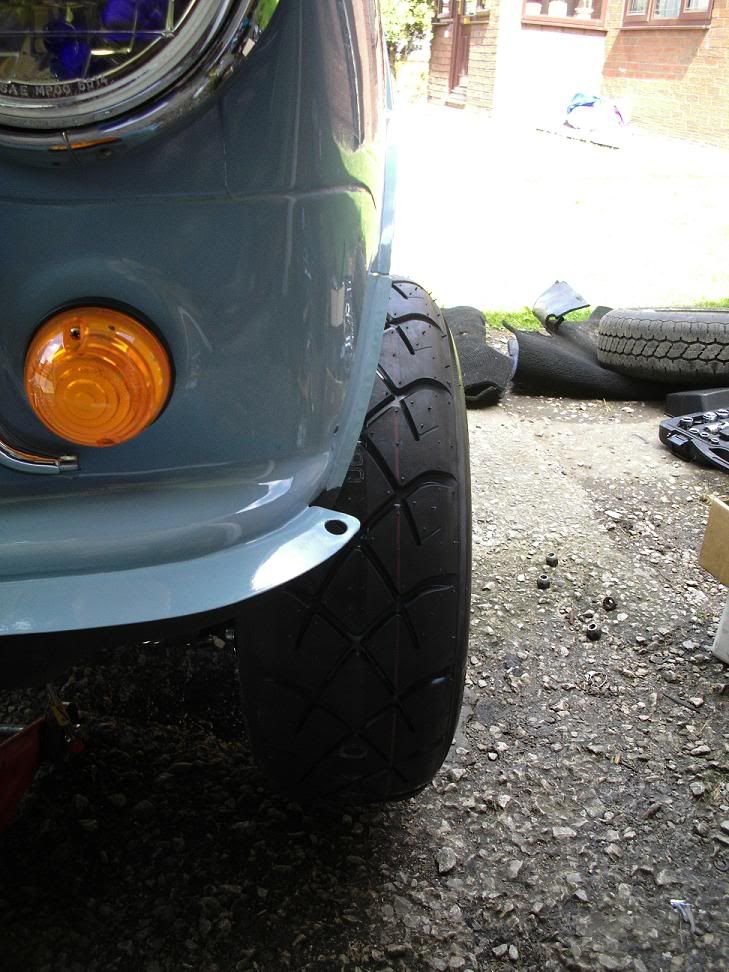
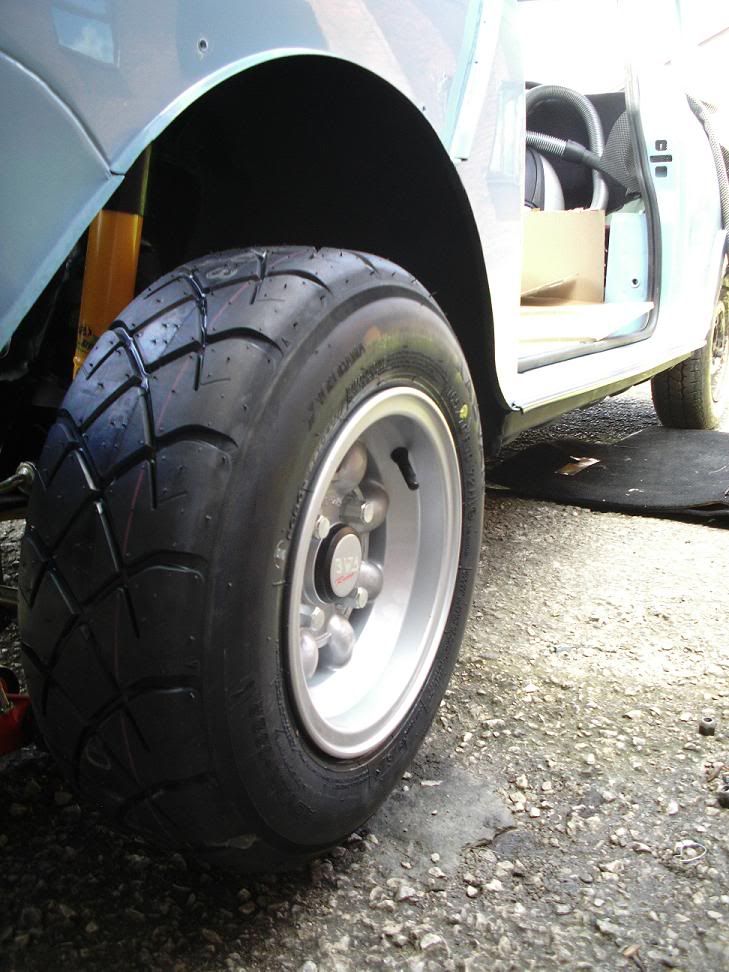
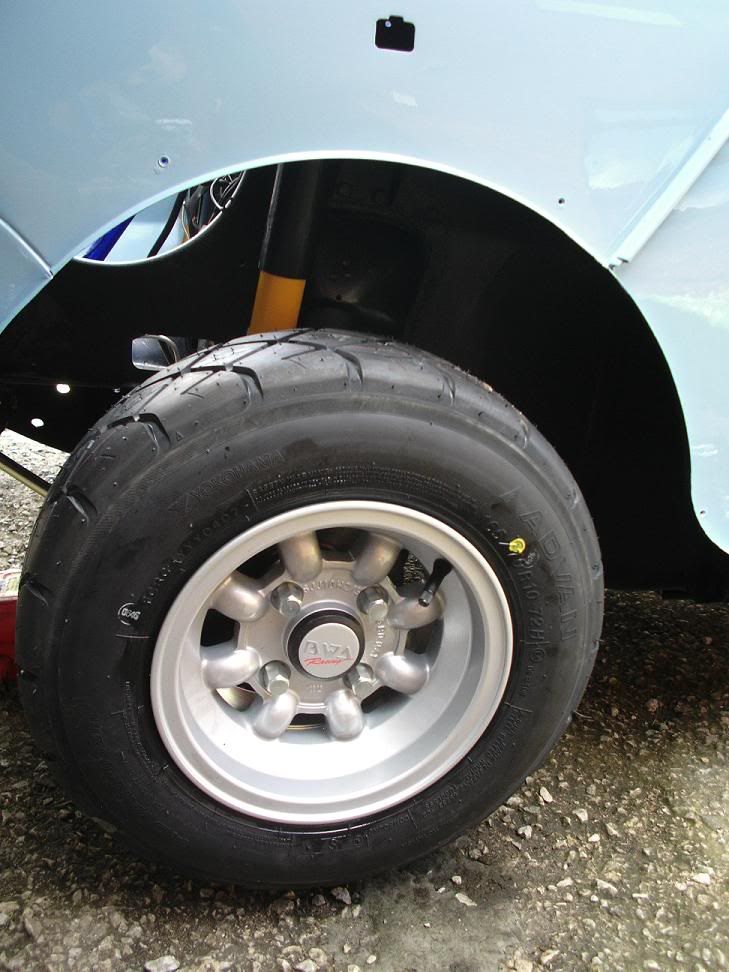
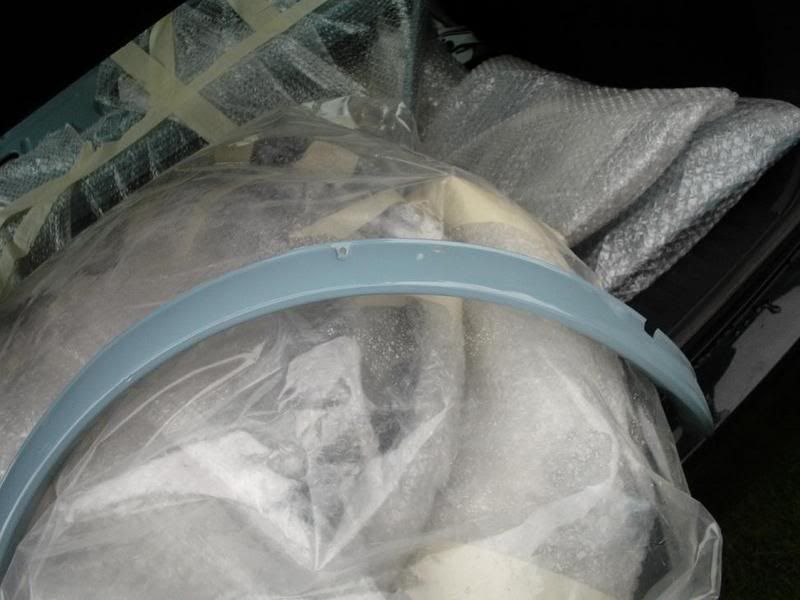
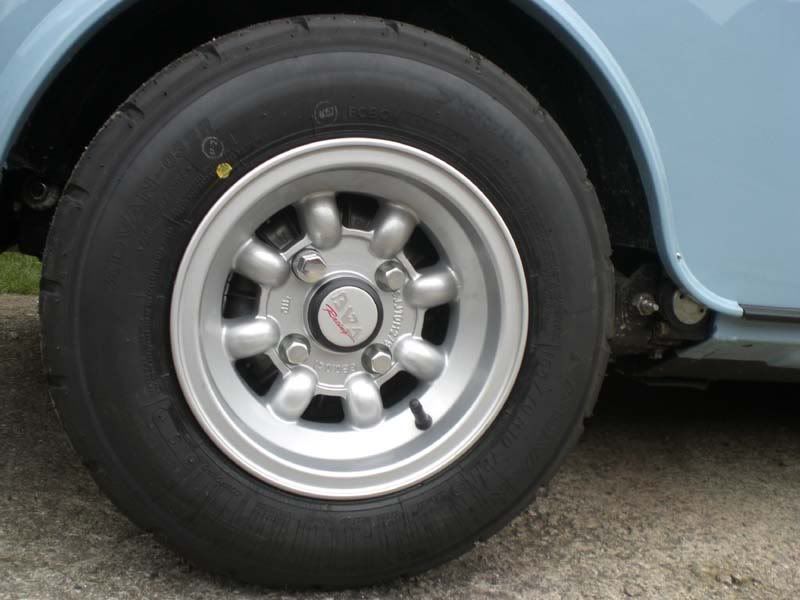
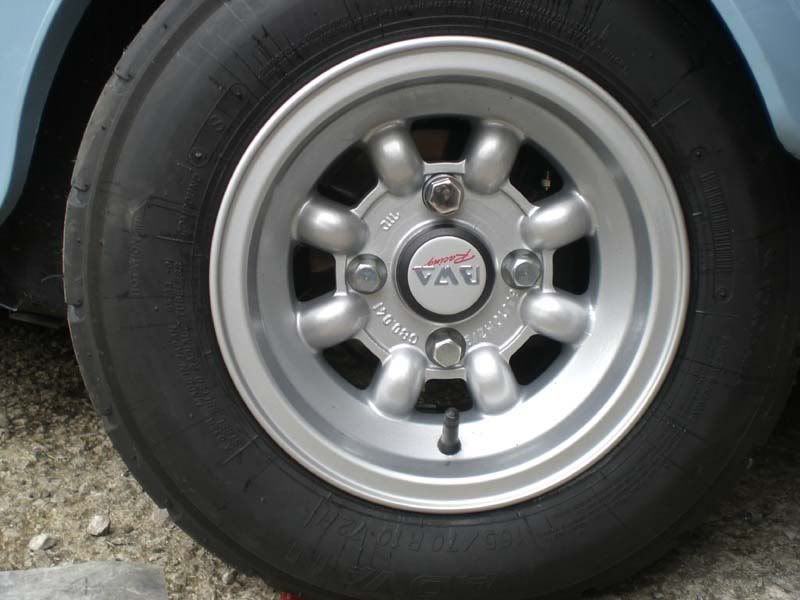
Wheels Arrived.
|
||||||
|
695 Posts Member #: 984 Post Whore Westhoughton, Bolton |
23rd Feb, 2008 at 02:54:03pm
|
||||||
|
695 Posts Member #: 984 Post Whore Westhoughton, Bolton |
23rd Feb, 2008 at 02:54:15pm
Well today was a good day... ITS ALIVE... here are the pics and the vid, there was a few problems however.
|
||||||
|
695 Posts Member #: 984 Post Whore Westhoughton, Bolton |
23rd Feb, 2008 at 02:54:29pm
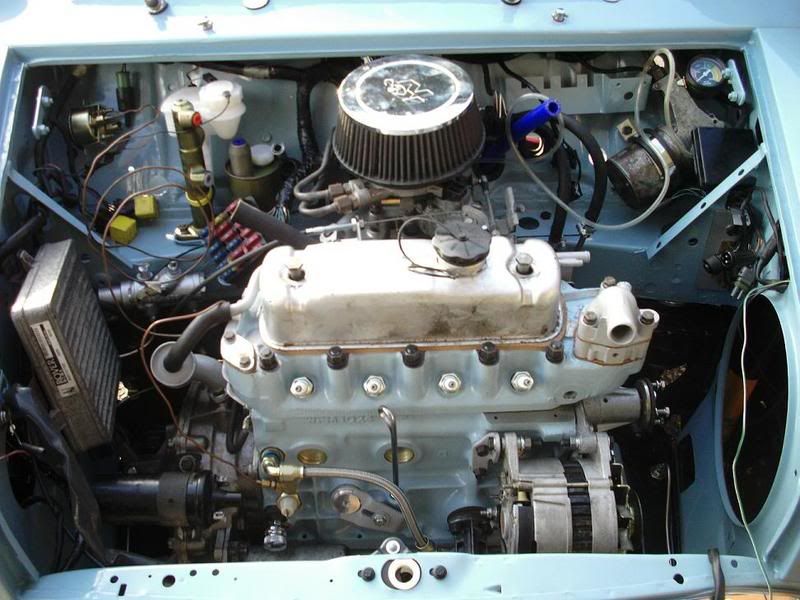
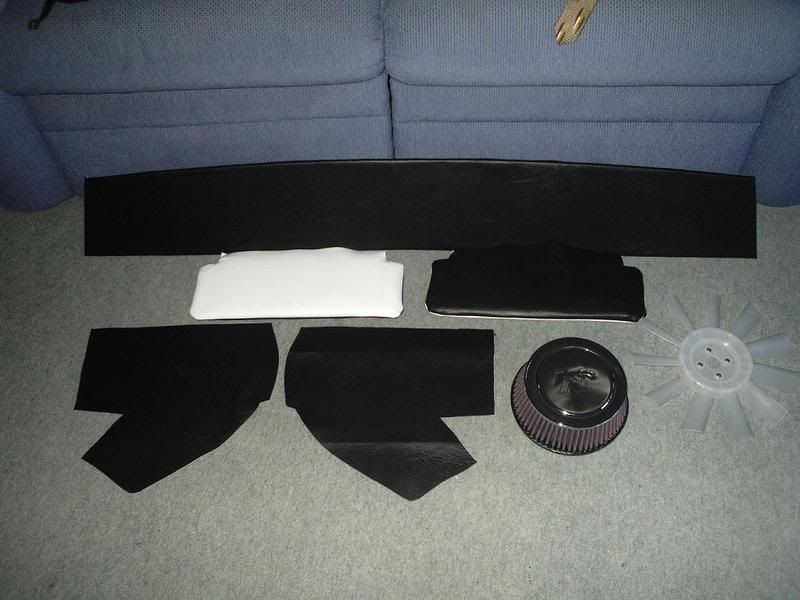
More pictures of the progress, Interior work :) Also my Fan and Filter arrived.
|
||||||
|
695 Posts Member #: 984 Post Whore Westhoughton, Bolton |
23rd Feb, 2008 at 02:54:45pm
|
||||||
|
695 Posts Member #: 984 Post Whore Westhoughton, Bolton |
23rd Feb, 2008 at 02:55:40pm
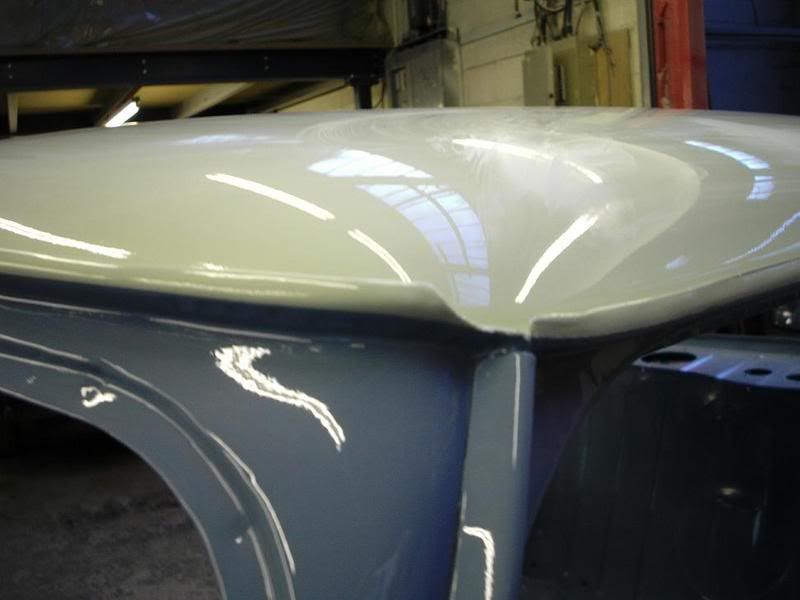
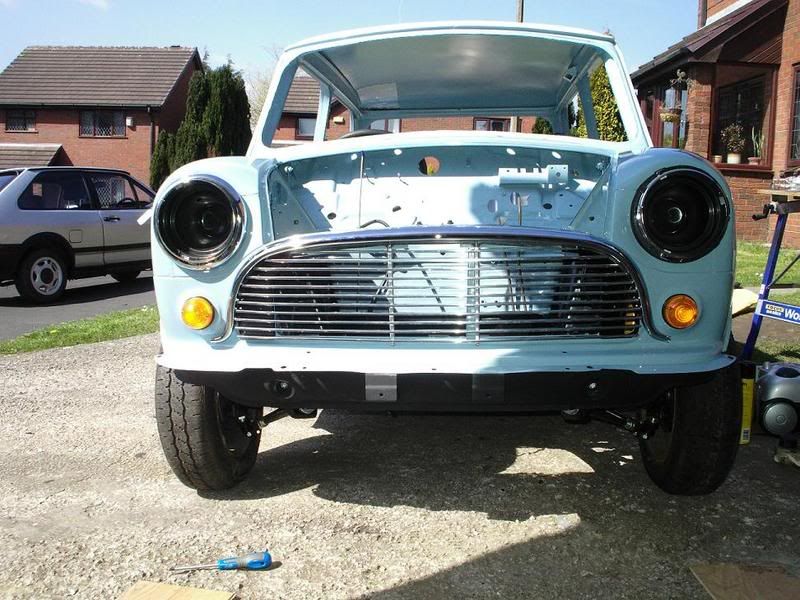
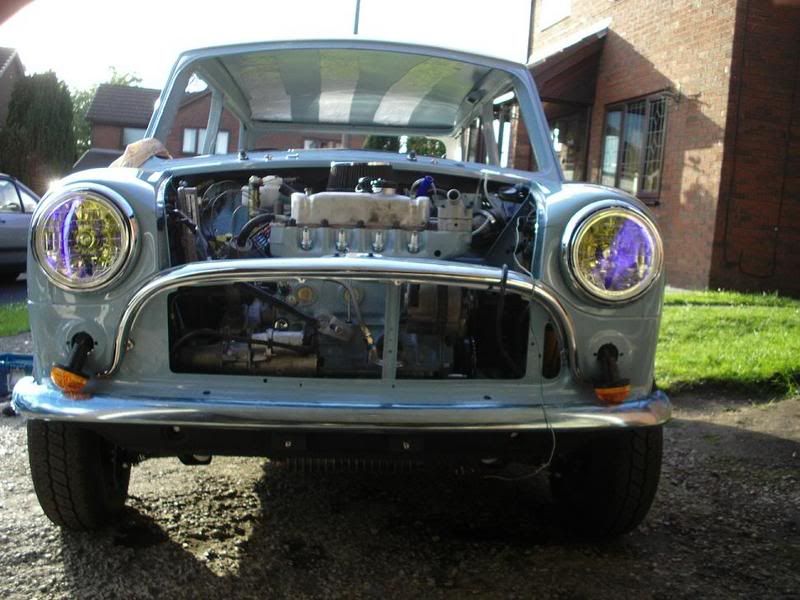
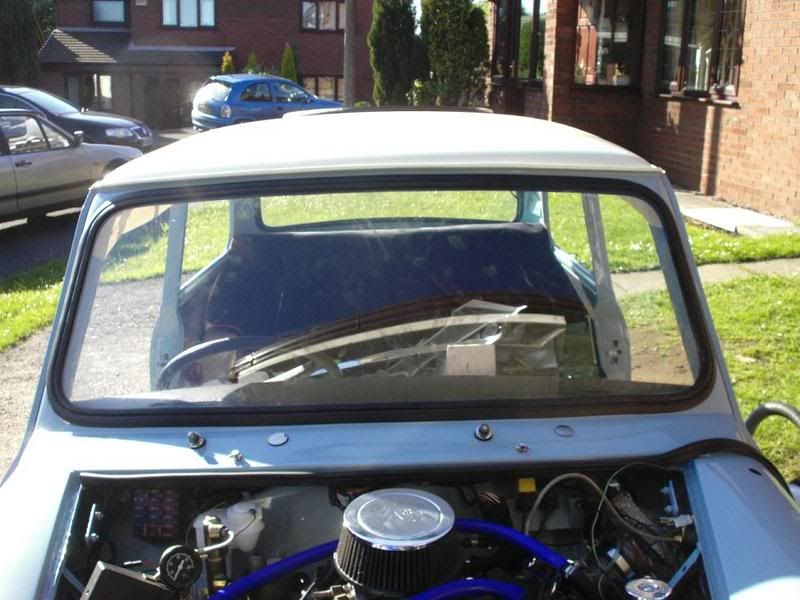
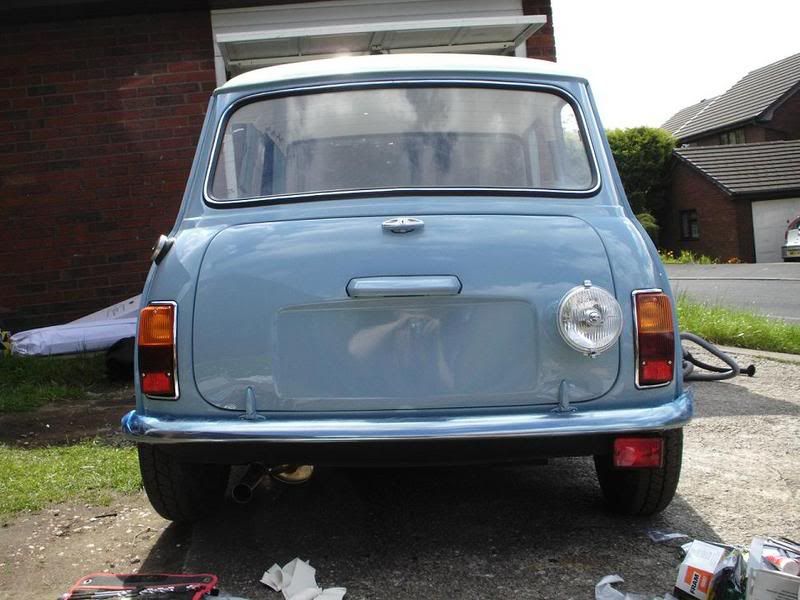
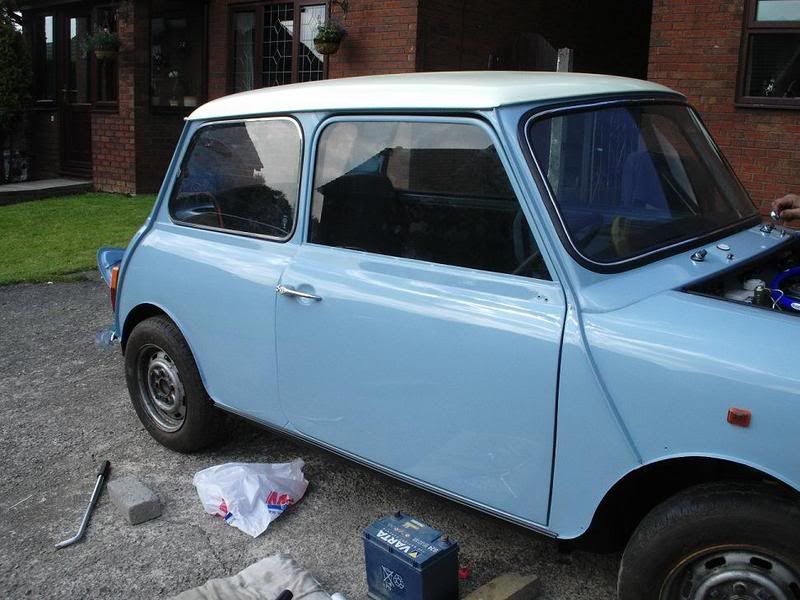
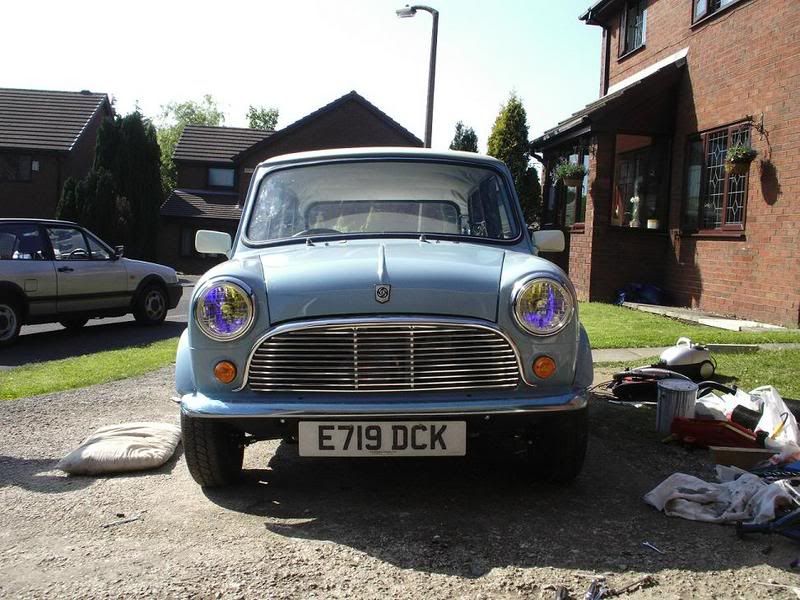
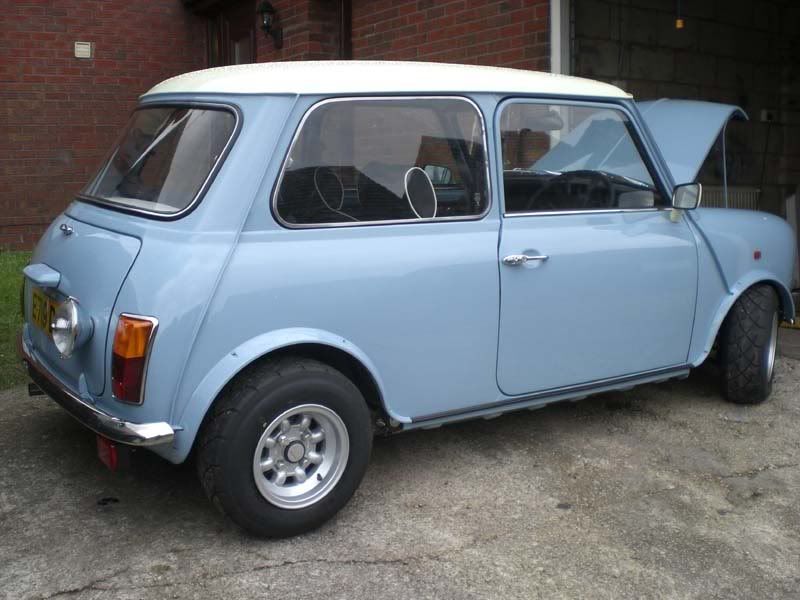
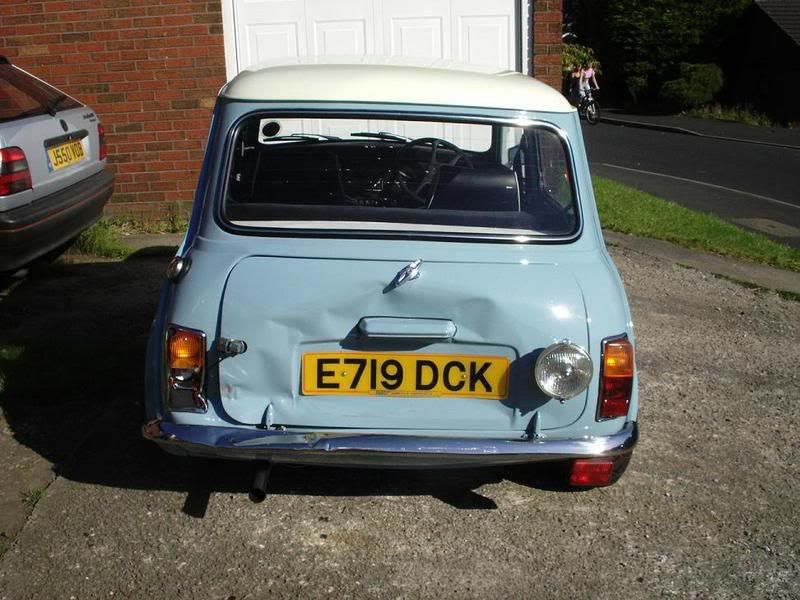
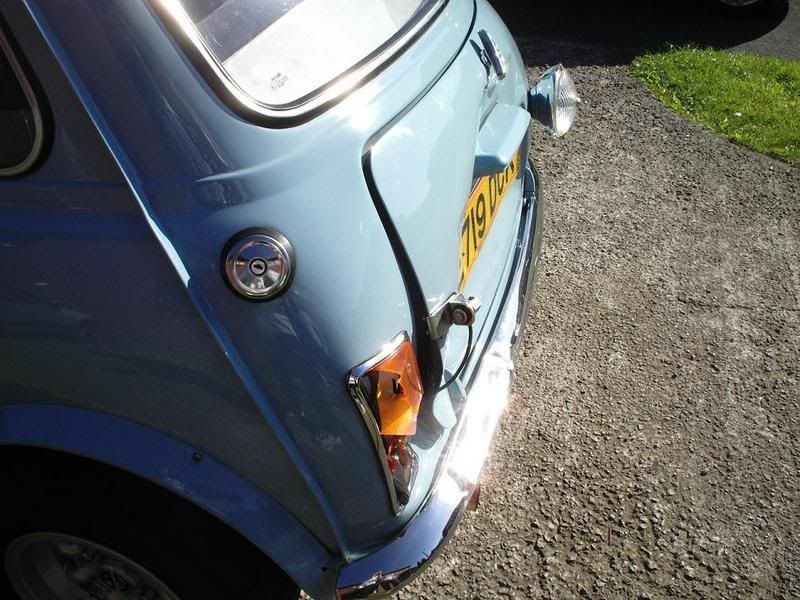
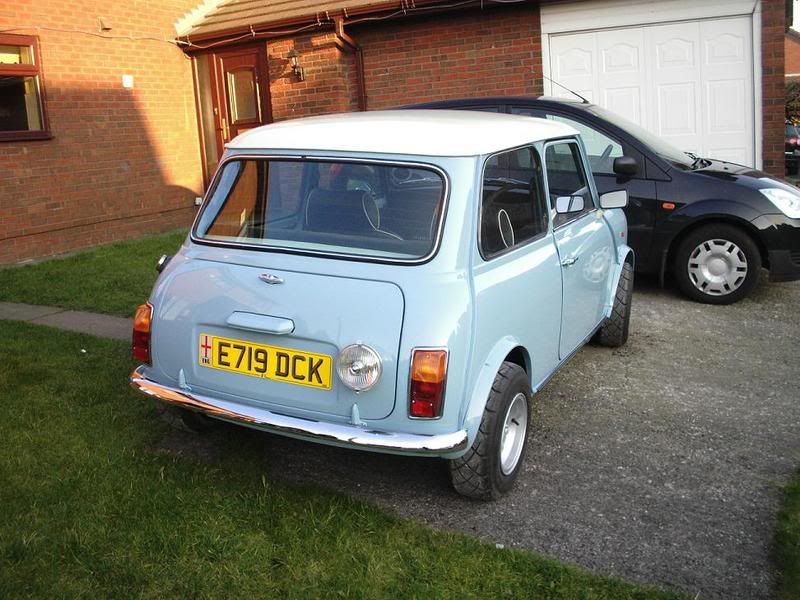
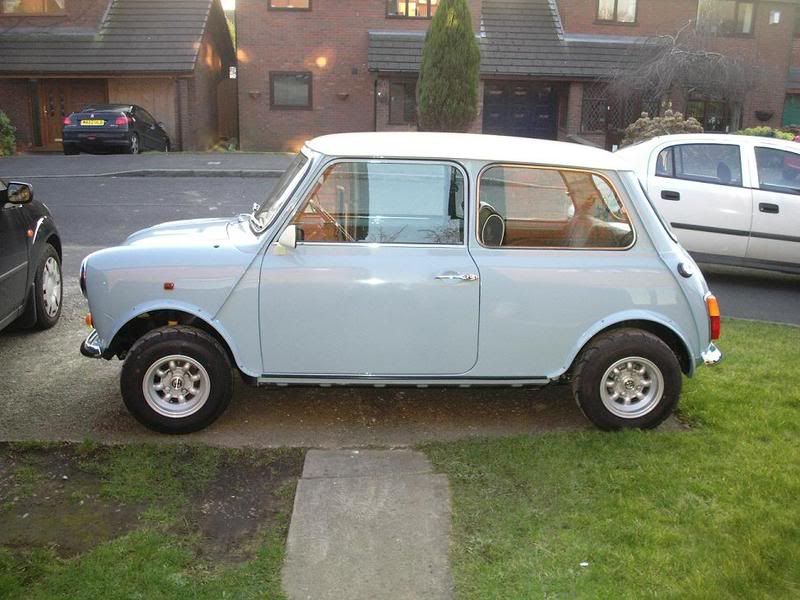
The final product!!
|
||||||
|
695 Posts Member #: 984 Post Whore Westhoughton, Bolton |
23rd Feb, 2008 at 02:56:15pm
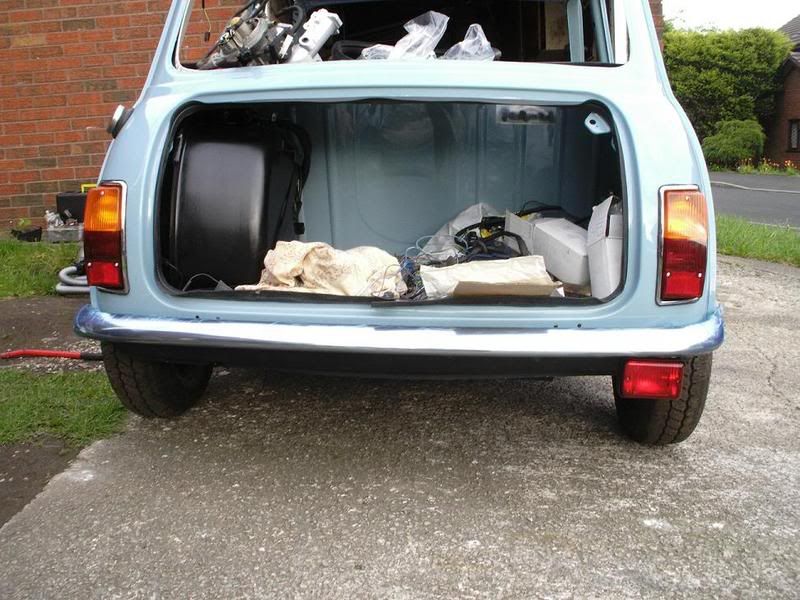
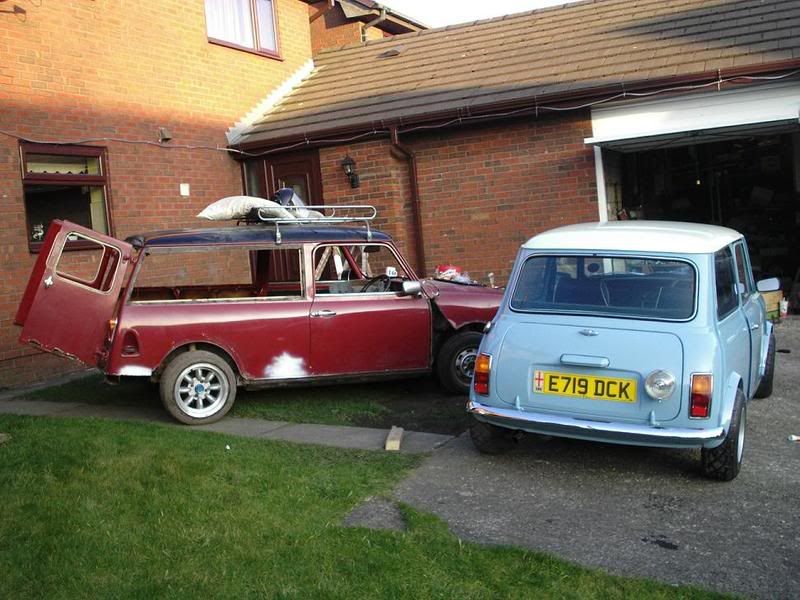
I didnt want mk1 lights as i prefer the mk2 look on it, the car isnt a mk1 style its more mk2 so thats why i went with those lights and the rear reverse lamp.
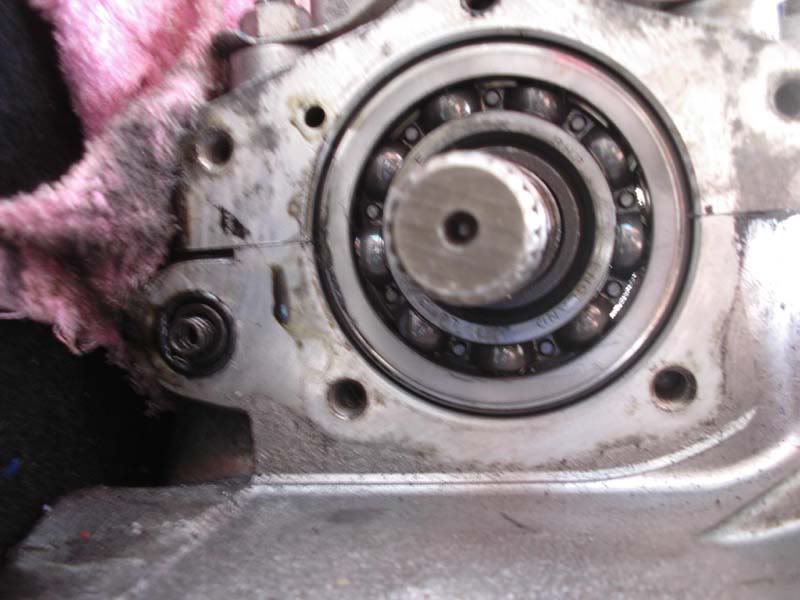
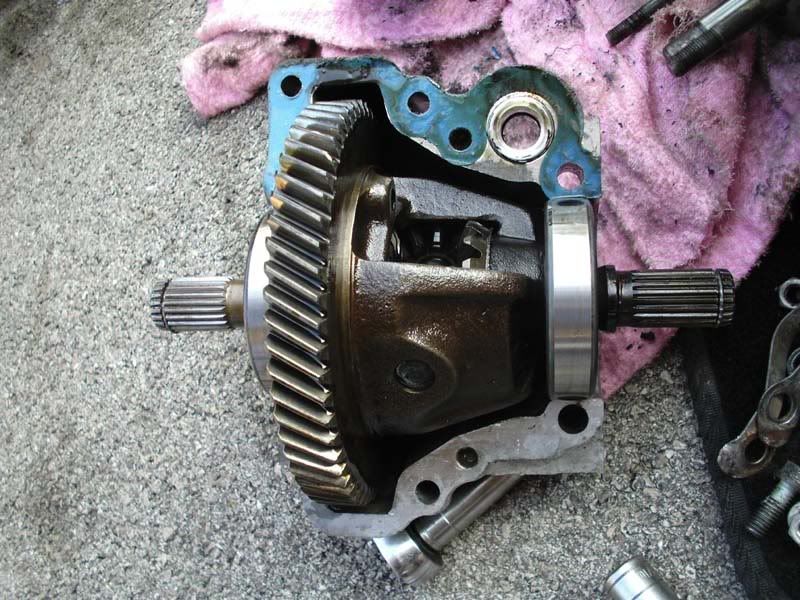
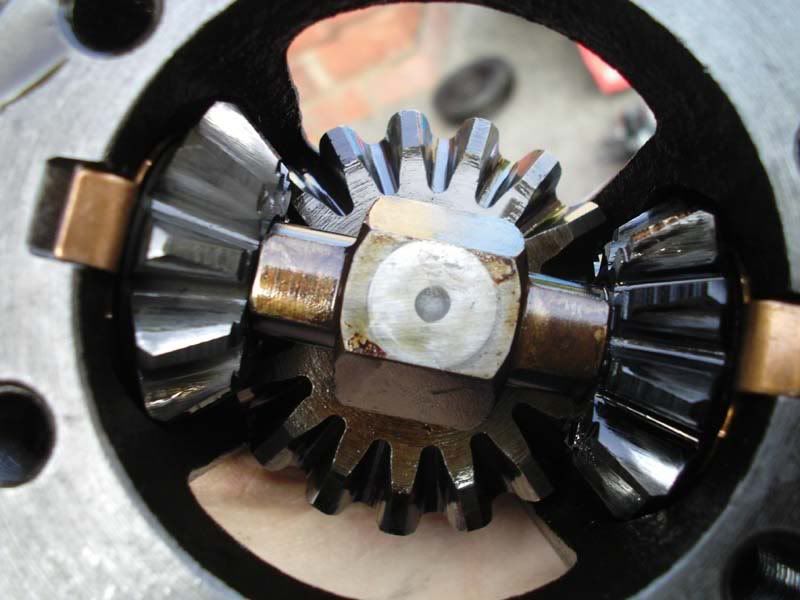
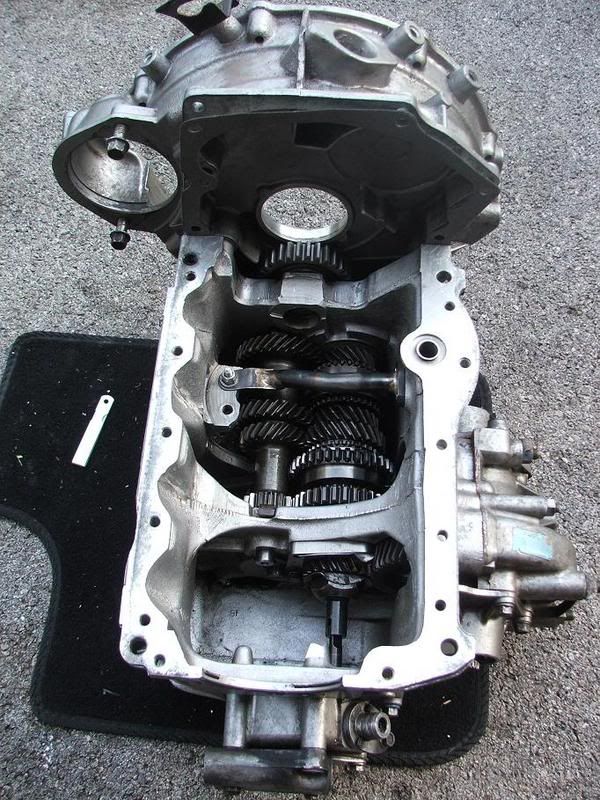
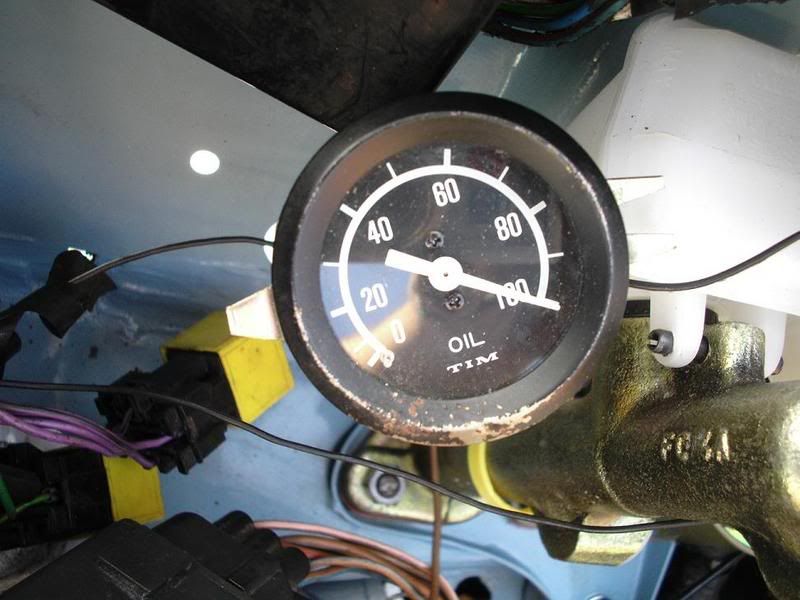
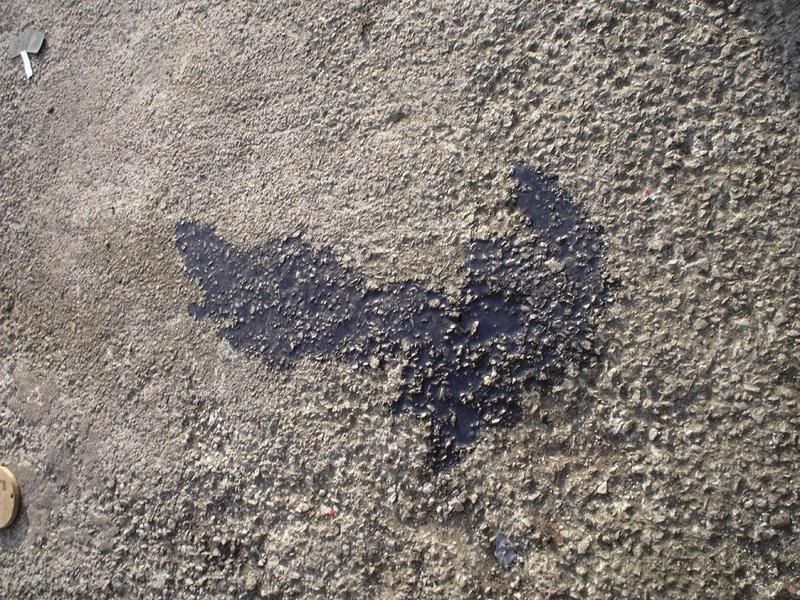
first off, oil leak suspected on the speedo drive spindle as there was half a gasket still on the flange bit where you screw the cable on, under that there was a full gasket.
second, the lay gear end float clearance is 9 thou!! thrid, the selector fork bellcrank retaining nut was only screwed on partialy and hand tight, there was another 5mm to tighten it up!!!!! also suspect there was an oil leak on that bellcrank bush that is located in the sump, you know the bit, its te big round bit on the bottom exterior of the box it was very oily from both sides and full of C**p one other thing im not happy with and possibly the reason for loss of oil pressure. im not at all happy with the center oil pick up pipe. there was a fair amount of C**p on it, the gauze is not the finest ive seen and only half the gauze is actualy open to the oil, the rest is covered by the pipe itsels as the pipe has been cut at an angle, add to that, the open bit is toward the bottom where the crud usualy gathers, idle speeds the pump is finding it difficult pulling the oil through. purely speculation, but could explain the motorway oil pressure being fine and idle being low. just not happy with that oil pick up pipe |
||||||
|
695 Posts Member #: 984 Post Whore Westhoughton, Bolton |
23rd Feb, 2008 at 02:57:40pm
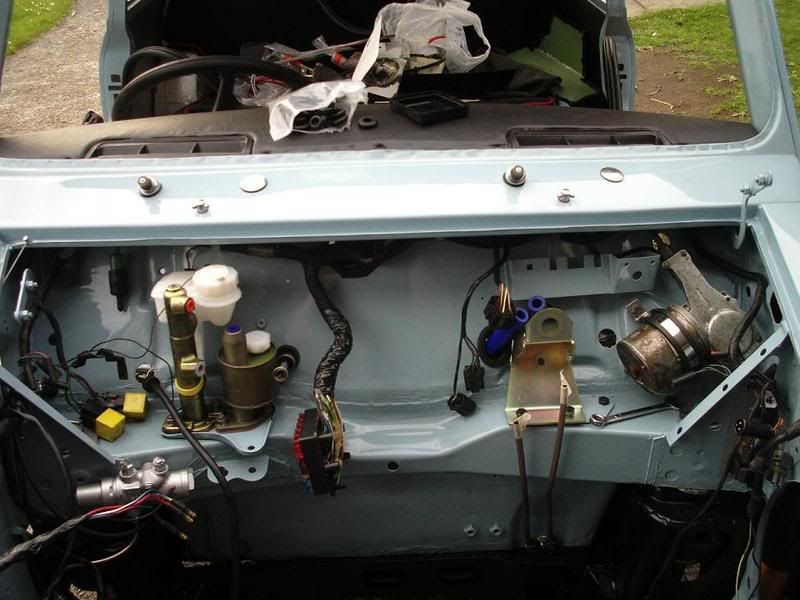
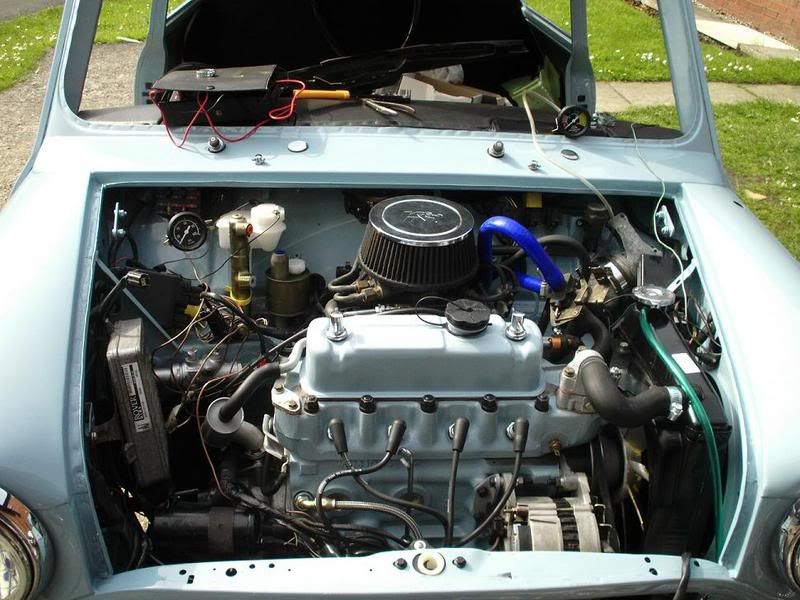
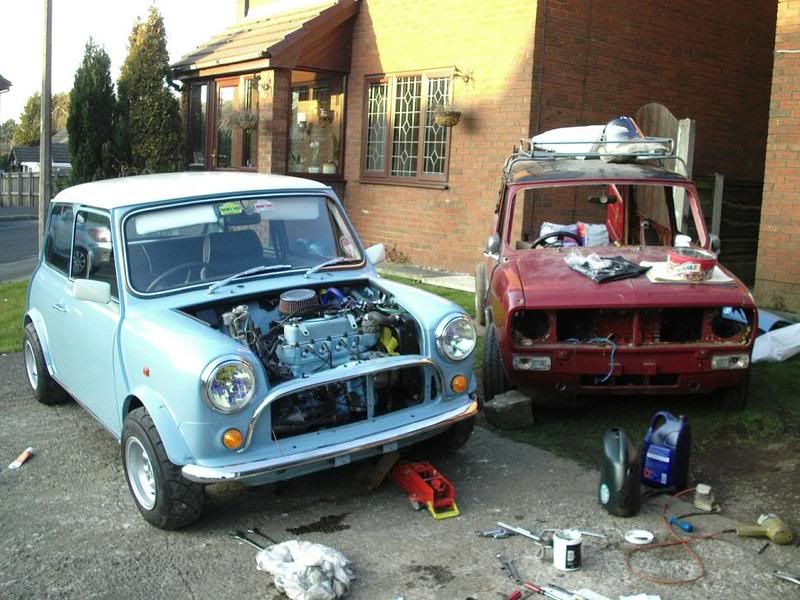
Its arrived at home with no engine, so the engine went in.
|
||||||
 1840 Posts Member #: 54 Post Whore nr coventry |
23rd Feb, 2008 at 03:29:57pm
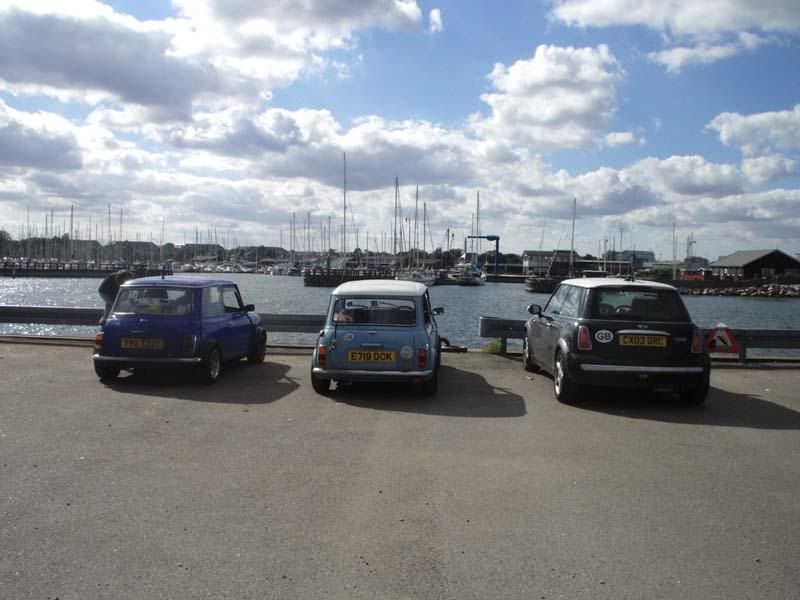
glad to hear she's running again, & the panelwork is sorted! how could anyone not see ya mini, its bright enough!
SKYLINES ARE LIKE CLITS, EVERY FLANGE SEEMS TO HAVE ONE: see this sticker on my silvia
|
||||||
|
695 Posts Member #: 984 Post Whore Westhoughton, Bolton |
23rd Feb, 2008 at 03:49:02pm
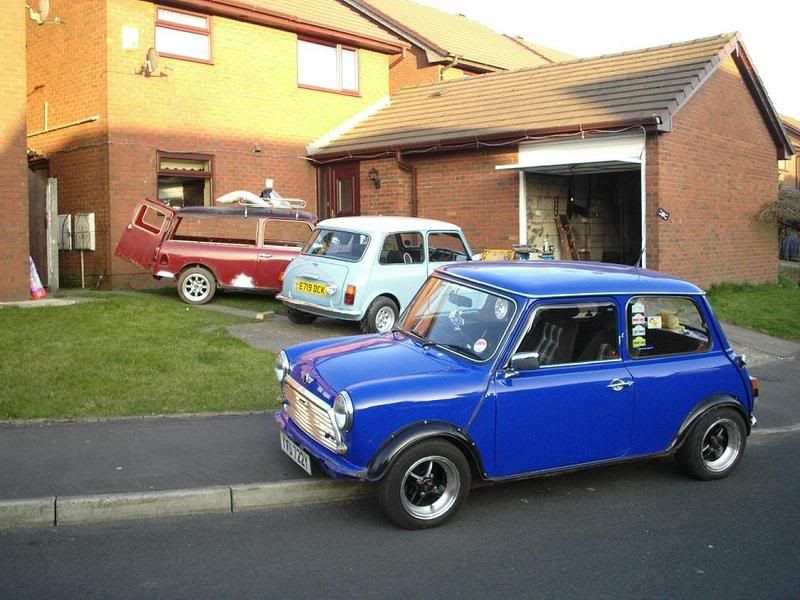
No turbo going in this one, thats what the estate is for :)
|
||||||
 514 Posts Member #: 2169 Post Whore Malta (Ex. Scotland) |
23rd Feb, 2008 at 05:56:09pm
Absolutely top job mate.
Edited by El Potter on 23rd Feb, 2008. Warning:Stig in Training
|
||||||
|
784 Posts Member #: 912 Post Whore North Yorkshire |
23rd Feb, 2008 at 06:56:41pm
Great build and Re-Build thread mate.
I drill holes in everything..! |
||||||
|
4018 Posts Member #: 1757 Back to Fucking Tool status Swindon |
23rd Feb, 2008 at 08:09:51pm
i nearly wrote my mini off because of a bmw driver, and wolfie before you say anything it was not me. i got cut up going into a roundabout and lifted off spinning my mini accross 2 lanes of traffic :$. the car looks mint mate amazing job there top marks ~:) Drives
|
||||||
|
4309 Posts Member #: 1321 Post Whore Wiltshire |
24th Feb, 2008 at 09:37:27pm
Max respect to you for that project. Tonnes of work done there, and nice to see another project in waiting.
On 7th Oct, 2010 5haneJ said:
yeah I gave it all a good prodding |
||||||
| Home > Show Us Yours! > 1987 Mini City Rebuild (Alot of images) | |||||||
|
|||||||


| Page: |