
| Page: |
| Home > Show Us Yours! > Progress...! | |||||||
 428 Posts Member #: 39 Senior Member Bristol |
17th Feb, 2007 at 02:59:04pm
Oh the most interesting thing thats come of having him sandblasted is Dexters been around 12-13 different colours over the years...so Terry the sandblaster man said. |
||||||
 314 Posts Member #: 1311 Senior Member Yeovil, Somerset |
17th Feb, 2007 at 03:12:04pm
Looking good, now the work really begines
|
||||||
|
Forum Mod  5933 Posts Member #: 784 9 times Avon Park Class C winner Milton Keynes |
17th Feb, 2007 at 03:54:36pm
With that amount of work to do, make sure you brace the door shuts with steel tubing to make sure the shell doesnt distort or twist.
I seriously doubt it! |
||||||
|
428 Posts Member #: 39 Senior Member Bristol |
17th Feb, 2007 at 04:23:13pm
Thanks Paul, will do. Any more advice will be gratefully recieved.
|
||||||
|
2514 Posts Member #: 1217 I like nice quiet girly Minis Cheltenham, Gloucestershire |
18th Feb, 2007 at 01:54:35pm
Paul is right, will need bracing hence why I have spent so much time making up my chassis jig.
Every day is a school day ...........
On 27th of Sep, 2007 at 12:45pm Jimster said:
why do you you think I got a girlfriend with small hands? |
||||||
|
2514 Posts Member #: 1217 I like nice quiet girly Minis Cheltenham, Gloucestershire |
18th Feb, 2007 at 01:55:30pm
The best bit of advice is plan the job.
Every day is a school day ...........
On 27th of Sep, 2007 at 12:45pm Jimster said:
why do you you think I got a girlfriend with small hands? |
||||||
|
428 Posts Member #: 39 Senior Member Bristol |
9th Mar, 2007 at 02:17:51pm
Have just order all this....Might be giving the wife some TLC this weekend....then break it to her gently.
|
||||||
|
Site Admin  8506 Posts Member #: 16 Sold the turbo and seeing what the C20XE can do! Near Lincoln |
9th Mar, 2007 at 02:35:17pm
Thats some list!!!
|
||||||
|
428 Posts Member #: 39 Senior Member Bristol |
9th Mar, 2007 at 02:50:38pm
Remember this was done up Mini in 1999. The owner said it was a good paint job....trust me he was sooooo right. Still i want a Van so I've got to dig deep.... Edited by Monster22 on 23rd Oct, 2020. |
||||||
|
2514 Posts Member #: 1217 I like nice quiet girly Minis Cheltenham, Gloucestershire |
9th Mar, 2007 at 07:29:49pm
Mark, did you find any metal in there LOL......
Every day is a school day ...........
On 27th of Sep, 2007 at 12:45pm Jimster said:
why do you you think I got a girlfriend with small hands? |
||||||
|
428 Posts Member #: 39 Senior Member Bristol |
6th Jun, 2007 at 09:13:38pm
Sorry Roger, You've might have it back by now...!
|
||||||
|
2514 Posts Member #: 1217 I like nice quiet girly Minis Cheltenham, Gloucestershire |
6th Jun, 2007 at 09:33:48pm
Candice's car wasn't that bad but I am fussy so changing quite a few panels anyway!
Every day is a school day ...........
On 27th of Sep, 2007 at 12:45pm Jimster said:
why do you you think I got a girlfriend with small hands? |
||||||
|
428 Posts Member #: 39 Senior Member Bristol |
6th Jun, 2007 at 10:35:45pm
Just been in the garage tonight playing with the floor.....I'll post some pictures tomorrow night as I'm having an issue lining it up and need some advice. I'll need luck with evening thing I got to weld on this....plus were moving in 7 weeks and Dexter is going into store I don't know how long :( Any to bed now. Cheers, M |
||||||
|
428 Posts Member #: 39 Senior Member Bristol |
7th Jun, 2007 at 07:26:39pm
Having an issue with lining the floor up. It's a complete new floor from Minimachine, Tunnel, Cross memer, Rear step, both floors, inner sills and outer sills. With the floor sitting on the tunnel at the front......like below
Edited by Monster22 on 7th Jun, 2007. |
||||||
 4559 Posts Member #: 786 Post Whore Bermingum |
7th Jun, 2007 at 09:31:52pm
Hi,
VEMs Authorised Installer / Re-seller. K head kits now available!
|
||||||
|
428 Posts Member #: 39 Senior Member Bristol |
11th Jun, 2007 at 12:47:35pm
Anyone else help as I think Gavin is suggesting modification as that is my plan.....I'm scared of chopping into £550 before checking.....
|
||||||
|
4559 Posts Member #: 786 Post Whore Bermingum |
11th Jun, 2007 at 07:53:08pm
Hi,
VEMs Authorised Installer / Re-seller. K head kits now available!
|
||||||
|
428 Posts Member #: 39 Senior Member Bristol |
12th Jun, 2007 at 10:52:04am
thanks dude for replying. Spoke to mini machine and the rear load bed changed over the years it seems. Theirs is for the flat kind where mine has a raise bit which comes into the cabin/load area.....so that accounts for the 5mm gap......so its a case of convince the load bed to move down |
||||||
|
4559 Posts Member #: 786 Post Whore Bermingum |
12th Jun, 2007 at 12:42:05pm
Hi,
VEMs Authorised Installer / Re-seller. K head kits now available!
|
||||||
|
428 Posts Member #: 39 Senior Member Bristol |
12th Jun, 2007 at 01:00:04pm
lol....thats what I have too.....steps in steps out....the orignal van was straight so I'm plugging spot weld hols in the load bed. Still I can't wait for that feeling when he's done and I can say i did that.....(it better feel good....) |
||||||
|
4301 Posts Member #: 1321 Post Whore Wiltshire |
12th Jun, 2007 at 01:51:18pm
On 12th of Jun, 2007 at 01:00pm Monster22 said:
Still I can't wait for that feeling when he's done and I can say i did that.....(it better feel good....) Thats exactly how I feel about mine. On 7th Oct, 2010 5haneJ said:
yeah I gave it all a good prodding |
||||||
 197 Posts Member #: 1488 Advanced Member Bristol |
12th Jun, 2007 at 09:52:49pm
Looks like you're making good progress mate! Wishing I'd had me shell shot blasted now, but hindsight is 20/20.
There is no sense crying over every mistake- you just keep on trying til you run out of cake. |
||||||
|
428 Posts Member #: 39 Senior Member Bristol |
13th Jun, 2007 at 08:29:33am
Thanks for the offer Mr Badger....I got the lump hammer out and a blow tourch last night and modded the load bed to the new inner sills.
|
||||||
|
4559 Posts Member #: 786 Post Whore Bermingum |
13th Jun, 2007 at 08:37:27am
Hi,
VEMs Authorised Installer / Re-seller. K head kits now available!
|
||||||
|
428 Posts Member #: 39 Senior Member Bristol |
13th Jun, 2007 at 11:40:09am
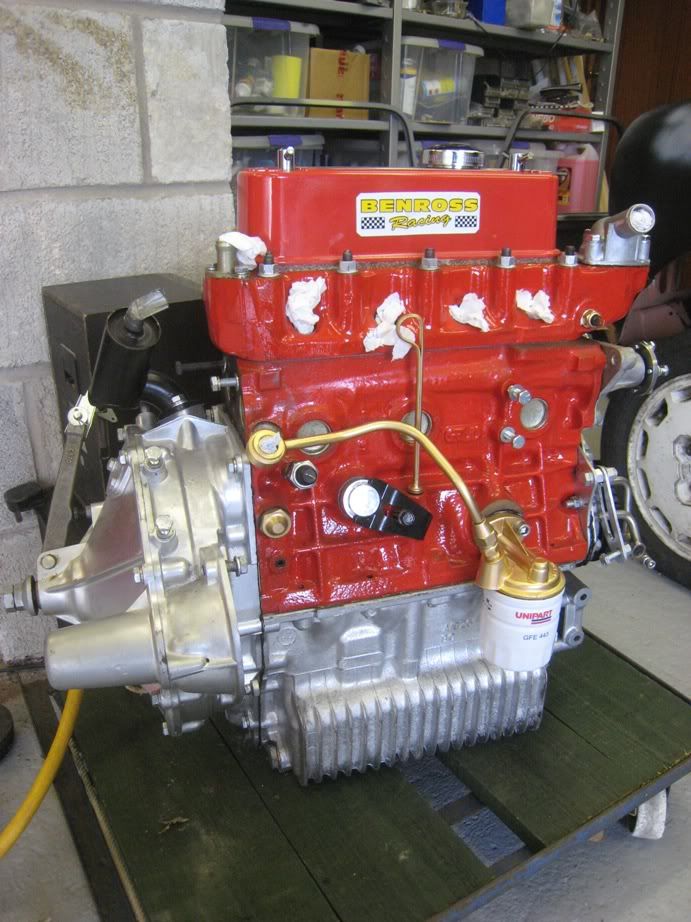
It's called moving house in 5 weeks and she needs to be rolling.... but hoepfully welded up completely....a tall order but as we're moving in with my outlaws and the cars going into storage that will be shell restoration halted.....I'll only have room to work on the engine..... |
||||||
| Home > Show Us Yours! > Progress...! | |||||||
|
|||||||


 but it won't work on a van or pick up :(

| Page: |