
| Page: |
| Home > Show Us Yours! > My project turbo racer now going Jap | |||||||
 163 Posts Member #: 9181 Advanced Member Rhoose, Cardiff |
9th Sep, 2012 at 11:19:19am
Small update.
My project Toyota powered mini: http://www.turbominis.co.uk/forums/index.p...tid=470448&fr=0 |
||||||
 641 Posts Member #: 9937 Post Whore somewhereintheuniverse near selkirk scotland |
9th Sep, 2012 at 04:37:19pm
nice work im still welding up my shell mate ,youve got a gr8 project there give em hell |
||||||
|
54 Posts Member #: 6996 Advanced Member |
9th Sep, 2012 at 07:32:06pm
any updates? |
||||||
|
54 Posts Member #: 6996 Advanced Member |
9th Sep, 2012 at 07:32:56pm
ignore that! great build matey :) friend of mines just started his build, he's hoping to keep it in a round nose too |
||||||
|
163 Posts Member #: 9181 Advanced Member Rhoose, Cardiff |
8th Oct, 2012 at 06:05:14pm
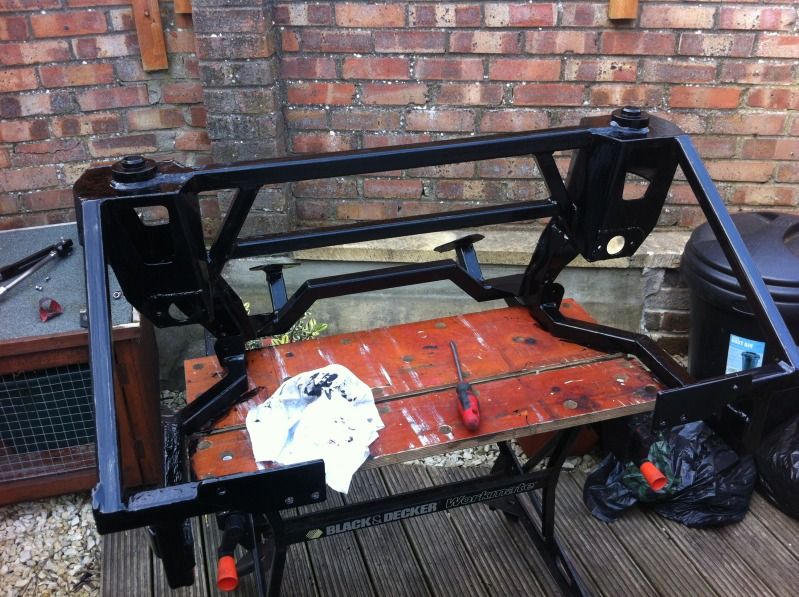
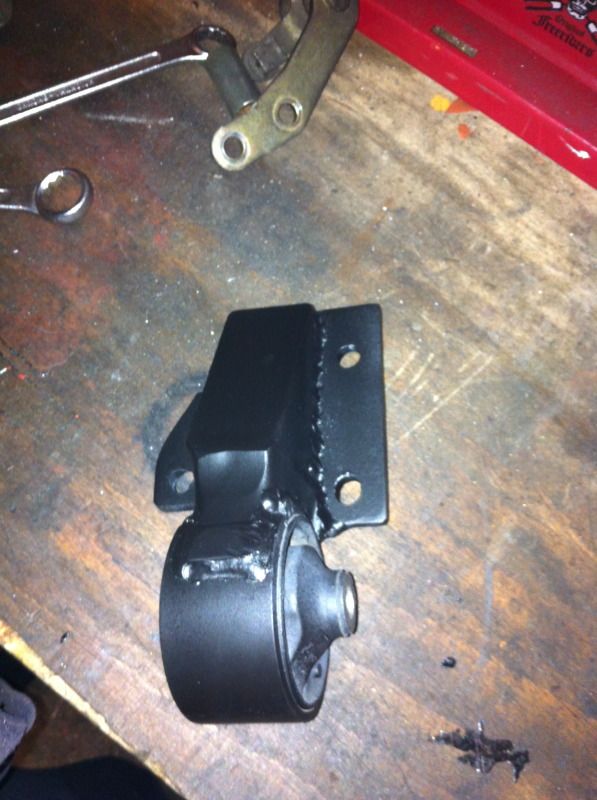
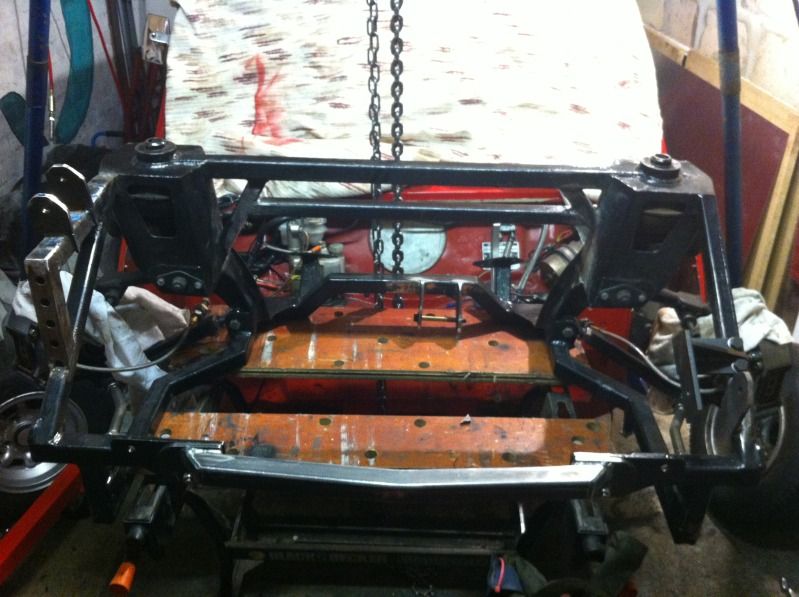
Subframe is now finished finally. It was a pain in the arse. Lost count on how many times ive lifted the engine in and out to make sure the mounts were right, but im happy with the end result. There isnt much engine movement on the rubber mounts, which is good because the plenum is so close to the bulkhead. But to be sure i will be replacing them with poly mounts and possibly some extra steadies.
My project Toyota powered mini: http://www.turbominis.co.uk/forums/index.p...tid=470448&fr=0 |
||||||
|
225 Posts Member #: 3772 Senior Member Wigan |
12th Oct, 2012 at 08:01:40pm
amazing build and great quality, good to see built not bought looking so good. I have a question, what paint did you use on the underside and interior, looks very nice and smooth also how was it applied.
|
||||||
|
163 Posts Member #: 9181 Advanced Member Rhoose, Cardiff |
12th Oct, 2012 at 08:17:59pm
Thanks mate. For the underneath i used normal rattle can primer, then stonechipped it and then i brush painted over that with red hammerite. I was quite surprised with the finish tbh. The inside i just used rattle cans because i thought if it gets damaged it would be easier to touch up. My project Toyota powered mini: http://www.turbominis.co.uk/forums/index.p...tid=470448&fr=0 |
||||||
|
225 Posts Member #: 3772 Senior Member Wigan |
13th Oct, 2012 at 07:23:39pm
looks very good for rattle cans
|
||||||
|
163 Posts Member #: 9181 Advanced Member Rhoose, Cardiff |
17th Oct, 2012 at 07:39:04pm
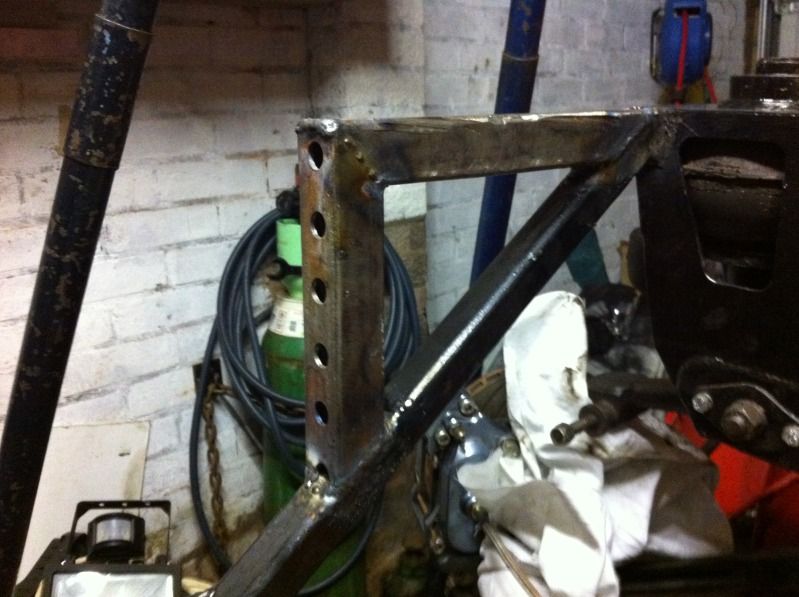
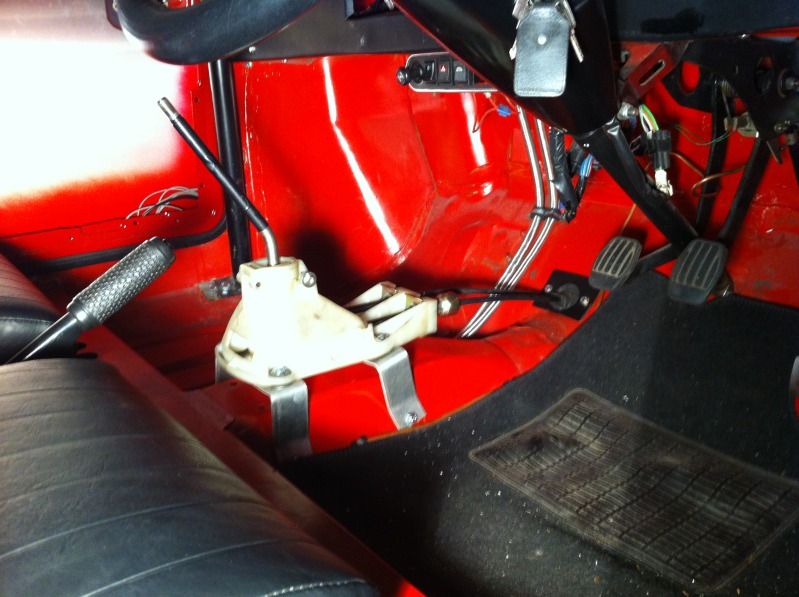
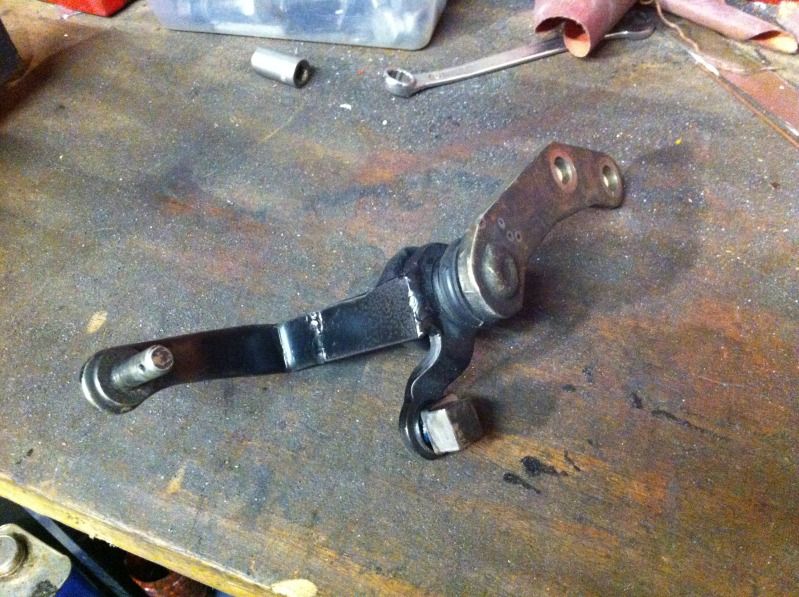
Yesterday i welded a plate in where the original mini gear stick went through. Then today i have mounted the starlet gear stick housing inside and routed the cables through the bulkhead to the gearbox. The brackets are made from aluminum then bolted these to the side of the tunnel. I have also modified the selector arms on the gearbox (pictures to follow) and its bloody tight.
My project Toyota powered mini: http://www.turbominis.co.uk/forums/index.p...tid=470448&fr=0 |
||||||
 1596 Posts Member #: 8027 Post Whore Thrapston, Kettering, Northants NN14 |
17th Oct, 2012 at 09:48:47pm
Looking good so far mate :) On 17th Feb, 2011 apbellamy said:
I popped my first one out the other day... |
||||||
|
163 Posts Member #: 9181 Advanced Member Rhoose, Cardiff |
17th Oct, 2012 at 09:57:57pm
Cheers mate. When do you think yours will be finished? My project Toyota powered mini: http://www.turbominis.co.uk/forums/index.p...tid=470448&fr=0 |
||||||
|
1596 Posts Member #: 8027 Post Whore Thrapston, Kettering, Northants NN14 |
17th Oct, 2012 at 10:21:27pm
Deadline is just after xmas for a french roadtrip. Failing that itl be asap after what about you mate?
On 17th Feb, 2011 apbellamy said:
I popped my first one out the other day... |
||||||
|
163 Posts Member #: 9181 Advanced Member Rhoose, Cardiff |
18th Oct, 2012 at 04:26:09pm
The road trip sounds good, should be a laugh. I'm planing to have mine running by Christmas on the stock ecu and stock intercooler. Then I will get a programmable ecu, bigger intercooler and different exhaust manifold. Then get it mapped and up the boost a little :)
My project Toyota powered mini: http://www.turbominis.co.uk/forums/index.p...tid=470448&fr=0 |
||||||
|
163 Posts Member #: 9181 Advanced Member Rhoose, Cardiff |
18th Oct, 2012 at 07:09:12pm
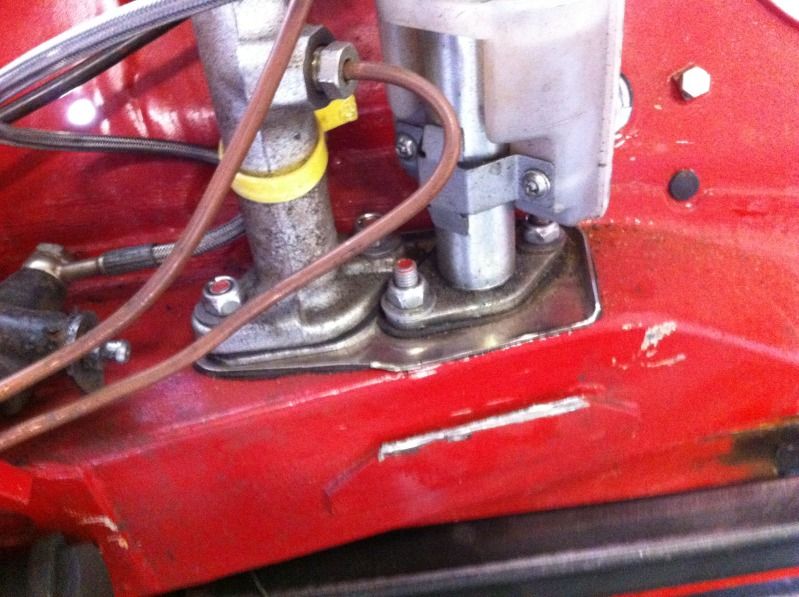
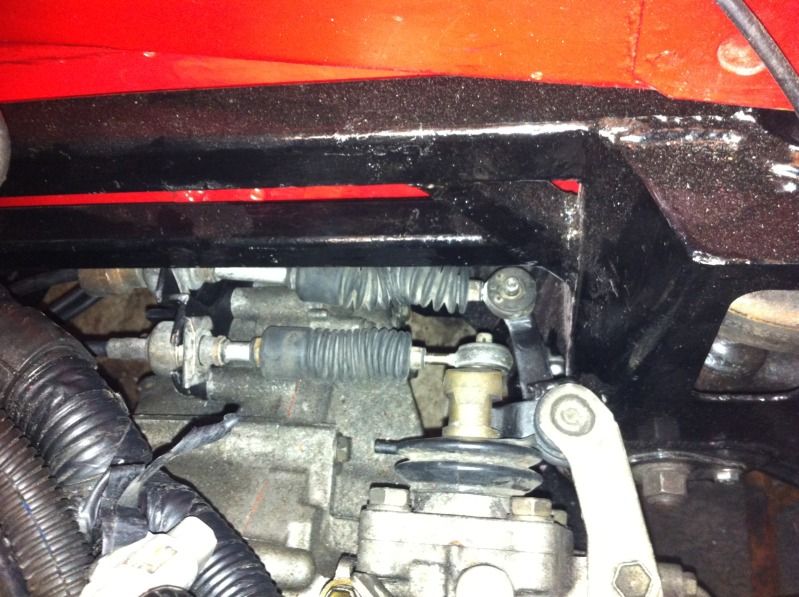
As promised some pictures of the gear cable arrangement at the gearbox end. Today ive had to re weld the bracket differently because there was too much slack in the cable. Which resulted in the gear stick having 1st where third would normally be and third where fifth would be, but its all sorted now thankfully.
My project Toyota powered mini: http://www.turbominis.co.uk/forums/index.p...tid=470448&fr=0 |
||||||
 236 Posts Member #: 10087 Senior Member Very wet south wales |
18th Oct, 2012 at 10:22:19pm
Thats some very good work, what would be the plan with the turbo out front ?
|
||||||
|
163 Posts Member #: 9181 Advanced Member Rhoose, Cardiff |
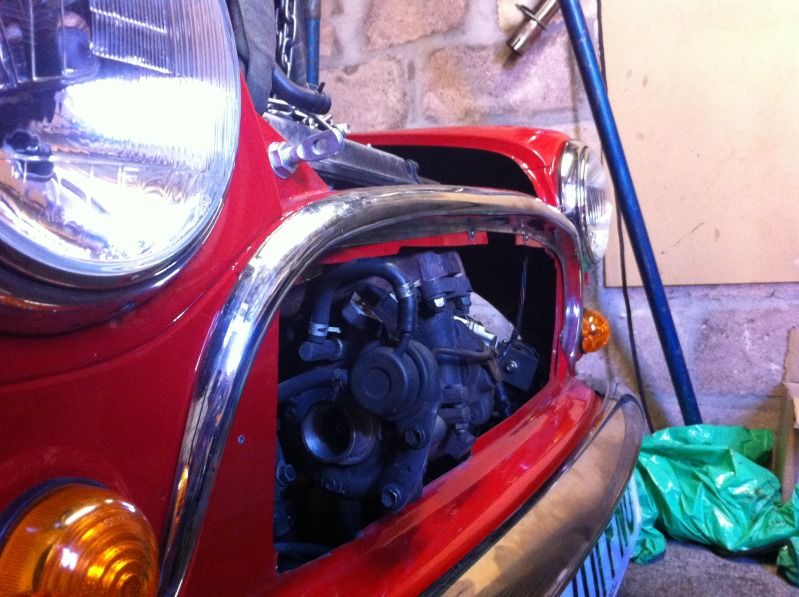
19th Oct, 2012 at 09:34:17pm
I have now decided to relocate the actuator which means hopefully by spacing the grill a little it will fit nicely behined.
On 18th Oct, 2012 Scudy23 said:
Thats some very good work, what would be the plan with the turbo out front ? Are you selling your mirage mani as well off the other engine ? My project Toyota powered mini: http://www.turbominis.co.uk/forums/index.p...tid=470448&fr=0 |
||||||
|
1492 Posts Member #: 9468 Post Whore Wootton Bassett |
20th Oct, 2012 at 07:22:01am
This is cooooool :)
On 10th Mar, 2012 theoneeyedlizard said:
Hypothetically speaking, where would you stick your nozzle? On 22nd Jun, 2012 apbellamy said:
my wife doesn't know what.head is never mind compression ratio. |
||||||
|
1596 Posts Member #: 8027 Post Whore Thrapston, Kettering, Northants NN14 |
20th Oct, 2012 at 07:36:23pm
Goo progress going on mate. Your gunna beat me to thr finish at this rate. On 17th Feb, 2011 apbellamy said:
I popped my first one out the other day... |
||||||
|
163 Posts Member #: 9181 Advanced Member Rhoose, Cardiff |
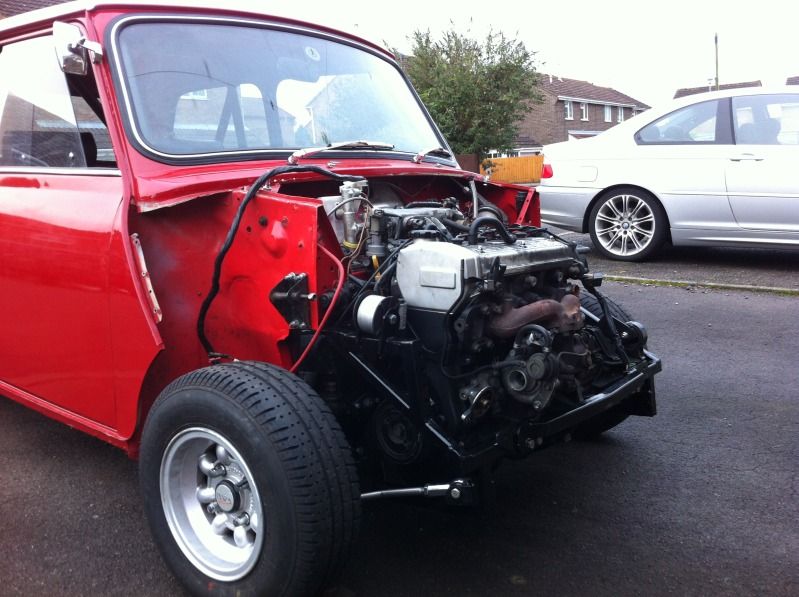
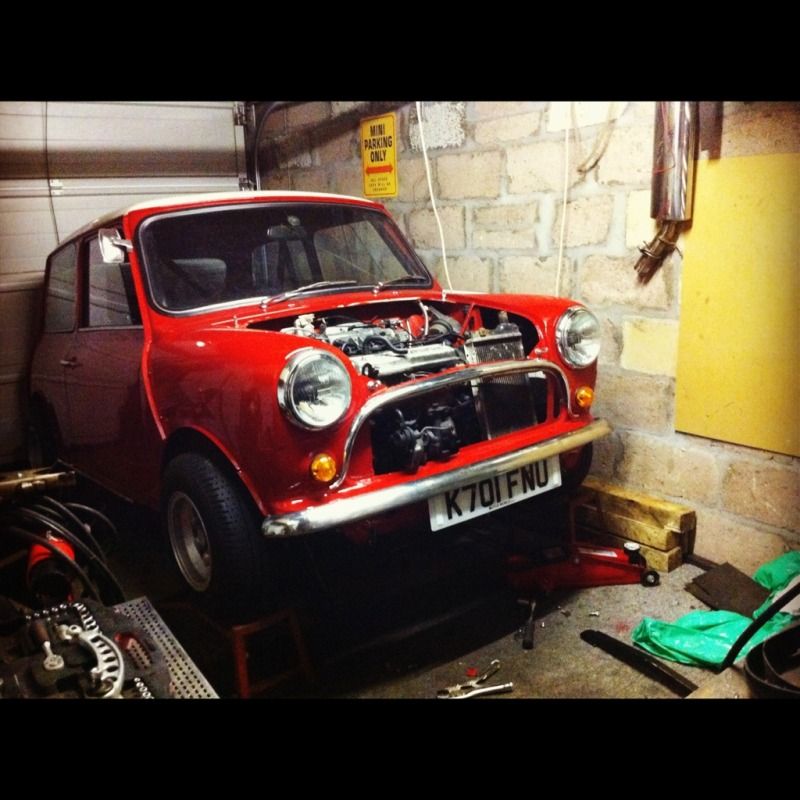
25th Oct, 2012 at 05:09:30pm
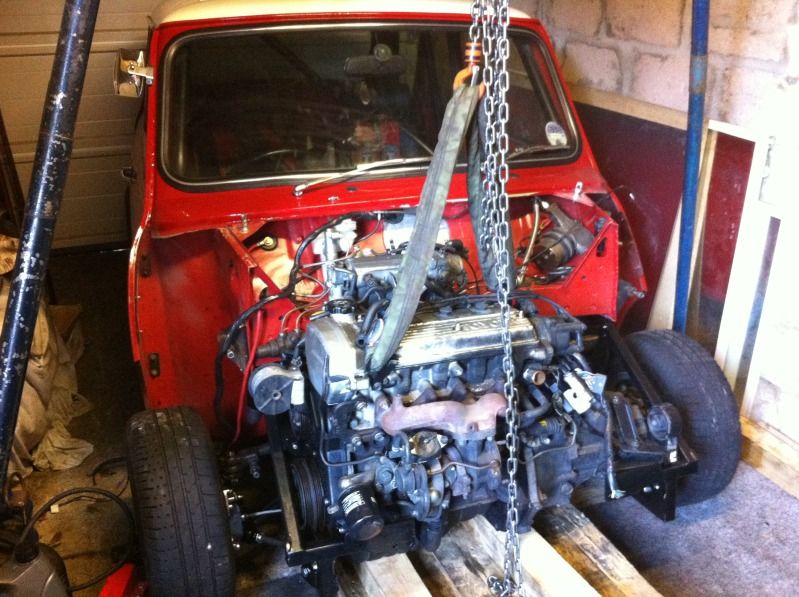
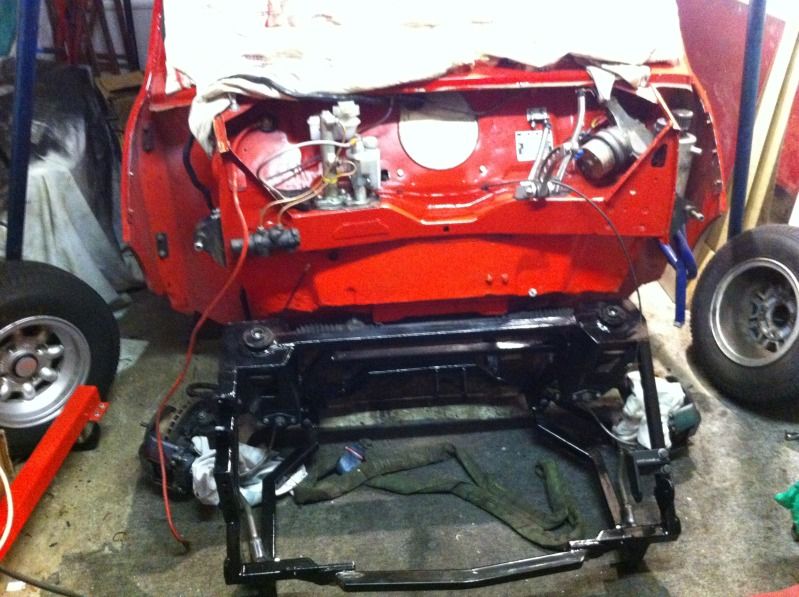
Got round to fitting the front end properly yesterday so I know how much space I have for things like the radiator. The one in the picture is an mpi one, not sure whether to use it or get something better. Also don't know where to put the intercooler as I don't want to drill holes in the bonnet.
My project Toyota powered mini: http://www.turbominis.co.uk/forums/index.p...tid=470448&fr=0 |
||||||
 720 Posts Member #: 2588 Post Whore Pretoria South Africa |
25th Oct, 2012 at 08:14:33pm
Have a look at Matty's build thread for intercooler placement. "So wat we gonna do tonight Brain?"
|
||||||
|
163 Posts Member #: 9181 Advanced Member Rhoose, Cardiff |
25th Oct, 2012 at 09:05:45pm
Have you got a link? I've had a look before but couldn't find it My project Toyota powered mini: http://www.turbominis.co.uk/forums/index.p...tid=470448&fr=0 |
||||||
 562 Posts Member #: 9285 Post Whore Oxfordshire |
25th Oct, 2012 at 09:18:04pm
That's a crammed install, keep up the good work!
My build thread: http://www.turbominis.co.uk/forums/index.php?p=vt&tid=454802
|
||||||
 5329 Posts Member #: 140 Proven 200+bhp & Avon Park 05,06,07 Class D 3rd place |
26th Oct, 2012 at 05:25:49pm
love what your doing keep use posted Best 1/4 mile 13.2 seconds @116 mph
|
||||||
 520 Posts Member #: 189 Post Whore Norway |
26th Oct, 2012 at 06:13:43pm
Are you running the turbo out of the grille?? Thats a bit different I thonk :) www.shag.no |
||||||
|
163 Posts Member #: 9181 Advanced Member Rhoose, Cardiff |
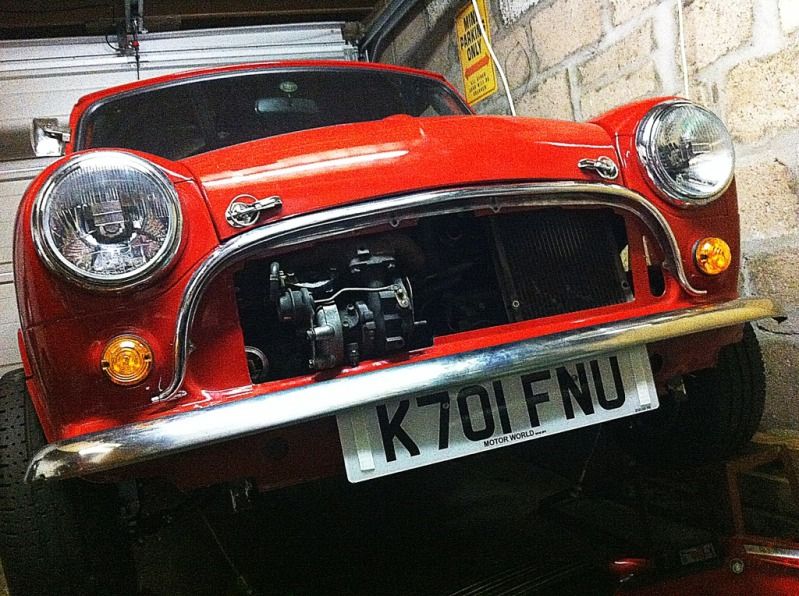
26th Oct, 2012 at 07:58:30pm
Yeah i thought i would get away with relocating the actuator and spacing the grill but it does stick out a fair bit. looks like i will be removing a few slats from the grill now lol.
My project Toyota powered mini: http://www.turbominis.co.uk/forums/index.p...tid=470448&fr=0 |
||||||
| Home > Show Us Yours! > My project turbo racer now going Jap | |||||||
|
|||||||


| Page: |